I like to think that, within reason, anything you can do, I can do. Maybe not better, but I’ll surely give it a go! Well, friends. Not this time.
Driving an ATV is not for me, and you know what? I’m ok with it.
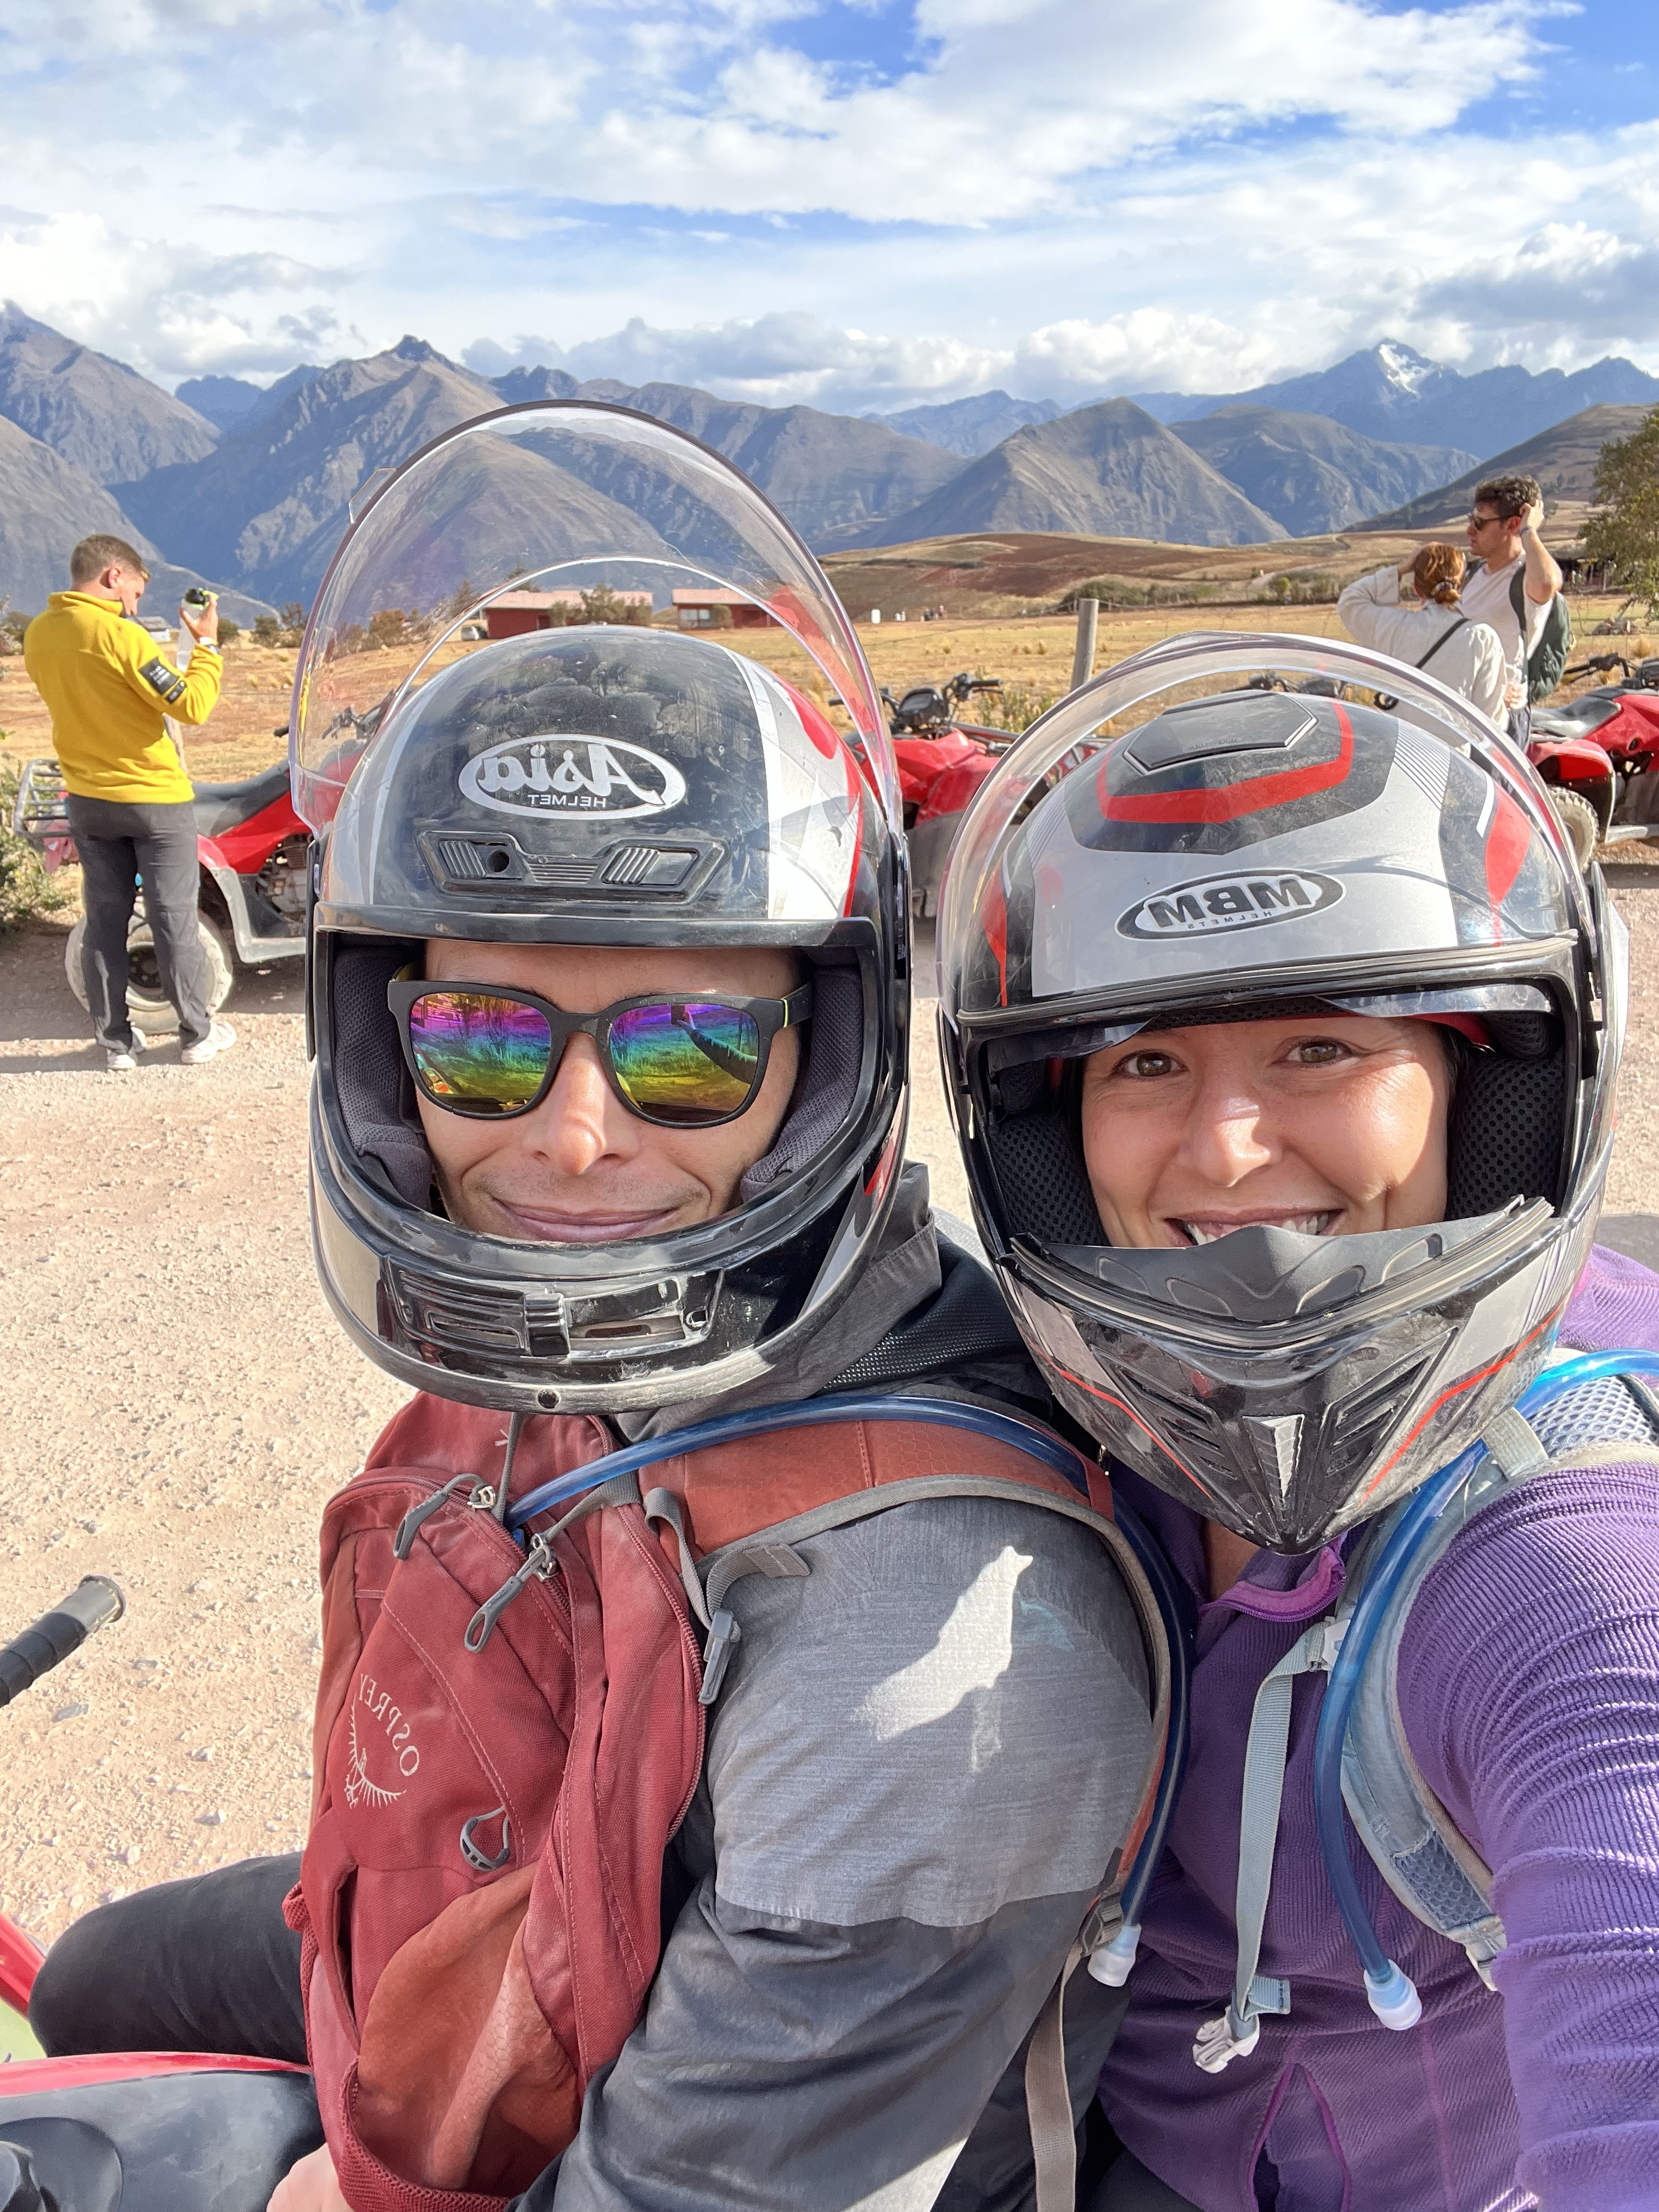
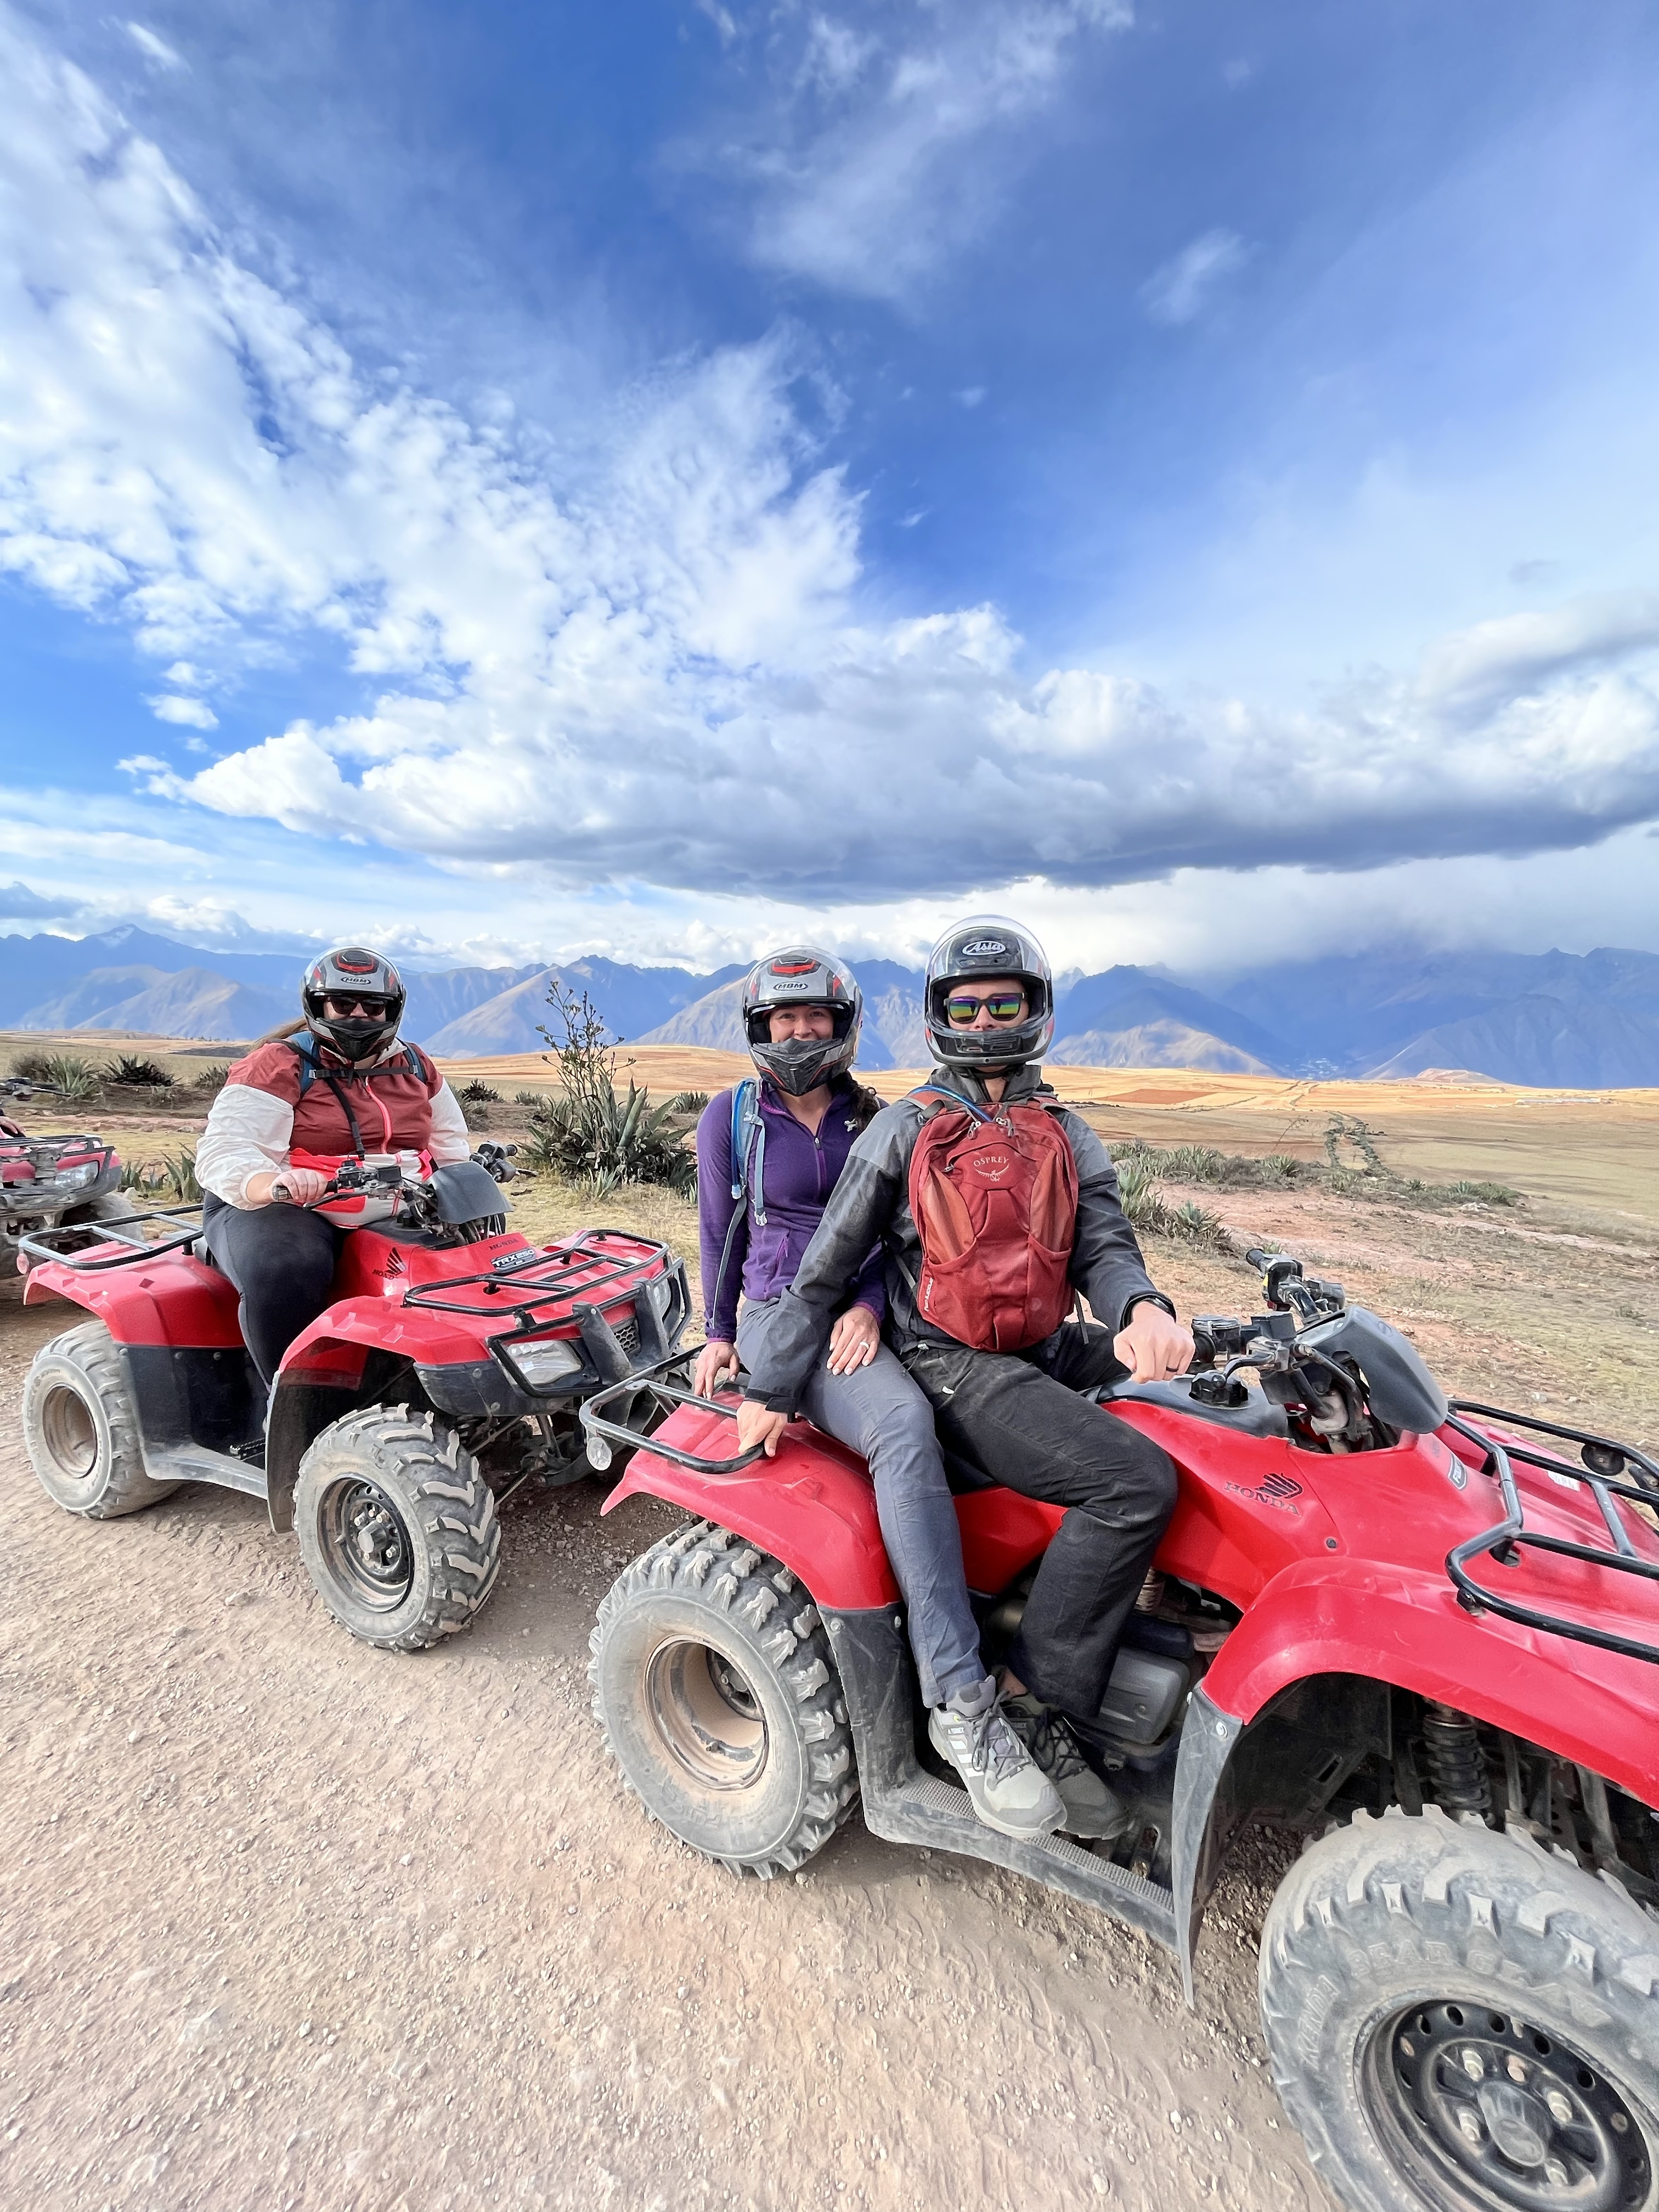
Perfectly happy to be on the back!
I’ve gone a bit rogue with my blog-time continuum. My last post was about our final Ecuadorian adventure, a three day hike to the crater lake at Quilotoa! But, before that, we spent three full days in Cusco, Peru, with our friend Kaitlin. So, I’m backtracking a bit!
The ultimate goal of the Peru trip was a visit to Machu Picchu, but we decided to have an acclimatization day beforehand. Cusco sits at an altitude of ~3,400 m / ~11,150 ft. Machu Picchu is a bit lower than that, but regardless, it takes some getting used to! So, when we decided to do a half-day tour on day one, Kaitlin suggested an ATV tour.
When she originally proposed the idea, she asked if I wanted my own or to ride with Shane. “Uh, my own, of course!” was my answer. That was my first mistake.
My second mistake was not immediately changing my mind once I was sitting on the ATV and couldn’t figure out how to turn the damn thing on. Then we got a lecture about how there is no insurance on these ATVs. If you break it, you buy it (or pay to fix it, I should say). THEN, we were given specific instructions on how to hand signal down the line of tour-goers and how we needed to stay close enough (but not too close!) to the person in front so that everyone could see the hand signals!
As I’m writing this, it sounds simple.
For me, it was not simple. And I was nervous!
Then, I killed the motor trying to go, which made me more nervous!
Then, I wasn’t going fast enough, so I tried to speed up.
Then, a dog popped out of nowhere!
Then, a TUK-TUK popped out of nowhere! (Really, this one was a mystery since tuk-tuks aren’t really a thing here).
THEN, I had to give a hand signal! While still moving forward! 🤯
So, I ended up going a bit off-roading, nearly flipping the ATV (at least in my mind).
After that, I pulled off to the side. The guide had turned around by this point since I was considerably far away from the next person in line. “Is everything ok?”
“I’ll ride with my husband now.” I was done. 😆
Shane and Kaitlin were totally fine, albeit a bit worried about me flipping the ATV in a literal span of two minutes. Ha. But, once I was riding on the back, I had a great time! The views were incredible!
ATV success!
The tour included two stops in the Sacred Valley of the Incas: Moray and the Maras salt mines.
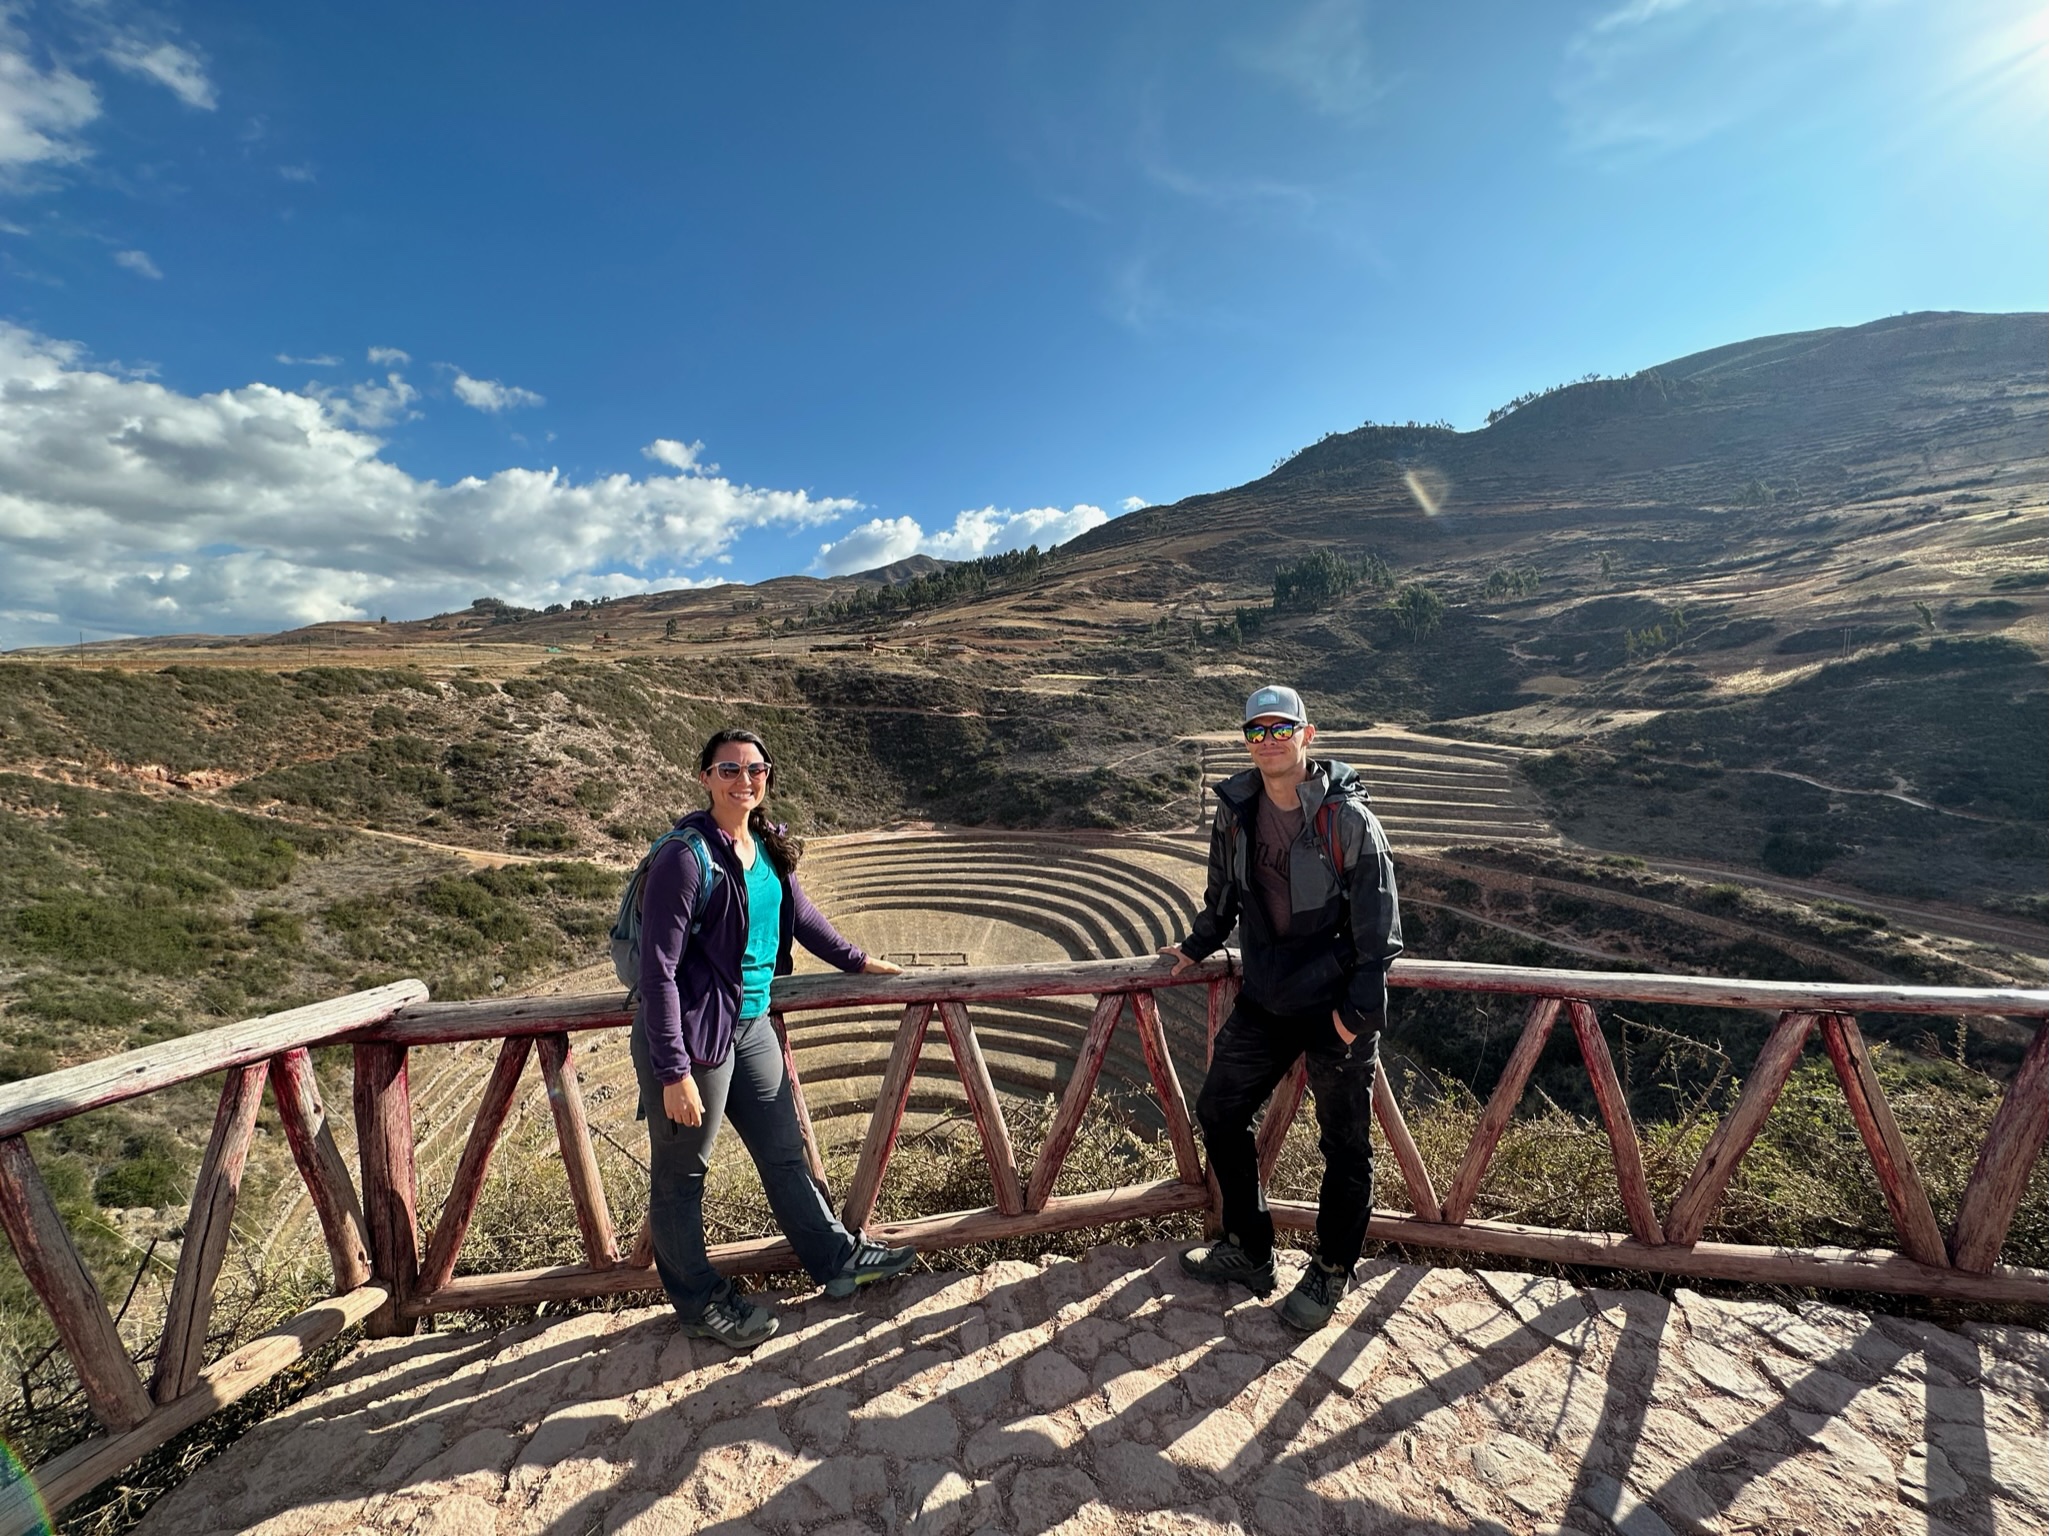
First up was Moray, an Incan agricultural laboratory/archeological site.
Moray, Peru
As you can see, this site is a series of platforms in a natural hole. On average, the platforms are ~1.8 m / 6 ft tall, and our guide told us that each platform represented a microclimate since the temperature and amount of sunlight, for example, varies among the platforms. Hence, it became (so they suspect) an agricultural laboratory!
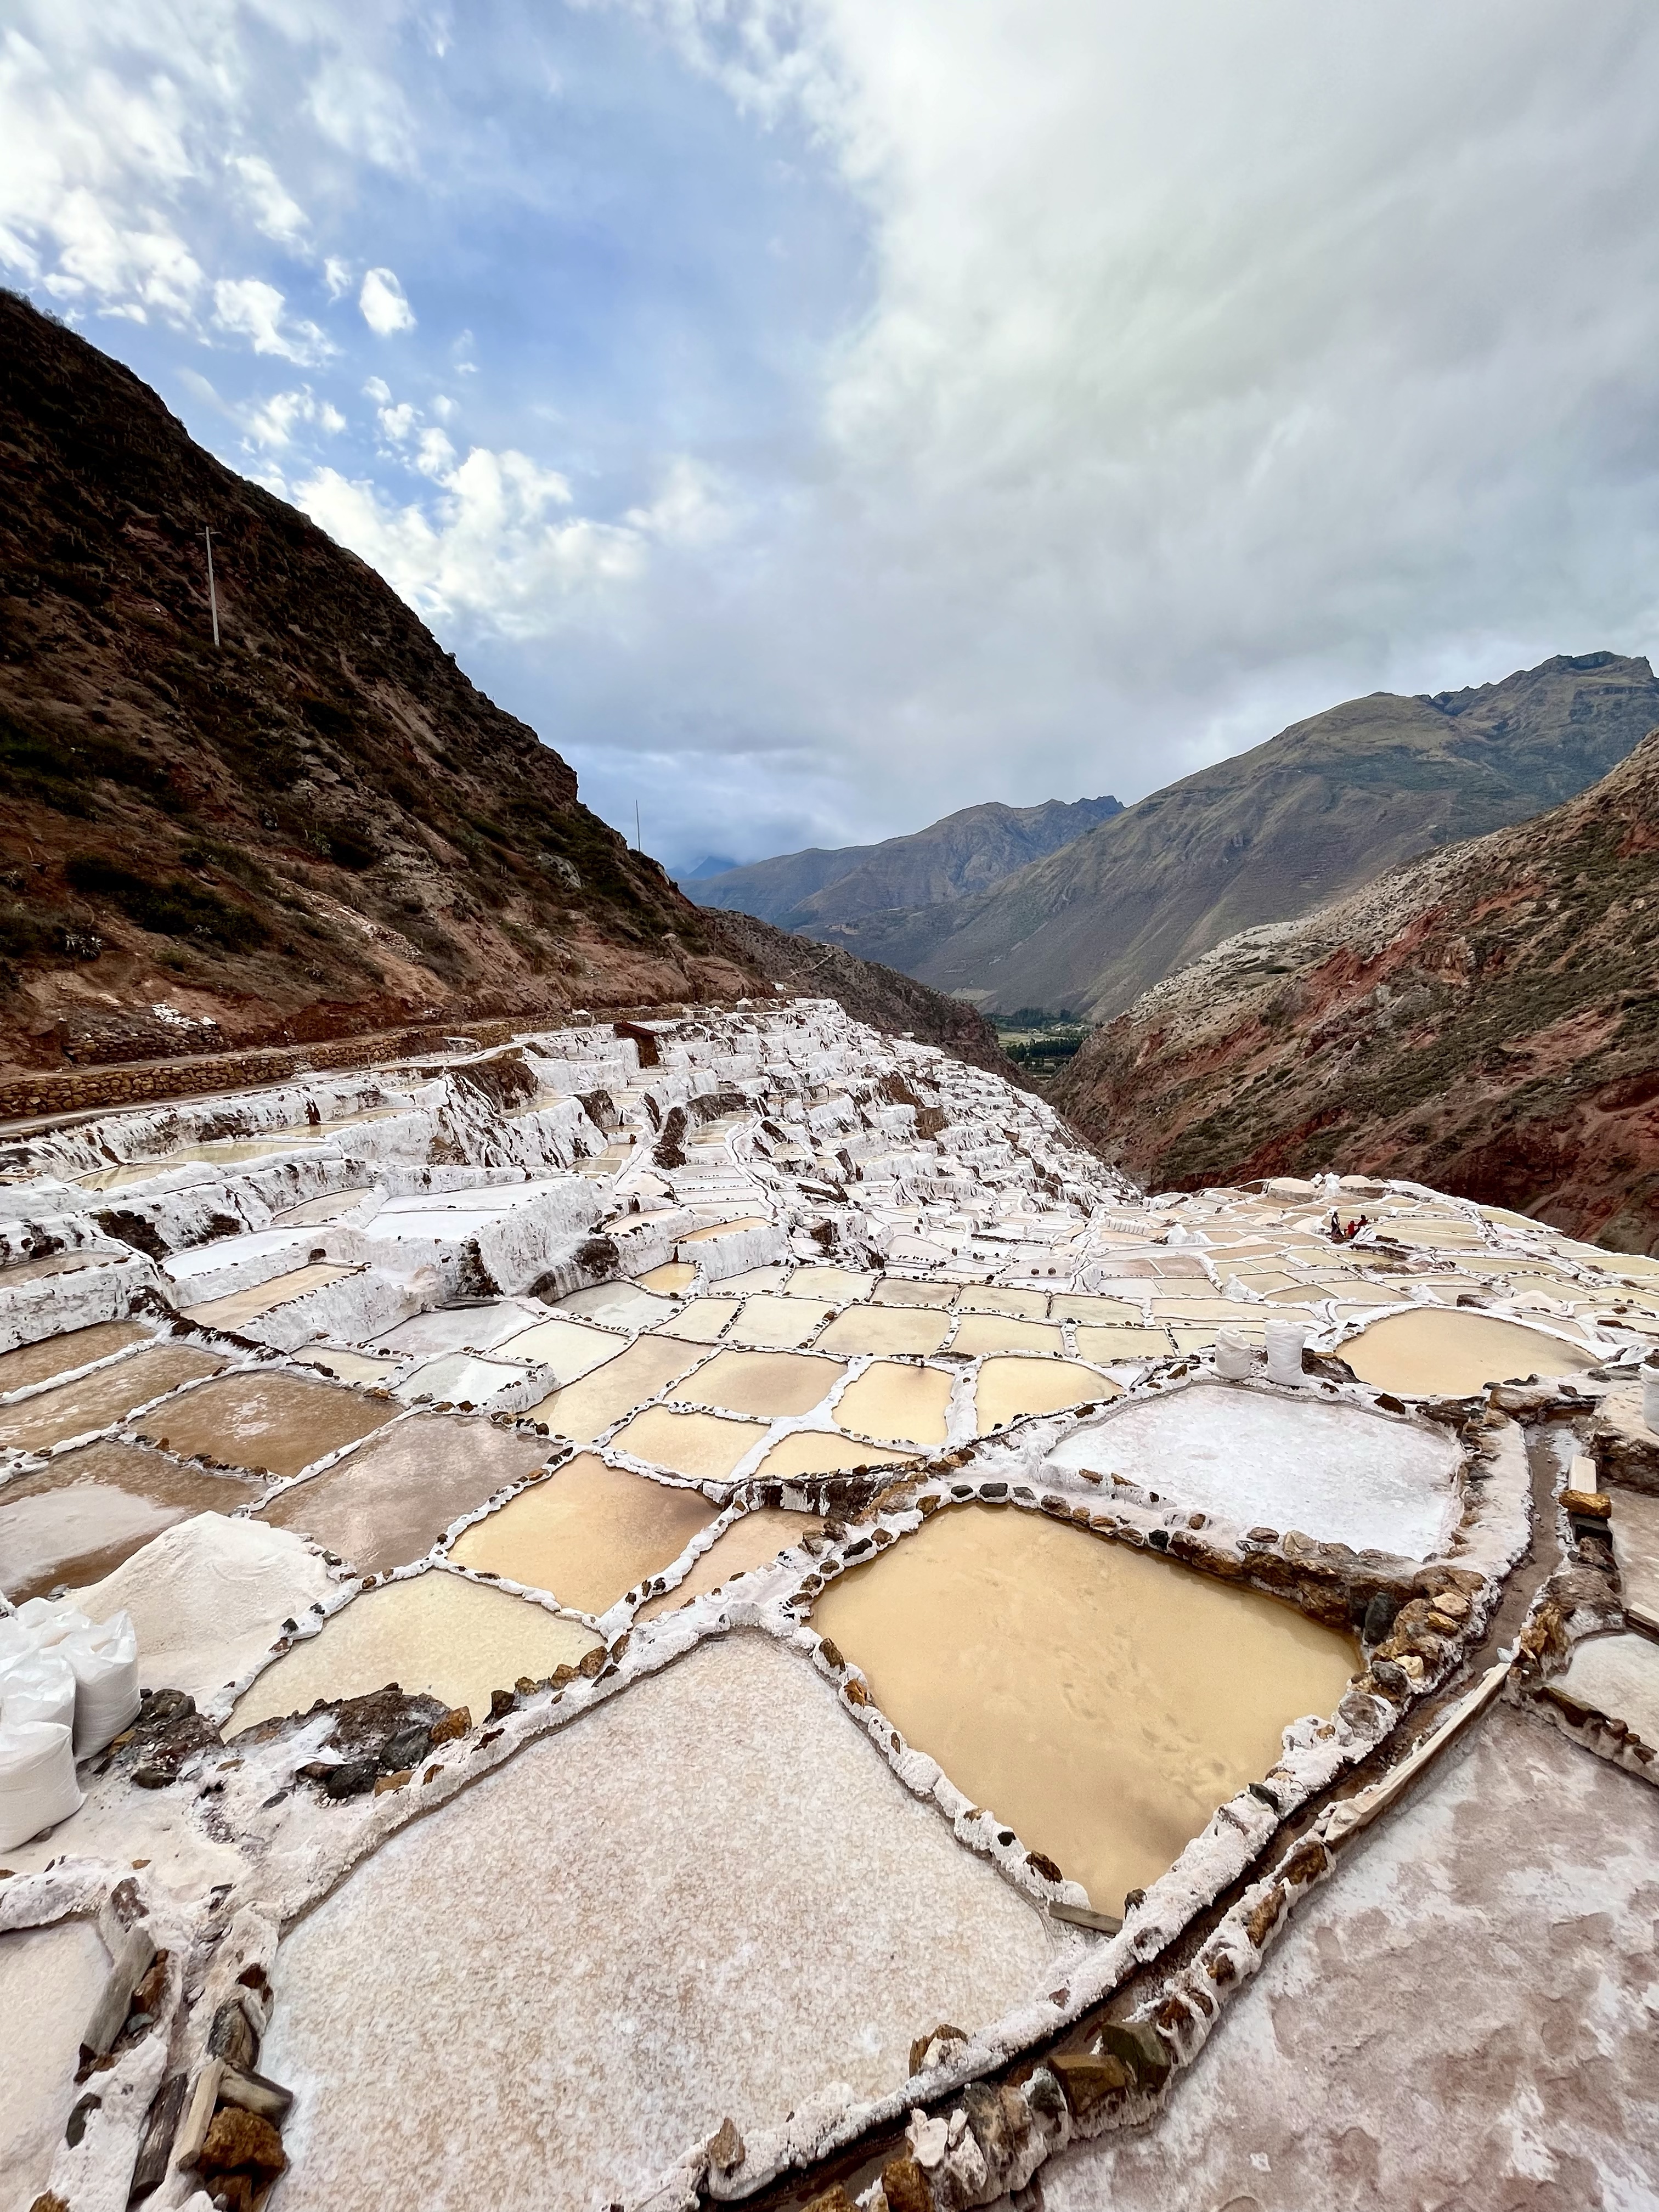
Up next, the salt mines!
We couldn’t visit the salt mines via ATV; the route is a bit too dangerous for that, given it’s a winding road into a valley. So, we returned the ATVs and hopped on a bus for this part.
The salt mines are indeed a functioning business. Locals own the various salt flats, mine the salt by hand, and carry it out on their own! The salt comes from a saltwater stream from the mountain behind the mines, but the true source of the water is unknown. And according to our guide, it has purposefully not been look for for fear of disrupting it or providing other areas with the source location and, therefore, access to it. They produce three main types of salt here: white, pink, and brown. The white is your standard table salt, the pink is the famous one, and the brown isn’t for consumption (it’s mostly for agriculture or spa/bath treatments). The different salts vary based on the amount of nutrients and are harvested from different layers in the salt pool.
People working their salt pool.
We left with some smoked pink salt, which was incredible and very potent! You could smell the smokey flavor through the plastic bags!
The Sacred Valley is huge, and this was only a taste of the things to see in this area. But we were primarily here for one thing: Machu Picchu! More on that next. 🙂
It’s hard to believe, but by the time you’re reading this, we will officially have less than a month left in Ecuador! Two+ years here have simultaneously flown by and gone slowly, but that’s for another post.
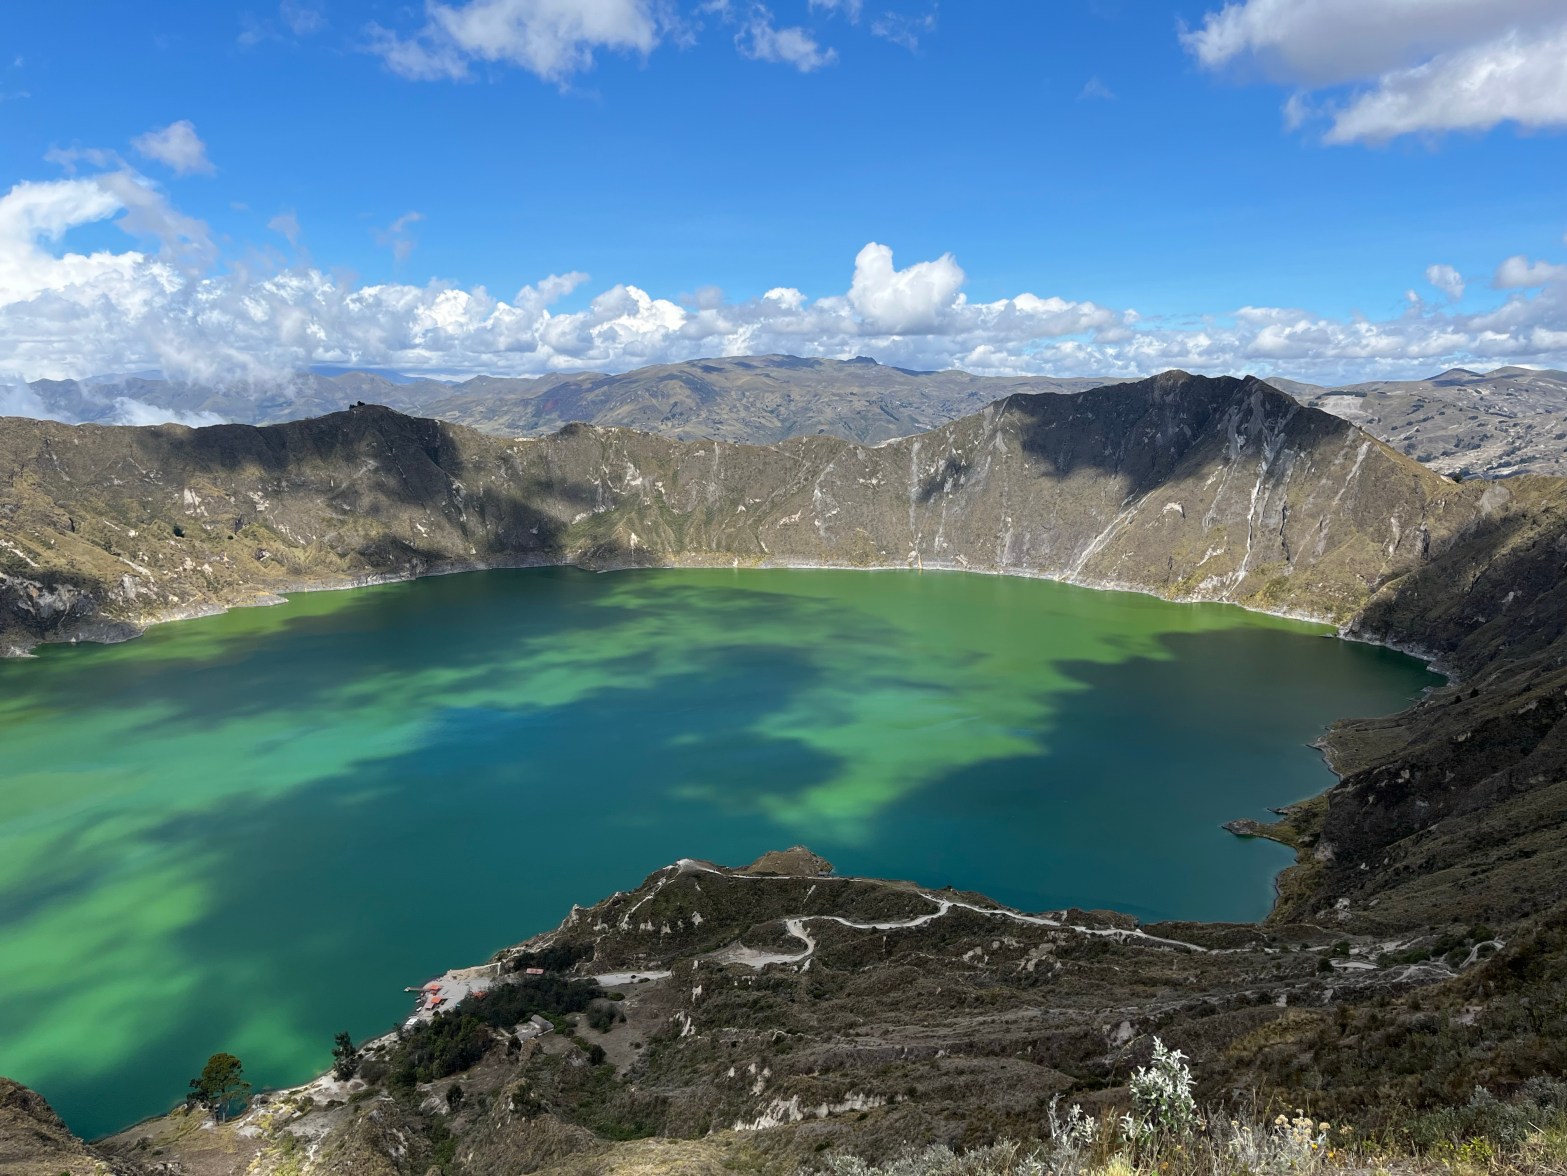
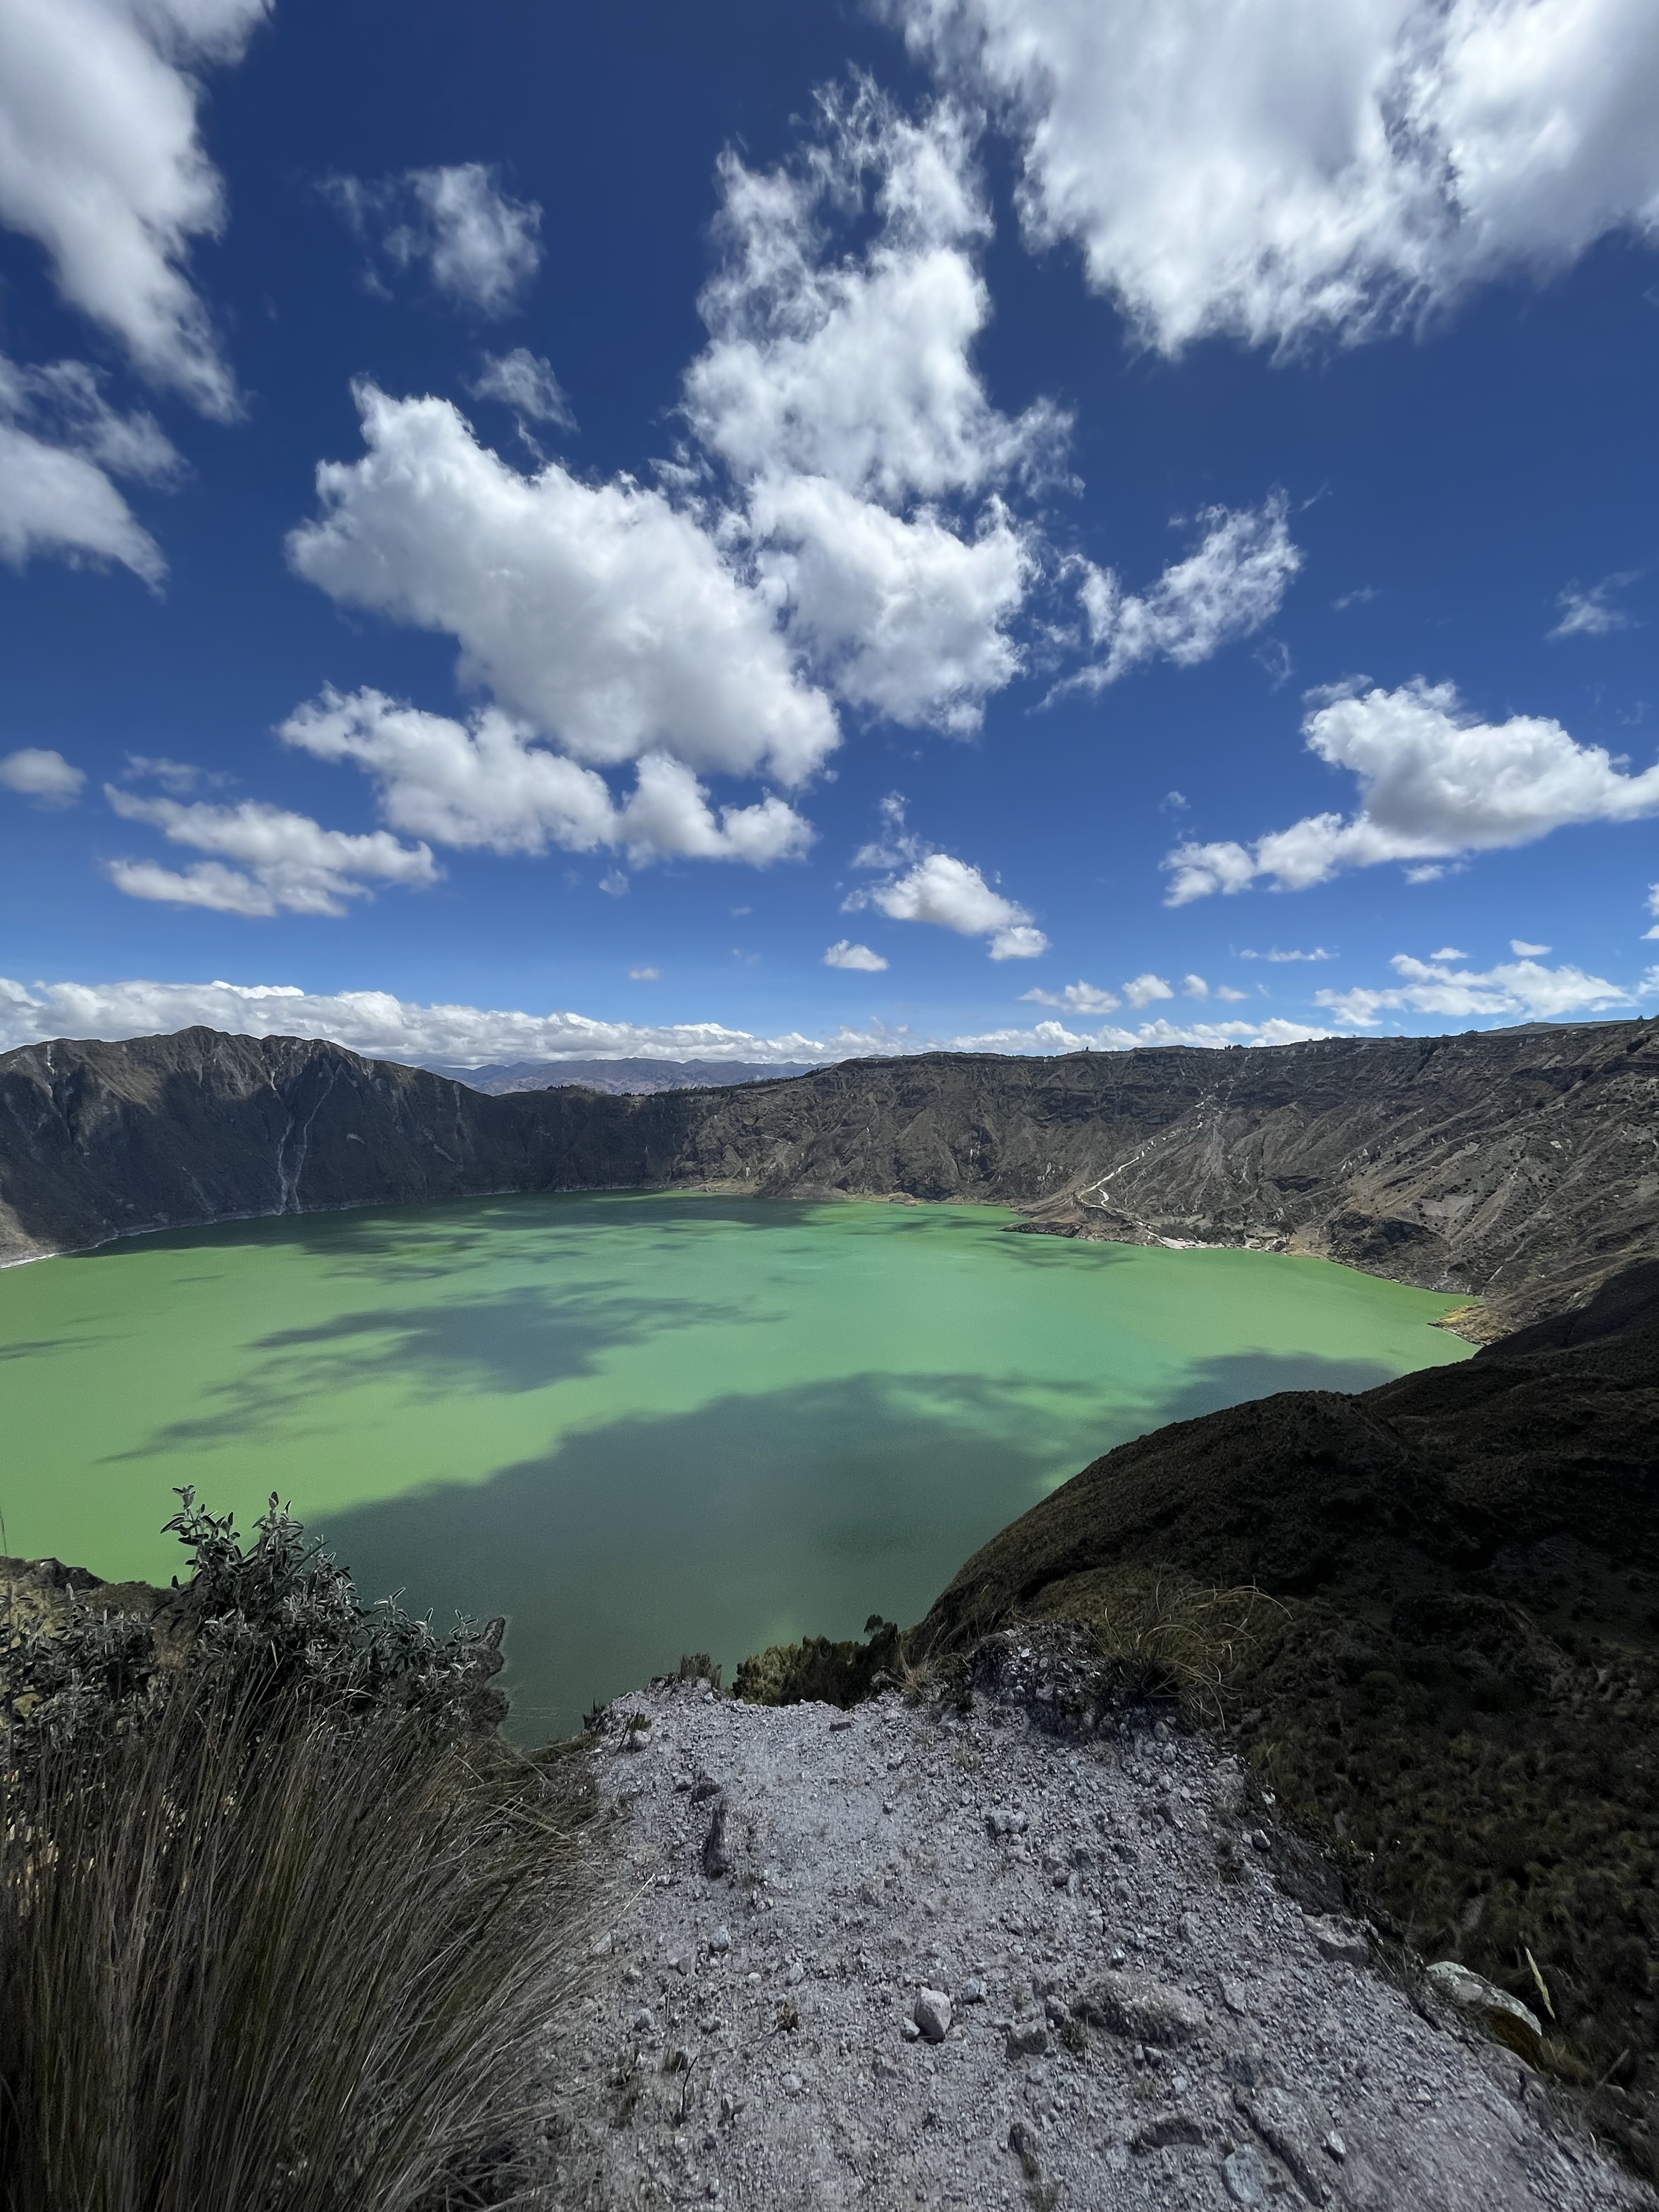
I’ve been to Quilotoa before when my friend Mary Beth visited, but it was only a day trip. Since then, hiking the Quilotoa Loop has been on my Ecuador bucket list. In fact, we were supposed to go for our anniversary back in September, but the butterflies dictate the schedule. So, here we are, two months late but doing it nonetheless!
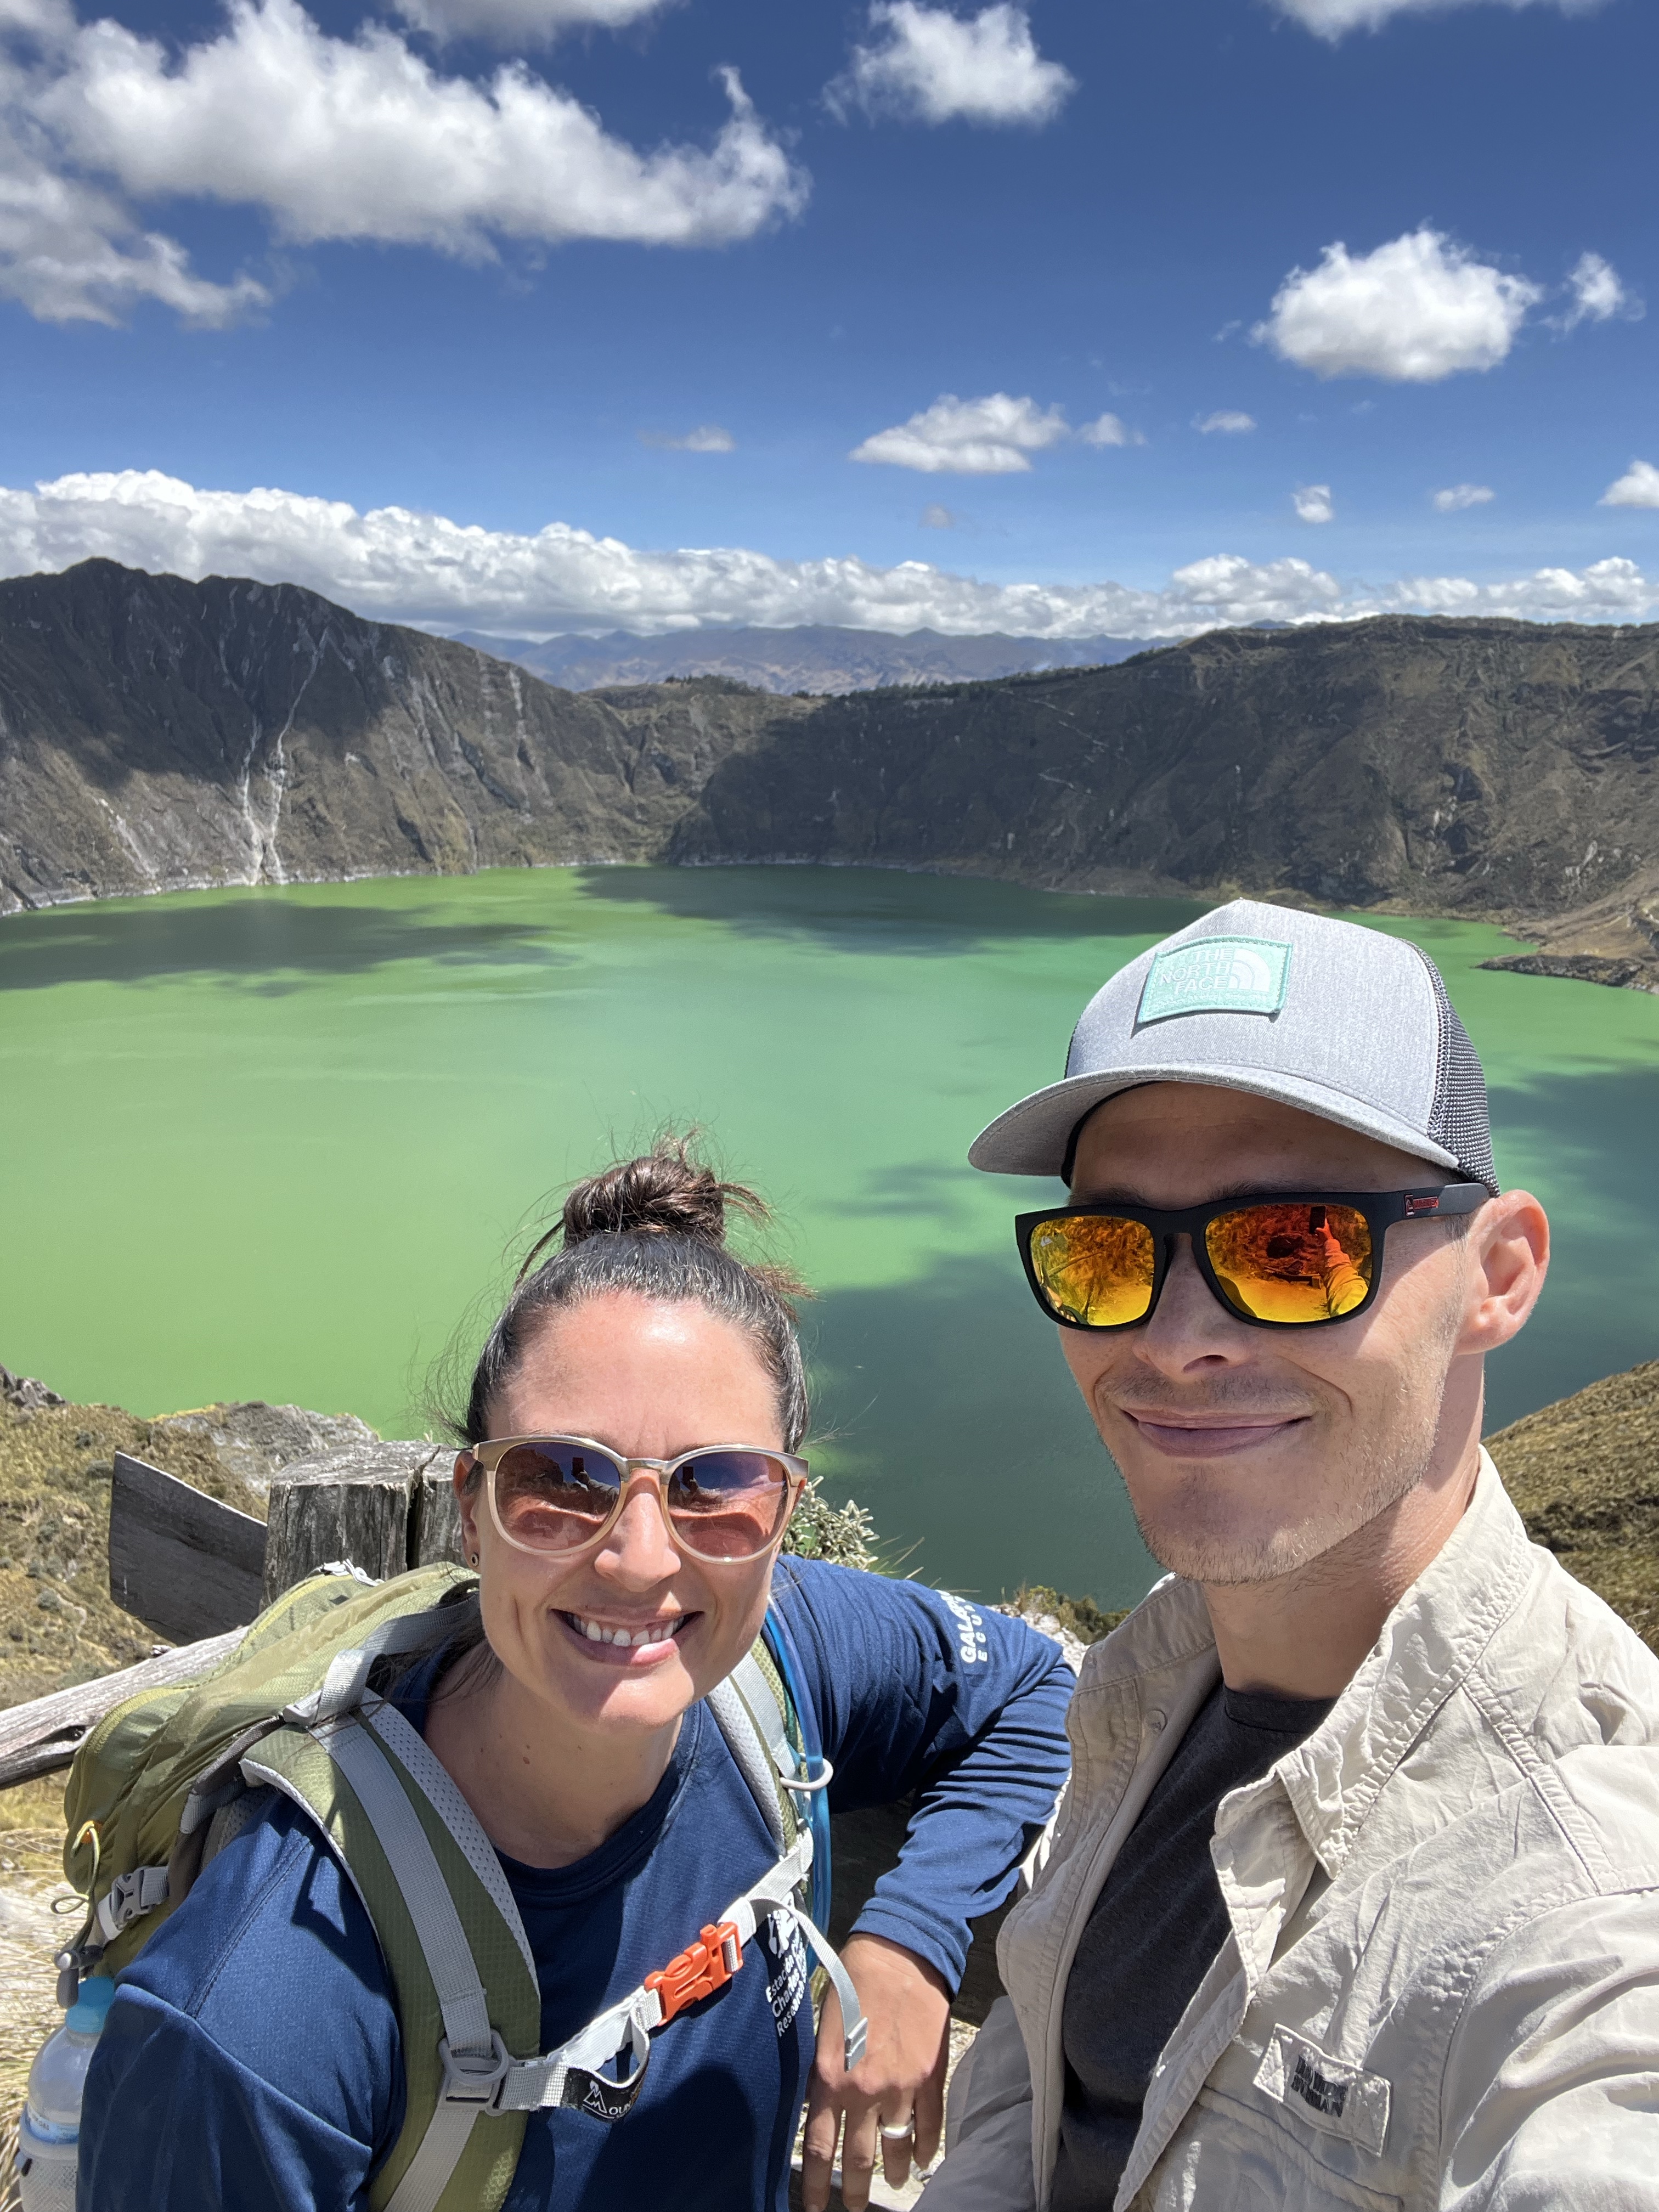
Quilotoa lake.
The name Quilotoa Loop is a bit misleading because the hiking route is not a loop at all. The “loop” starts and ends in the city of Latacunga, with a 2-hour bus ride on both sides of the hiking portion.
We used this detailed description by Chasing Advntr, so I won’t go into too much trail detail. However, a few points:
Download offline maps and check them frequently. You WILL get lost. Two hostels have marked the trail in yellow/red and blue (less frequent), and signs exist along the route to point you in the right direction. Yet, the trail wasn’t marked at some key intersections. The hostels also offer trail maps/descriptions, but they are sometimes confusing. So, offline maps are key for getting back onto the correct trail. We used maps.me (use walking directions from hostel to hostel), but AllTrails also has a version of the hike.
Bring snacks! The hostels offer a box lunch ($3 per person), which comes with water, a sandwich, chips, and fruit. But you’re hiking at elevation, which made me more hungry. So, I recommend extra snacks.
Bring sunscreen and long sleeves. The sun is strong, but the wind is cold. We brought light long sleeves for at night (which does get chilly) and as sun protection. In my experience, you burn much faster here, so be prepared! We also brought raincoats, but luckily, we didn’t need them (in November).
You can take your time. The longest hike is the last day, ranging between 5-6 hours. Walking slowly (out of necessity, ha), we finished in 5.5 hours, at ~14:30, including three longer breaks for snacks/lunch. So, you can take your time on the trail. Once you’re at the hostel, there’s not much to do given the size of the villages. So, enjoy the hike!
It’s an inexpensive trip. The bus from Quito to Latacunga and the rides on either end of the hike are $2.50 per person, and the hostels are ~$40 for two, including dinner and breakfast. The rest of your expenses are box lunches ($3 pp), extra snacks, and your Latacunga hotel cost. We spent ~$200 total for this 5-day (2 travel days, 3 hiking days) adventure.
Various signs on the route.
On to the good stuff, the pictures!
Day 1: Sigchos to Isinliví
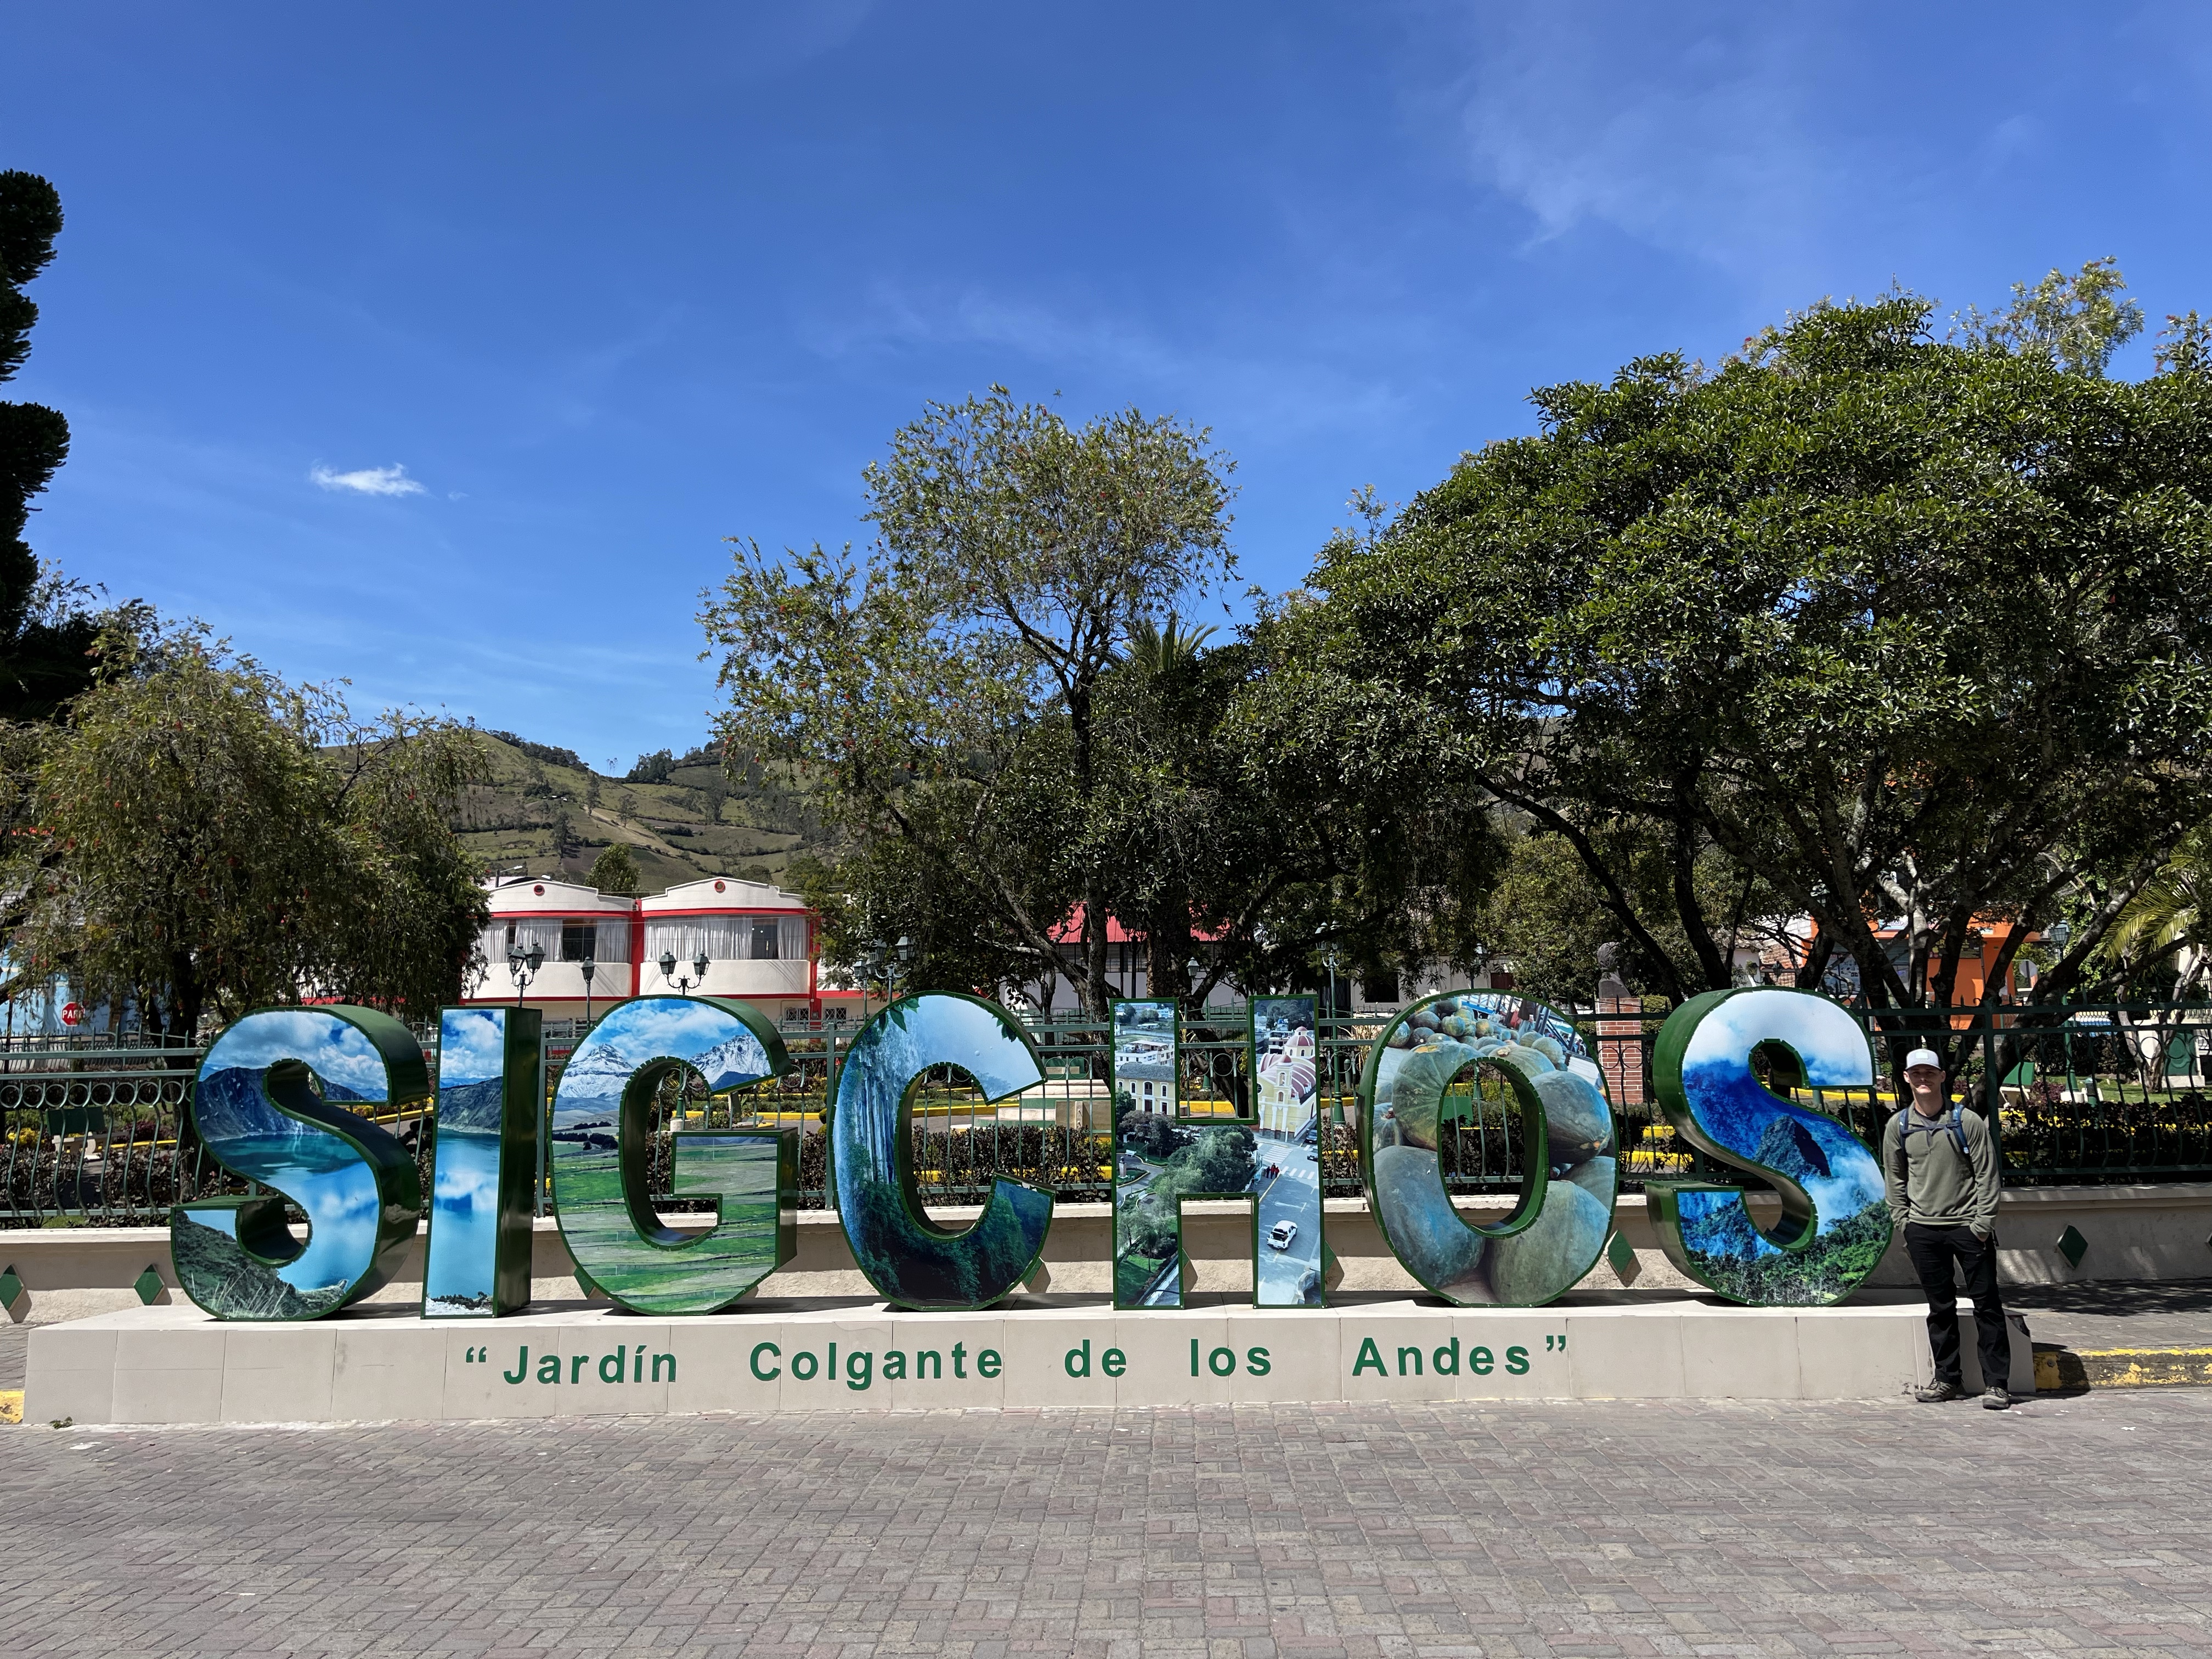
Sigchos, Ecuador
The bus from Latacunga to Sigchos leaves from the Terminal Terrestre at 5, 6, and 8 am, then nearly every hour on the hour from 10 am. We chose the 8 am bus to make sure we had plenty of time, but we ran into people who took the 10 and 11 am buses, and they also arrived with plenty of daylight left. So, it’s personal preference!
And, FYI. You can buy your tickets ahead of time at the counter or just hop on the bus and pay in cash on the way. This applies to all buses in Ecuador. Just be sure to have semi-exact change (for example, they likely won’t be able to break a $20 for $5 bus fare).
Finding the start of the trail is easy; it has been marked on maps.me, and is well-signed (head towards the Starlight Inn).
The start of the trail!Descending into the valley.
As I mentioned before, we were following the map and the written directions from Chaising Adventr, and here is where we first messed up. The directions were:
“As you follow the road downhill you will get to a bridge across the river – the best hiking trail from here turns right just before the bridge and follows the river on the west side of the river.”
Two things. First, we weren’t paying attention. We got to the bridge and just kept on walking, not stopping to check the maps. Second, the trail is not marked at this intersection, or if it is, we didn’t see the marker. Consequently, we walked the road to Isinliví and missed the trail, which was fine–we got where we needed to go, but we missed an entire section!
The views from the road weren’t terrible.
Second, we noticed an error.
“At the top of the hill you will reach a road. Turn left for a short distance and then follow the trail to the right to Isinlivi. The walk on the road is about 1.5 km.“
You should turn right at the top of the hill and follow the road for a short distance. The trail to the right to Isinliví is marked. However, we also missed this trail since we didn’t realize we should follow the red/yellow blazes at this point. 🤦♀️
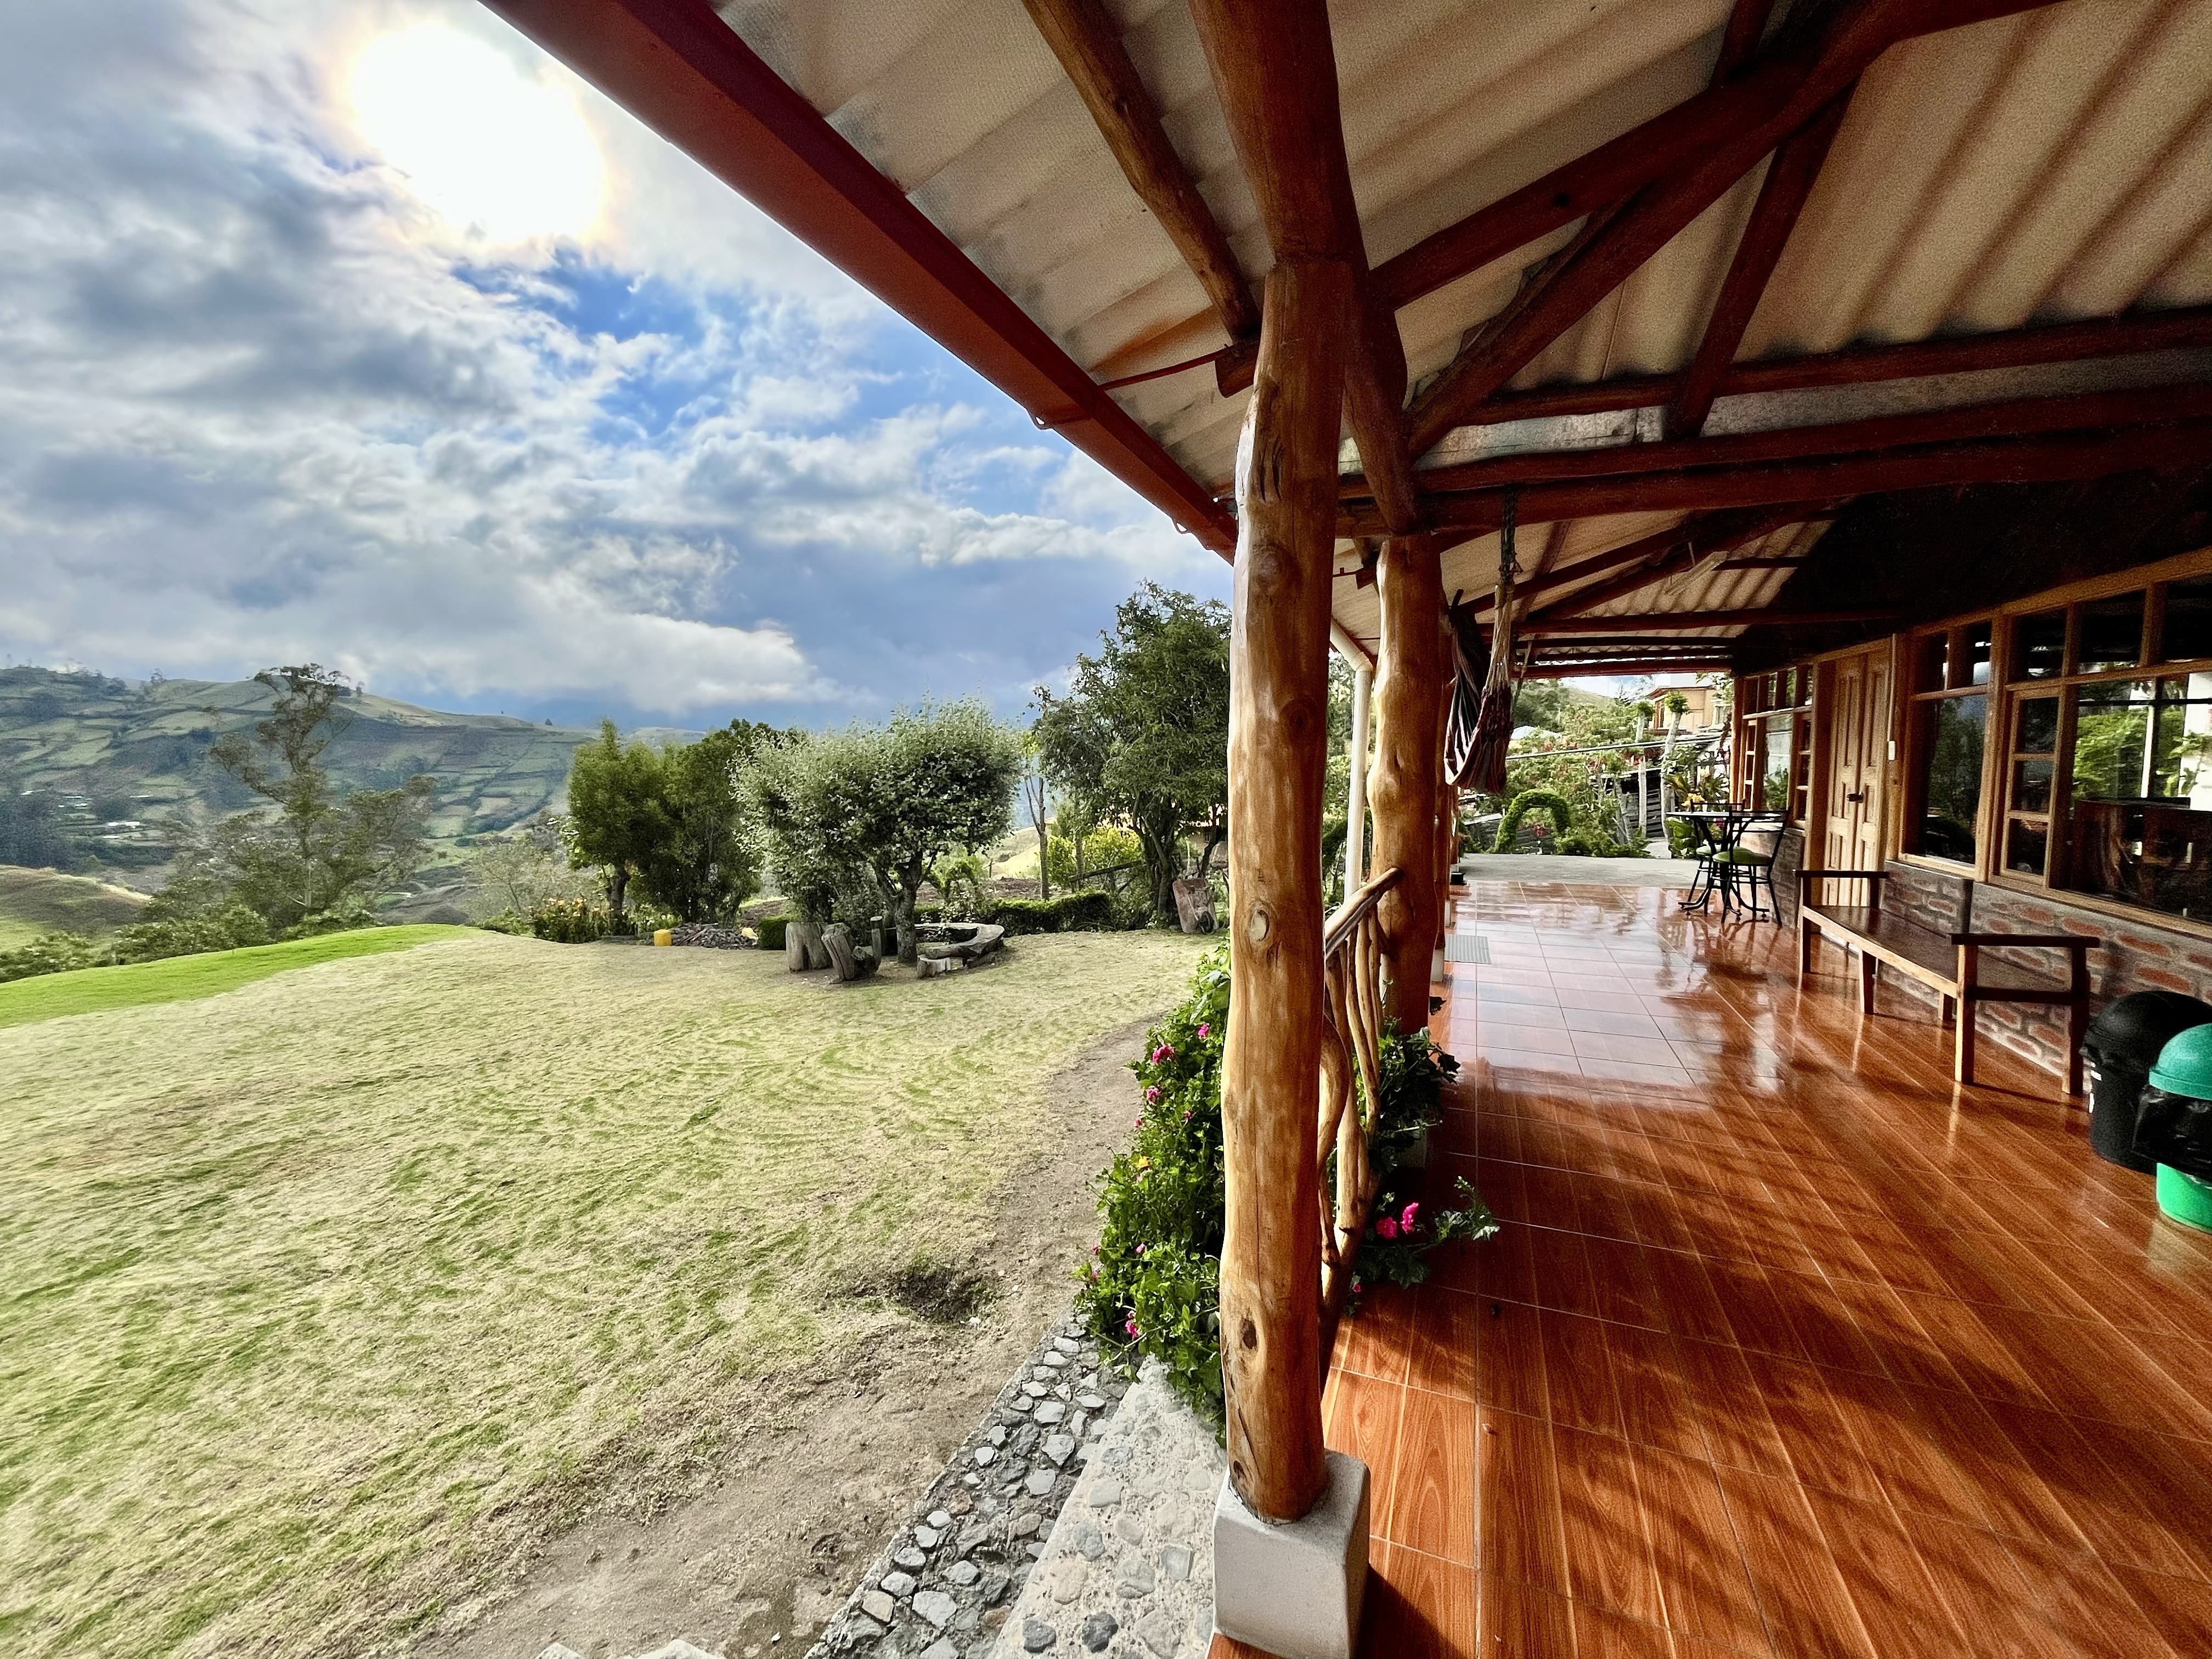
Nonetheless, we made it! There are exactly two hostal options in the sleepiest town I think I’ve ever seen: Hostal Taita Cristobal and Llullu Llama Mountain Lodge. We stayed at Hostal Taita Cristobal, which has very photogenic on-site llamas if that affects your decision.
Hostal Taita Cristobal
Day 1 Summary:
Distance: ~11 km / 7 miles
Time: 4 hours (suggested time: 3–5 hours)
Day 2: Isinliví to Chugchilán
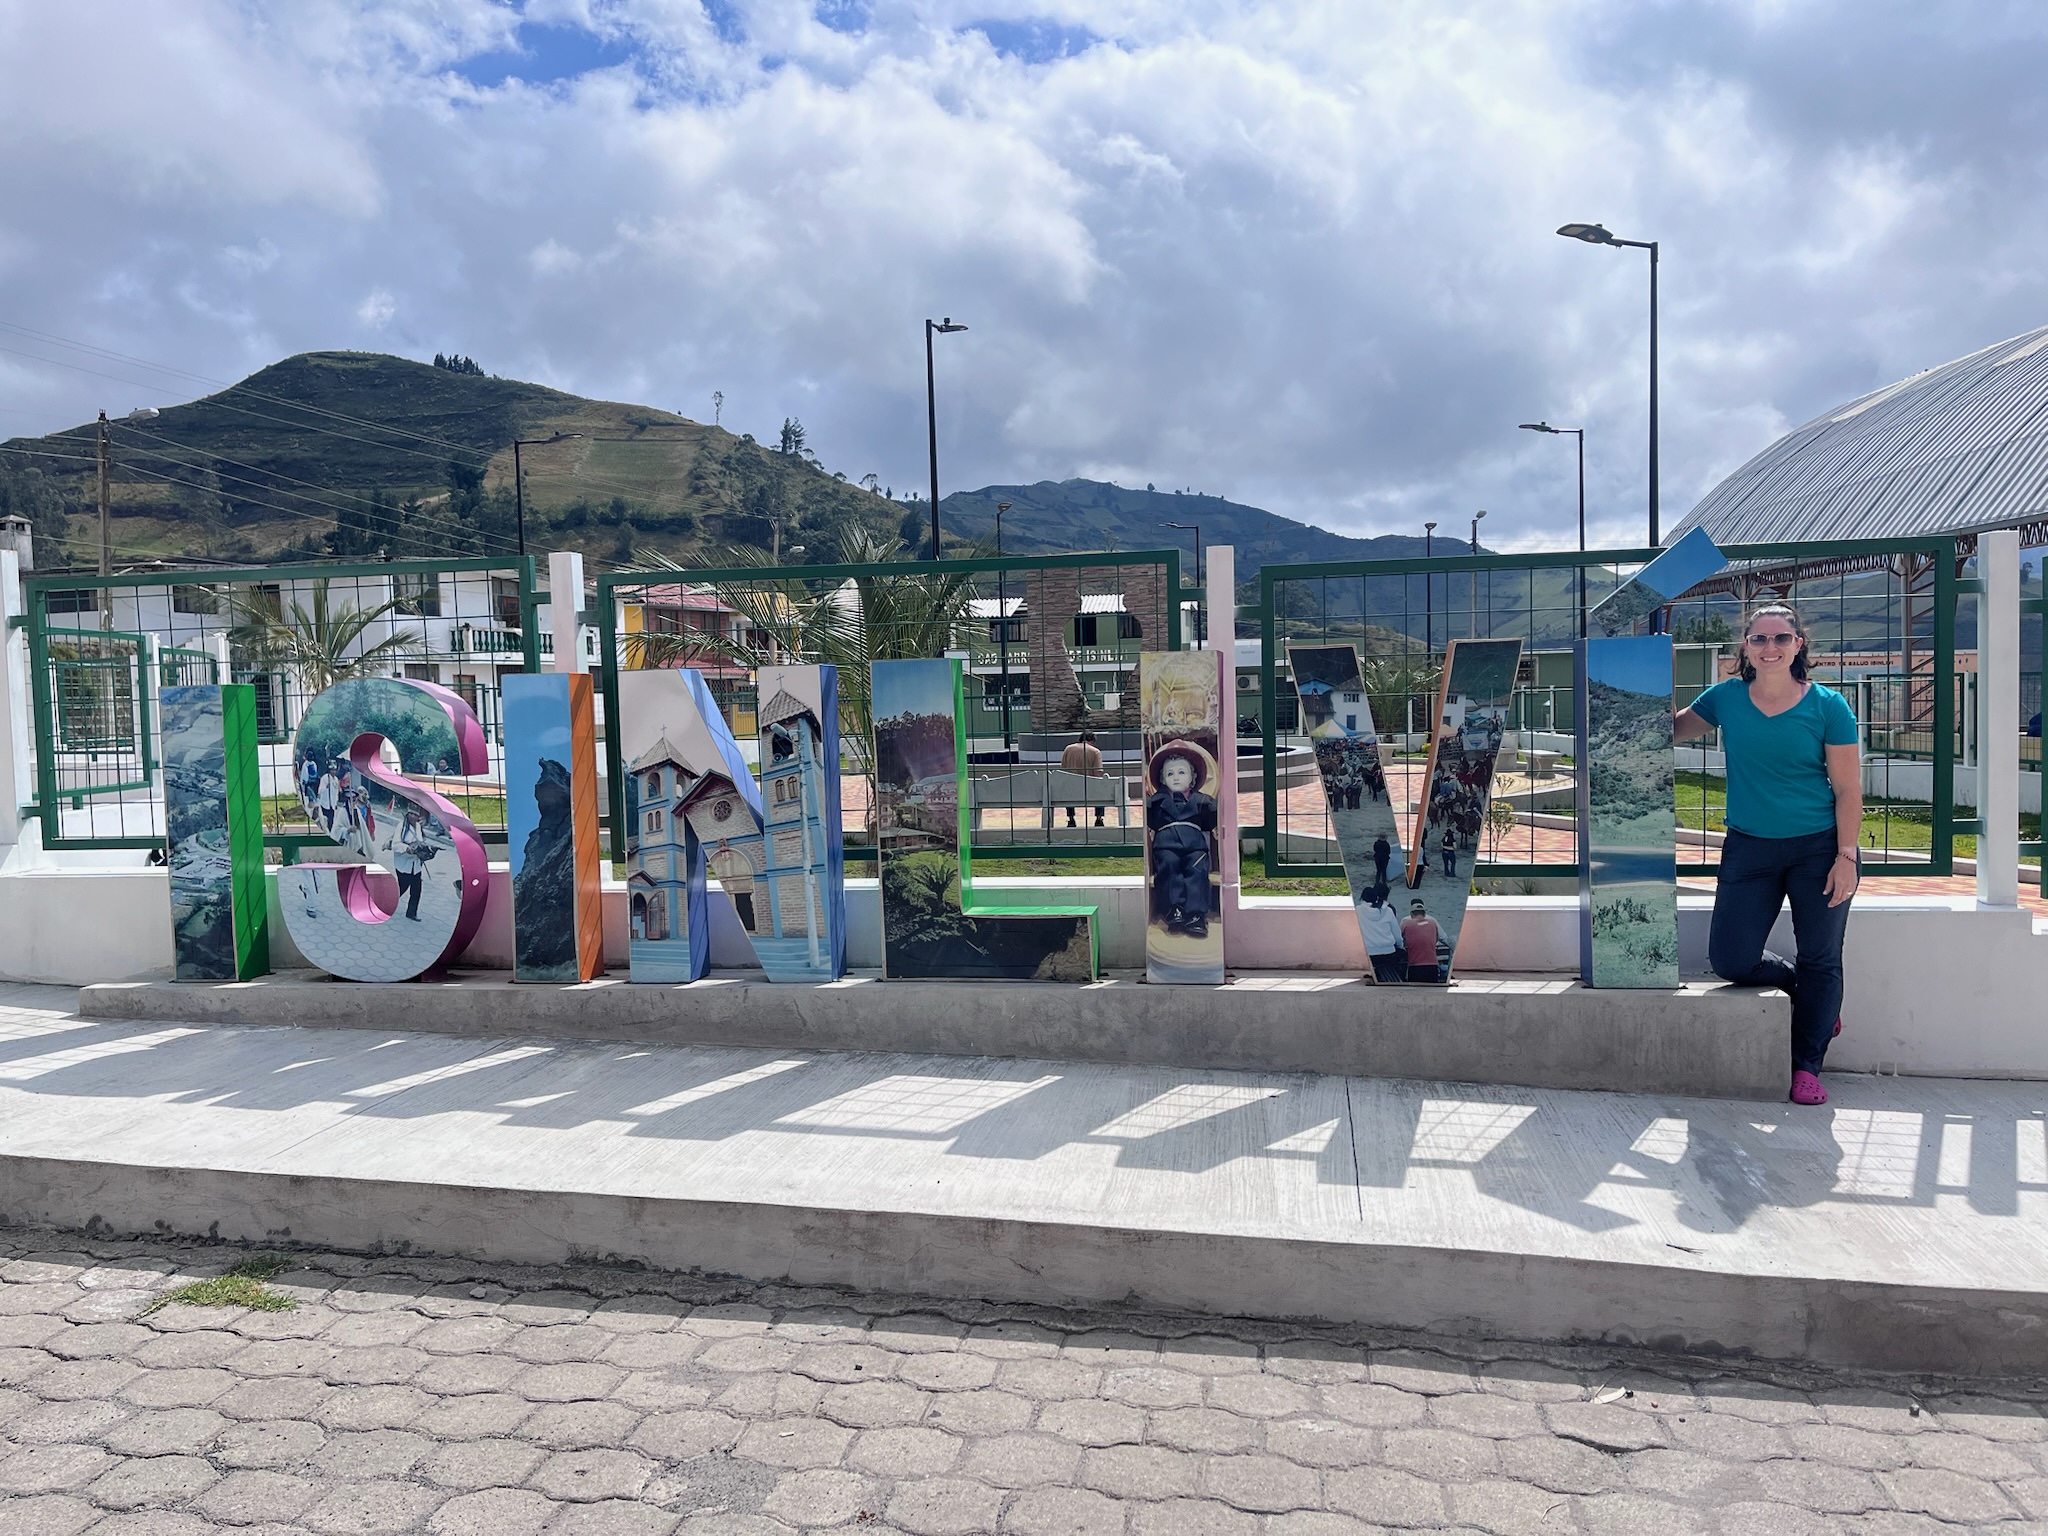
Isinliví, Ecuador
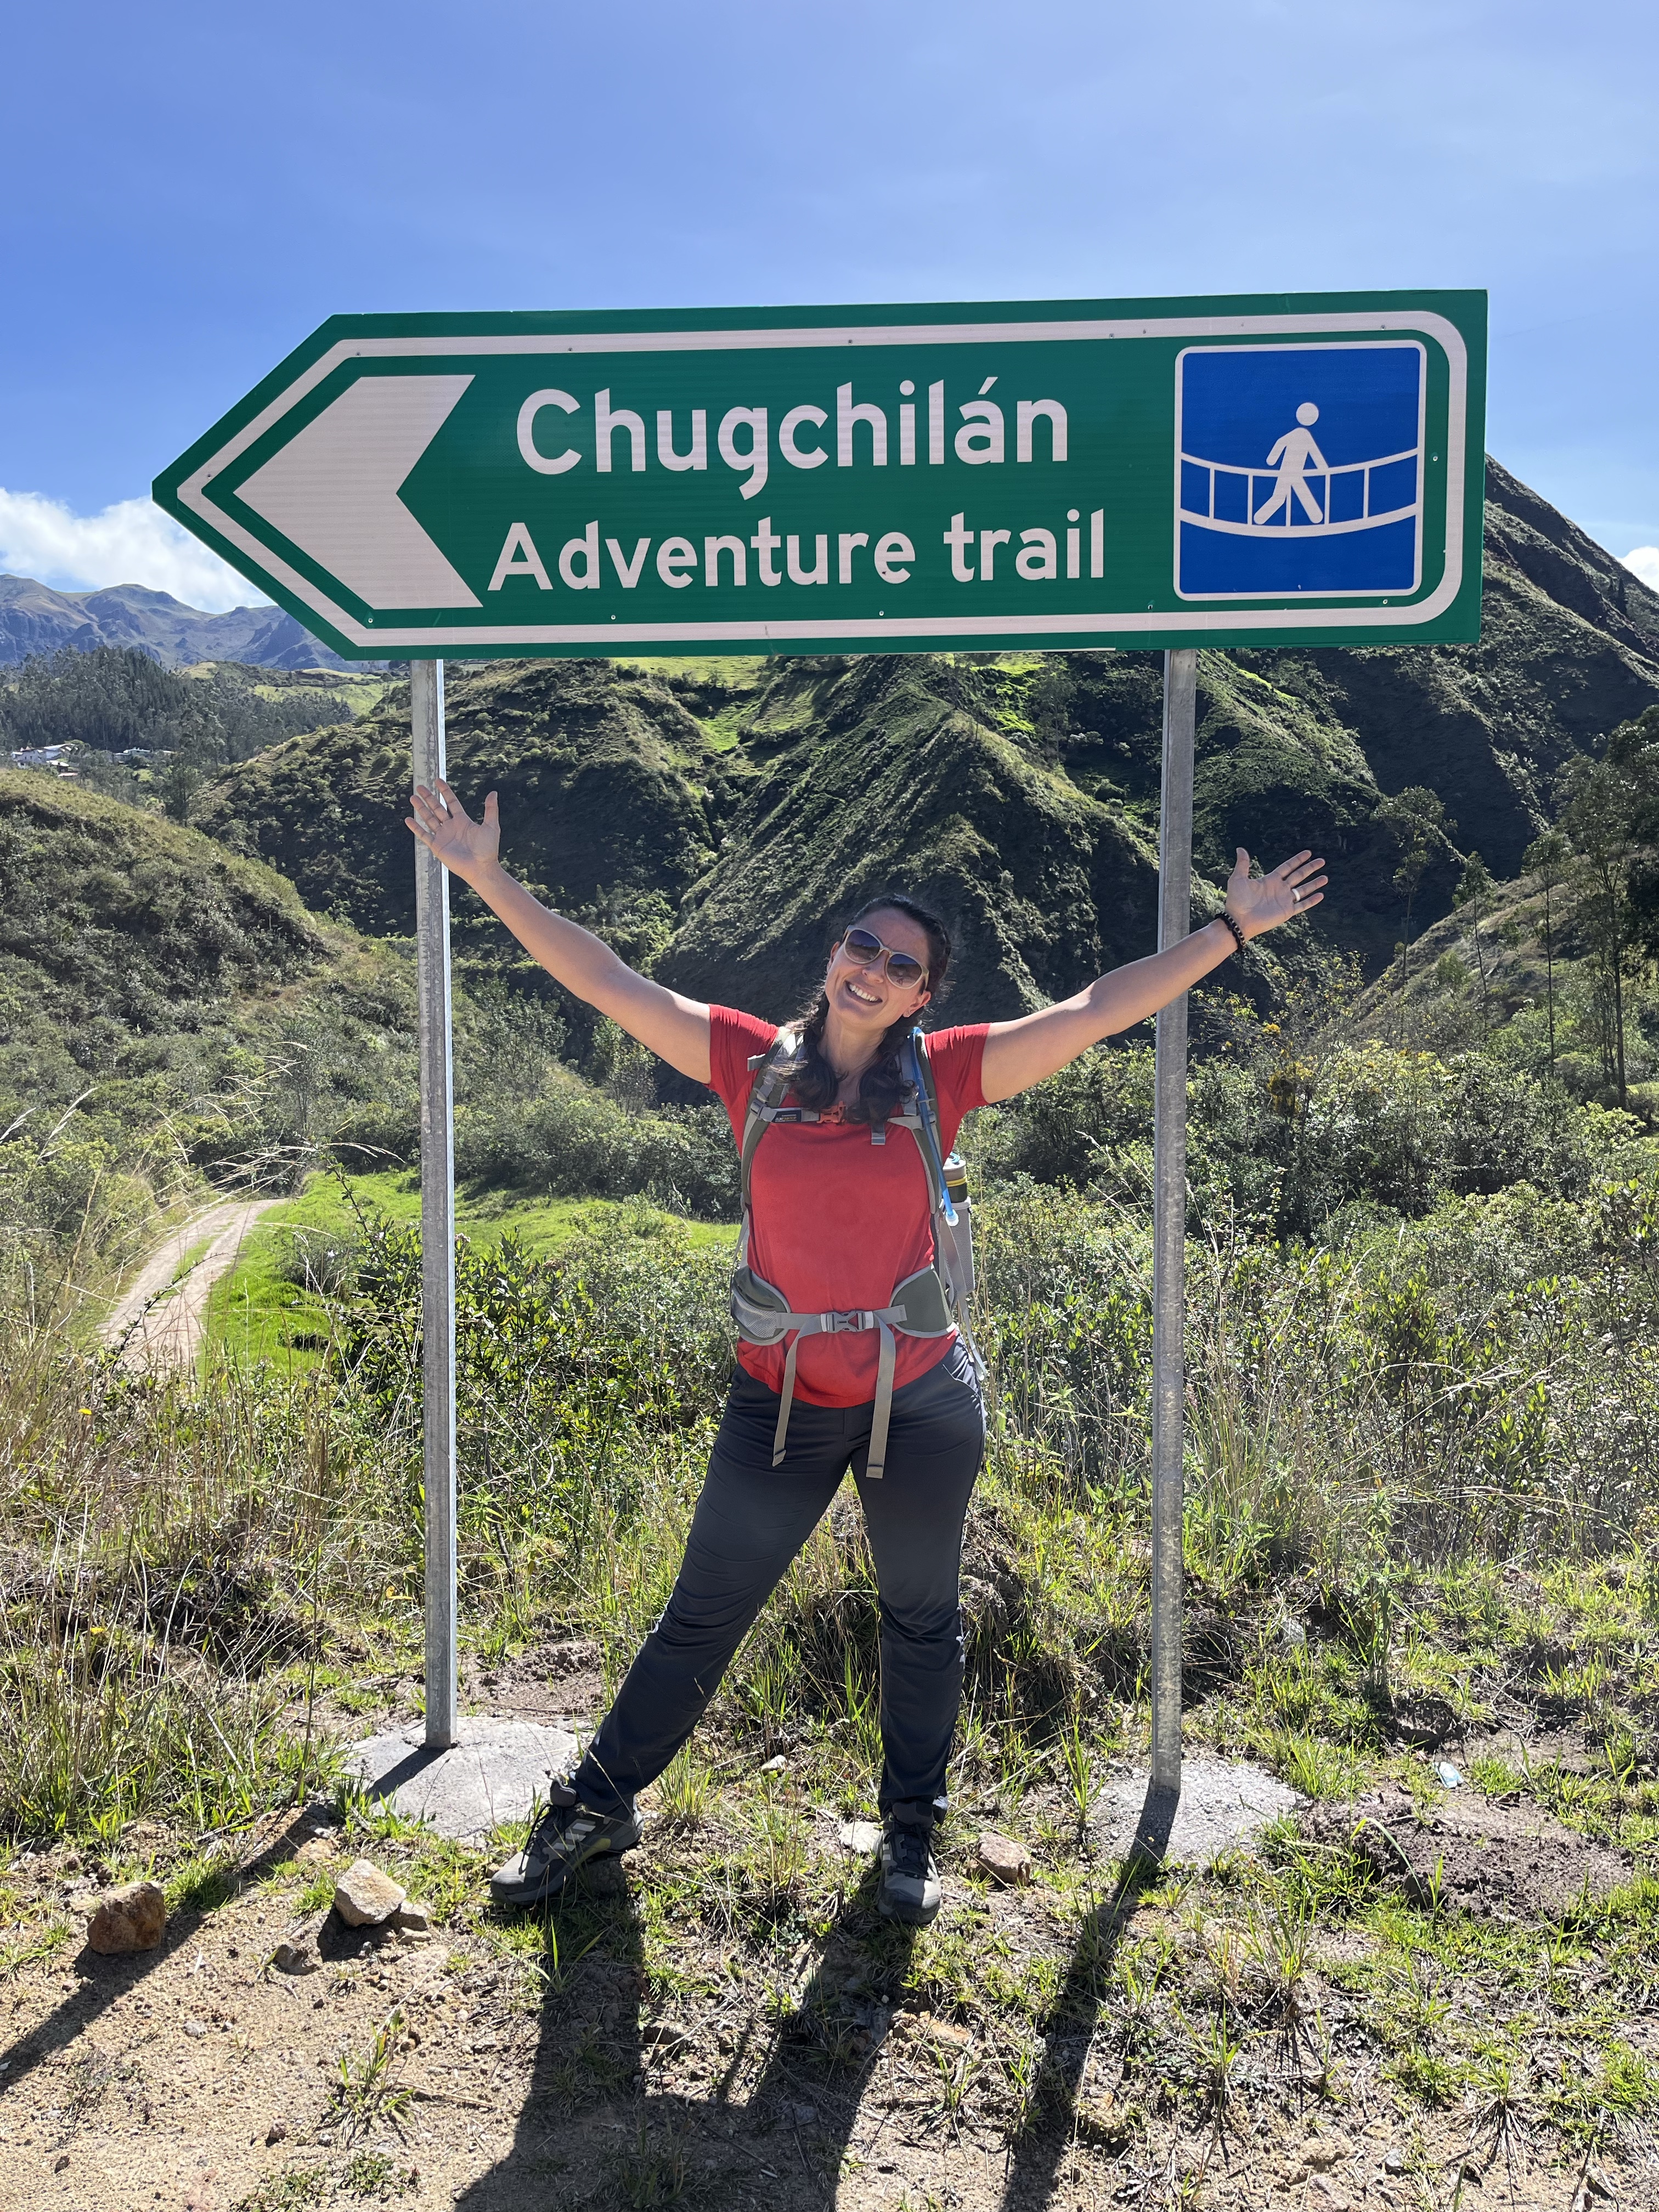
We left Isinliví after breakfast, ~9 am. Again, the start of the trail is easy to find since it’s directly behind the hotel! The day starts with a deceivingly easy walk into the valley, where you have two options: the “safe” route or the “adventure” route. Naturally, we chose the adventure route.
Ready for adventure!
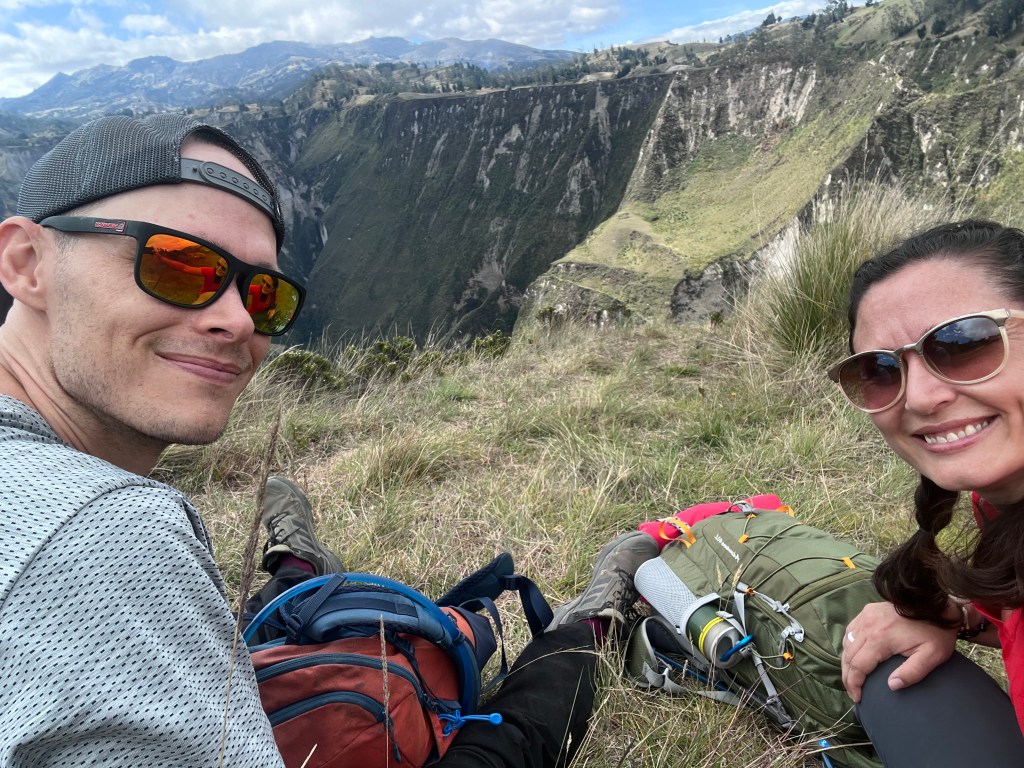
Remember how I said you would get lost? Well, we did it again. We came to an intersection with one way blocked by a fence and the other open. What would you do? We took the open path and scrambled to the top of this particular cliff, only to realize we should have read the written directions again, which clearly stated to take the trail down to the river. 🤦♀️ Well, jokes on them (whoever them is) because we had a lovely snack break with a sweeping view (and then backtracked to the correct trail).
The view from our detour.The route we should have taken, behind the fence.
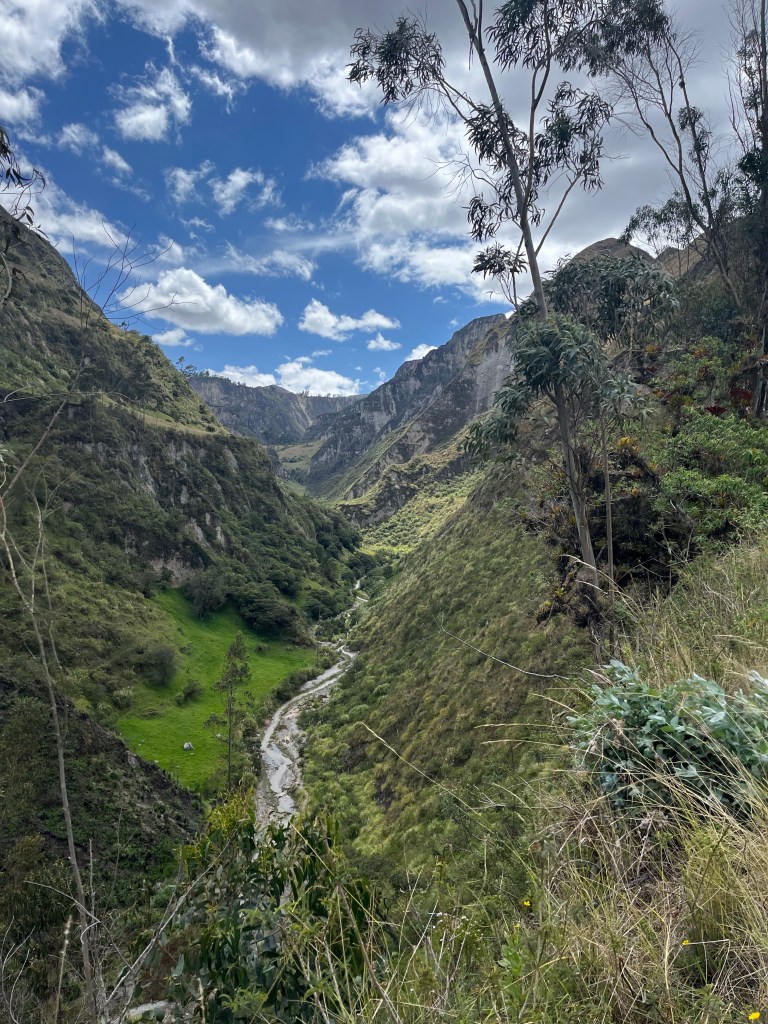
The safe and adventure trails meet about halfway but split again after that. We chose to stick with the adventure trail, which continues on the other side of the village of Itualo (the safe trail continues before entering the village) and takes you into the Toachi Canyon. This hike was definitely more challenging and adventurous in that some areas were exposed, and there were some drop-offs, but the views were worth it!
Of note, we also got lost here, again, owing to an unmarked intersection. Once you reach the top of the hill (trust me, you’ll know which hill), you can turn left and continue up or go straight and start descending. At this point, Shane checked the map, which indicated we should take the trail up to the left instead of straight and down. So, we started walking, and the GPS indicated that we were on the trail, until suddenly we weren’t… by a lot.
The plus side is there are tons of trails to choose from since the locals frequently walk the area. So, we pointed ourselves toward the official path and ended up back on the correct trail without much effort or time lost. However, this final part of the trail was one of the hardest sections of the entire day since it was essentially a straight shot up out of the canyon. You’ve been warned!
We stayed at the Hostal Cloud Forest, but there are several other options in Chugchilán. For example, Hostal el Vaquero looked nice from the outside and seemed to have a better mountain view than Hostel Cloud Forest.
Day 2 Summary:
Distance: ~14 km / 8.5 miles
Time: 5 hours (suggested times: 4–6 hours)
Day 3: Chugchilán to Quilotoa
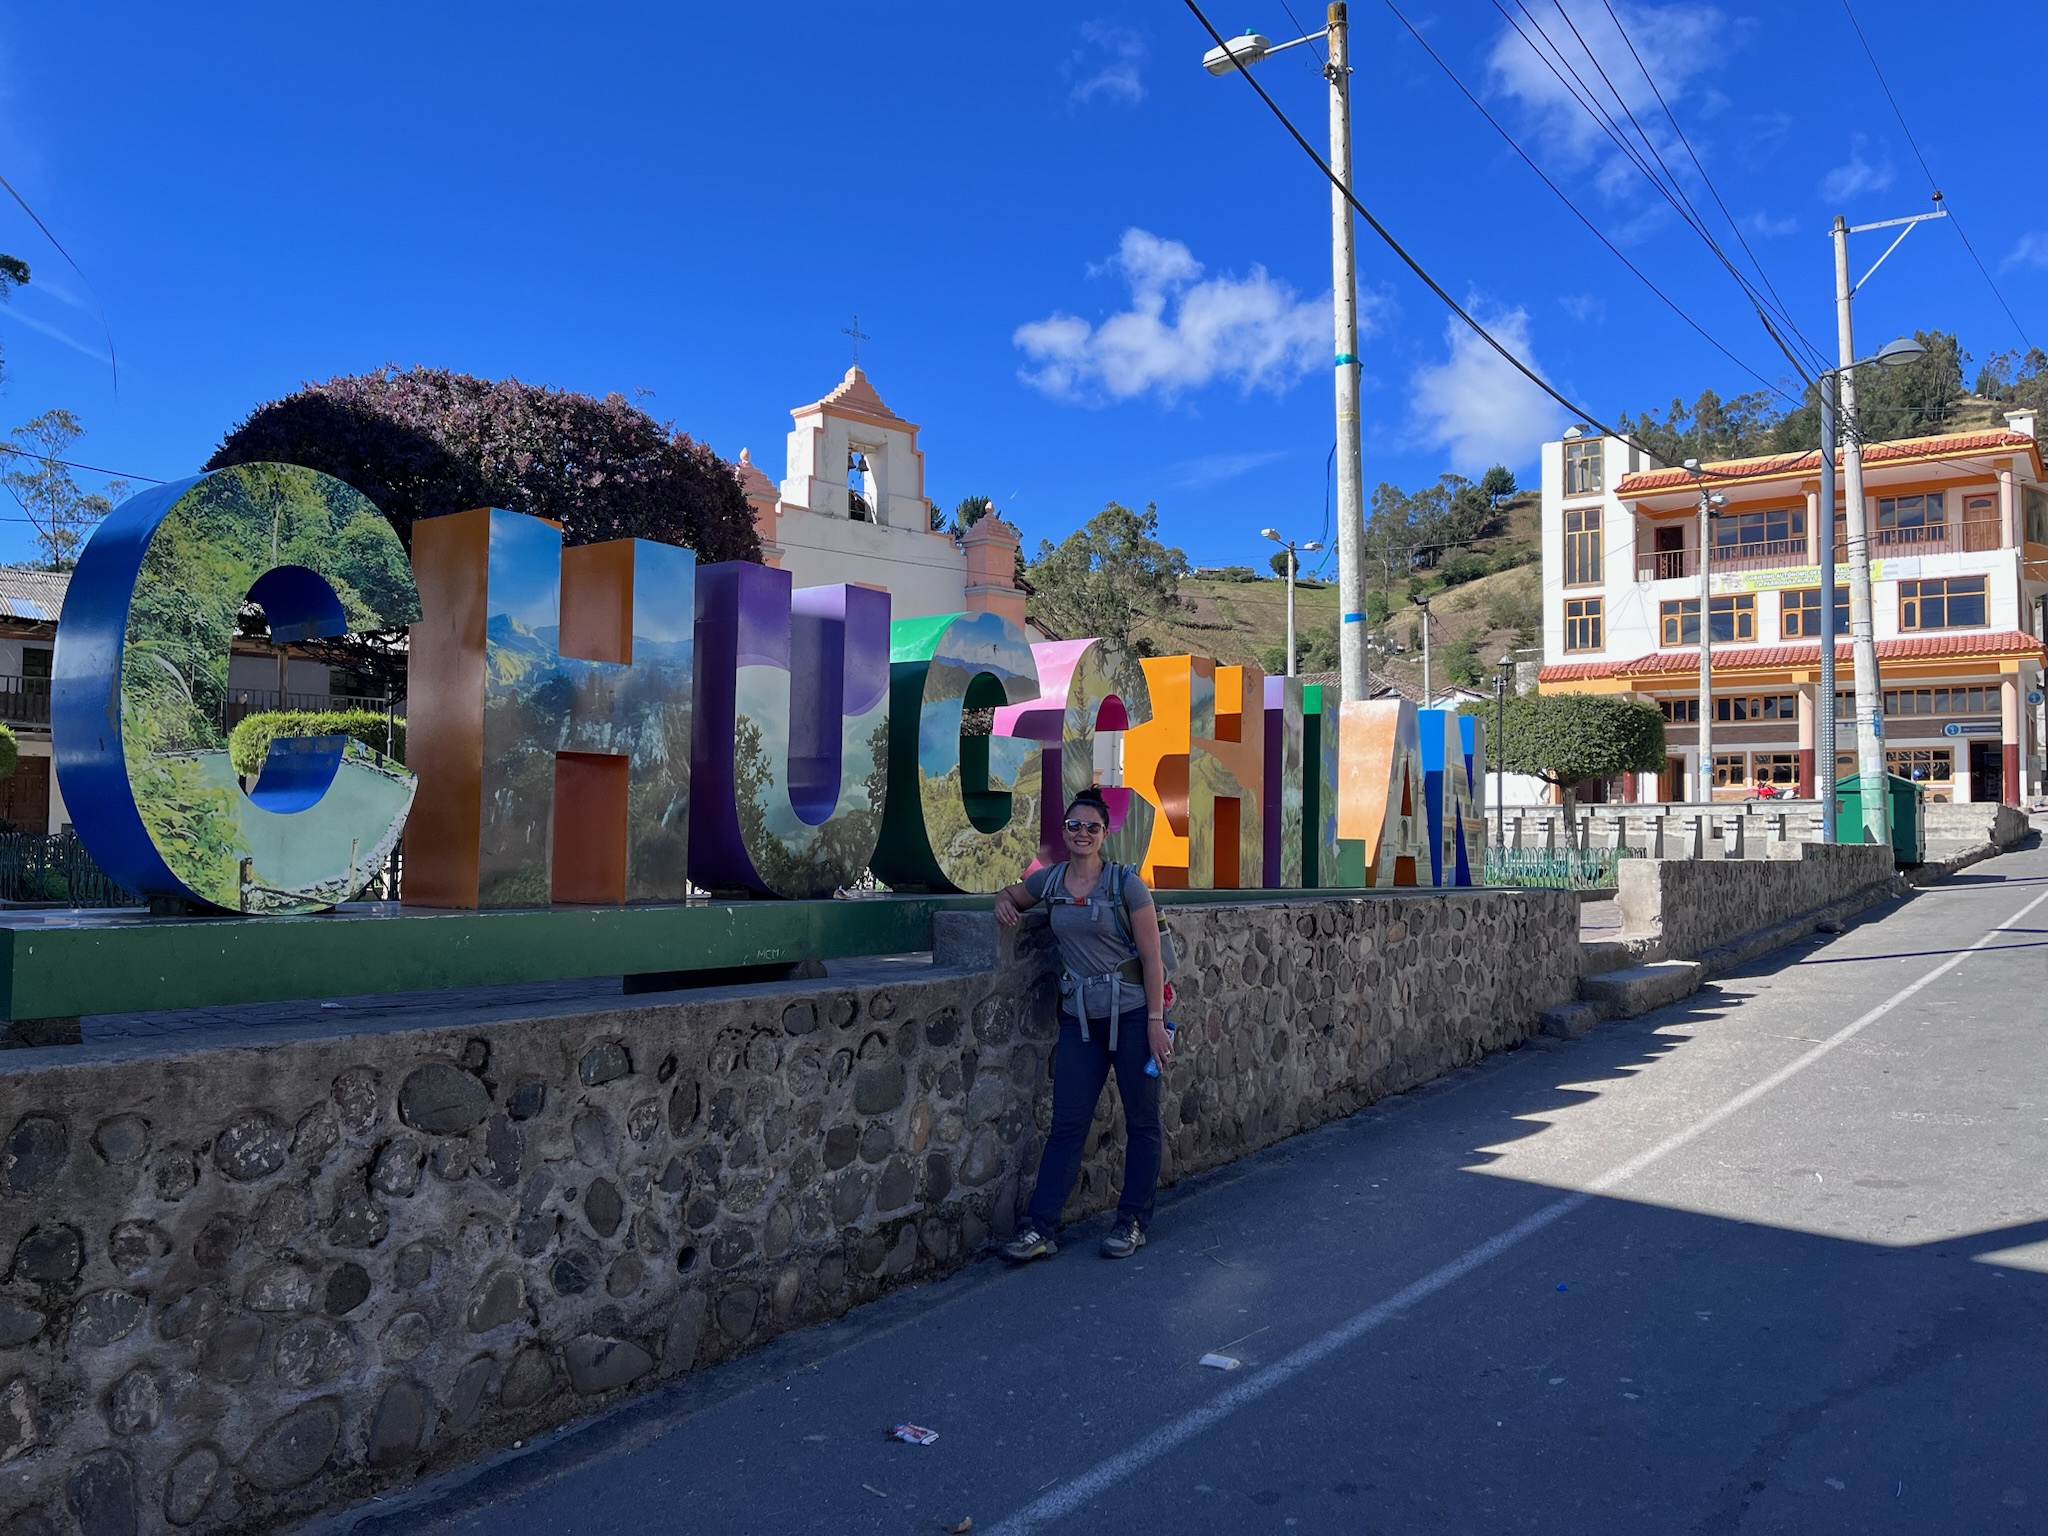
Chugchilán, Ecuador
We started our final day of the hike ~9 am, after breakfast. And, again, there is a deceivingly easy downhill trek into the valley to start the day. Just know, what goes down must come back up… to nearly 4,000 m / 13,100 feet.
Props to us because we didn’t lose the trail on the last day! Don’t get me wrong, we almost did a handful of times, but we checked the map in time. Like the other days, if you happen to veer from the path, it’s easy to get back on track.
The view from the crater’s rim back towards Chugchilán.
Shane and I disagree on this, but I think the last day was the most challenging (he thinks day 2 was). The plus side to day 3 is you’re rewarded with a view of Quilotoa! But don’t get too excited; you have about an hour and a half of walking once you hit the crater’s rim trail. The hike ends at the viewing platform in Quilotoa Village.
We made it!
When you’re ready to head back to Latacunga, turn left out of the viewing platform and walk down the road past an entrance checkpoint. You’ll see a sign on the left side of the road with bus times to Latacunga. Just flag down the first one that comes!
Day 3 Summary:
Distance: ~14 km / 8.5 miles
Time: 5.5 hours (suggested time: 5–6 hours)
Shane has done multi-day hikes in the past, but this was my first multi-day trip, and I really enjoyed it! I found that the hostels were a nice compromise and made the trip much simpler since you don’t need to worry about packing sleeping gear and food. Shane also admitted that 37-year-old him was much happier with a hot shower and meals prepared for him at the end of the day versus ~22-year-old him, packing all his camping gear and food. 😆
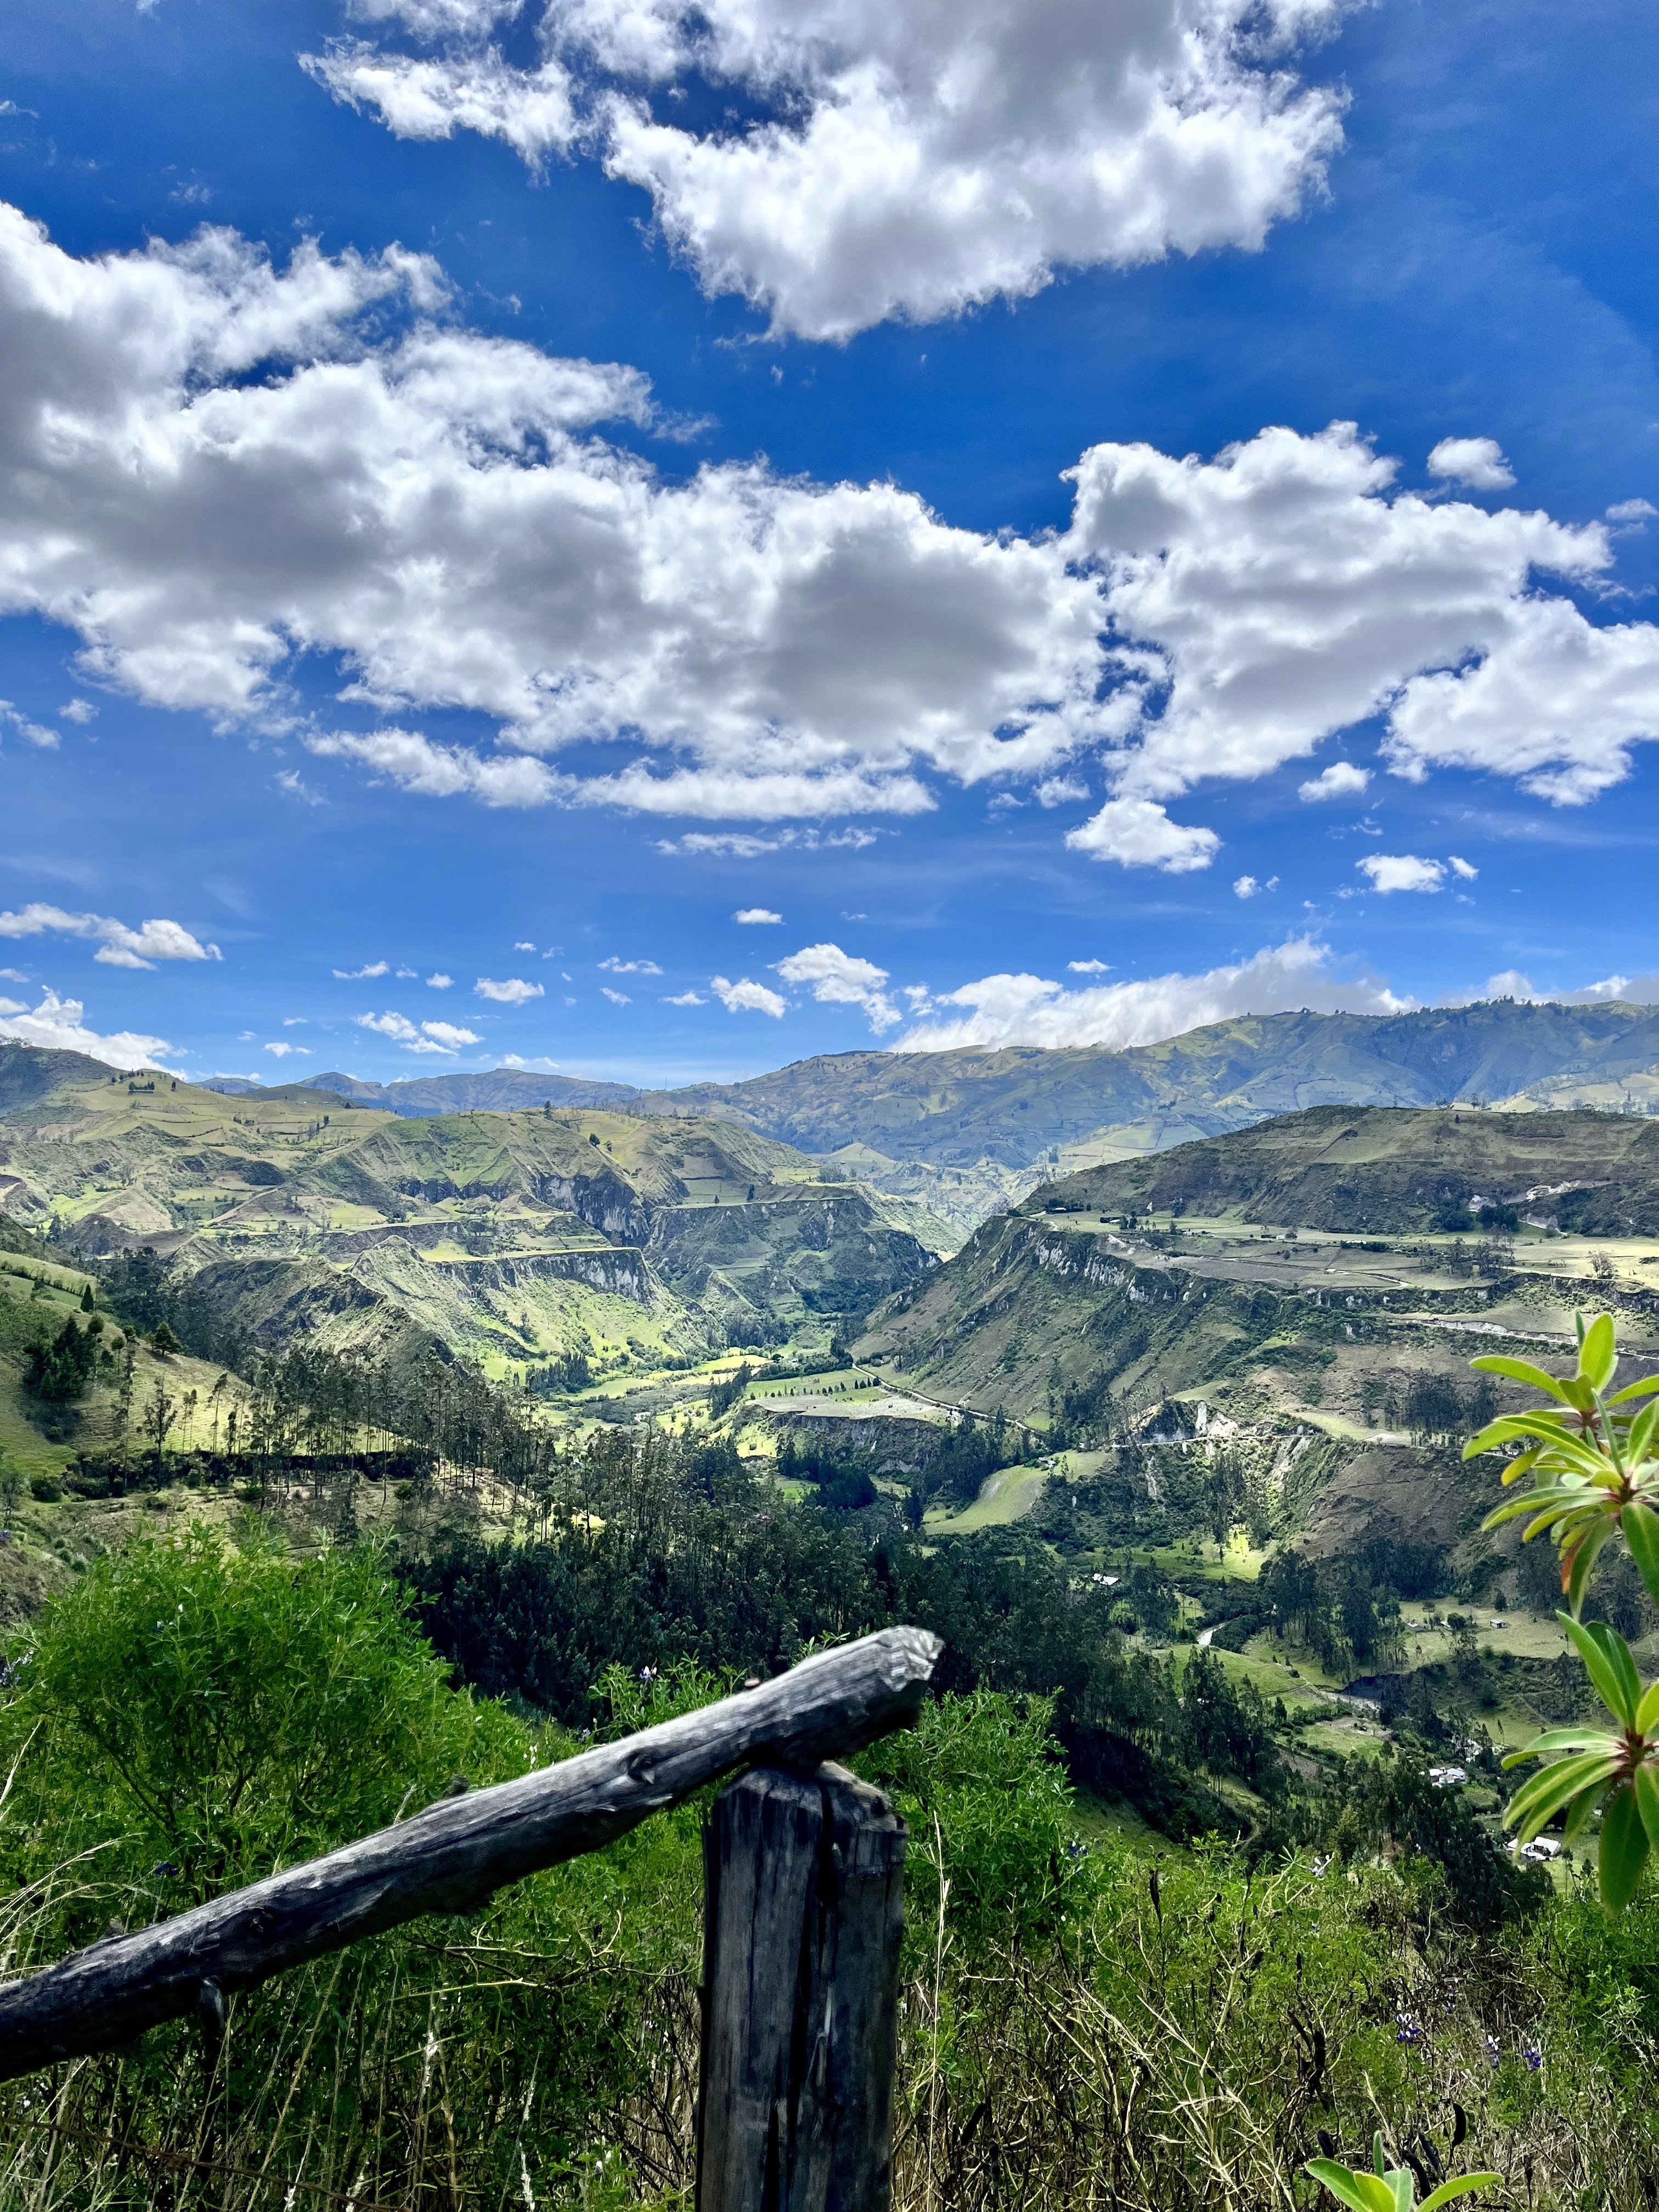
On one hand, the altitude makes this hike challenging, and the uphill parts can really suck. On the other hand, you’ve got three beautiful days in the Andes of Ecuador, and there are enough downhill and flat parts to make you forget the uphill pain (lol). Moreover, the locals we met on the route were so friendly, and the trail wasn’t crowded. In fact, we didn’t see anyone else on the route until the final day, and we were far enough behind them that we didn’t cross paths. So, I’d highly recommend this trip to anyone who is moderately fit.
Or, in other words, the “Shit I’d Wished I’d Known” post.
Don’t get me wrong, our trip to the Galapagos was fantastic! However, there are definitely some things that, had I known beforehand, we might have done differently. Also, “the Galapagos is so expensive!” is a common phrase but slightly misleading.
So, if you’re thinking of DIY-ing a trip to the Galapagos, I hope this helps! If not, feel free to stop reading… or not, whatever you prefer.
The Budget Breakdown
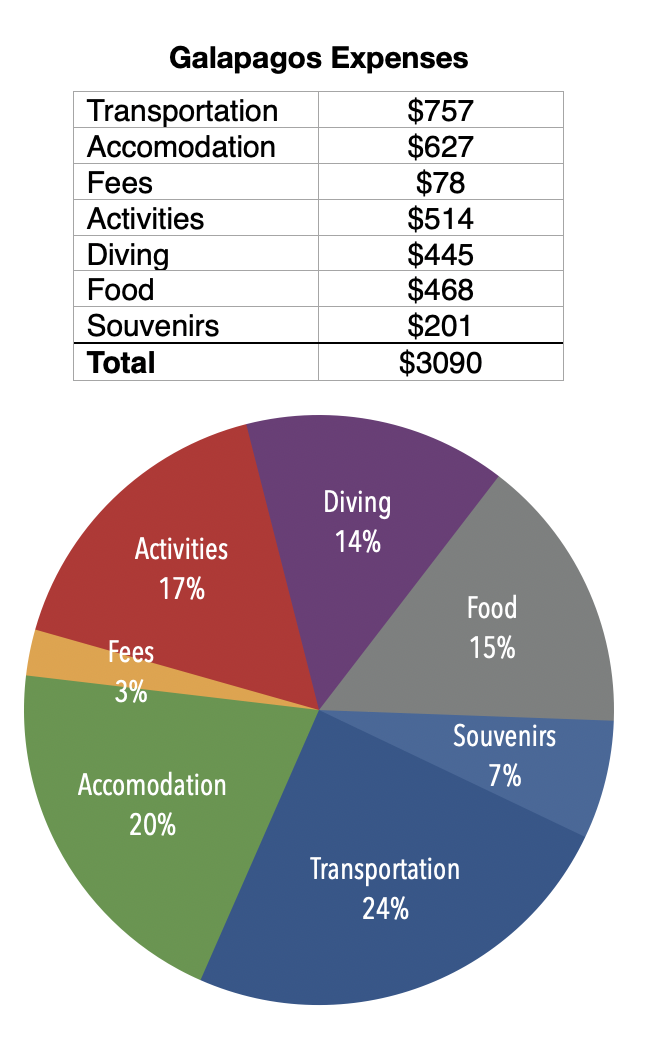
This is a full disclosure post because, when I started planning this trip, I arbitrarily set a $3,500 budget, but I had no idea if that was sufficient. Turns out, it was (with some caveats, more on that later). As you can see, we spent ~$3,100 for two people for 10 days, including flights and other transportation, including our rides to and from Tena.
Now, on to the specifics!
Transportation
Flights
Flights are absolutely the most expensive part of the trip, making the transportation category the most variable. We spent ~$450 total on the round-trip domestic flights from Quito to Baltra Island (the main airport; there is also a smaller airport on San Cristobal Island). However, this is also a bit misleading because we were able to book cheaper rates since we are Ecuadorian residents. On the other hand, we opted for the direct flight (versus the indirect flight through Guayaquil), which was a bit more expensive. Regardless, you cannot book flights to the Galapagos without a stop in Quito.
San Cristobal from above.
Baltra Island Airport transportation
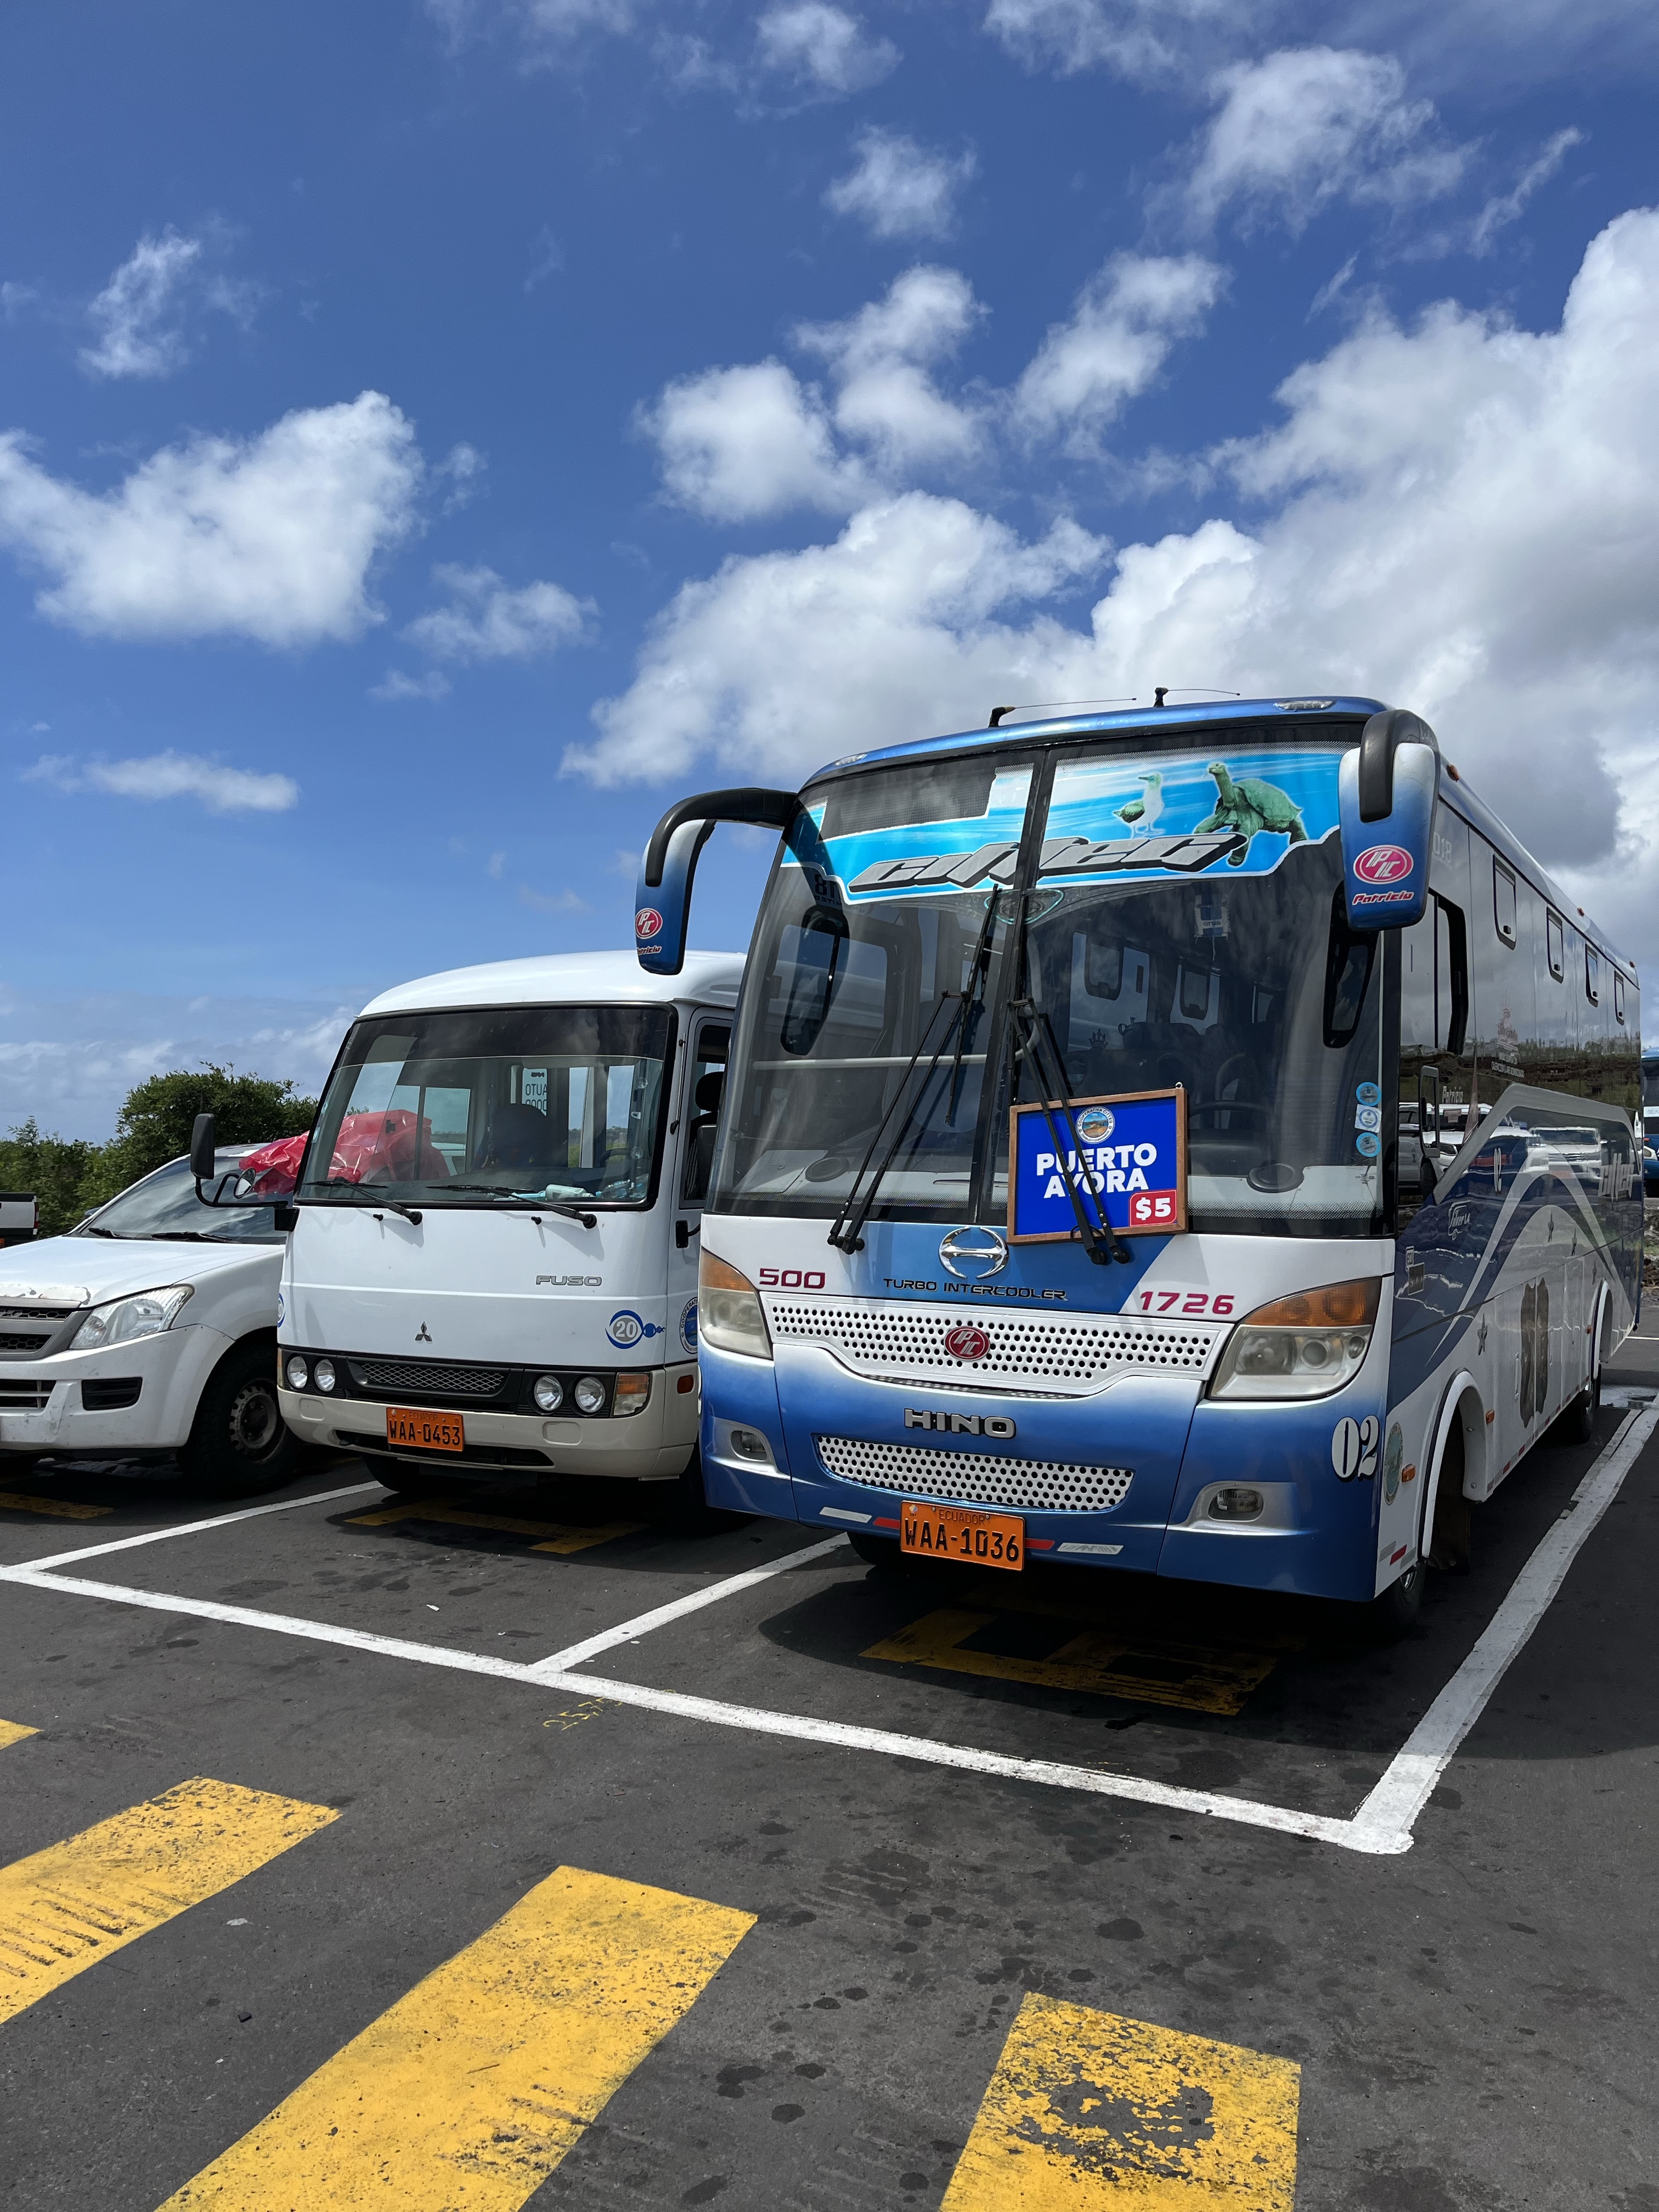
Relatedly, the journey from the airport to Santa Cruz isn’t hard, but it isn’t simple. After you arrive and go through immigration (where you pay the national park fee), you’ll have to pay $5 per person to take the bus to the port, then pay $1 per person to take a water taxi across the channel to get to Santa Cruz Island. And yes, it’s required. There is no other option.
The ticket counter for the bus from the airport is outside, directly across from the bus.
On the other side, you’ll have options: either a $5 per person bus ride or a $25 taxi ride. Both take approximately the same amount of time, the difference being the taxi is a port-to-door service. We opted for the $5 bus (a more economical choice for only two people), but if you’re a larger group, then the taxi is just as cheap.
It was very easy to find the buses to Puerto Ayora.
Ferrys
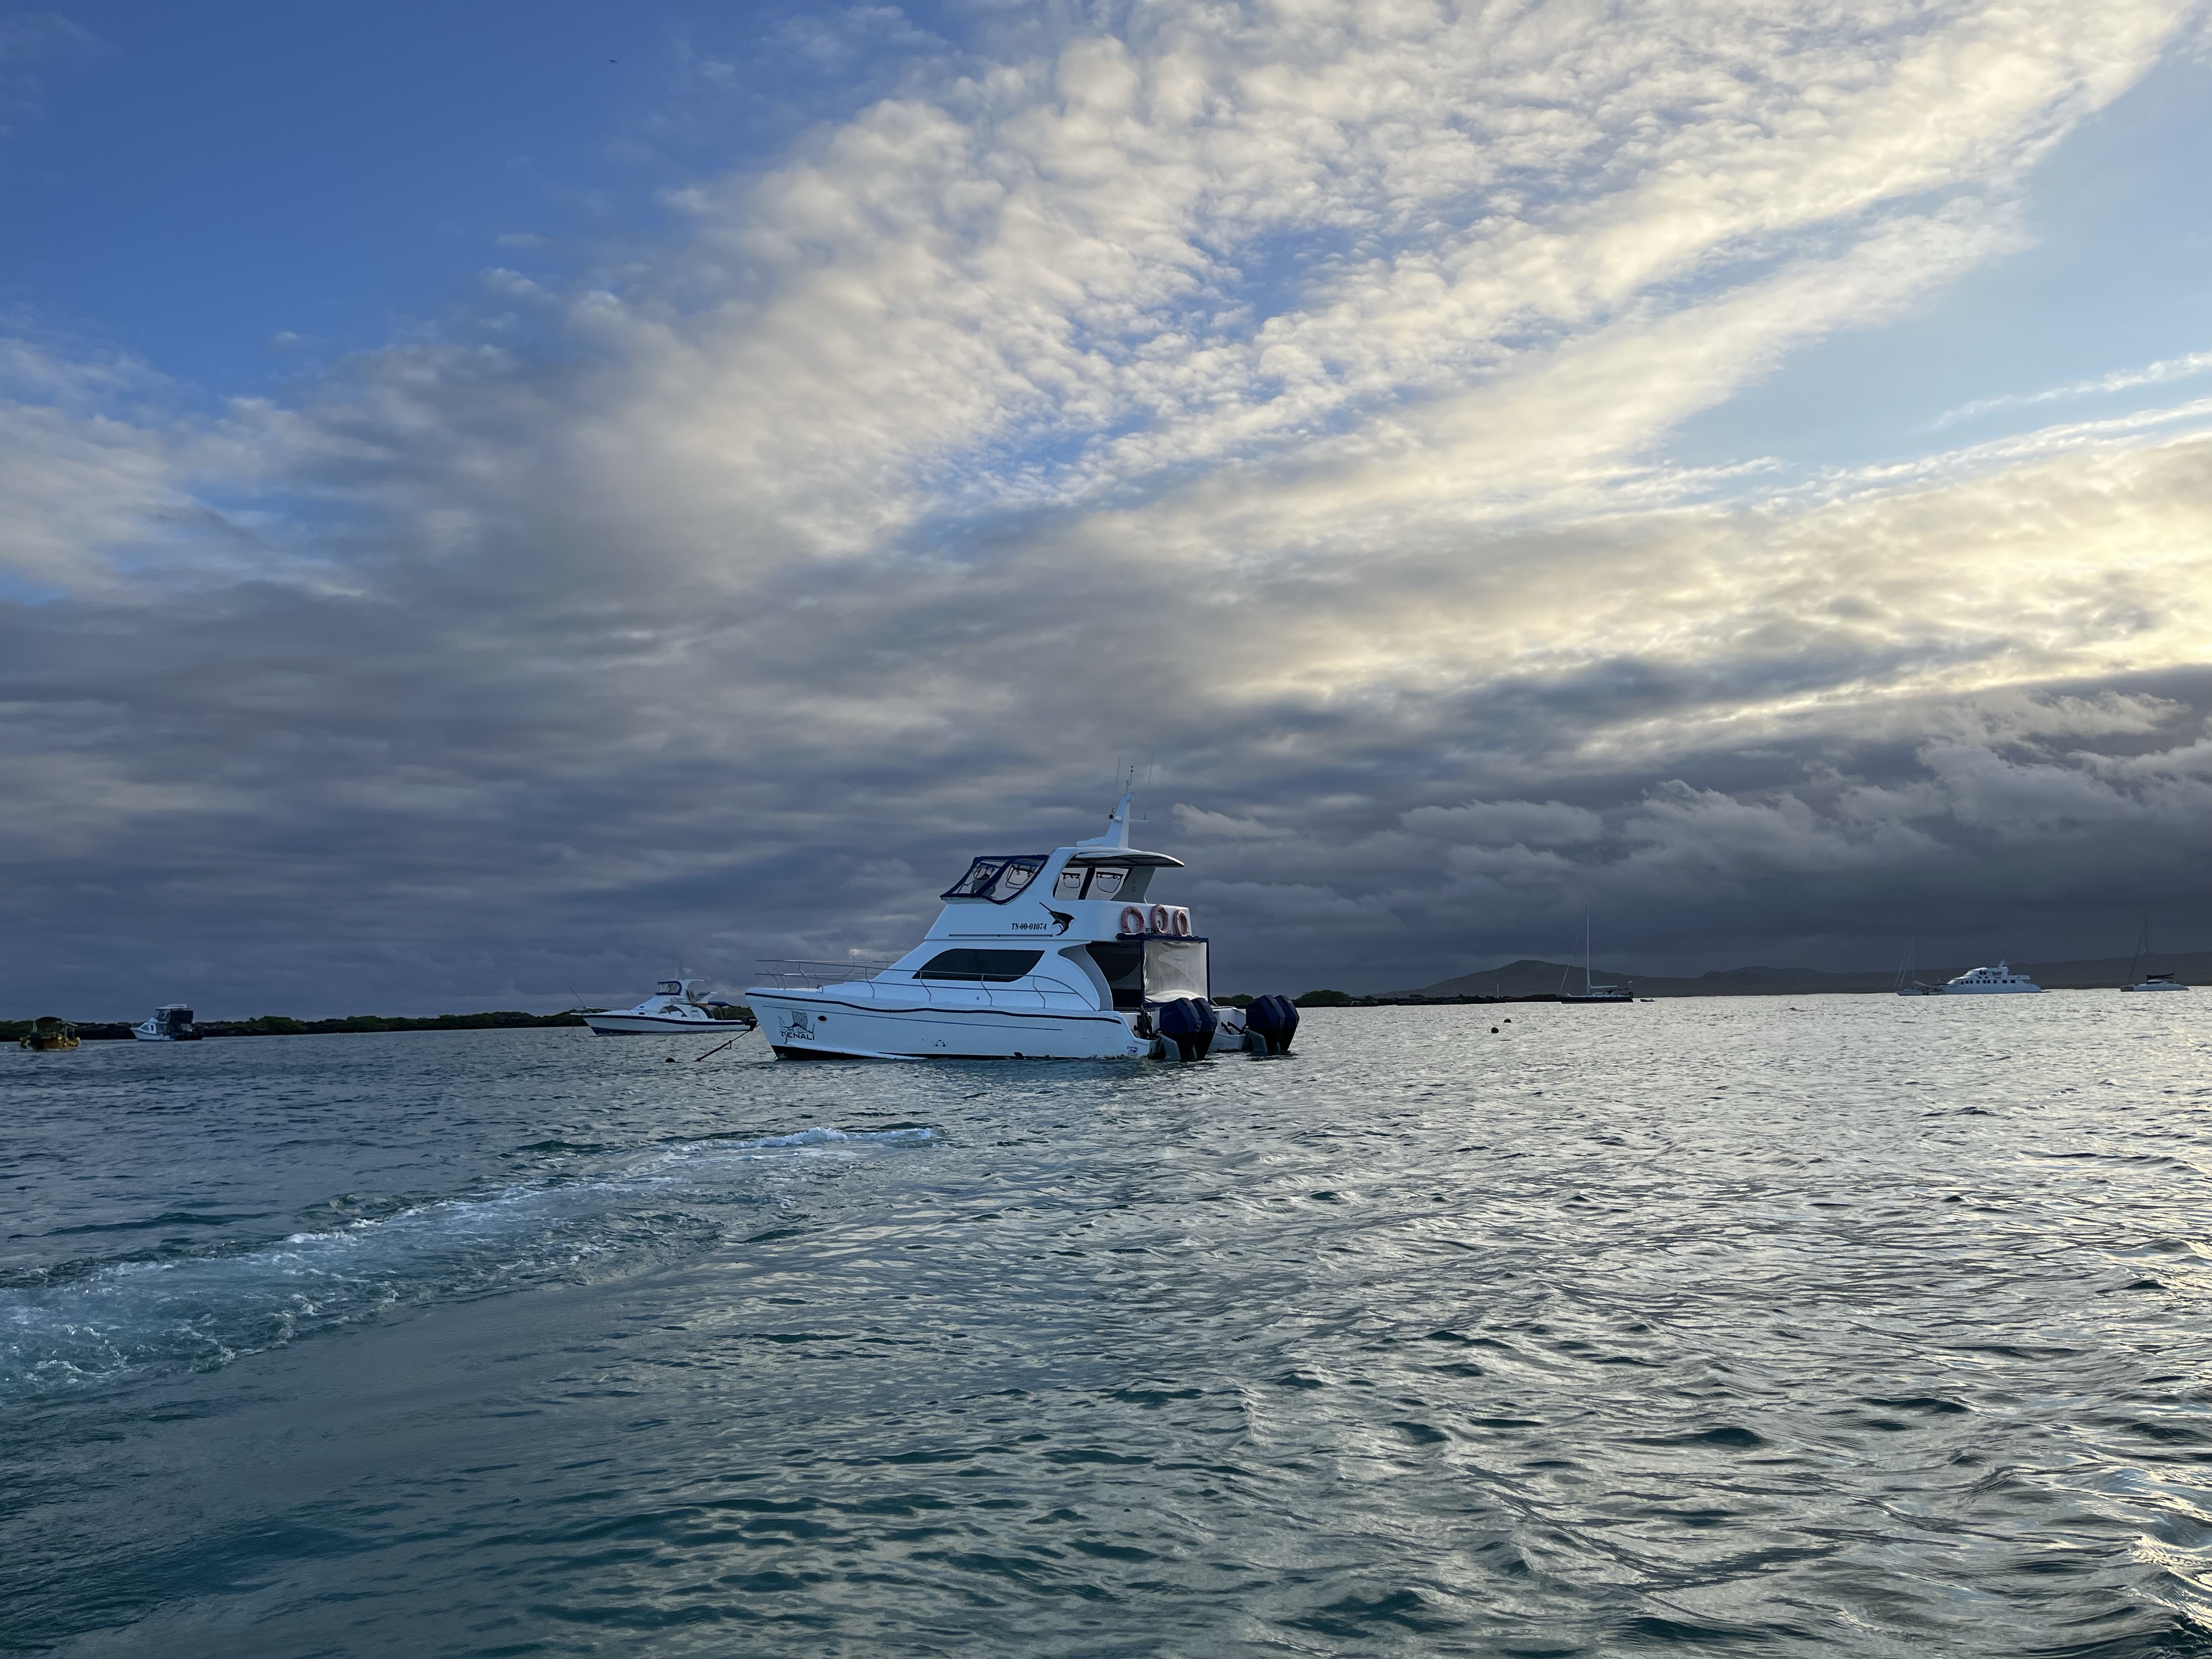
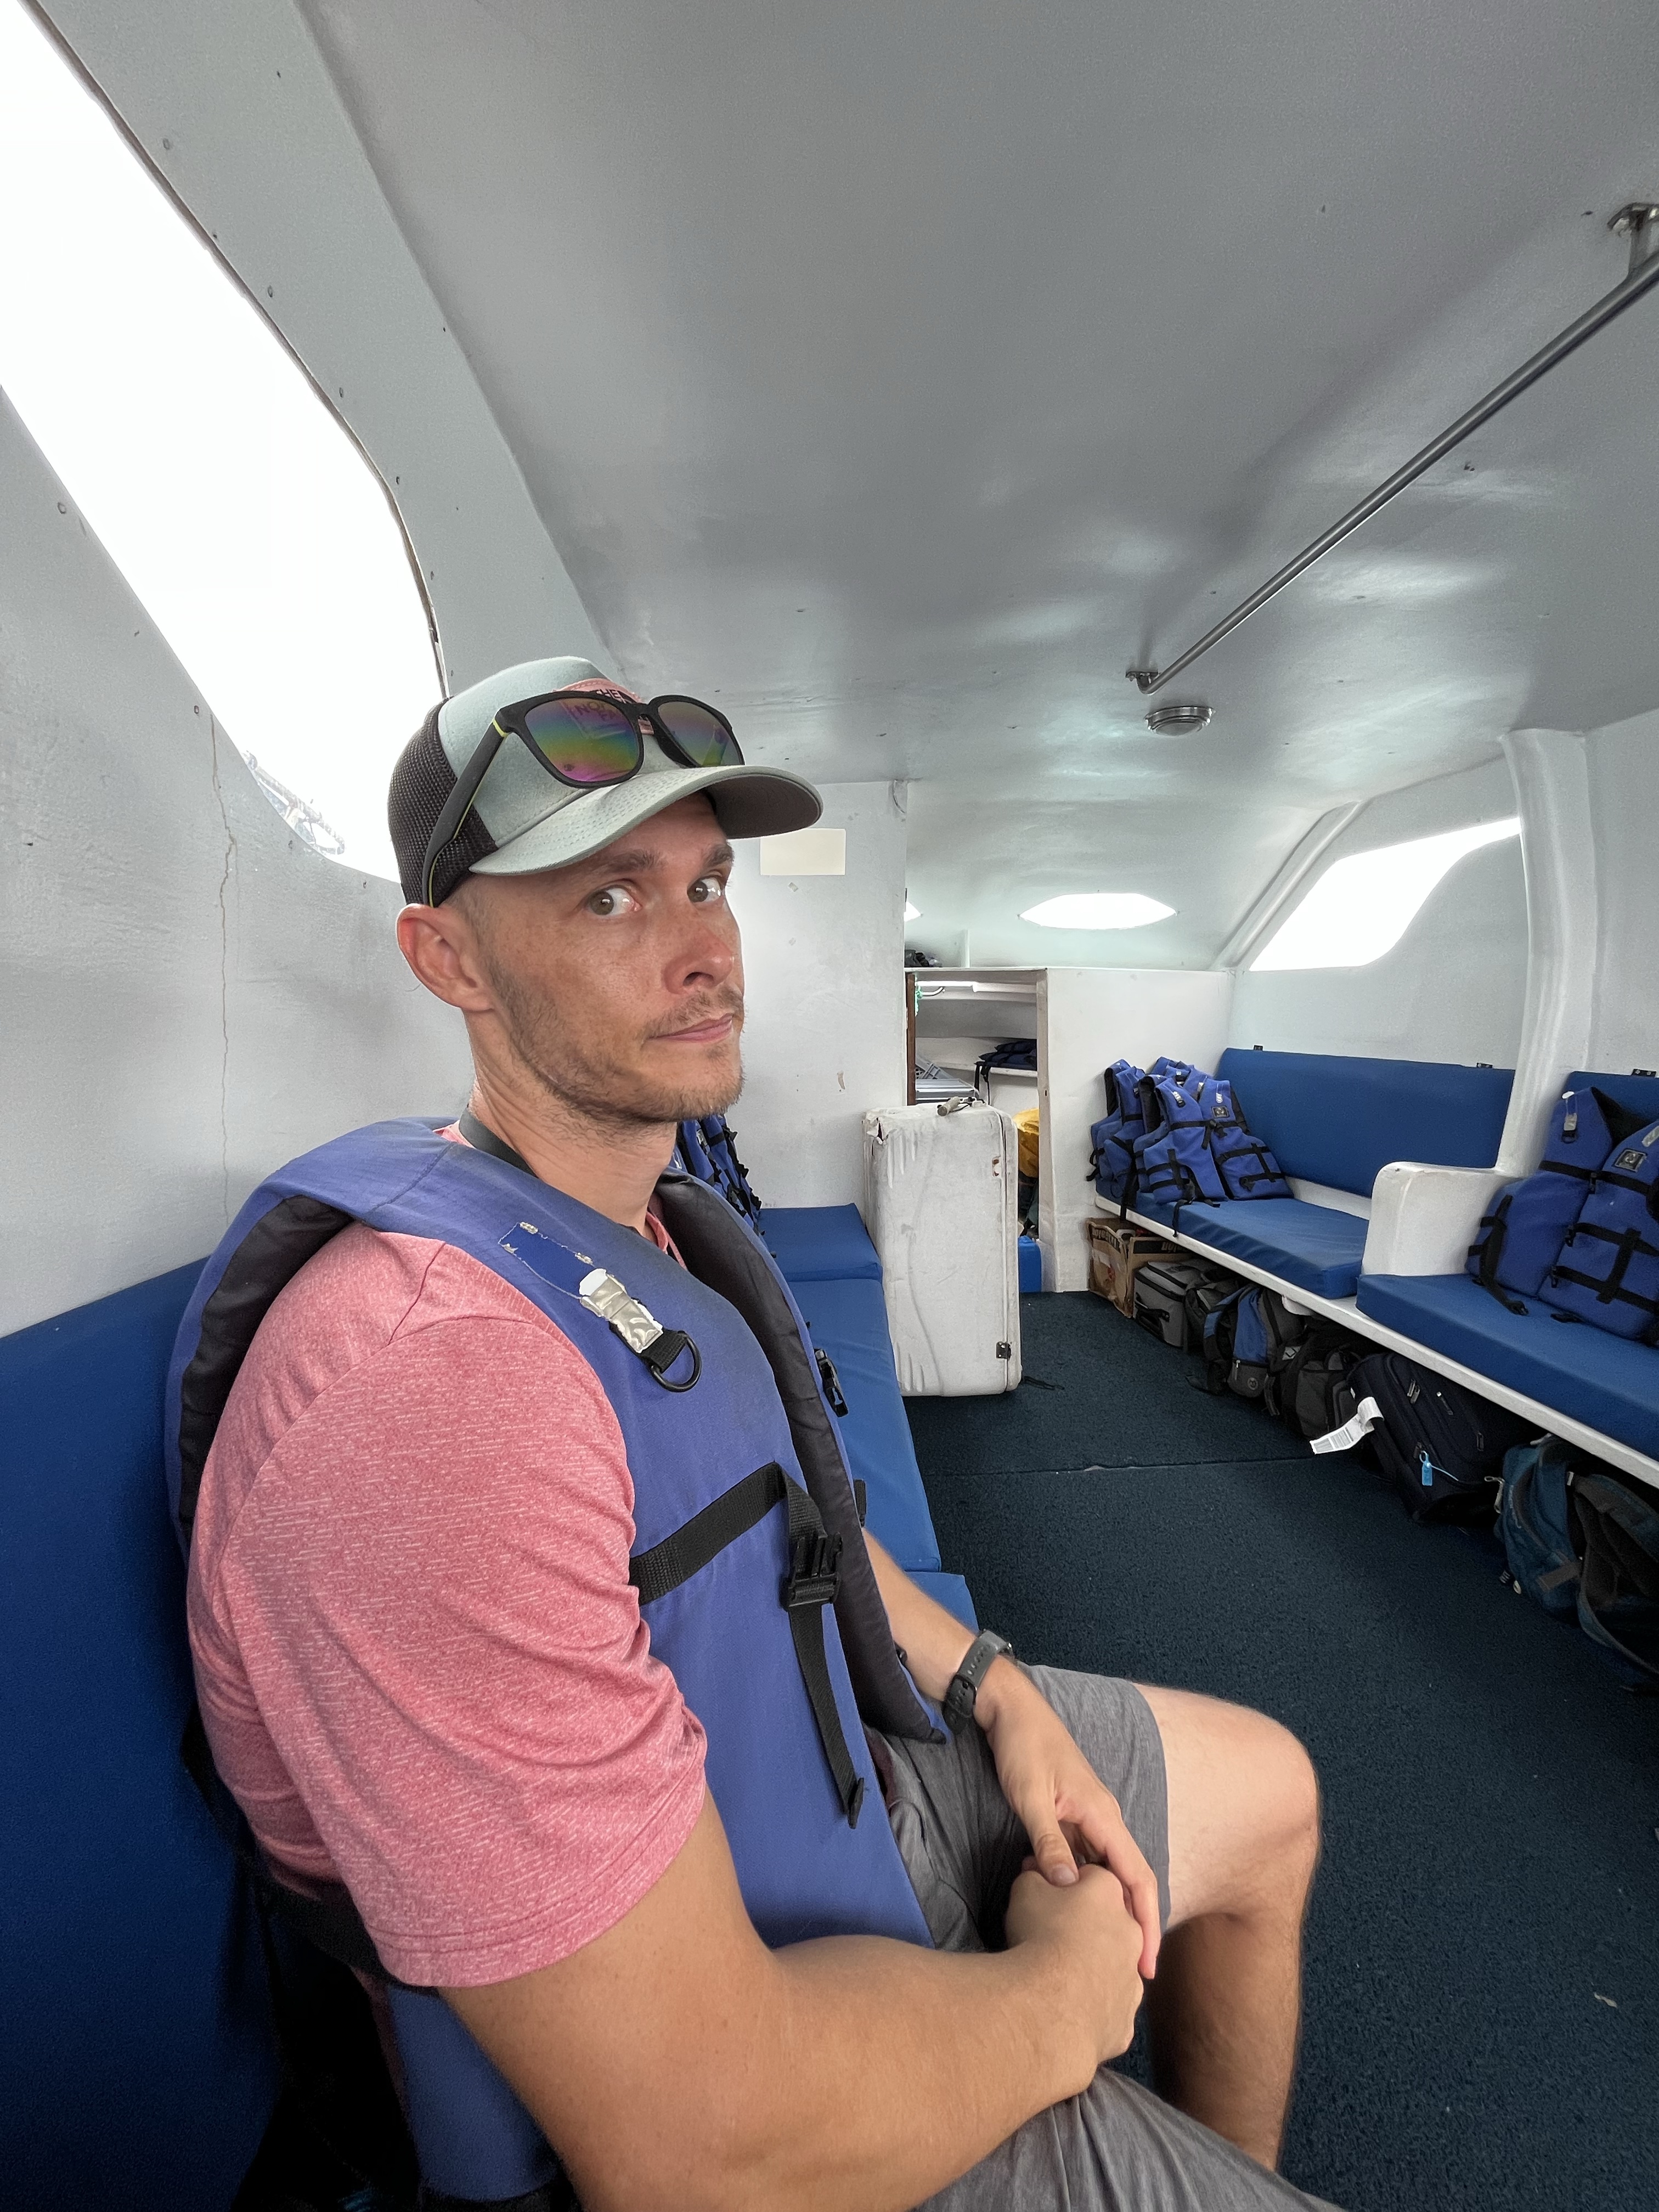
To get between islands, you have to take a ~2-hour “ferry” ride. And yes, I say “ferry” in quotes because these boats were essentially old fishing boats converted into people boats and not at all what we expected. Even the slightest chance of getting seasick? Take Dramamine. You won’t regret it because you’re plowing through the open ocean on a relatively small boat. Let’s just say, the ride isn’t comfortable, and I’m pretty sure people’s spines are littered throughout the water from the unexpected SLAMS! as the boat crashes through the waves. Anyway, I digress.
The price is $35 per person one way and seemed to be pretty standard. Of note, there are no “official” sellers. On Santa Cruz, you can buy tickets by the port–just look for the signs for ferry tickets. On Isablela, the agencies are in the main square. The ferries only leave twice a day (~07:00 and ~15:00), so be sure to buy your tickets ~24 hours in advance (much earlier isn’t really necessary). Finally, everything is cheaper in person (versus online) and paid in cash. However, if you’re in a bind, you can reserve tickets via WhatsApp through this company (which we had to do; more on that later).
A typical ferry.Ready for the ride! 😐
Water taxis
Ah, the water taxis. They are $1 per person, regardless of where you need to go. Likely, you won’t need them often, but, for example, to get to the ferry, you have to take a $1 water taxi ride from the pier to the boat. So, keep your little change!
Oh, and don’t be surprised when all the luggage is piled on the front of the boat. It’s (probably) fine!
Accommodation
The second most expensive part of the trip was accommodation. In reality, it broke down to ~$65 per night, which is a bit pricey compared to the mainland but overall not bad. We also chose to stay in Airbnbs and hotels not directly in the center of town to put more resources towards activities, which was smart for us because the towns are small and walkable. Nothing is far away, and we didn’t spend much time in the rooms. However, where you choose to stay and what amenities you want are all personal preferences. We saw some very nice hotels, depending on what you’re looking for.
We stayed in this Airbnb for most of our time on Santa Cruz Island, and this apartment for our final night before heading to the airport. On Isabela Island, we stayed in these serviced apartments, which happen to be next to an Isabel microbrewery if that interests you. Notably, all had air-conditioning and provided drinking water, which was a nice touch.
View from our Isabela apartment.
Fees
Fees! Yes, you will get hit with mandatory fees, so it’s better to know about them before you arrive. Also, you can only pay them in cash, which is something to prepare for.
Transit control card
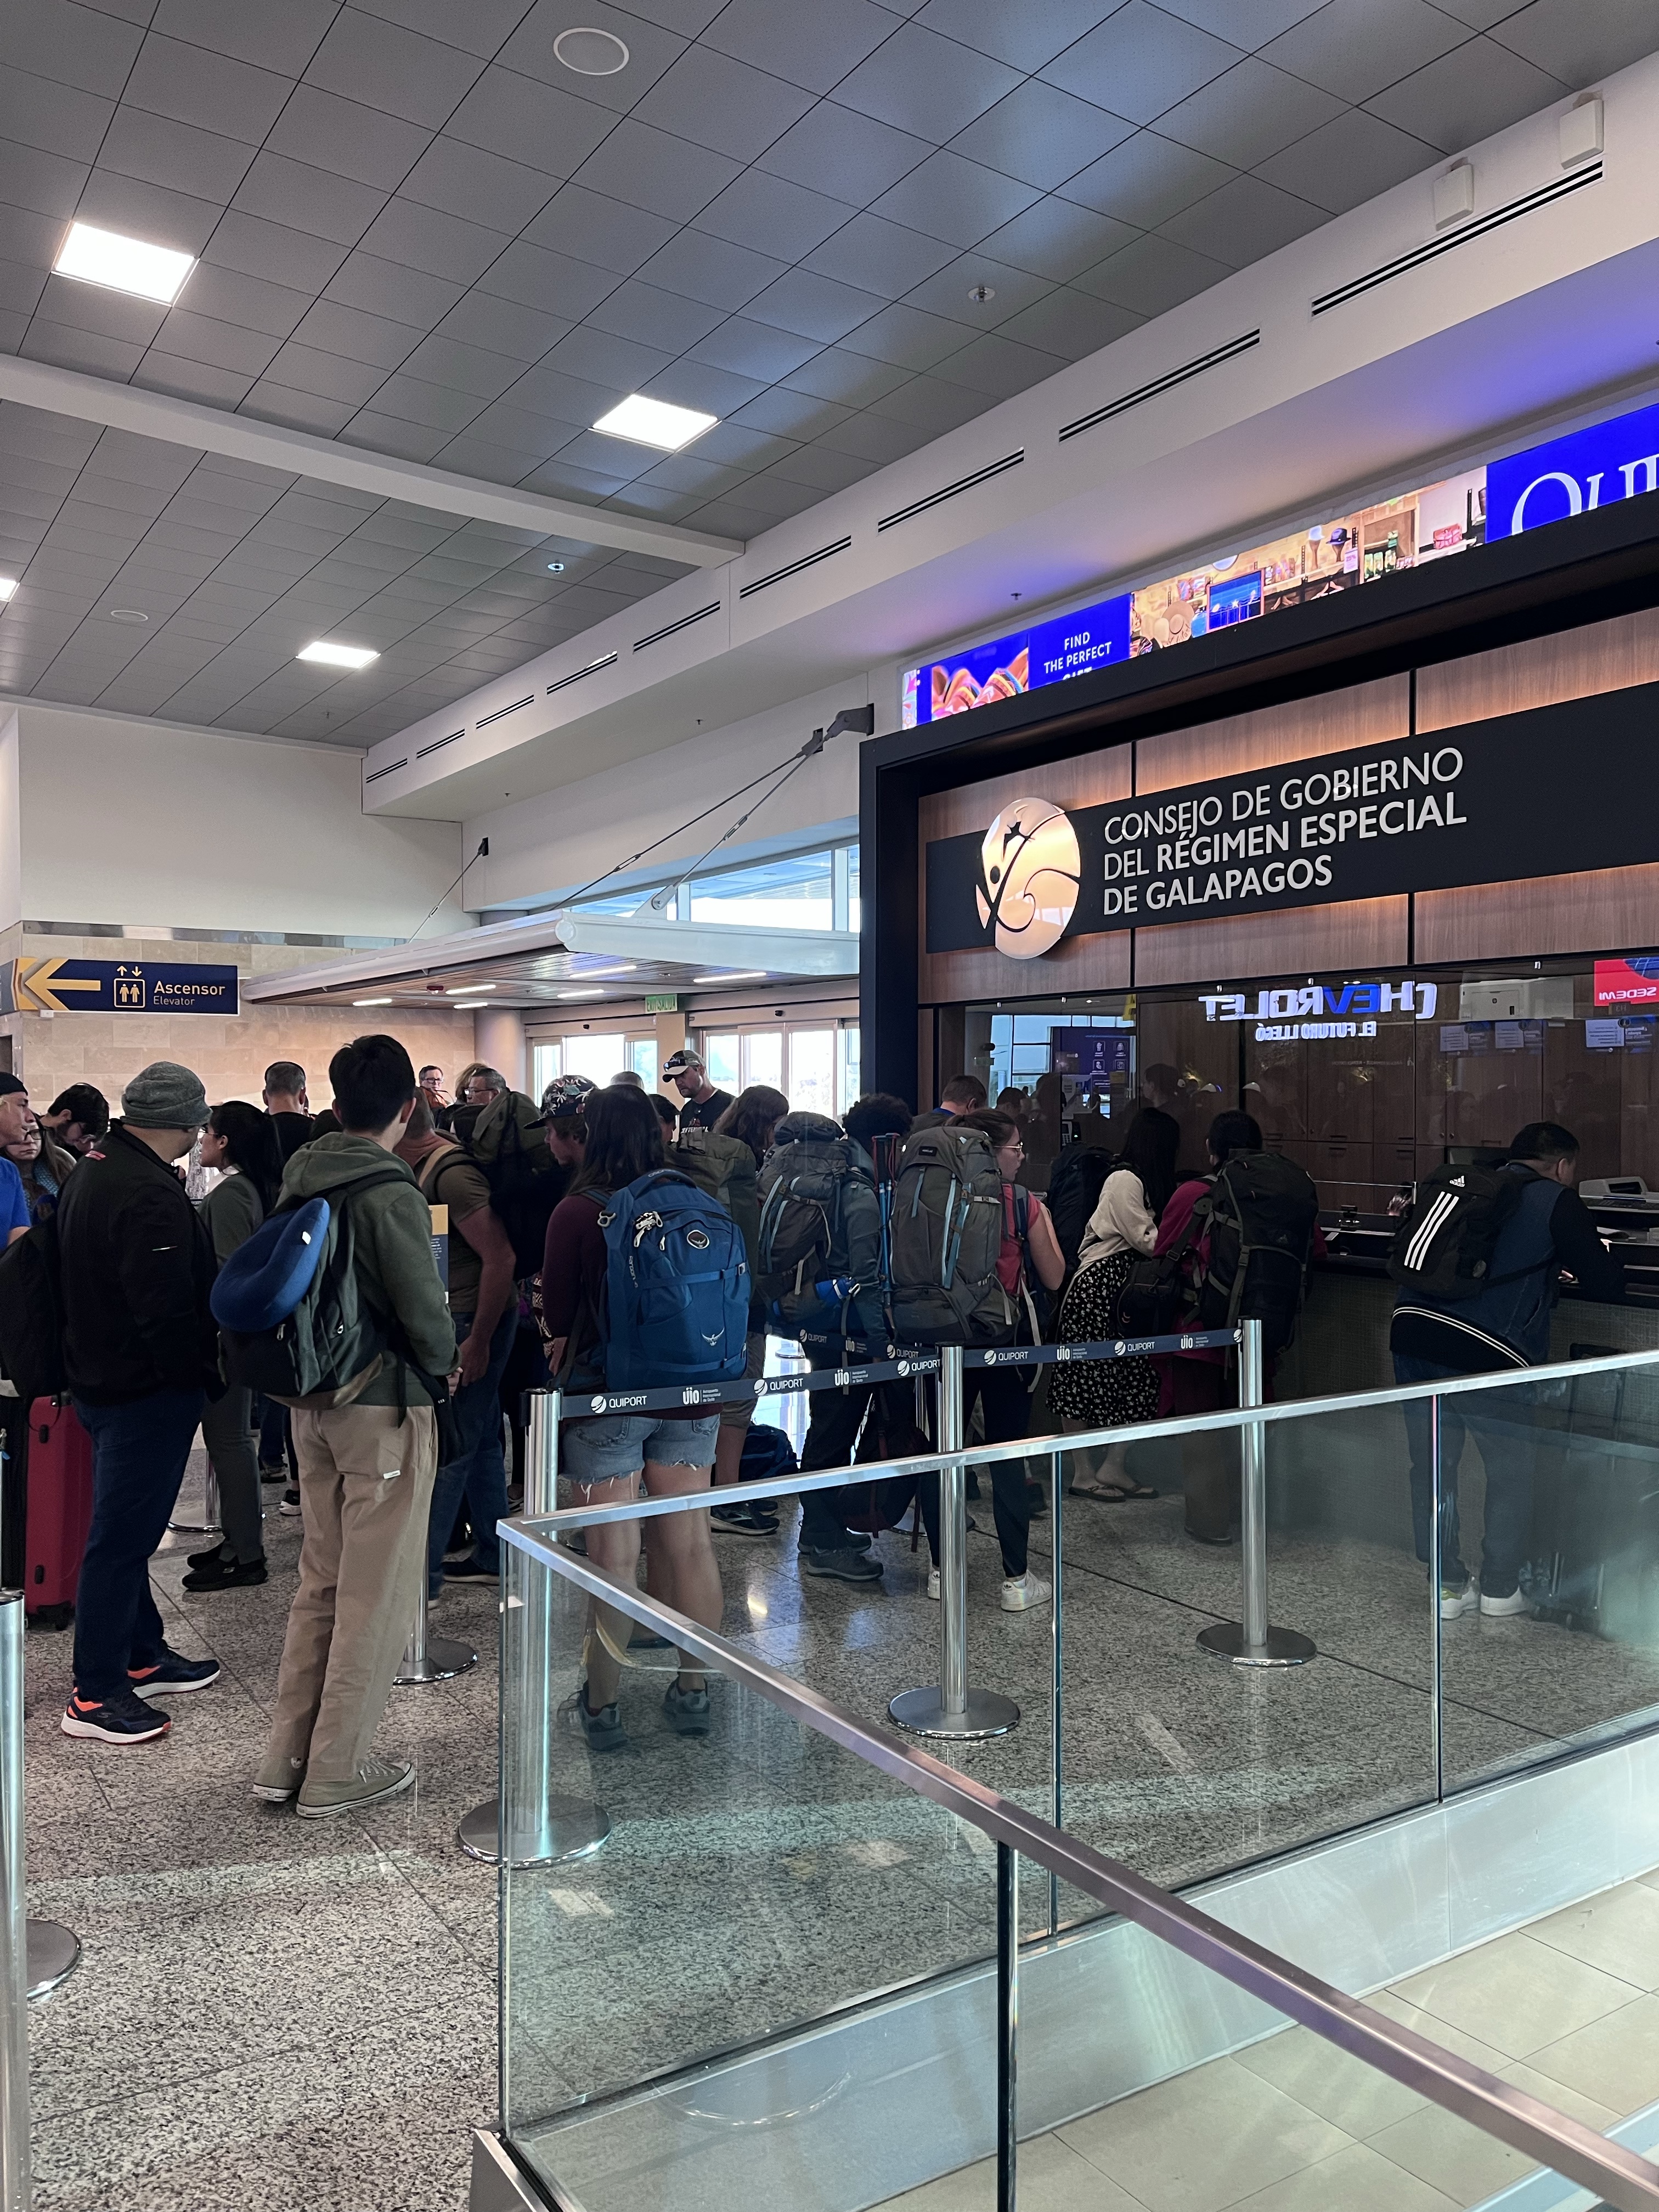
Starting at the Quito airport, you’ll need to pay $20 per person for the transit control card. You’ll also have to have your bag screened before checking it at the counter. So, one person can stand in line for the transit control cards while the other gets the bags screened. Both are located immediately inside the doors on the national departures side. Oh, and be sure to keep up with these cards! They will ask for them when you arrive and again when you leave the islands.
Can you spot me? Waiting in line for the transit cards (only one person per group is allowed!).
Galapagos National Park fee
You’ll pay this fee at the airport in the Galapagos, where you will also present your transit card. It’s $100 per person for non-residents of Ecuador. We were able to pay the resident rate of only $6 per person, which definitely helped the budget! So, be prepared to pay this (in cash!) as soon as you arrive!
Individual island entrance fees
Yep, you’ll have to pay another entrance fee if you switch islands. Presumably, for their individual national park fee, but I couldn’t find any specific information about this. For foreigners, it’s $10 per person to enter Isabela and Santa Cruz (if you’re returning by ferry, not for a daily activity).
Santa Cruz pier fee
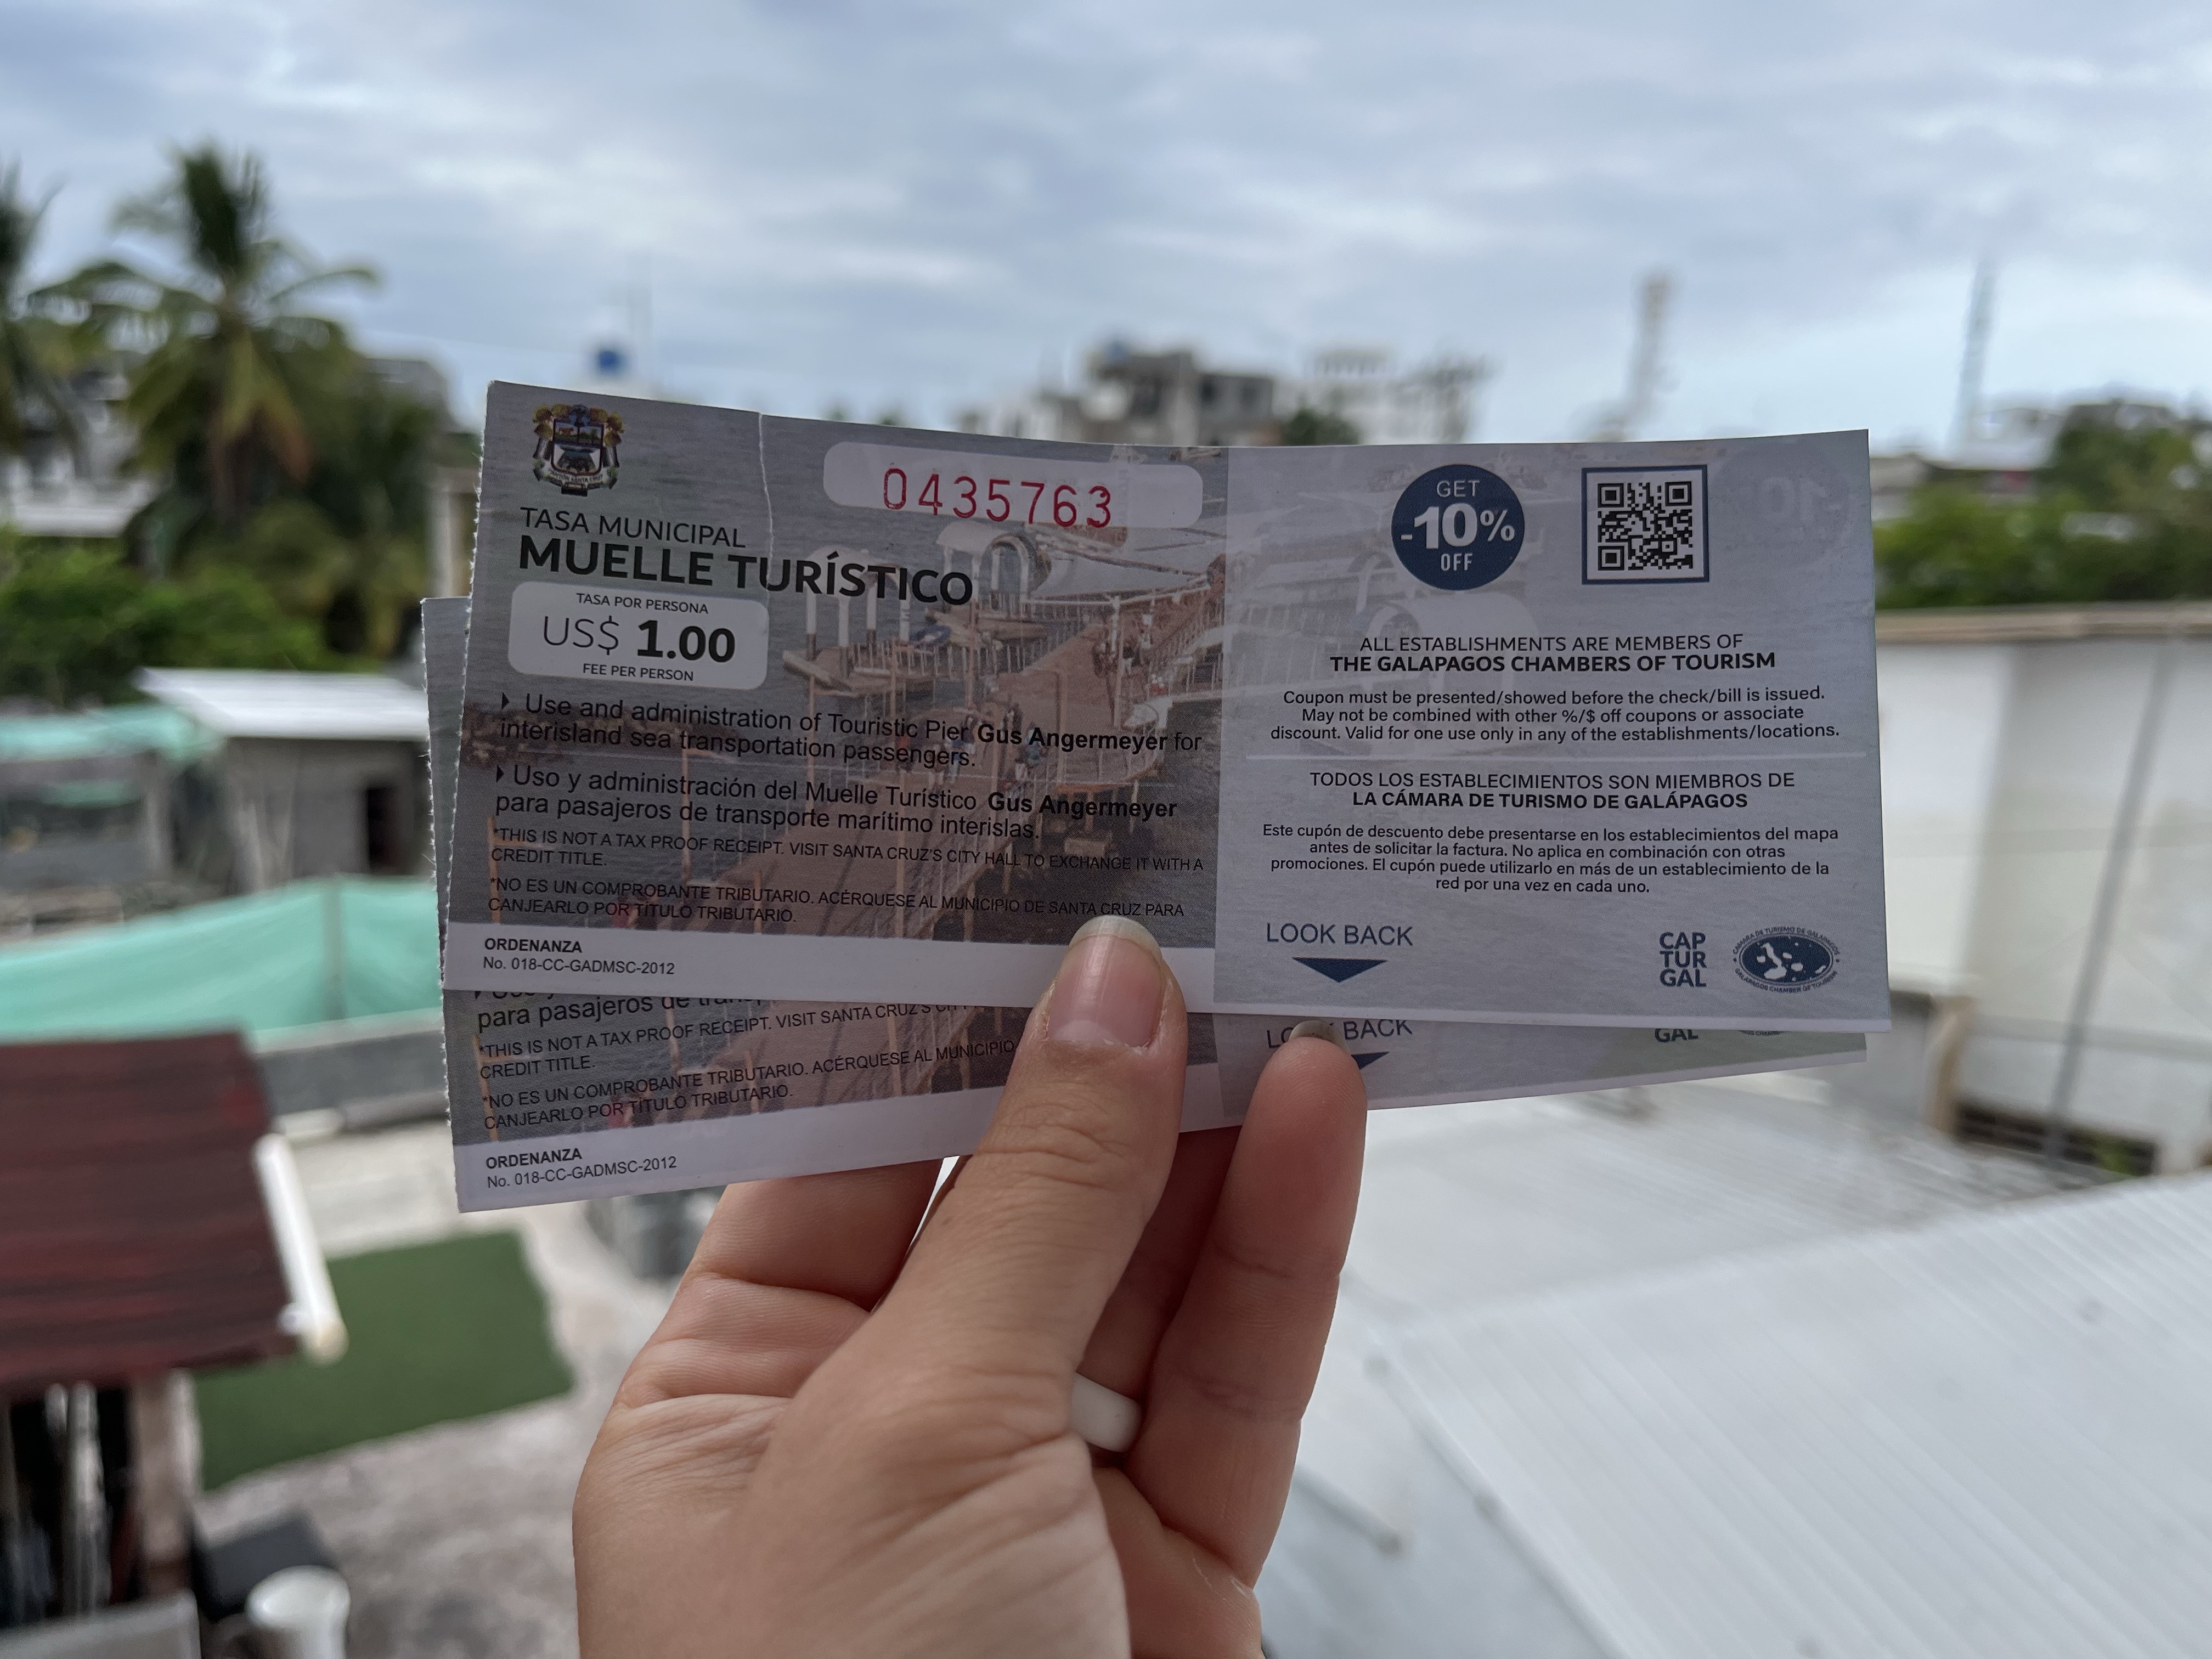
Honestly, you really get nickel-and-dimed (or, more accurately, dollar-ed?) on Santa Cruz. If you’re taking the ferry, in addition to the $1 water taxi per person, be prepared to pay another $1 per person to get on the pier.
Pier-approved!
Activities
Now for the fun part… activities!
There are plenty of free or inexpensive activities on the islands. For example, on Santa Cruz Island, Tortuga Bay and a visit to the Darwin Research Station are free. If you want to take the breeding center tour at the research station or visit Las Grietas, then you’ll pay $10 per person for the guided tour, paid for at the respective locations. On Isabela Island, the beach is always free, as is snorkeling at Concha de Perla. We also rented bikes for $20 per person for the day to visit The Wall of Tears and the El Radar viewpoint (both free to visit).
Even though you will see tours offered for just about everything, you absolutely do not need to book a tour with a company for everything.
Activities get expensive when tours with equipment and boats are involved. However, everything is less expensive when booked in person and paid with cash! For instance, online, the Los Túneles snorkeling tour was $140 per person. However, we booked the tour in person the day before and paid $110 per person in cash. So, the tours still aren’t cheap, but a $30 difference per person adds up. The tour prices are generally the same between companies for the same tour; they primarily increase or decrease in price depending on how far you need to travel. You can expect half-day tours in the $110-120 range and full-day tours in the $180-200 range.
Also, don’t let the sticker shock stop you! *cough, looks at myself* Yes, it’s a lot off the top. But, it’s a lot of effort to get to the Galapagos, and when are you ever coming back? So, take at least one tour!
Tortoise Tip
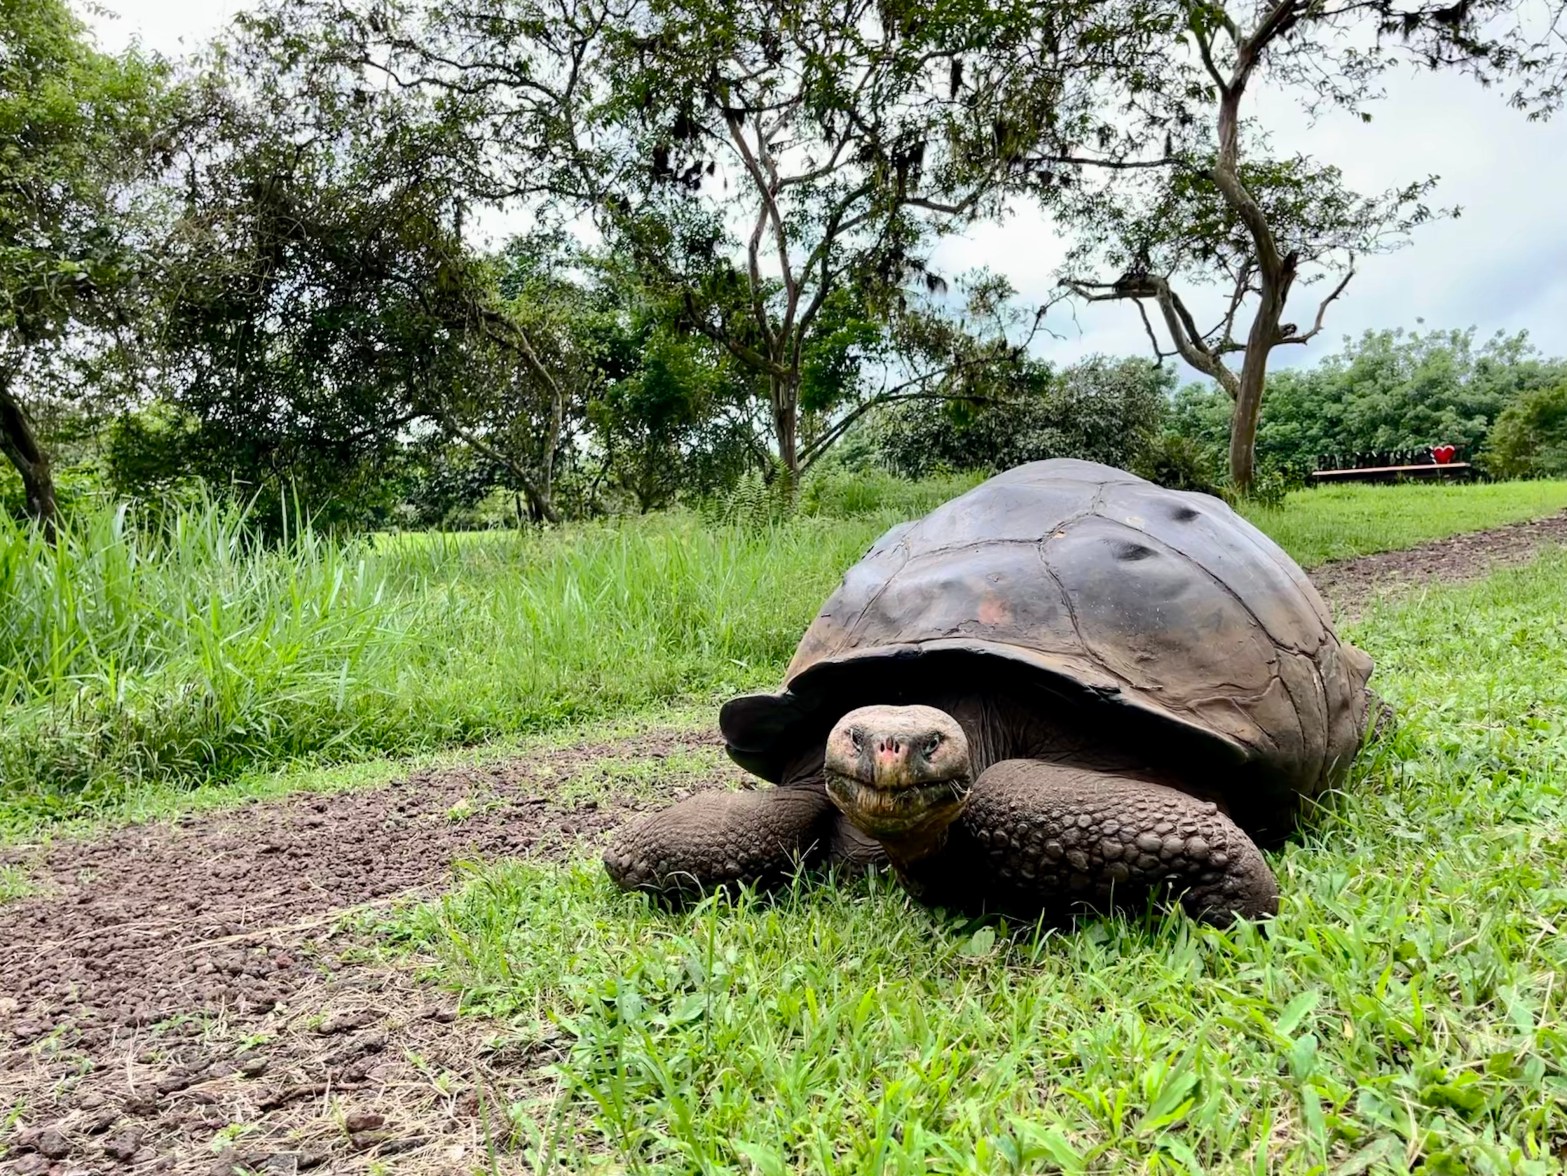
Seeing the giant tortoises is an absolute must-do on the Galapagos, and visiting a reserve, like Rancho Primicias on Santa Cruz, is a great way to see them out living their best tortoise lives. However, it was a $50 cab ride (round trip, the driver waits for you), followed by a $10 per person entrance fee–not the cheapest adventure. However, Isabela Island also has a breeding center ($10 per person), only a short detour from the Wall of Tears route. Moreover, there’s a chance to see tortoises in the wild on the route to the wall. So, if you’re planning to rent a bike, this could be a more economical option!
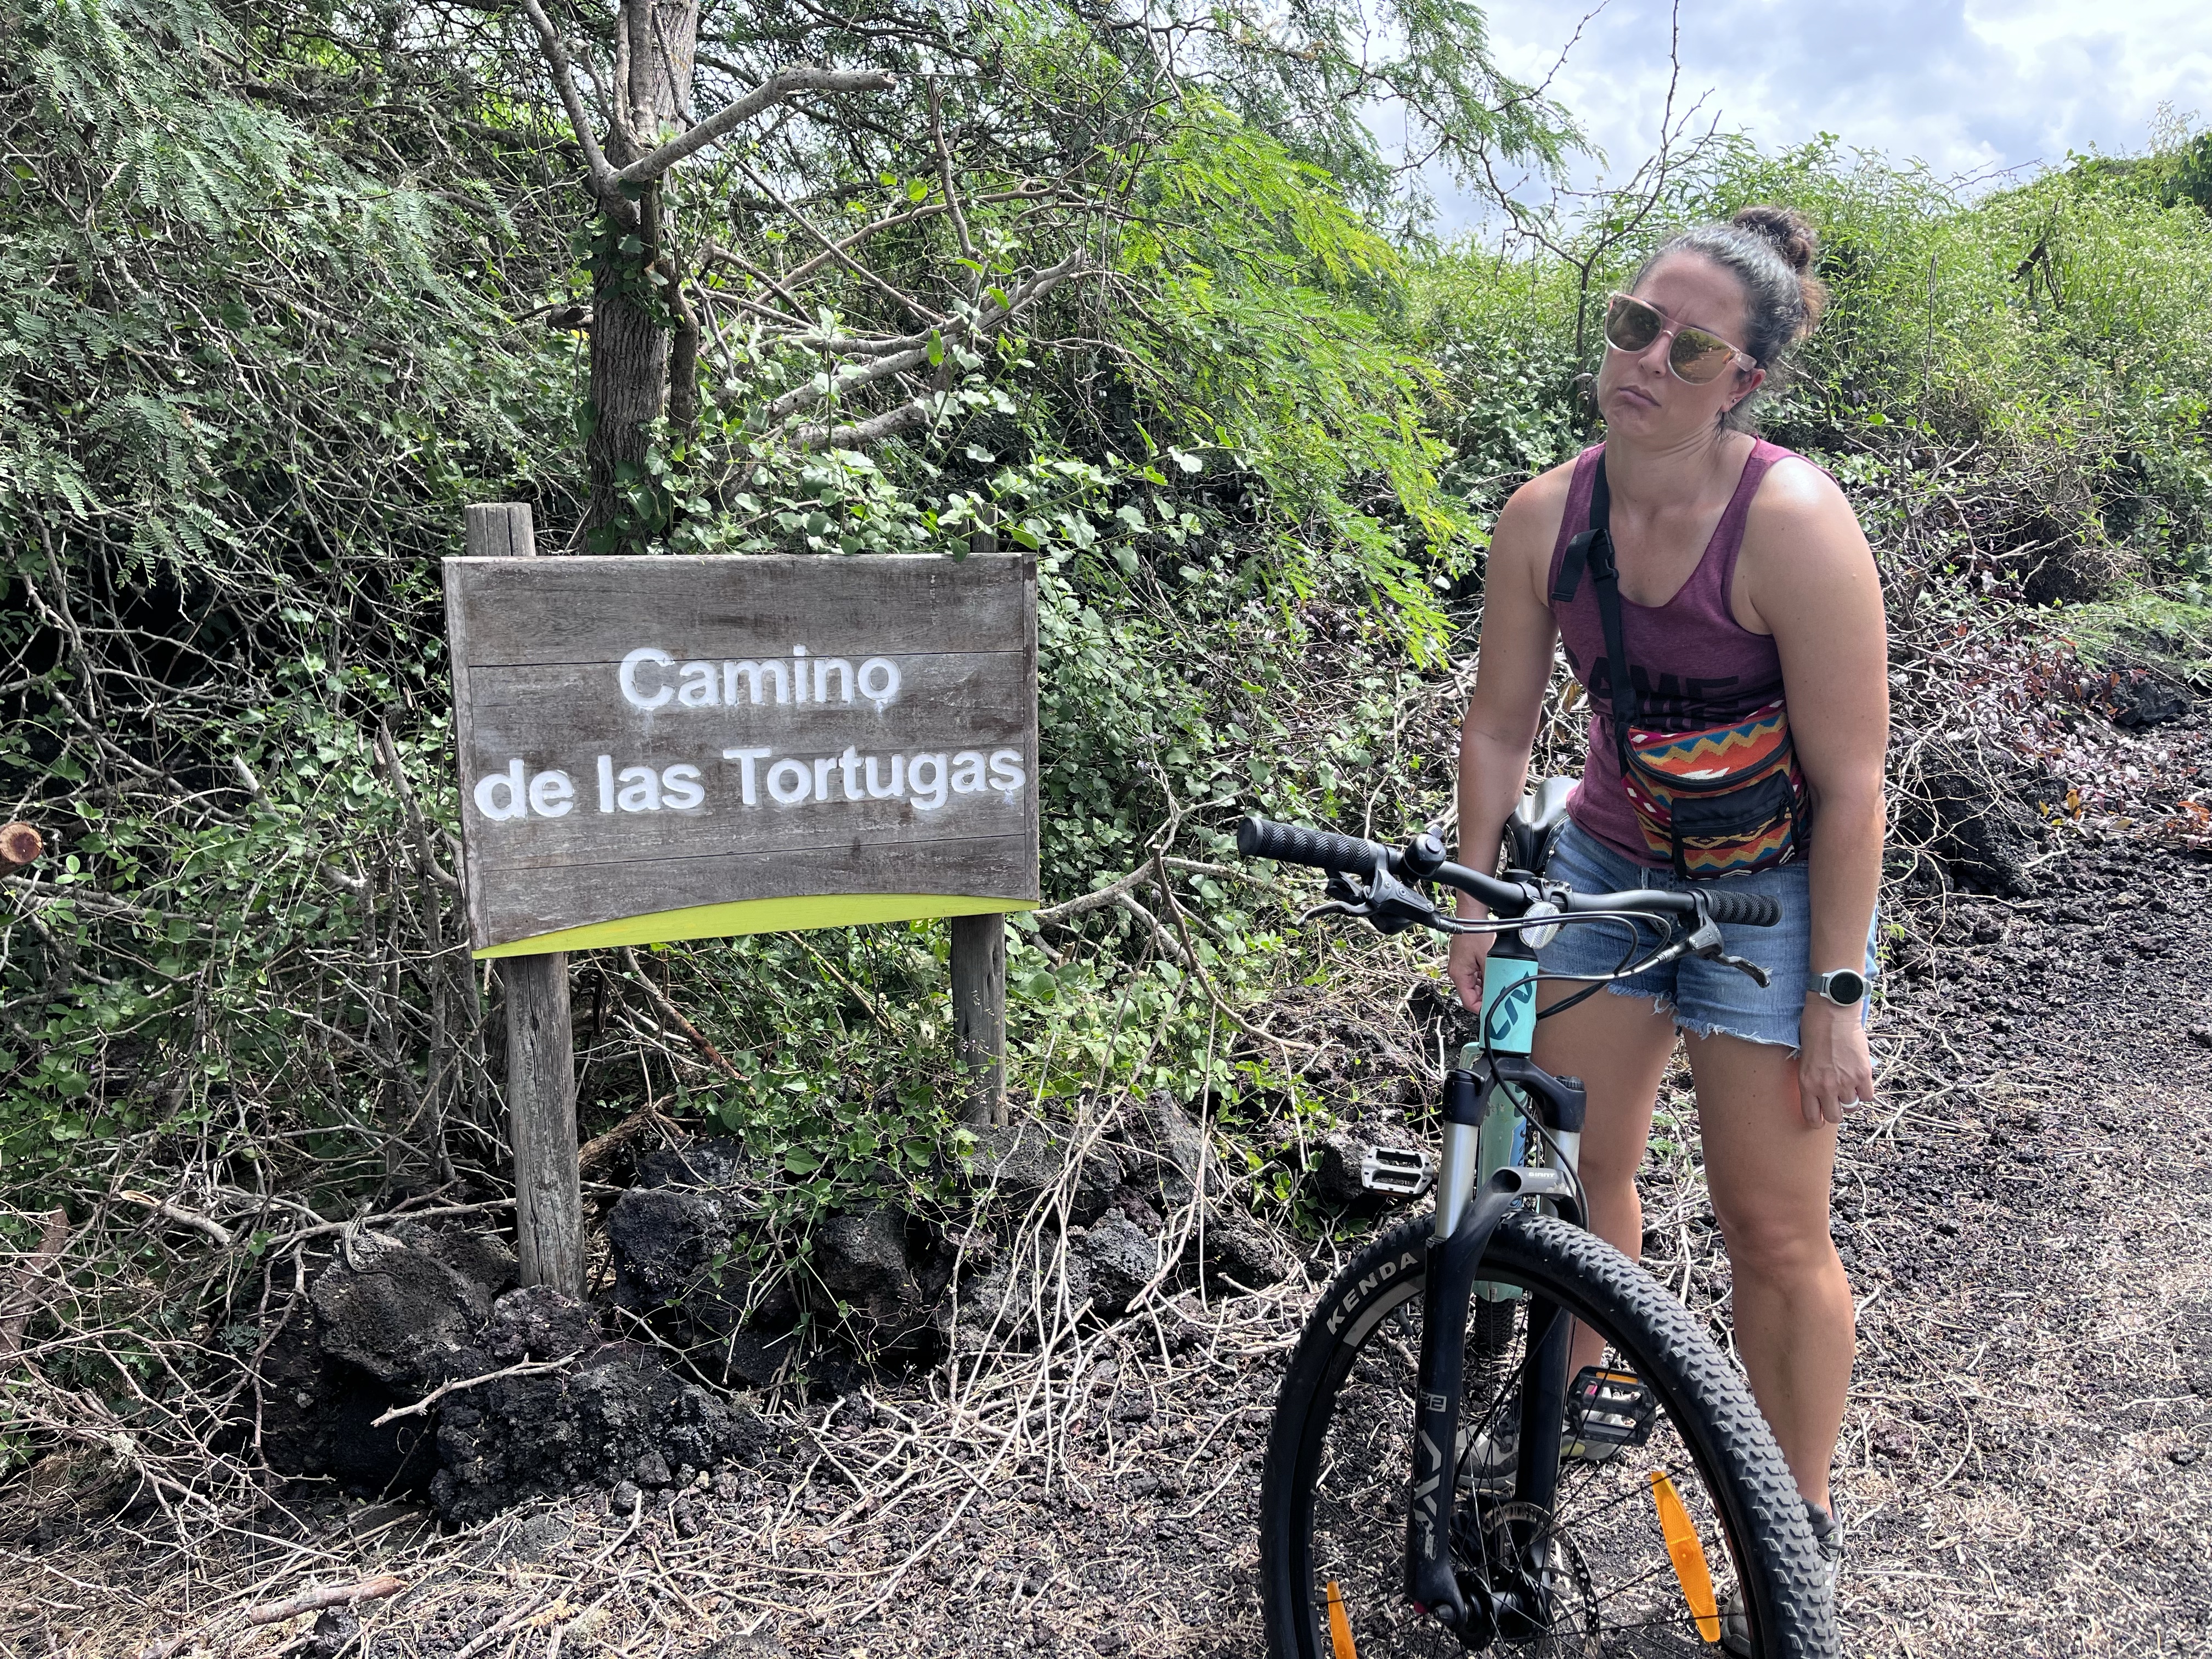
We, unfortunately, did not see any tortugas on the Camino de las Tortugas.
Diving
Yes, I realize that diving is also an activity. However, not everyone is a diver, and at ~$220 per person, this was by far the most expensive activity of our trip. Worth it? Absolutely. I recommend only diving from Santa Cruz, which has PADI certified dive centers. Again, you can walk in and book a day (or two) beforehand for cheaper rates than booking online.
Food
Compared to the mainland, food is more expensive, but when you consider that EVERYTHING must be brought to the island by boat, it makes sense.
Eating in Puerto Ayora (on Santa Cruz Island) is more expensive than in Puerto Villamil (on Isabela Island), especially on Charles Darwin Avenue, the main road. However, you will find some really nice restaurants. For instance, we frequented The Rock quite a bit for their nice beer and good food. But, I highly recommend venturing off the main avenue to find more local options. And, la Calle de los Kiosks (or the Kiosk street) is full of good, affordable options from breakfast ($5 pp) through dinner (~$10 pp).
If the menu is written on a whiteboard, then you’ve likely found a good (local) spot!
On Isabela, look for the menu del día for both lunch (almuerzo) and dinner. For instance, we had a beach-front three-course almuerzo (soup, main dish, dessert) for $10 per person. One street back from the beach, you’ll find typical dinners (soup + main dish of usually meat, beans/lentils, small salad) for $8 per person. For comparison, we pay ~$4 for similar dinners in Tena. So, yes, it’s more expensive relatively speaking, but it’s also not unreasonable.
And, of course, in both places, you’ll find mercados for general grocery shopping. We mostly had coffee and breakfast in our Airbnb.
Overall, we spent just under $25 per person per day on food, and we didn’t worry about always finding the cheapest food options. So, I’d say that’s not so bad.
Of note, I did not include alcohol in our food budget, which is sometimes more expensive than the food itself, especially if you want craft beer. Alcohol consumption is obviously a personal preference, but not drinking is an easy way to save money.
General Tips
Santa Cruz vs. Isabela
Puerto Ayora on Santa Cruz Island is MUCH more touristy than Isabela Island. We didn’t make it to San Cristobal (which I regret), but I would expect the town in San Cristobal to be more like Puerto Villamil on Isabela. So, you should consider what you’re looking for from your trip before deciding how many days on each island. Puerto Ayora has many more food options (and places that accept credit cards), tour companies, microbreweries, and souvenir shops (you get the point) than Isabela.
In hindsight, we would have spent only two full days on Santa Cruz Island and four on Isabela Island, given that we preferred the laid-back beach atmosphere of Puerto Villamil to Puerto Ayora.
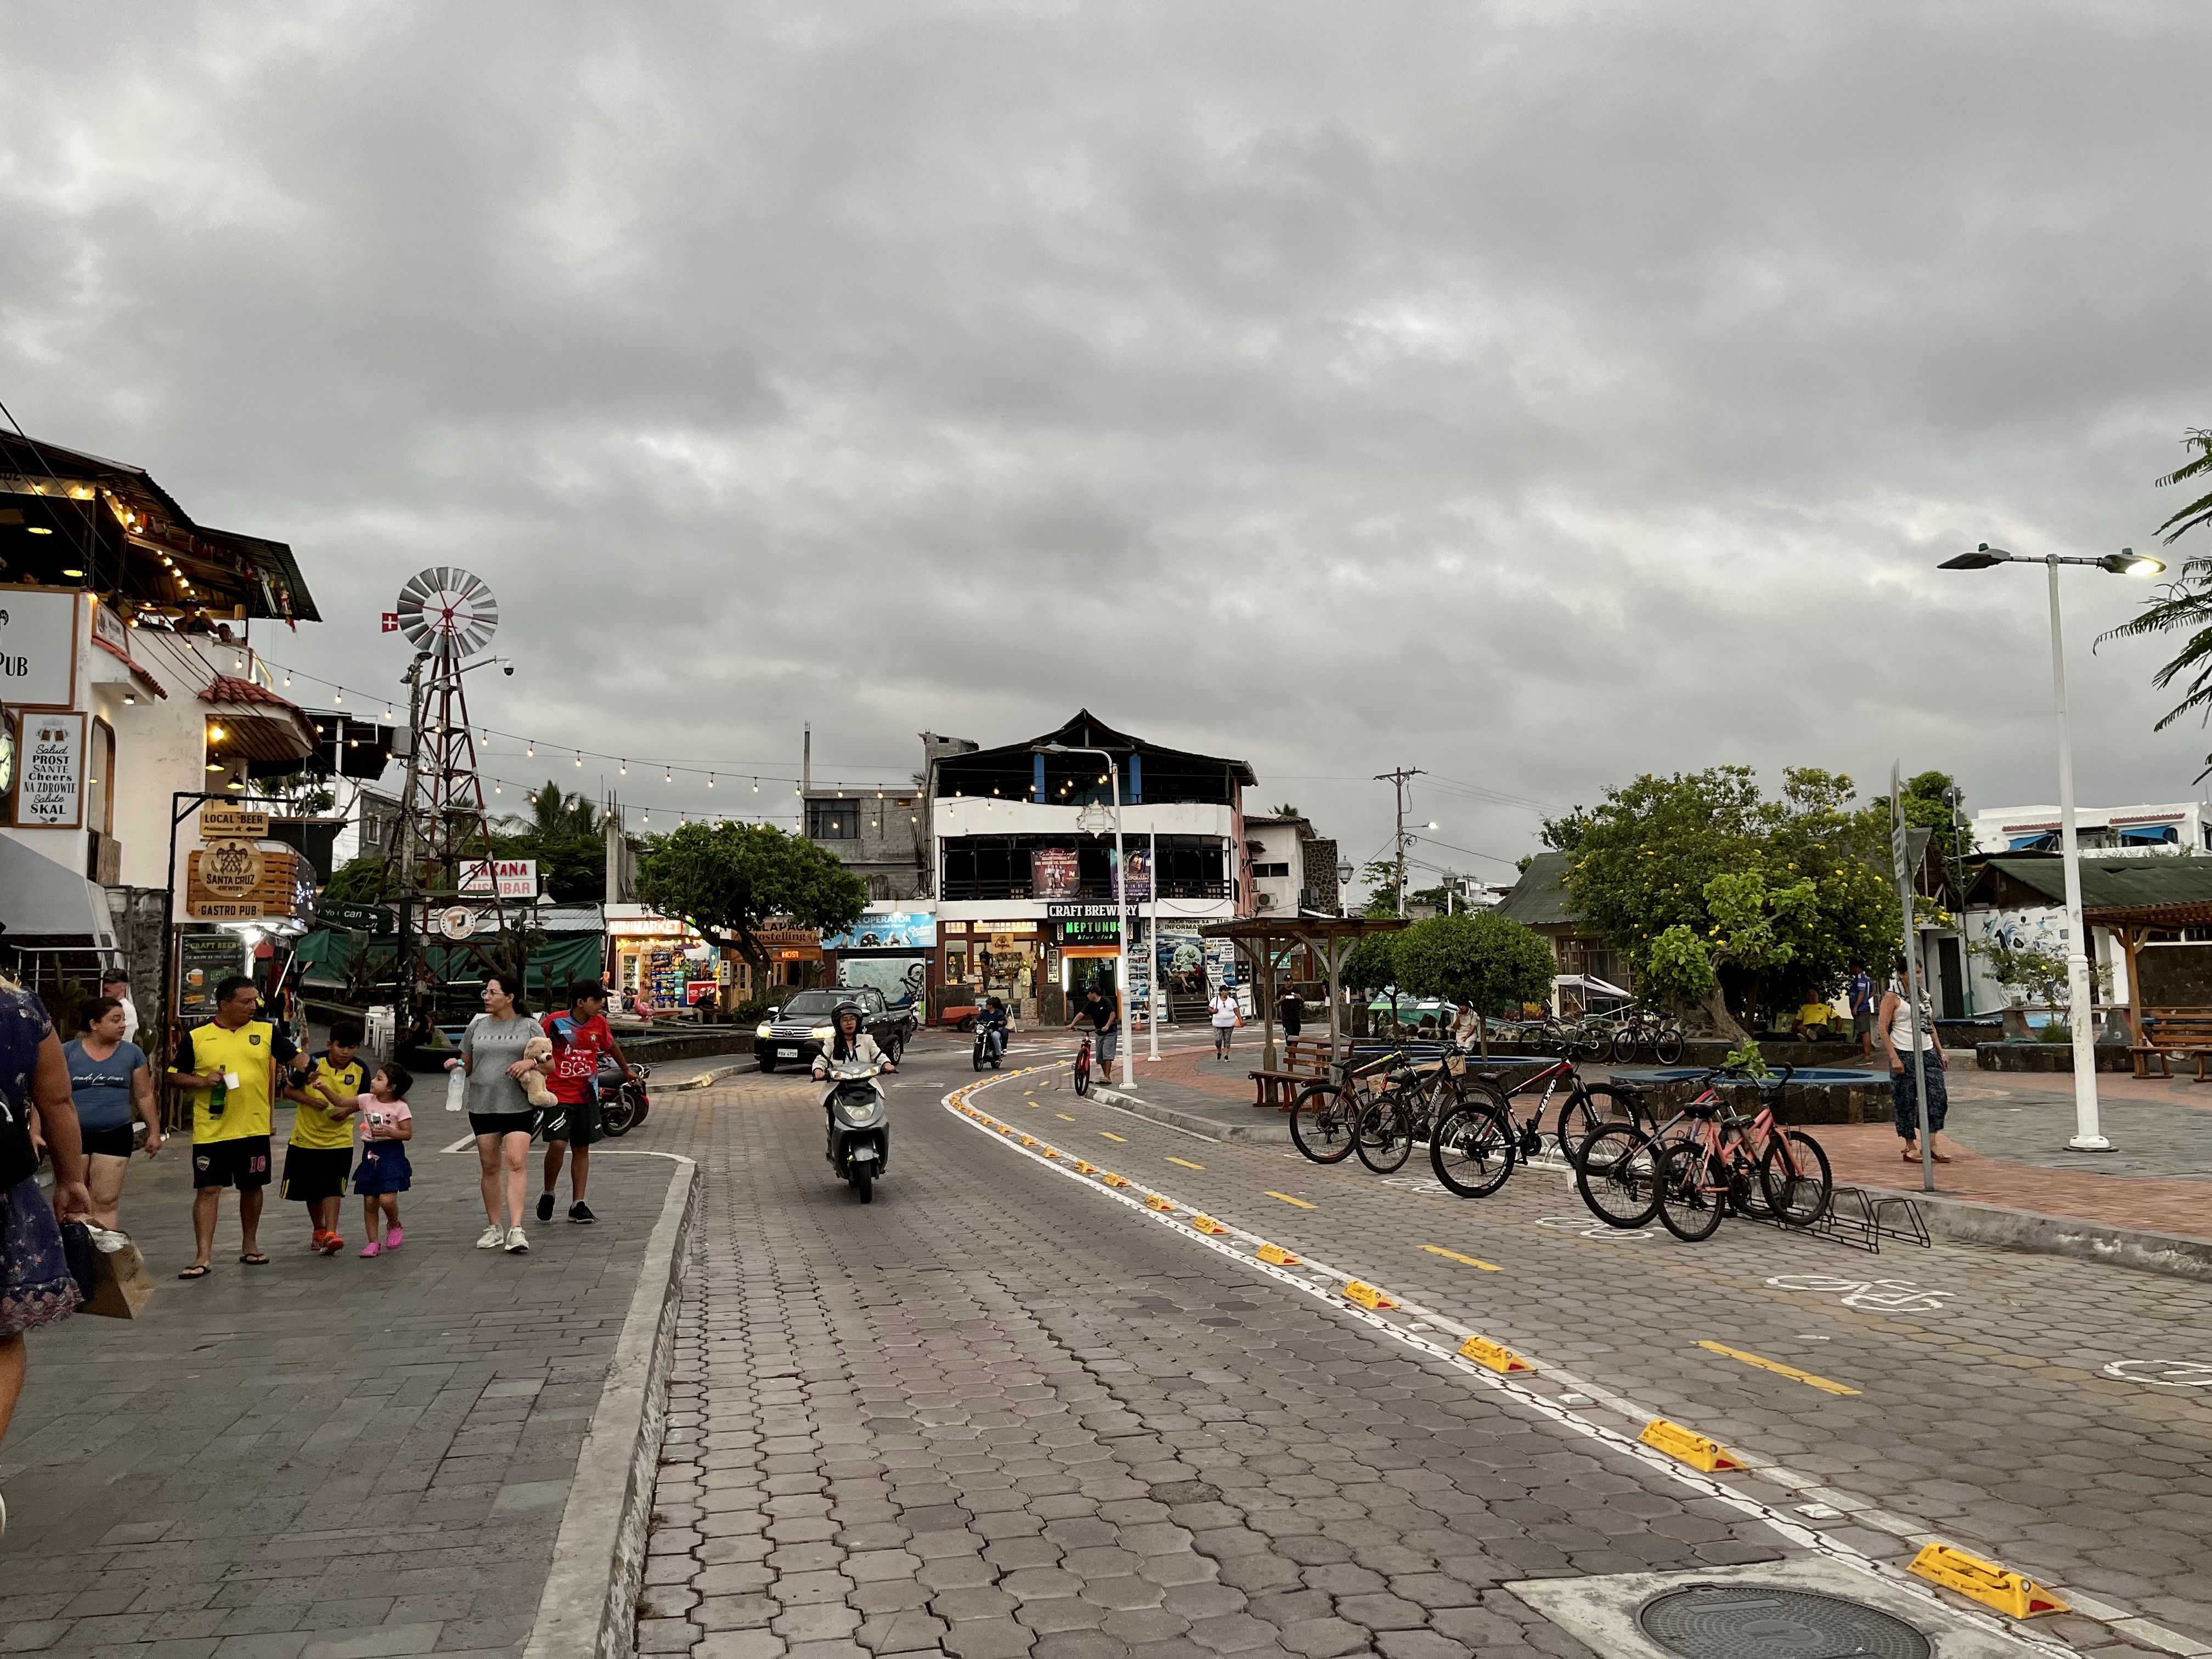
Main road in Puerto Ayora, Santa Cruz.Main road in Puerto Villamil, Isabela.
Cash! Cash! Cash!
You will always benefit by having cash. However, don’t carry too much at one time. The ATM options are plentiful in Puerto Ayora, but Isabela only has one ATM, and sometimes that ATM doesn’t work, which we found out the hard way. Luckily, it started working again by the afternoon, and we had enough cash for our necessities, but the lack of extra cash really cut into our happy hour time! 😜 Honestly, though, it’s why we ended up buying the ferry tickets online because we didn’t want to spend nearly all our remaining cash without knowing for certain we could get more. It was a bit stressful, I don’t recommend it!
Anyway, long story short, especially if you leave Puerto Ayora, expect to pay everything in cash and take more than you need.
BYOS
Bring your own snorkel (and mask)!
You can snorkel at any of the public beaches for free if you have your own gear!
So, thank you for coming to my Ted talk on the Galapagos, and happy planning! 😀
The second half of our Galapagos adventure was spent on Isabela Island, which is larger in size but much smaller in population. For reference, the number of permanent residents on Santa Cruz Island, where we spend the first half of the trip, is ~15,000 versus ~2,000 on Isabela.
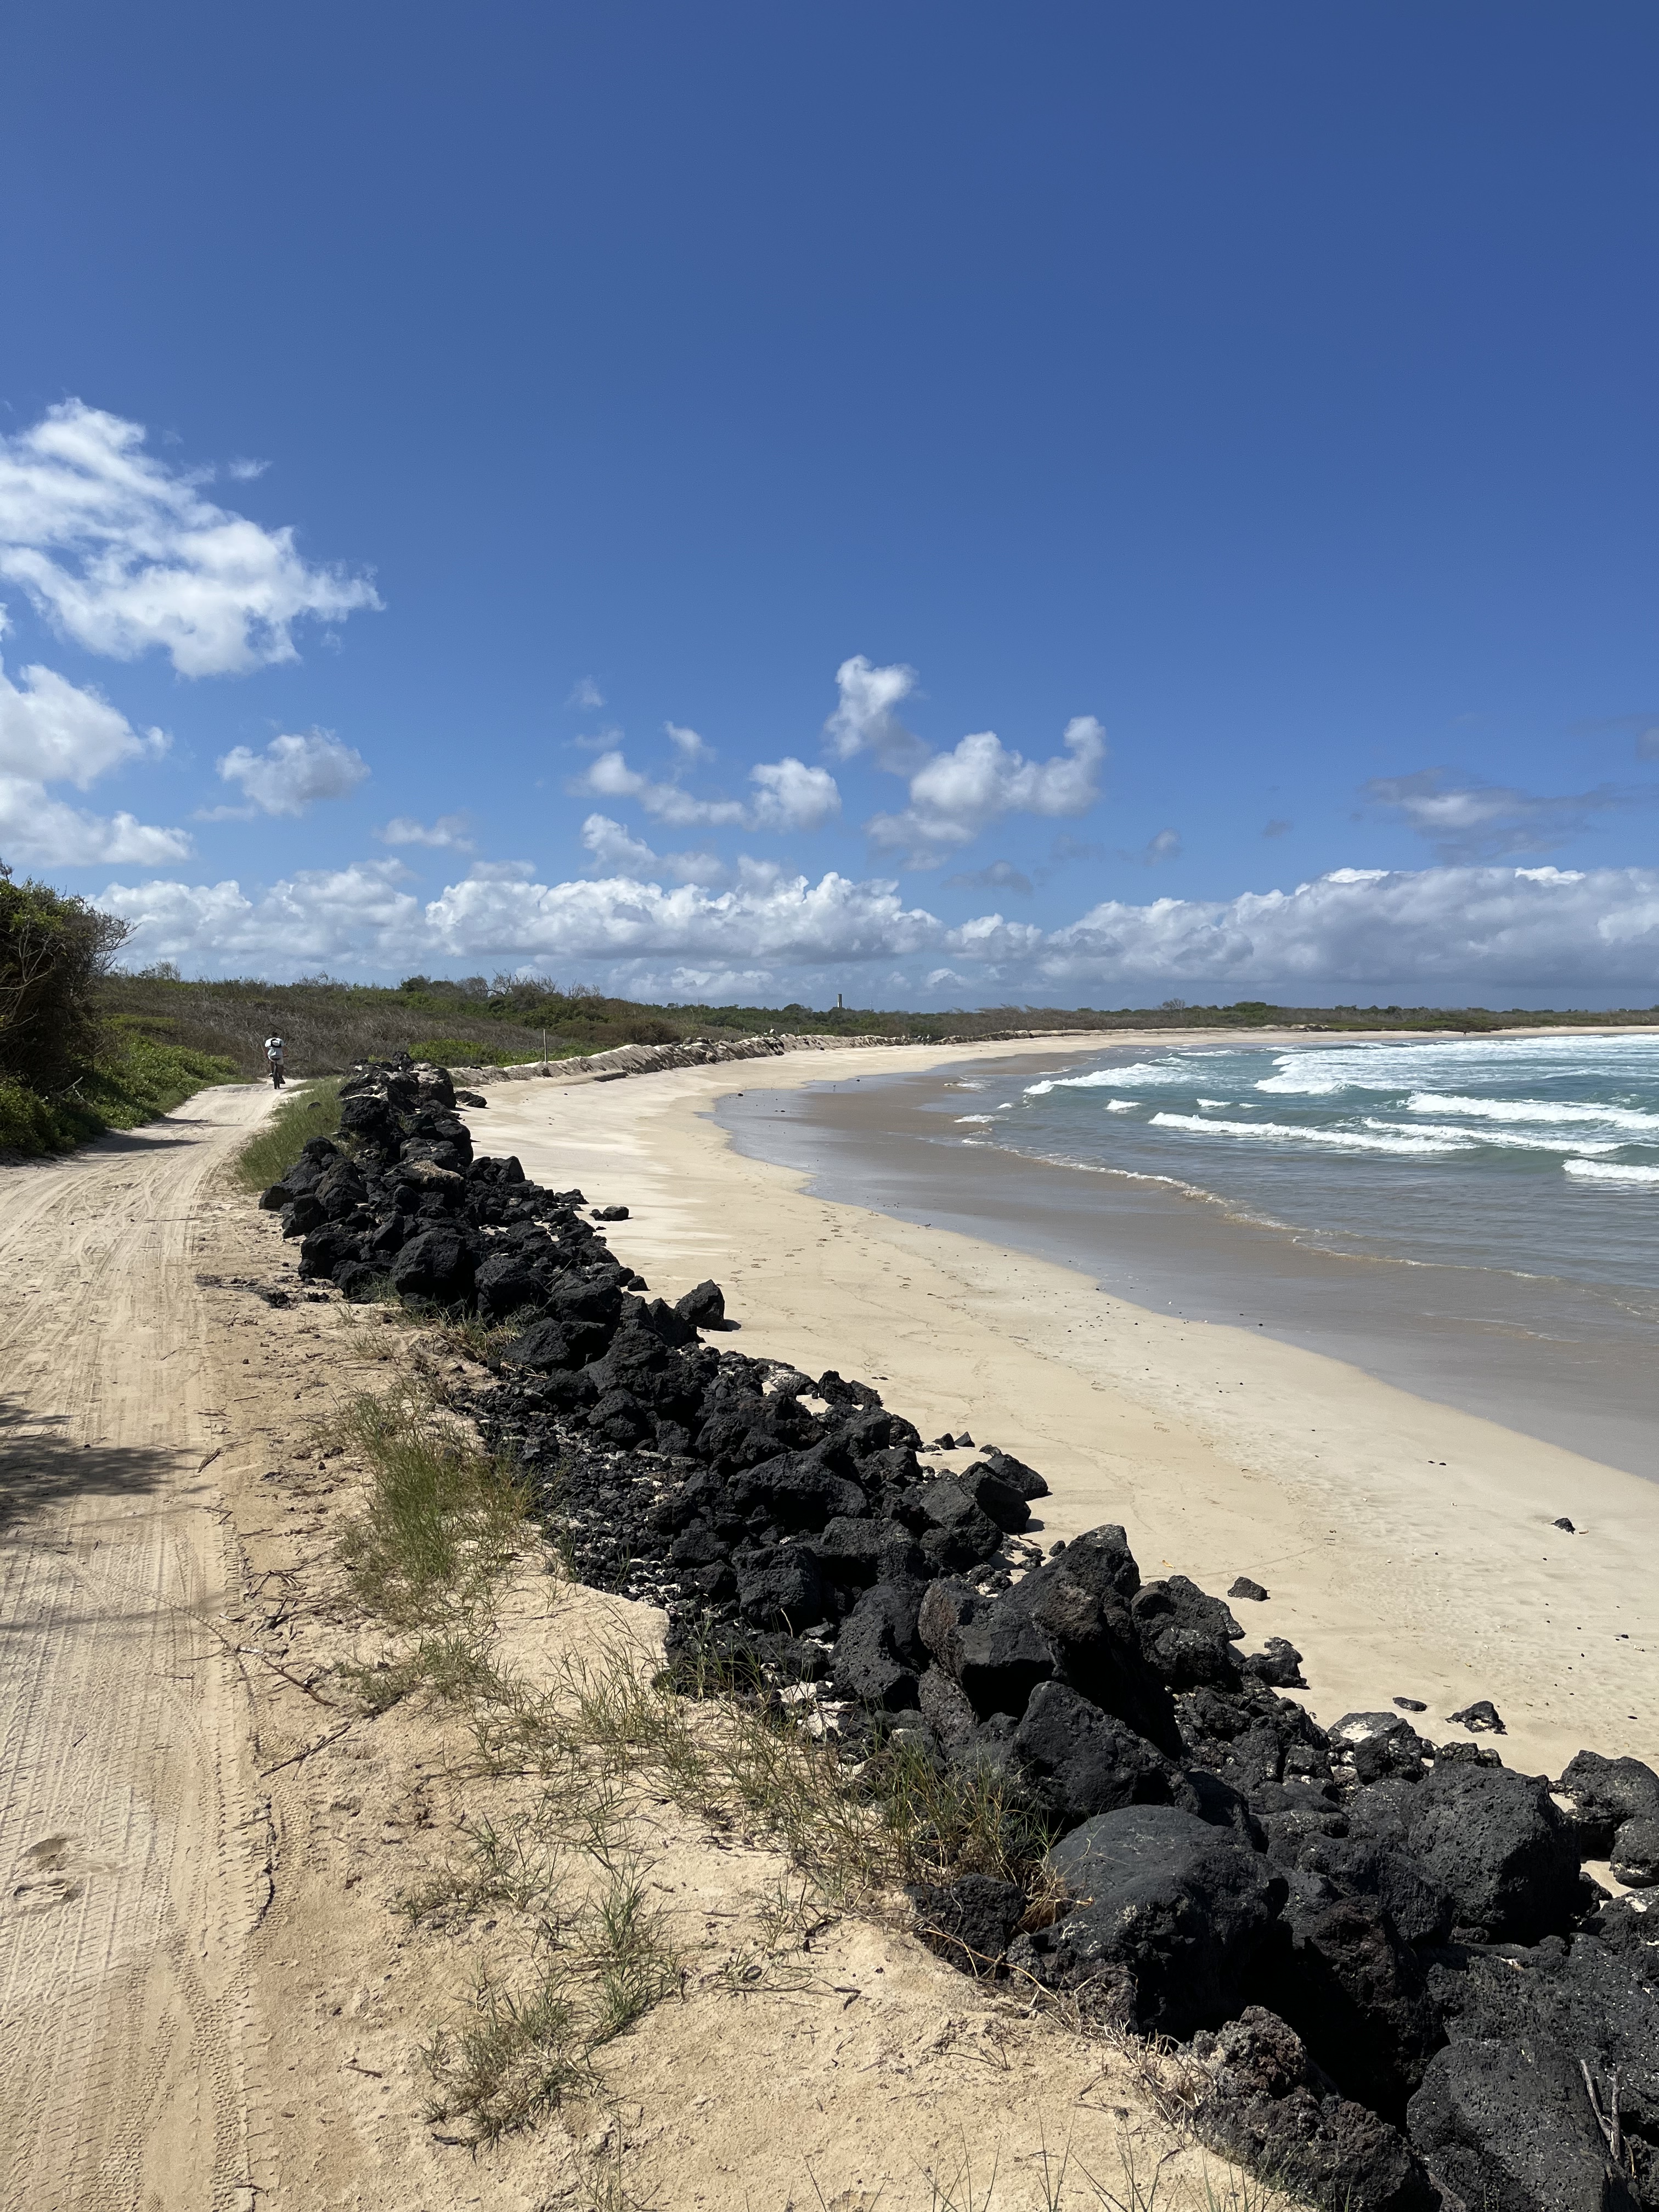
If we had it to do over again, we’d spend more time on Isabela! The feel of this island was much more laid back and less touristy, and you have easy access to the beach!
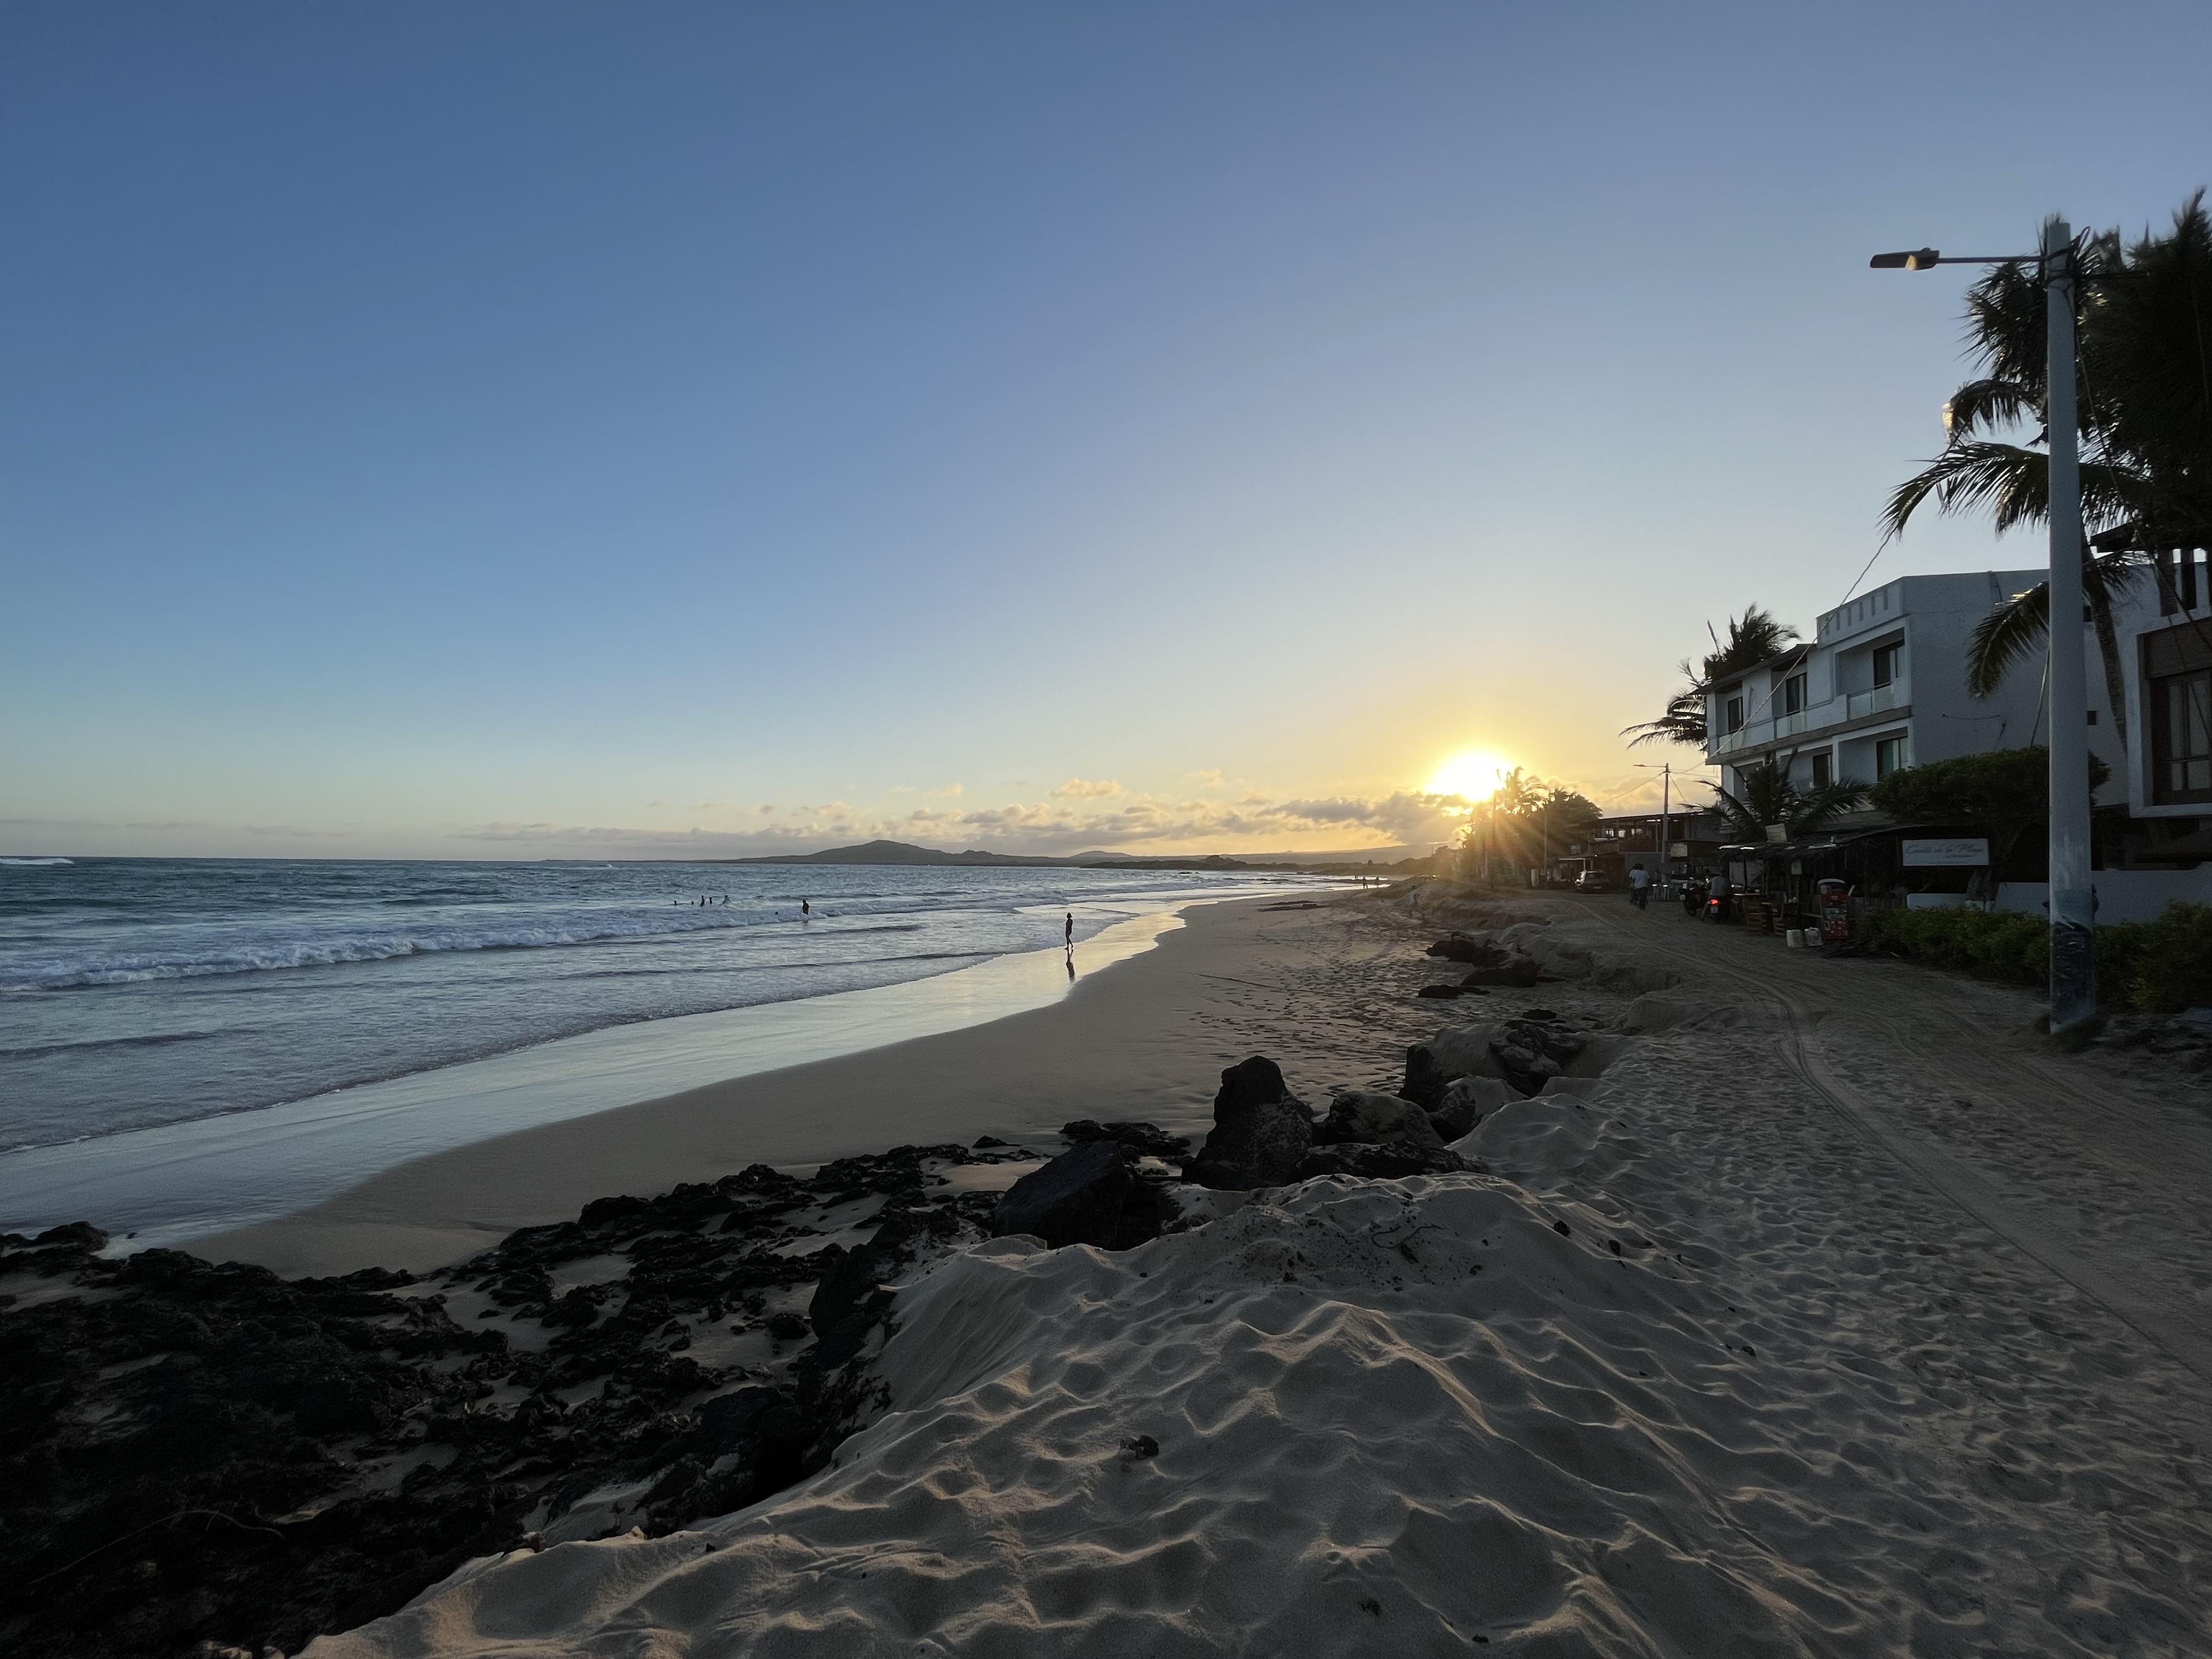
Playa Puerto Villamil
We kicked off our time in Puerto Villamil, the main town on Isabela Island, with one of the coolest tours I’ve ever done!
Volcan Trizillos
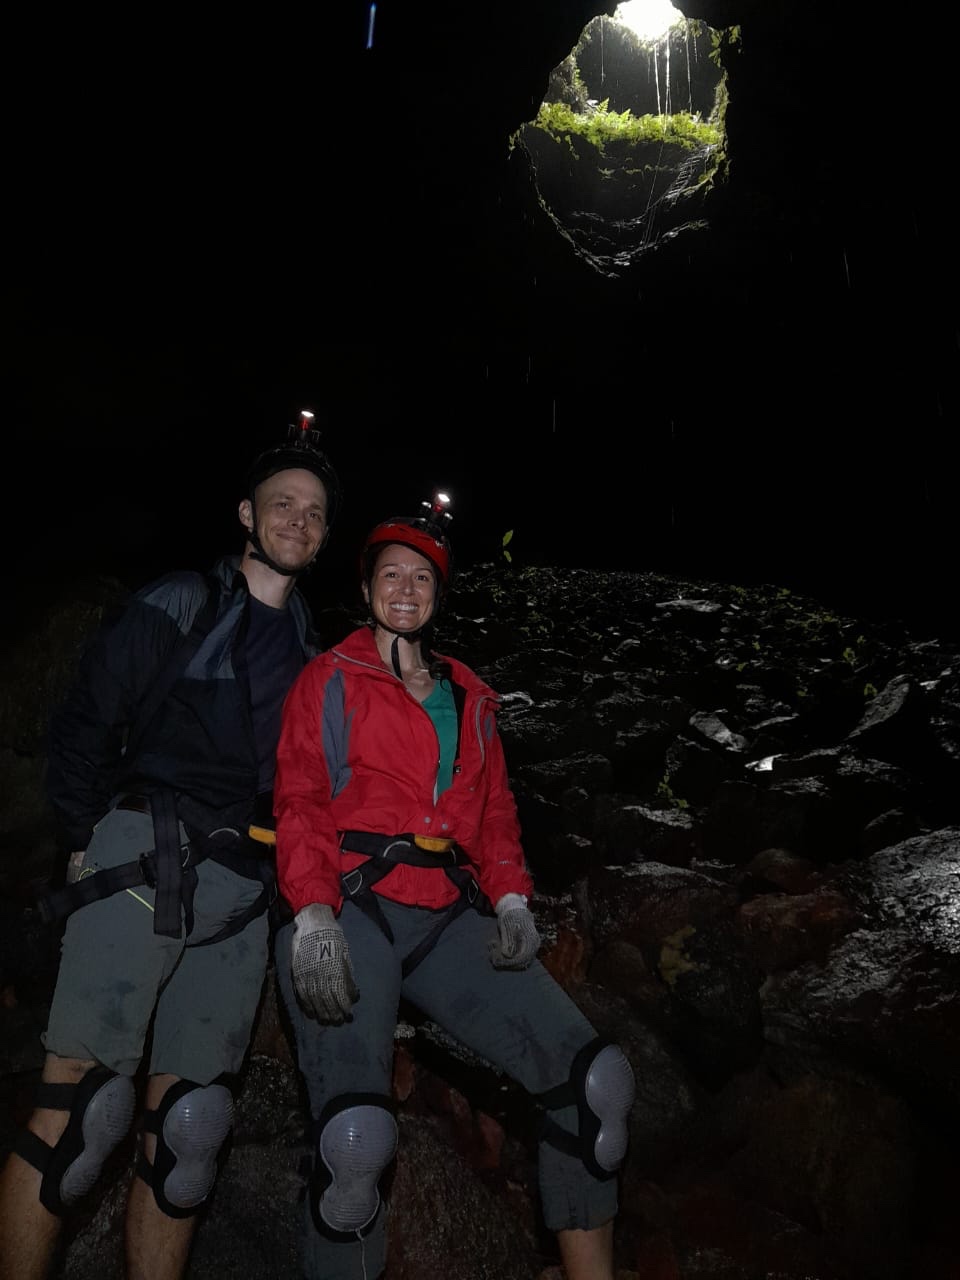
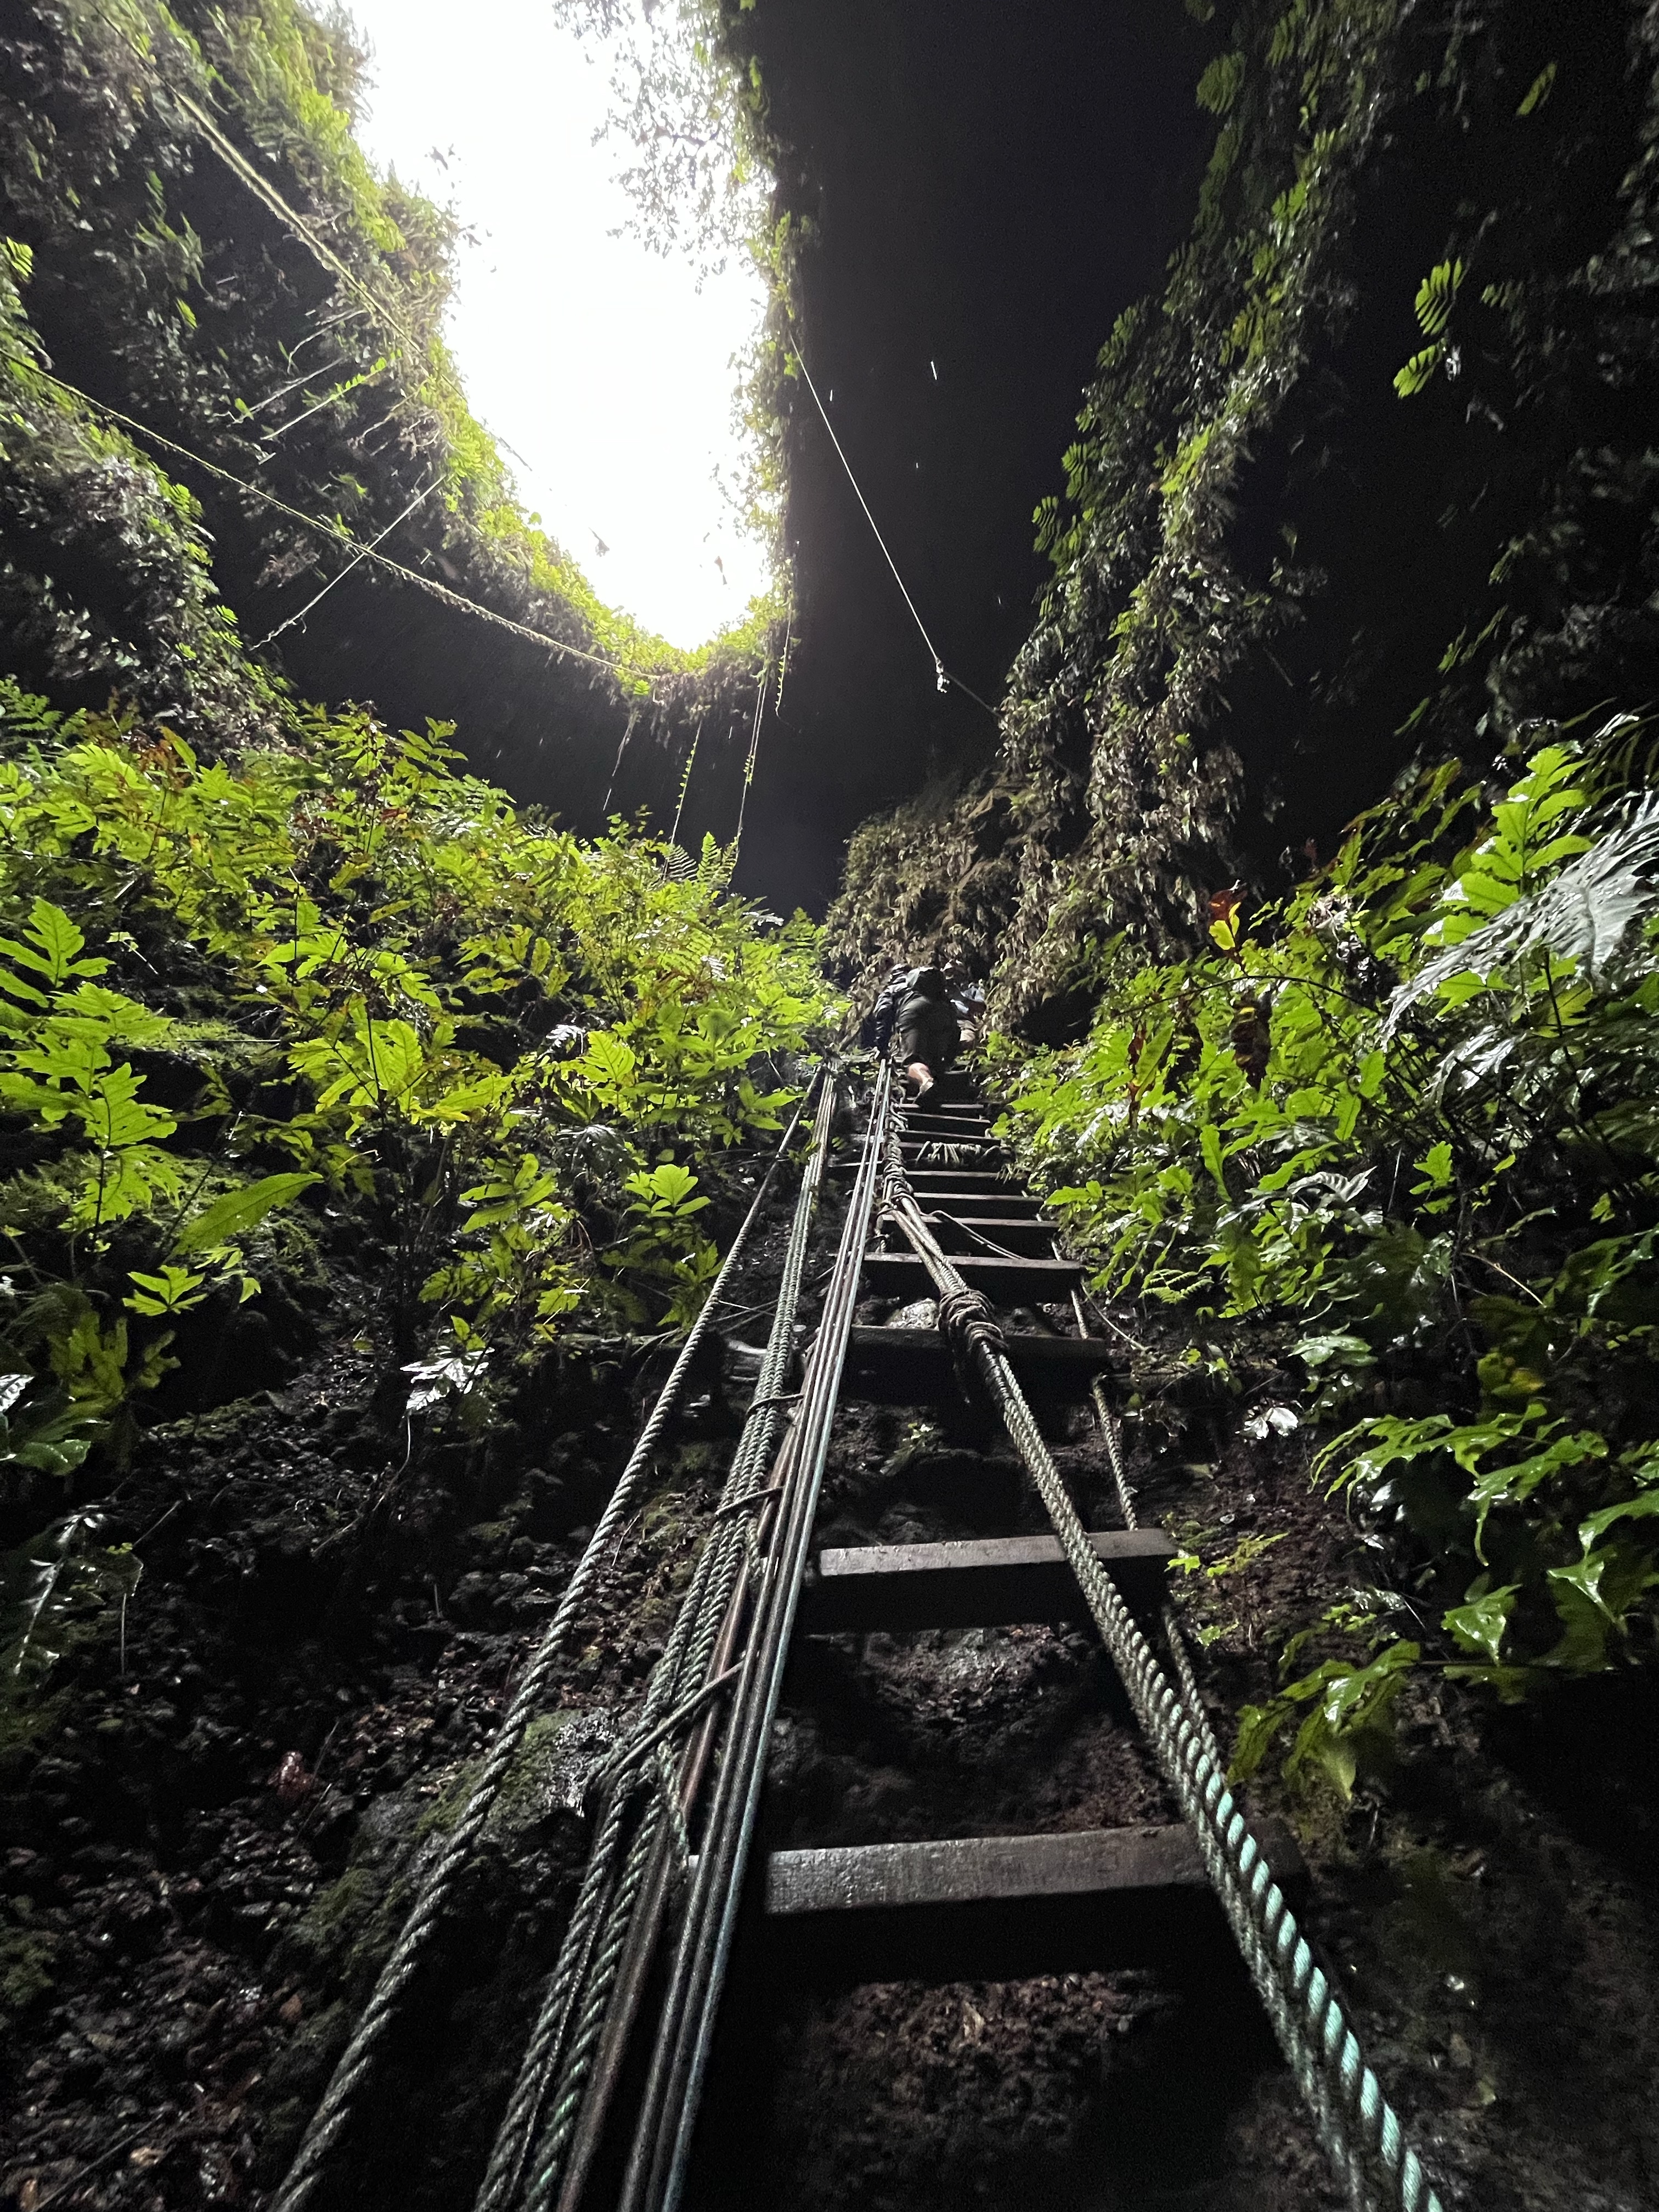
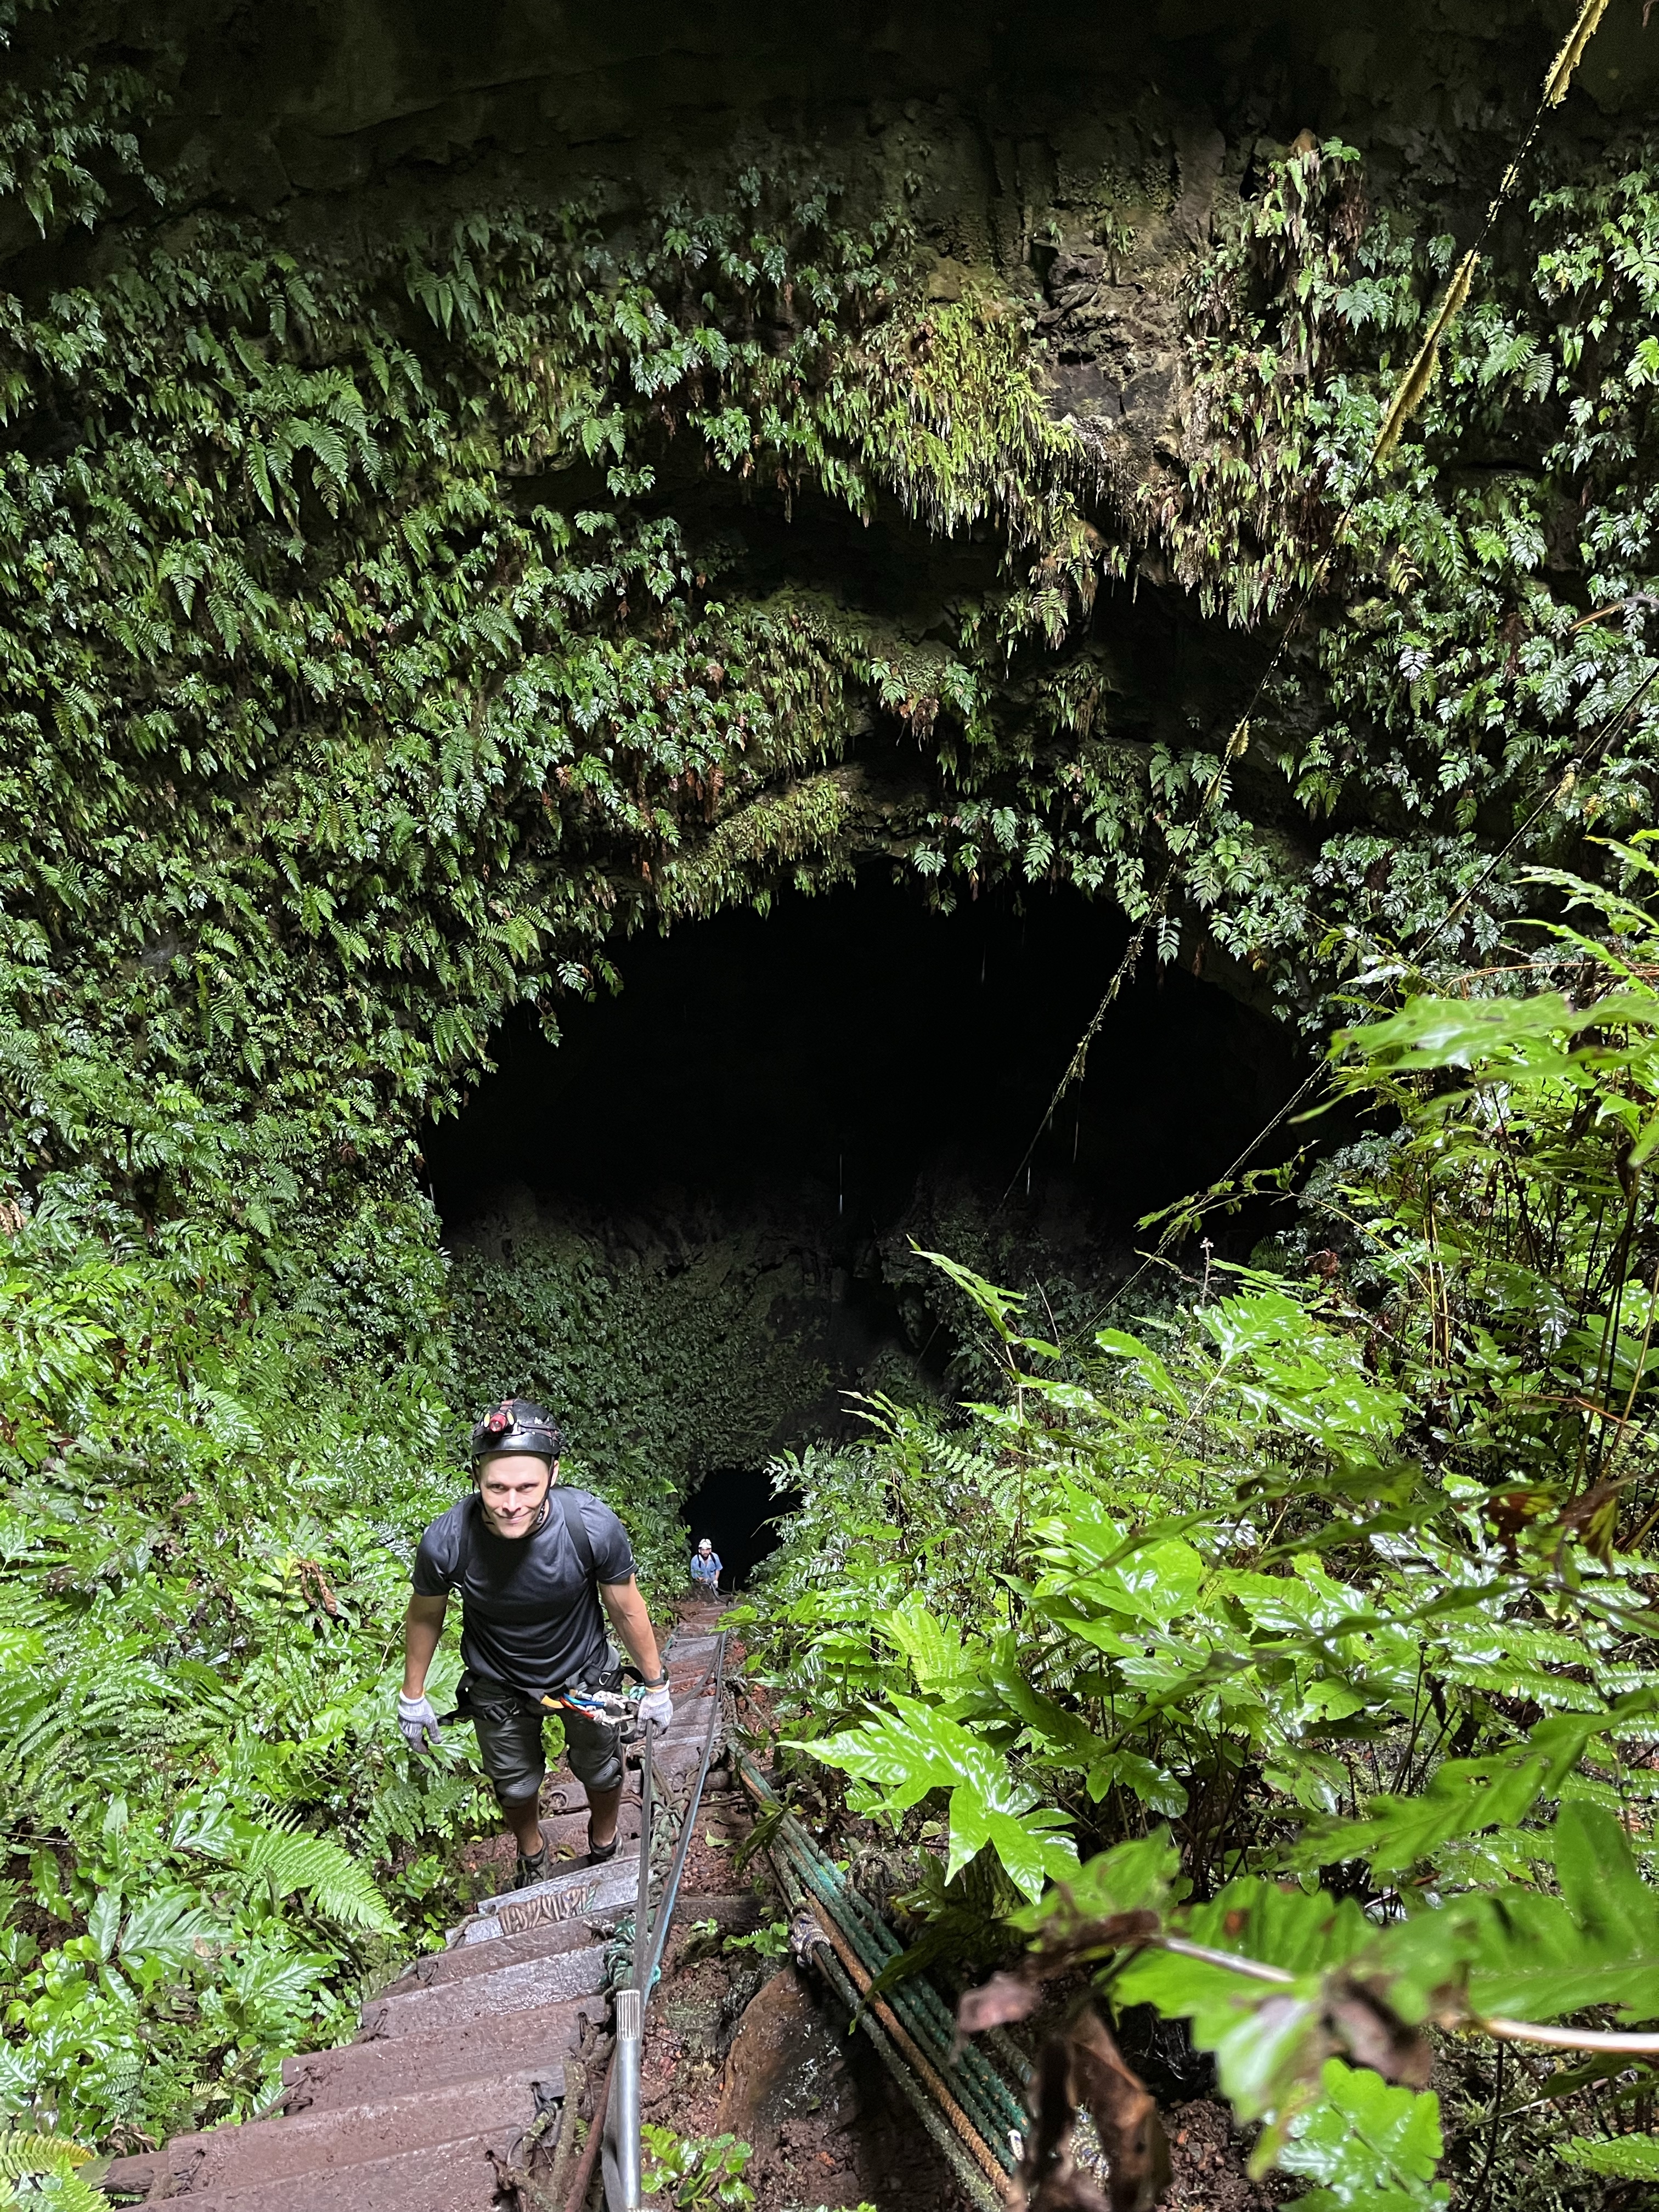
This tour involves repelling 105 meters (~500 feet) into an inactive volcano crater!
Ready to repel!
Yes, it seems a bit sketchy, but it definitely wasn’t. Everything was super secure, and once you got the hang of how the rope lines worked, it was easy. At the bottom (well, at least as far down as we were going to go… it kept going!), our guide pointed out the various remnants of the volcanic eruption, like quartz and lichens.
Notice the vertical ladder leading out of the hole.
Don’t worry, though. There are plenty of water-based activities. We decided not to dive from Isabela. Honestly, the dive shop there wasn’t PADI- or SSI-certified, which was a red flag for us. Instead, we booked a snorkeling tour to Los Túneles, or The Tunnels.
Los Túneles
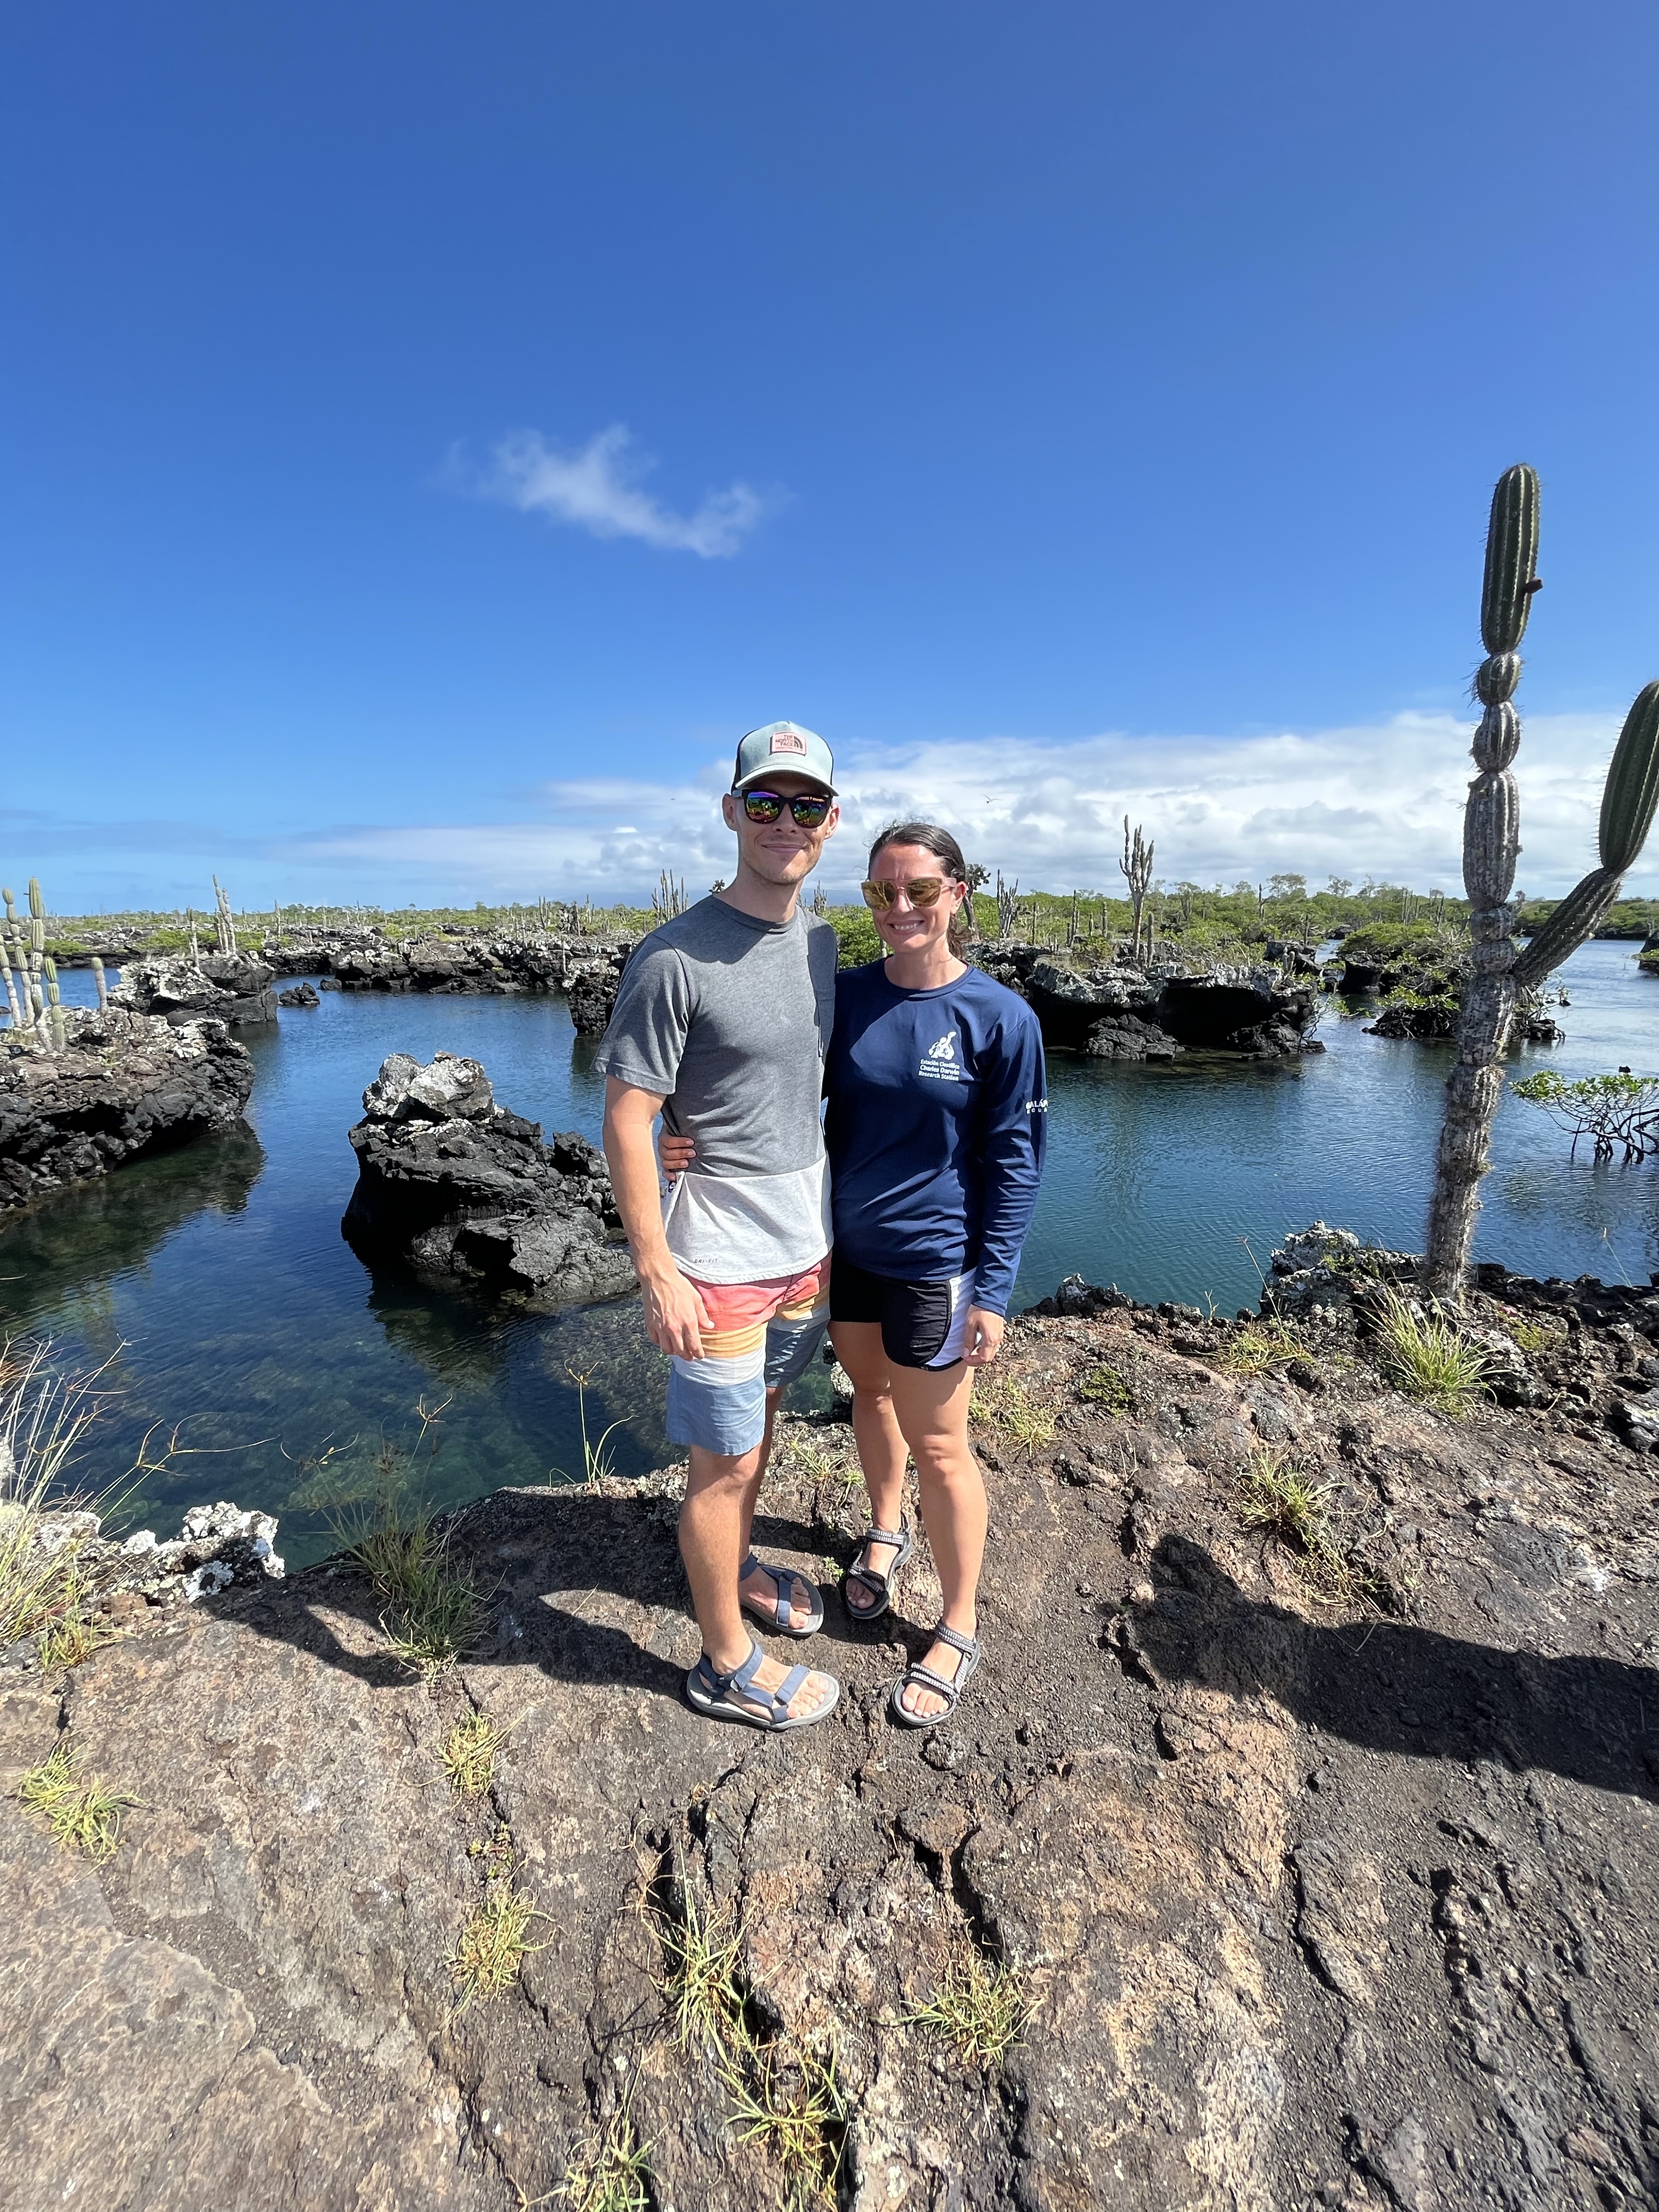
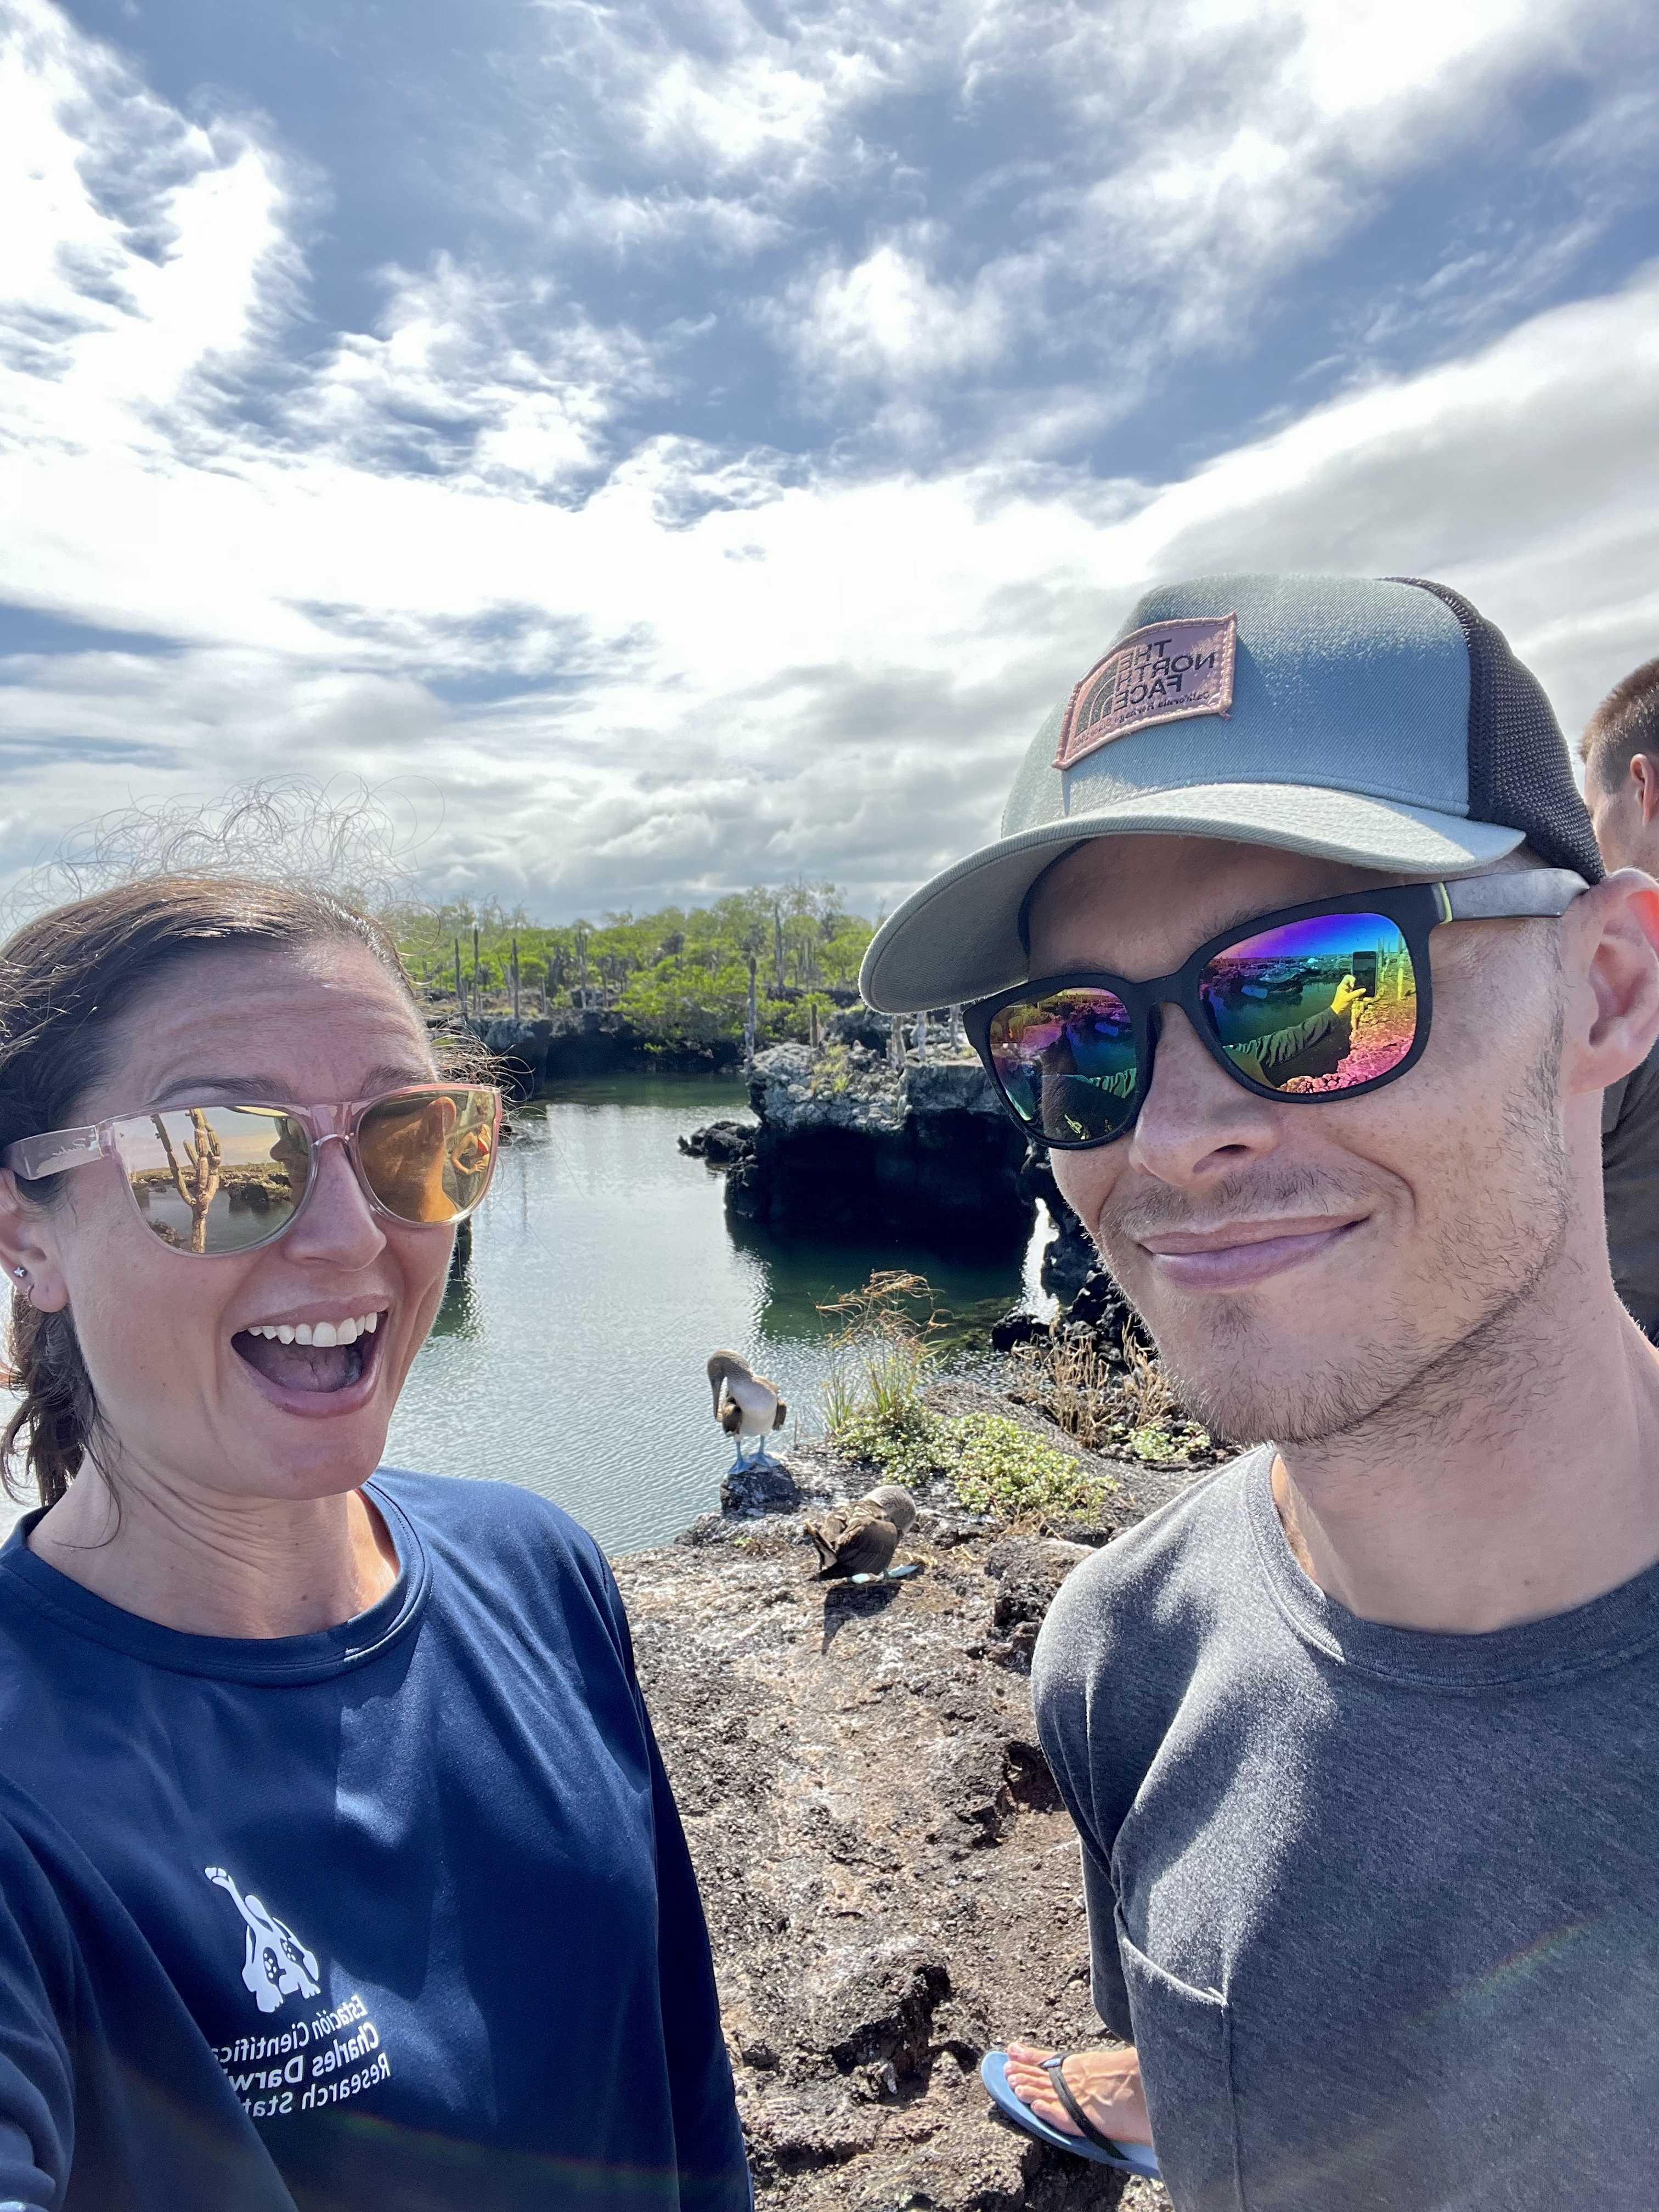
This tour is really a two-part tour: land and water. You don’t snorkel at “the tunnels” pictured below. First, there’s a land-based walking tour of this unique and aptly named area. This is important to know because several people showed up in only bikinis and flip-flops to walk around in the direct sun on volcanic rock… not ideal.
Anyway, this area had plenty of sea turtles, visible through the crystal clear water, and blue-footed boobies! This is one of those places where photos really don’t do it justice.
Oh, and another thing. If you’re easily seasick, I recommend Dramamine before you go. 🤣 To get into the Los Túneles area, you have to ride the waves, which is tricky because the boat needs to be in just the right position. The captains do this tour every day, so they (hopefully!) know what they are doing. But, on the day of our tour, I swear I thought I was going to watch the other tour boat in front of us capsize. It quite literally (at least in my mind) went completely horizontal! The waves that day were ~5 meters (~16 feet), and apparently, that’s a “calm” day. 😳 To get back out, they put everyone towards the back of the boat, kicked the motor into the highest gear possible, and just plowed through the waves. It was definitely an experience!
Snorkeling happens in two different areas. In both, we saw penguins, sea turtles, baby and big sharks, and tons of fish! The sharks were pretty crazy because the baby ones would swim right next to you, and later, there was a cave with at least 4 or 5 adult white-tipped reef sharks just hanging out in the sand. This tour was $110 per person, but we saw a lot of animals!
The only downside to a group snorkeling tour is the levels of swimmers, and our group certainly had all levels. Luckily, our guide didn’t mind Shane and I lingering a bit behind the group to avoid the chaos.
We also had good snorkeling luck at another spot near Puerto Villamil.
Concha de Perla
We went here twice, once in the afternoon and once in the early morning, about 8:30 am. I highly recommend going early in the morning. Other than one other couple, we had the spot to ourselves, and the sea lions were active in the morning! We swam with two!
To get there, walk back towards the pier for the ferries, then follow the sign and boardwalk through the mangroves to the swimming area.
The end of the boardwalk. Notice the sea lion and marine iguana!
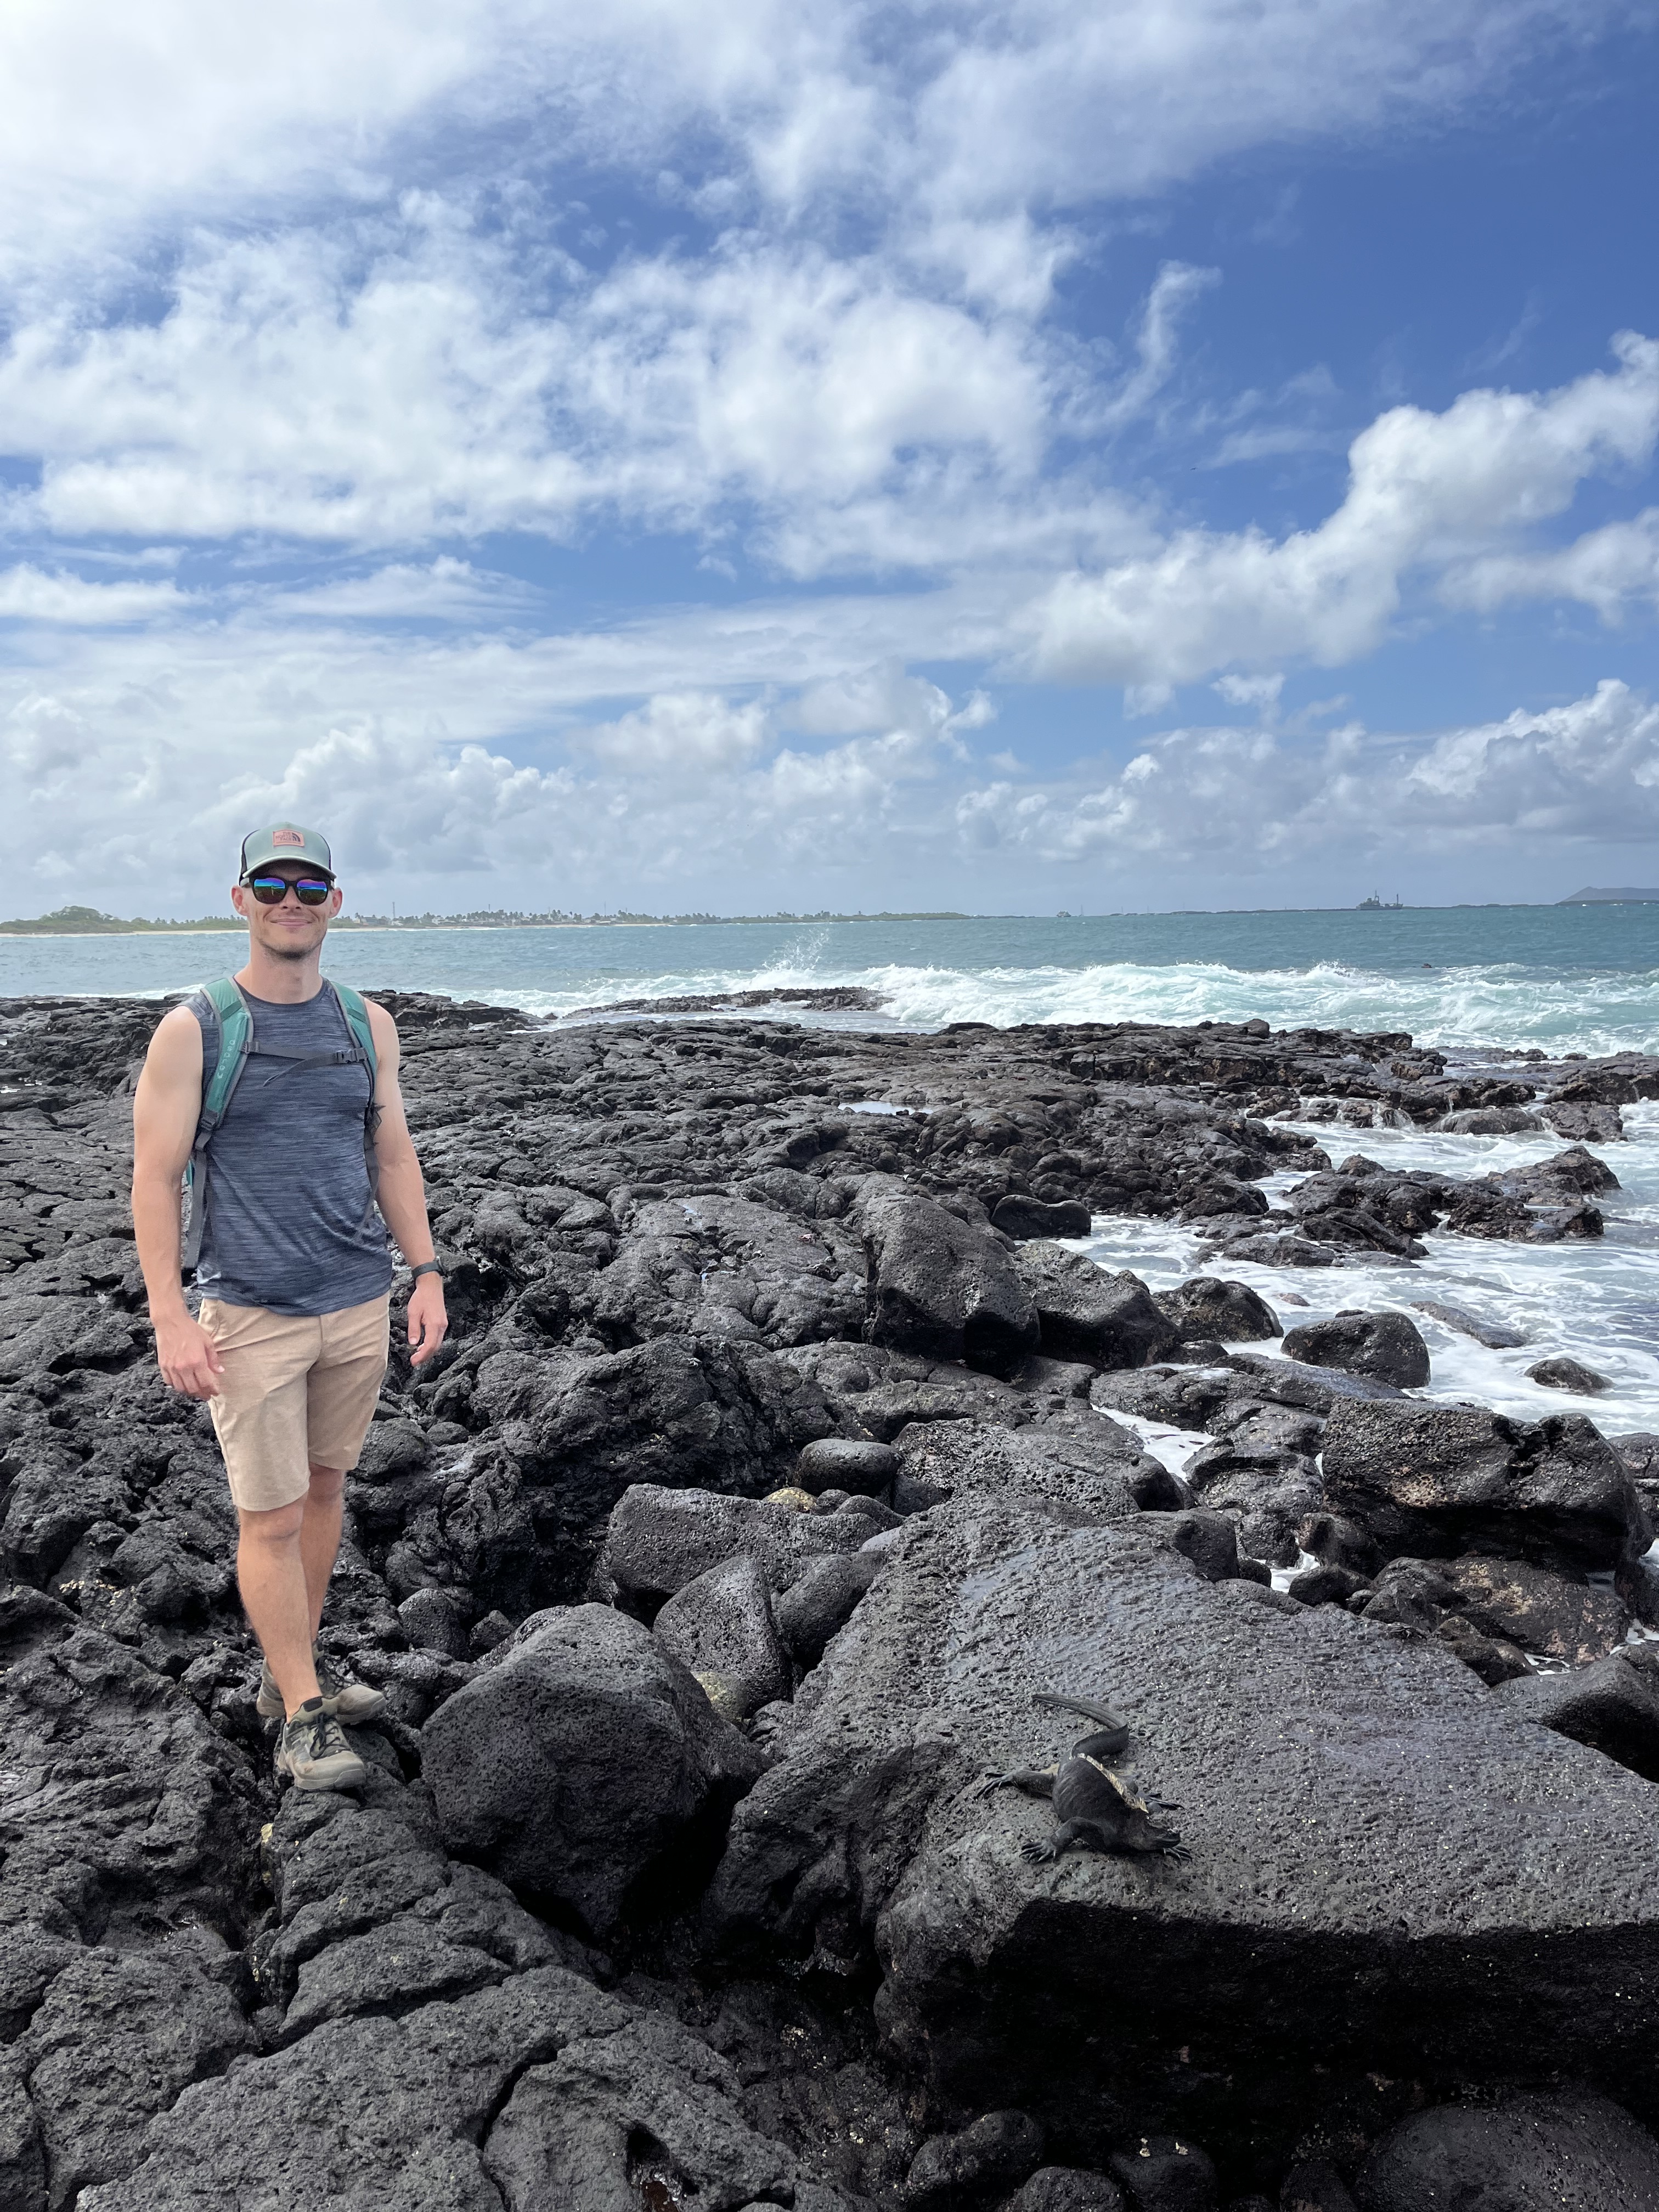
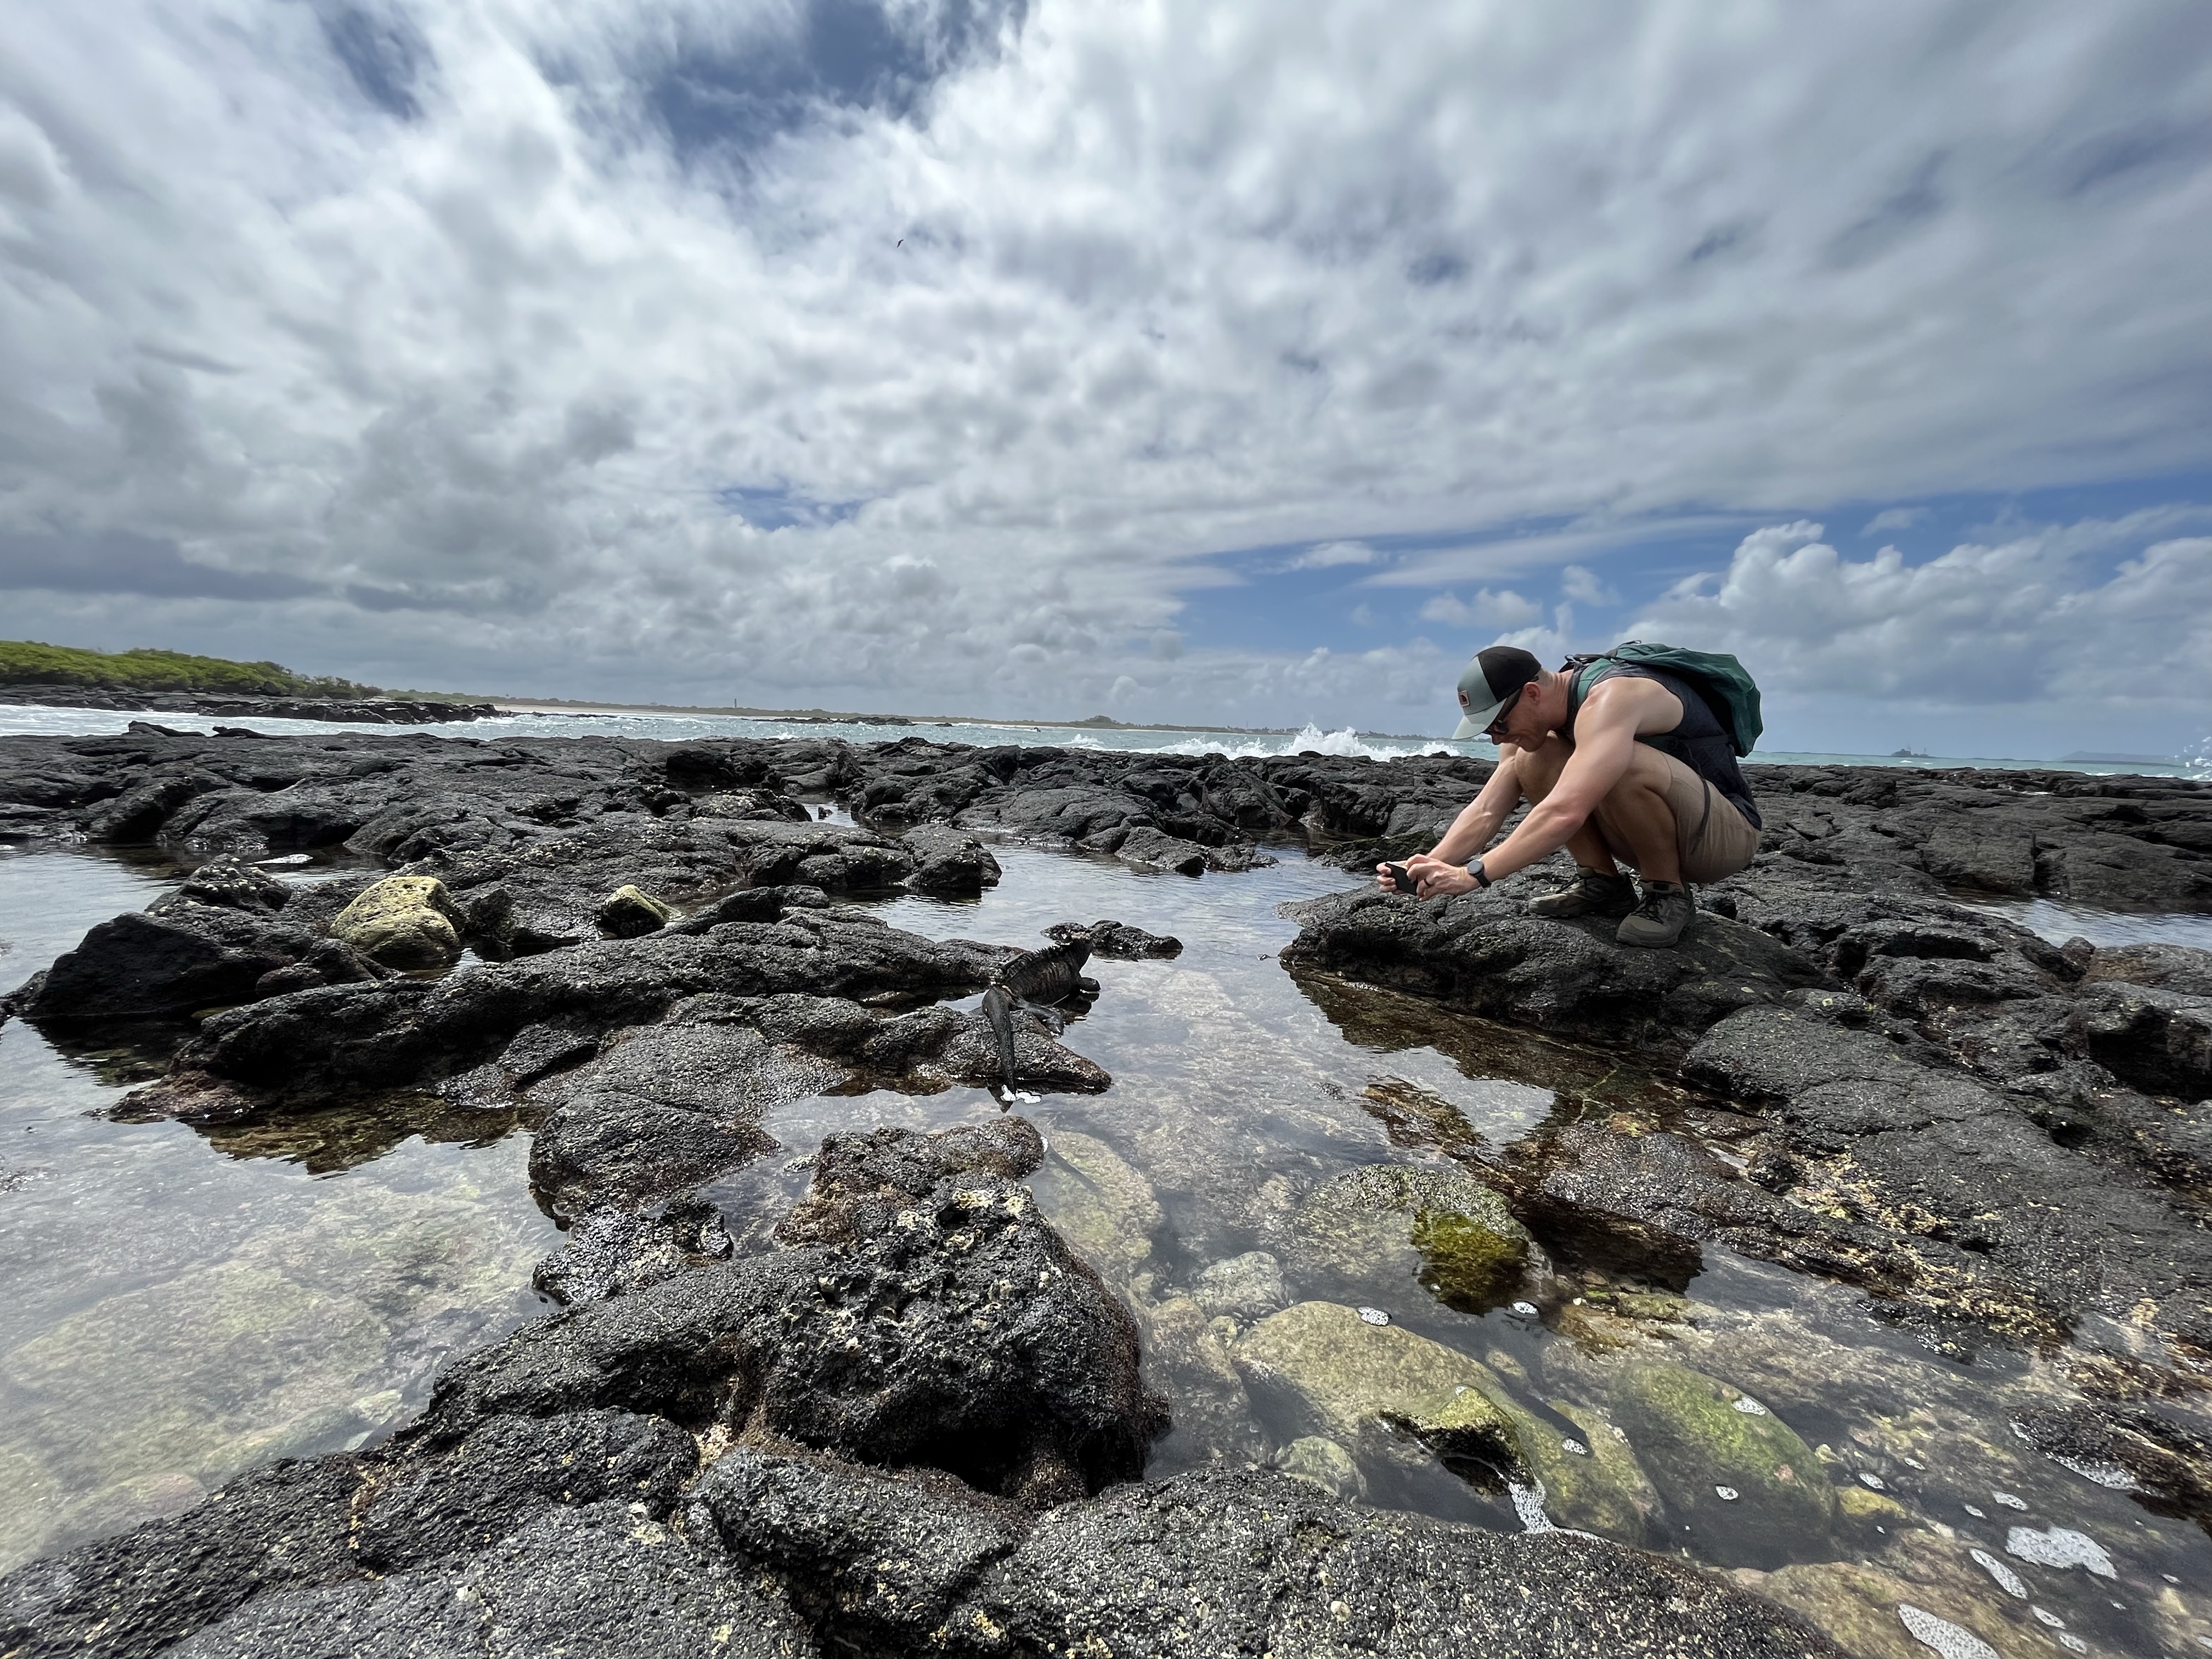
Walking there takes about 15 minutes, but you’ll know you’re close when you start seeing sea lions hanging around. 😆 Also, legitimately watch your step. You never know where an iguana will choose to sleep!
Our final adventure was by bike to the Wall of Tears.
El Muro de las Lágrimas
Remember how we lived in The Netherlands for six years and also biked everywhere around Munich? WHEW, BUDDY, we are out of bike shape! It literally got to the point that we looked at each other and said, “Please do not make me put my ass back on this bike.” Everything hurt, and I mean EVERYTHING. 🫣
Biking to the Wall of Tears
Nonetheless, we rented bikes and visited the Wall of Tears, or el Muro de las Lágrimas, about 5 km outside Puerto Villamil. The wall is within a national park, so a taxi can only take you so far. You’ll have to walk or bike the rest of the way. However, we chose to bike because there are several stops along the way, for example, la Playa del Amor, a volcanic rock beach covered with marine iguanas (we were obsessed with them if you hadn’t noticed). You can also stop to spot flamingos and visit the tortoise reserve.
The bike path.Playa del Amor.Flamingos!
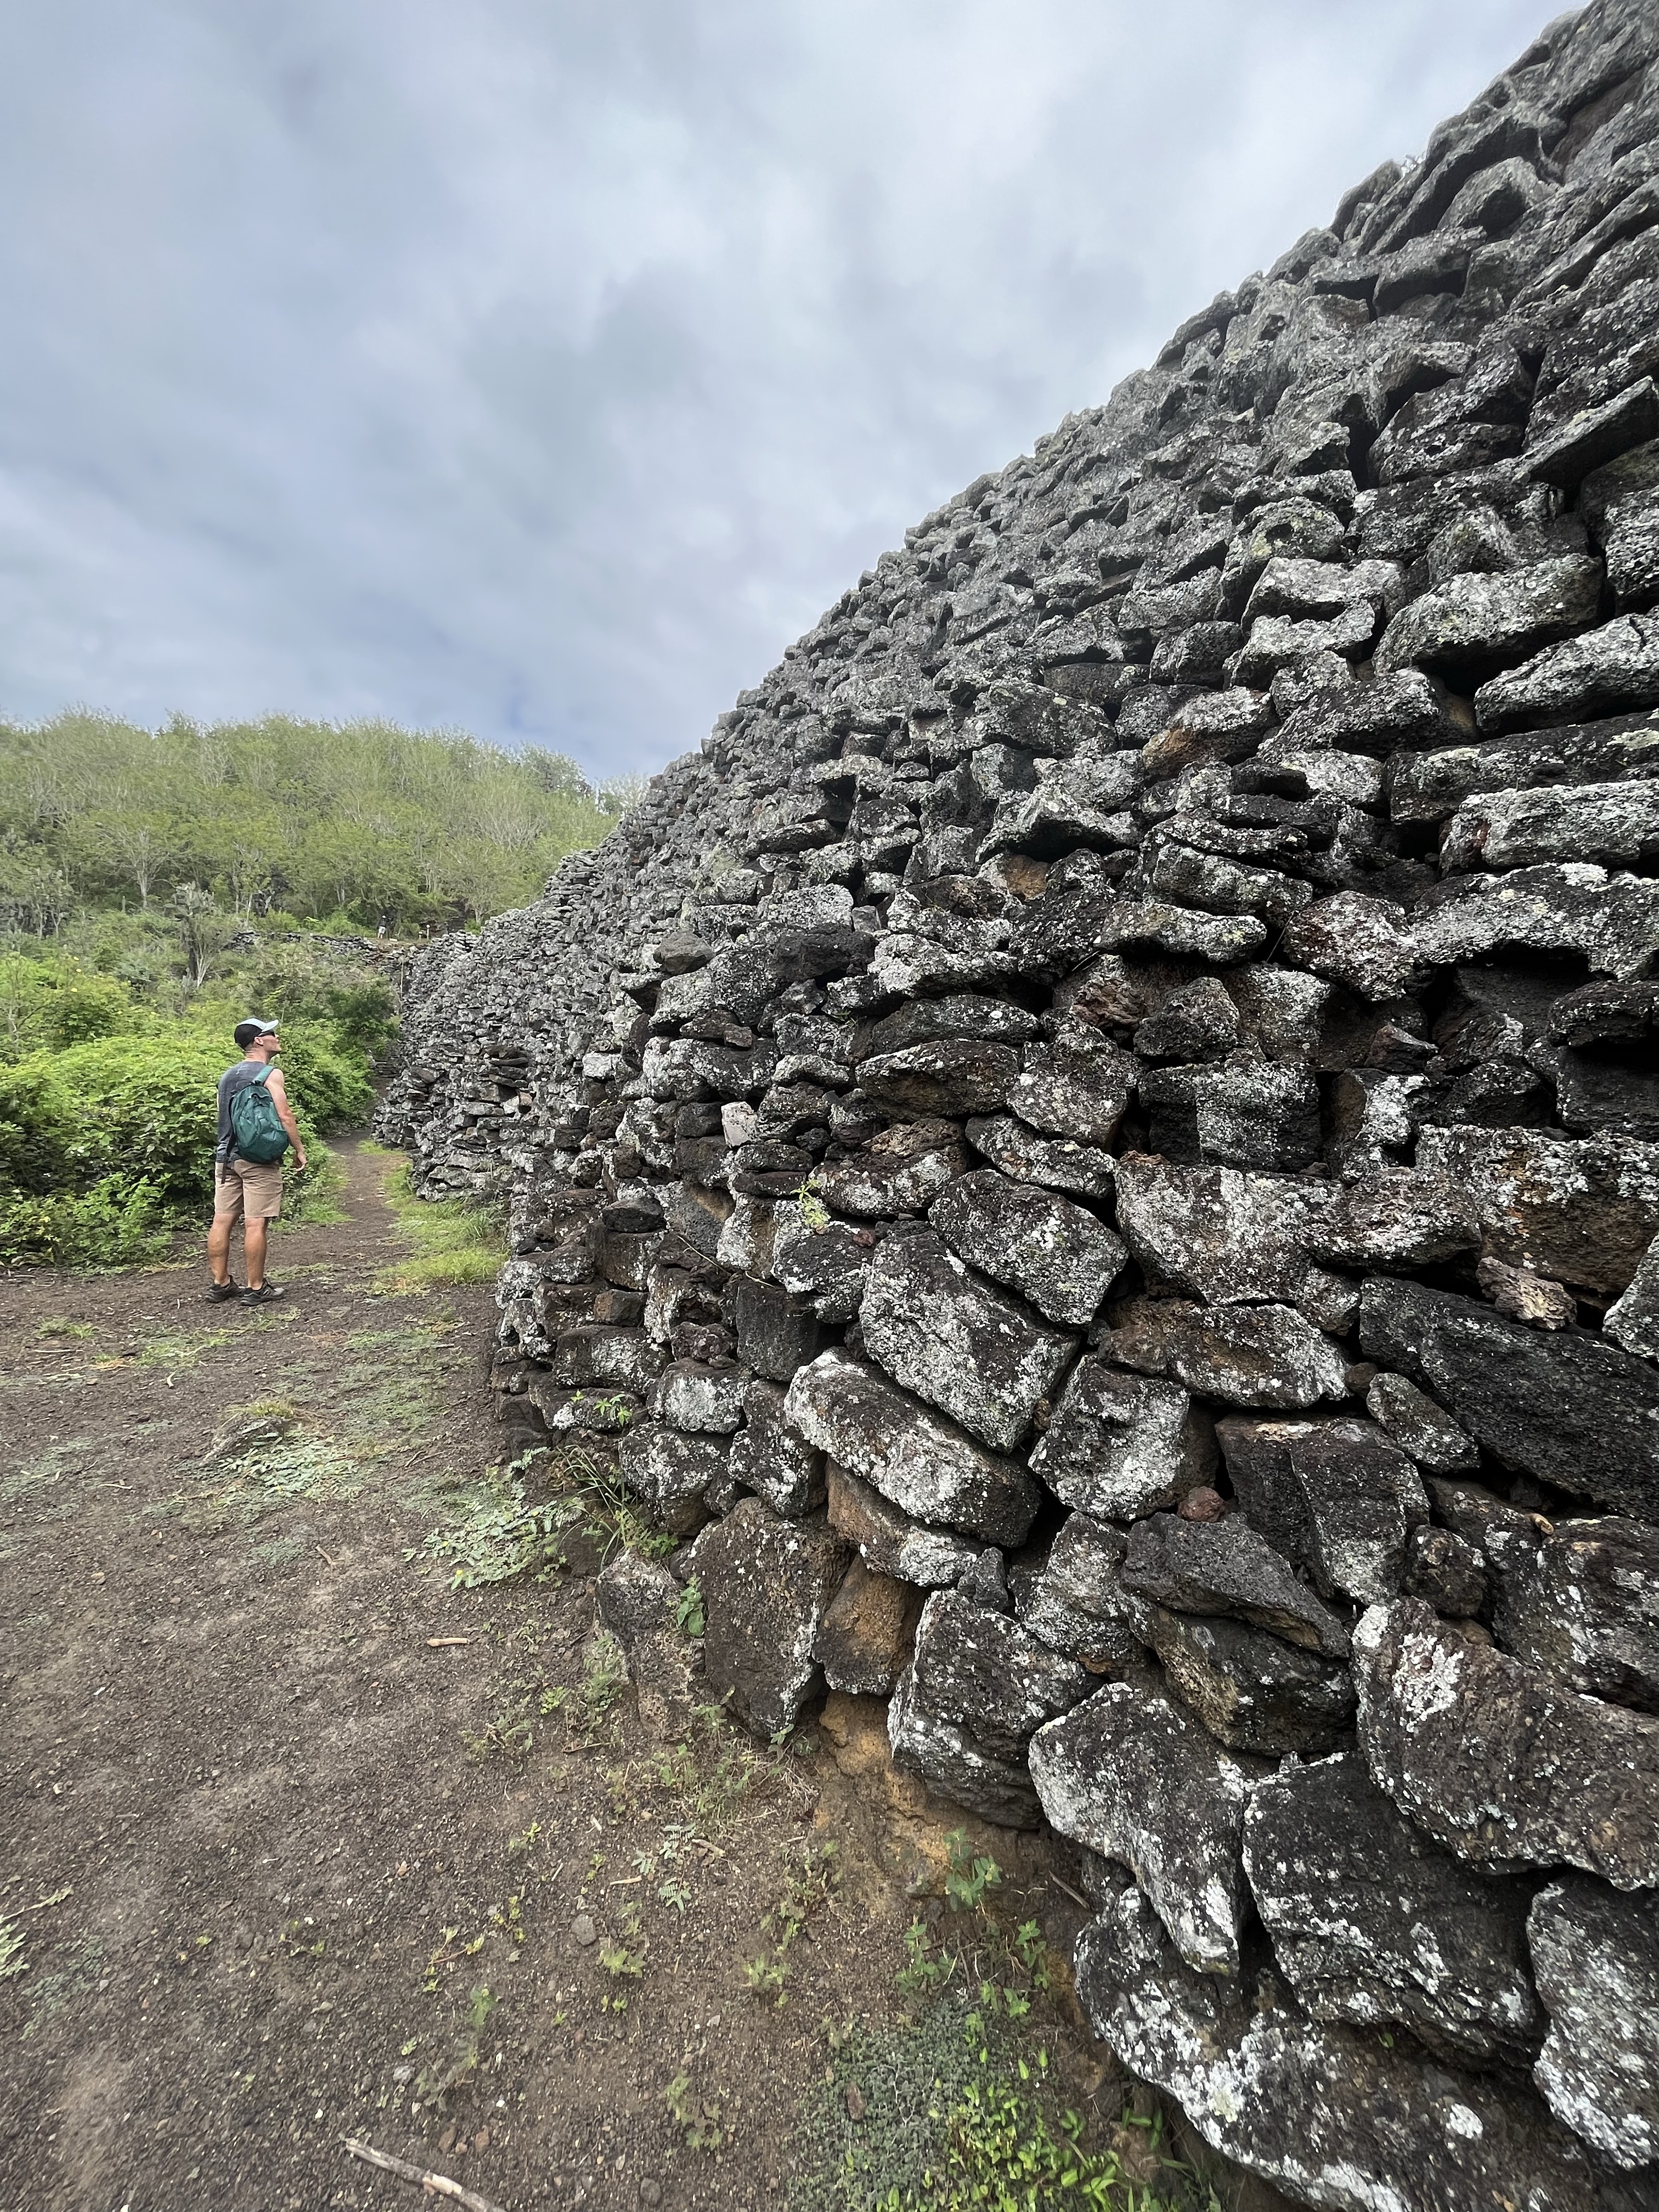
So, why is it called the Wall of Tears? Let’s start with: Did you know the United States had a military presence on Isabela Island during World War II? I surely didn’t. Baltra Island, which now houses the airport, was a secret base during WWII to monitor activities around the Panama Canal. Isabela Island had one of three radar stations.
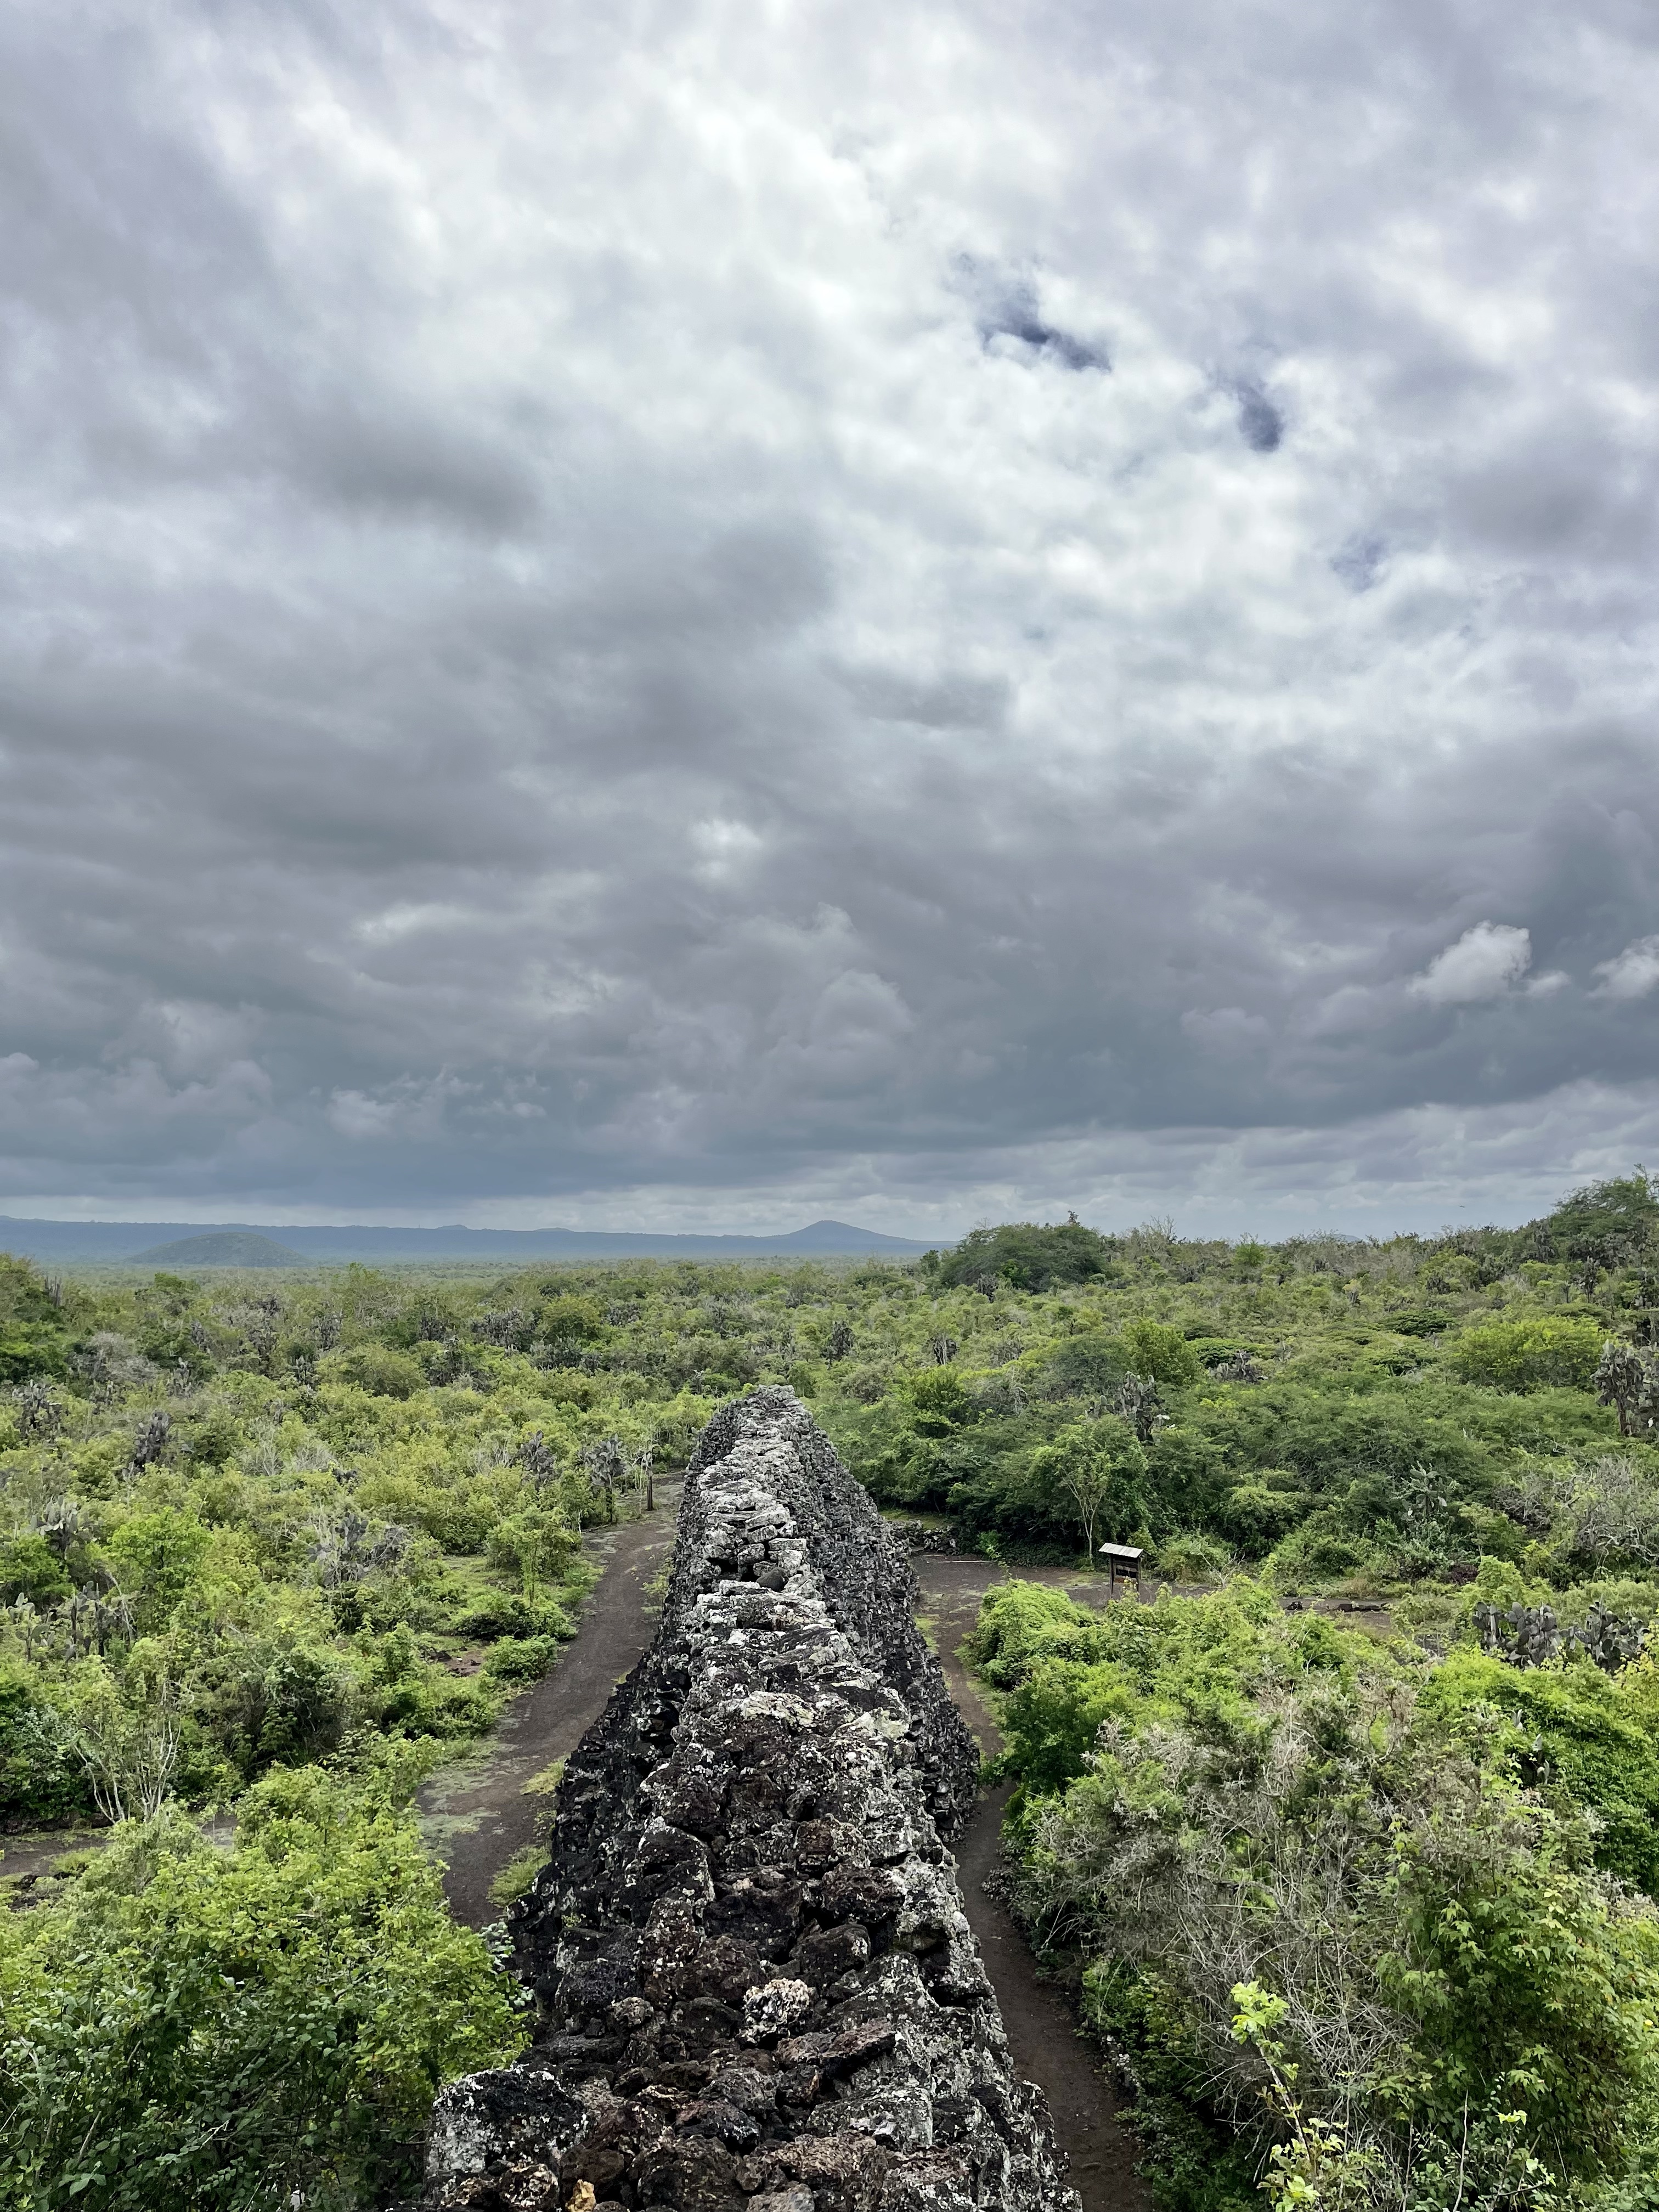
As WWII ended, Ecuador established a penal colony on Isabela (from 1945 to 1959). The Wall of Tears was built by the prisoners for no other purpose than manual labor.
What a cute guy!The Wall of Tears from above.
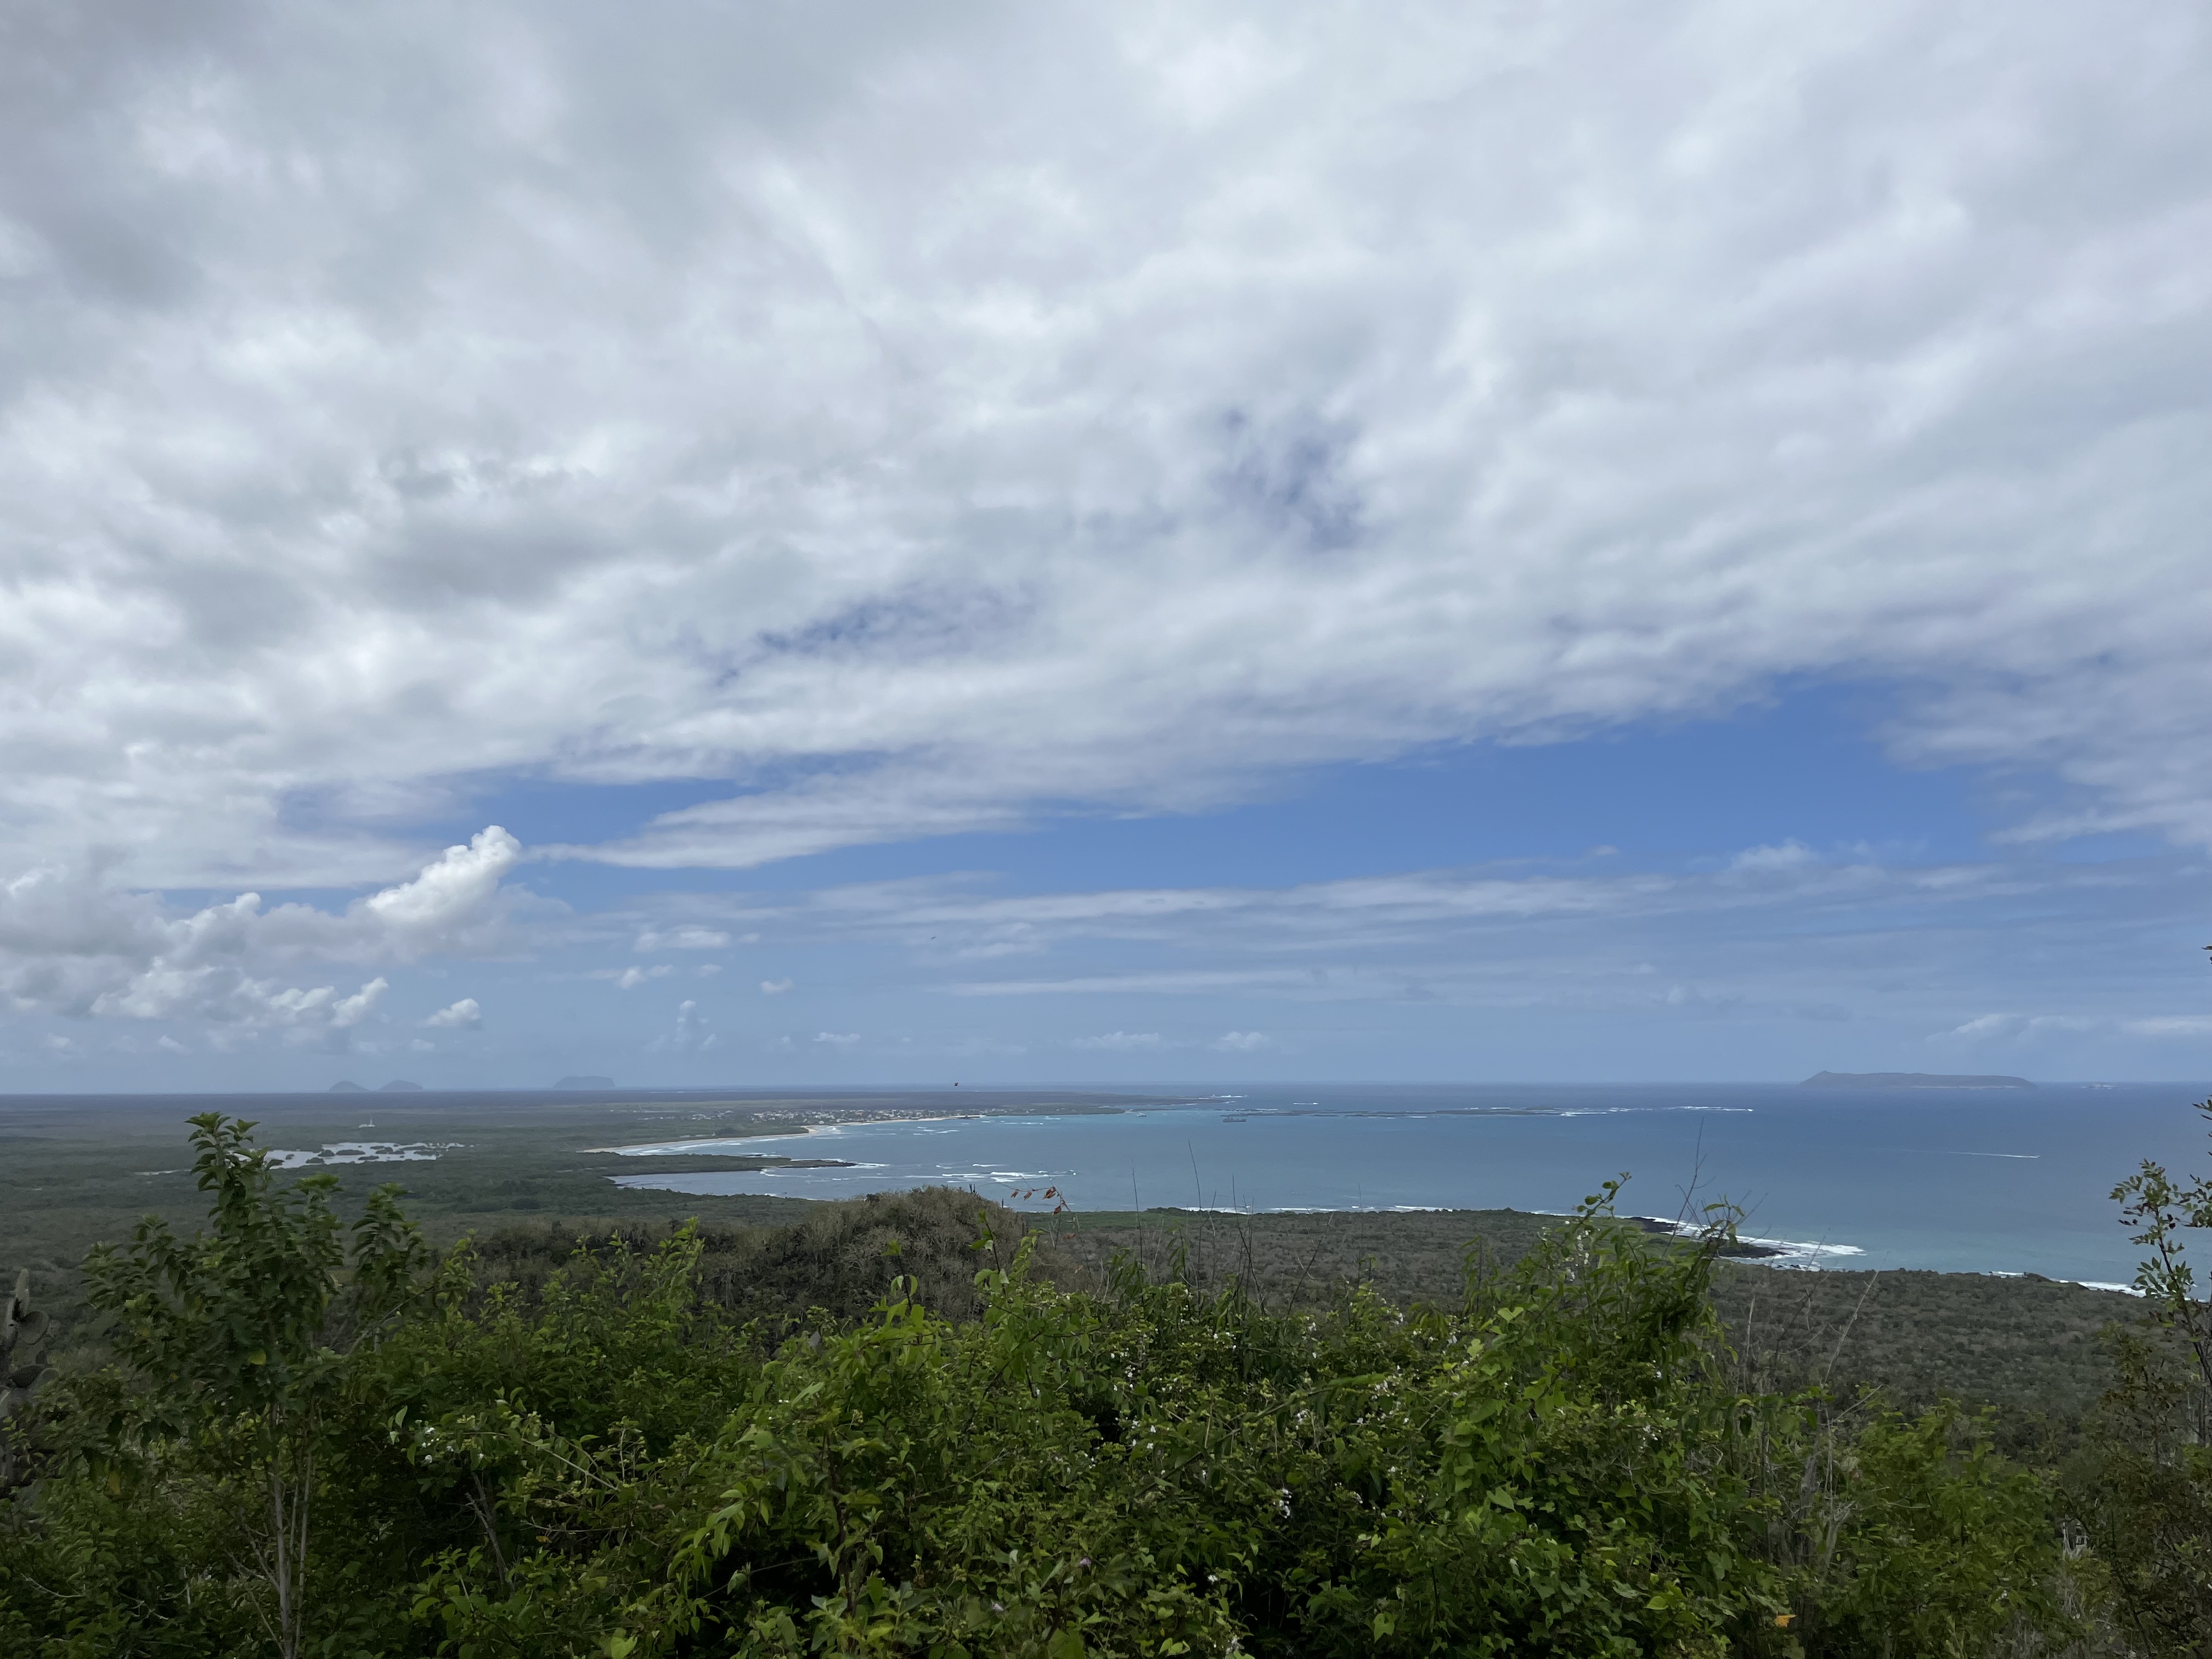
The Wall of Tears is the main attraction but not the final destination. Keep following the trail up (maybe 30 minutes?), and you’ll reach El Radar, where the old radar station used to be. Now, it’s a beautiful viewpoint.
The El Radar viewpoint.
Oh, and by the way. I got a flat tire on my way home because, of course, I did. It’s no wonder my legs were on fire; I was biking with a flat!
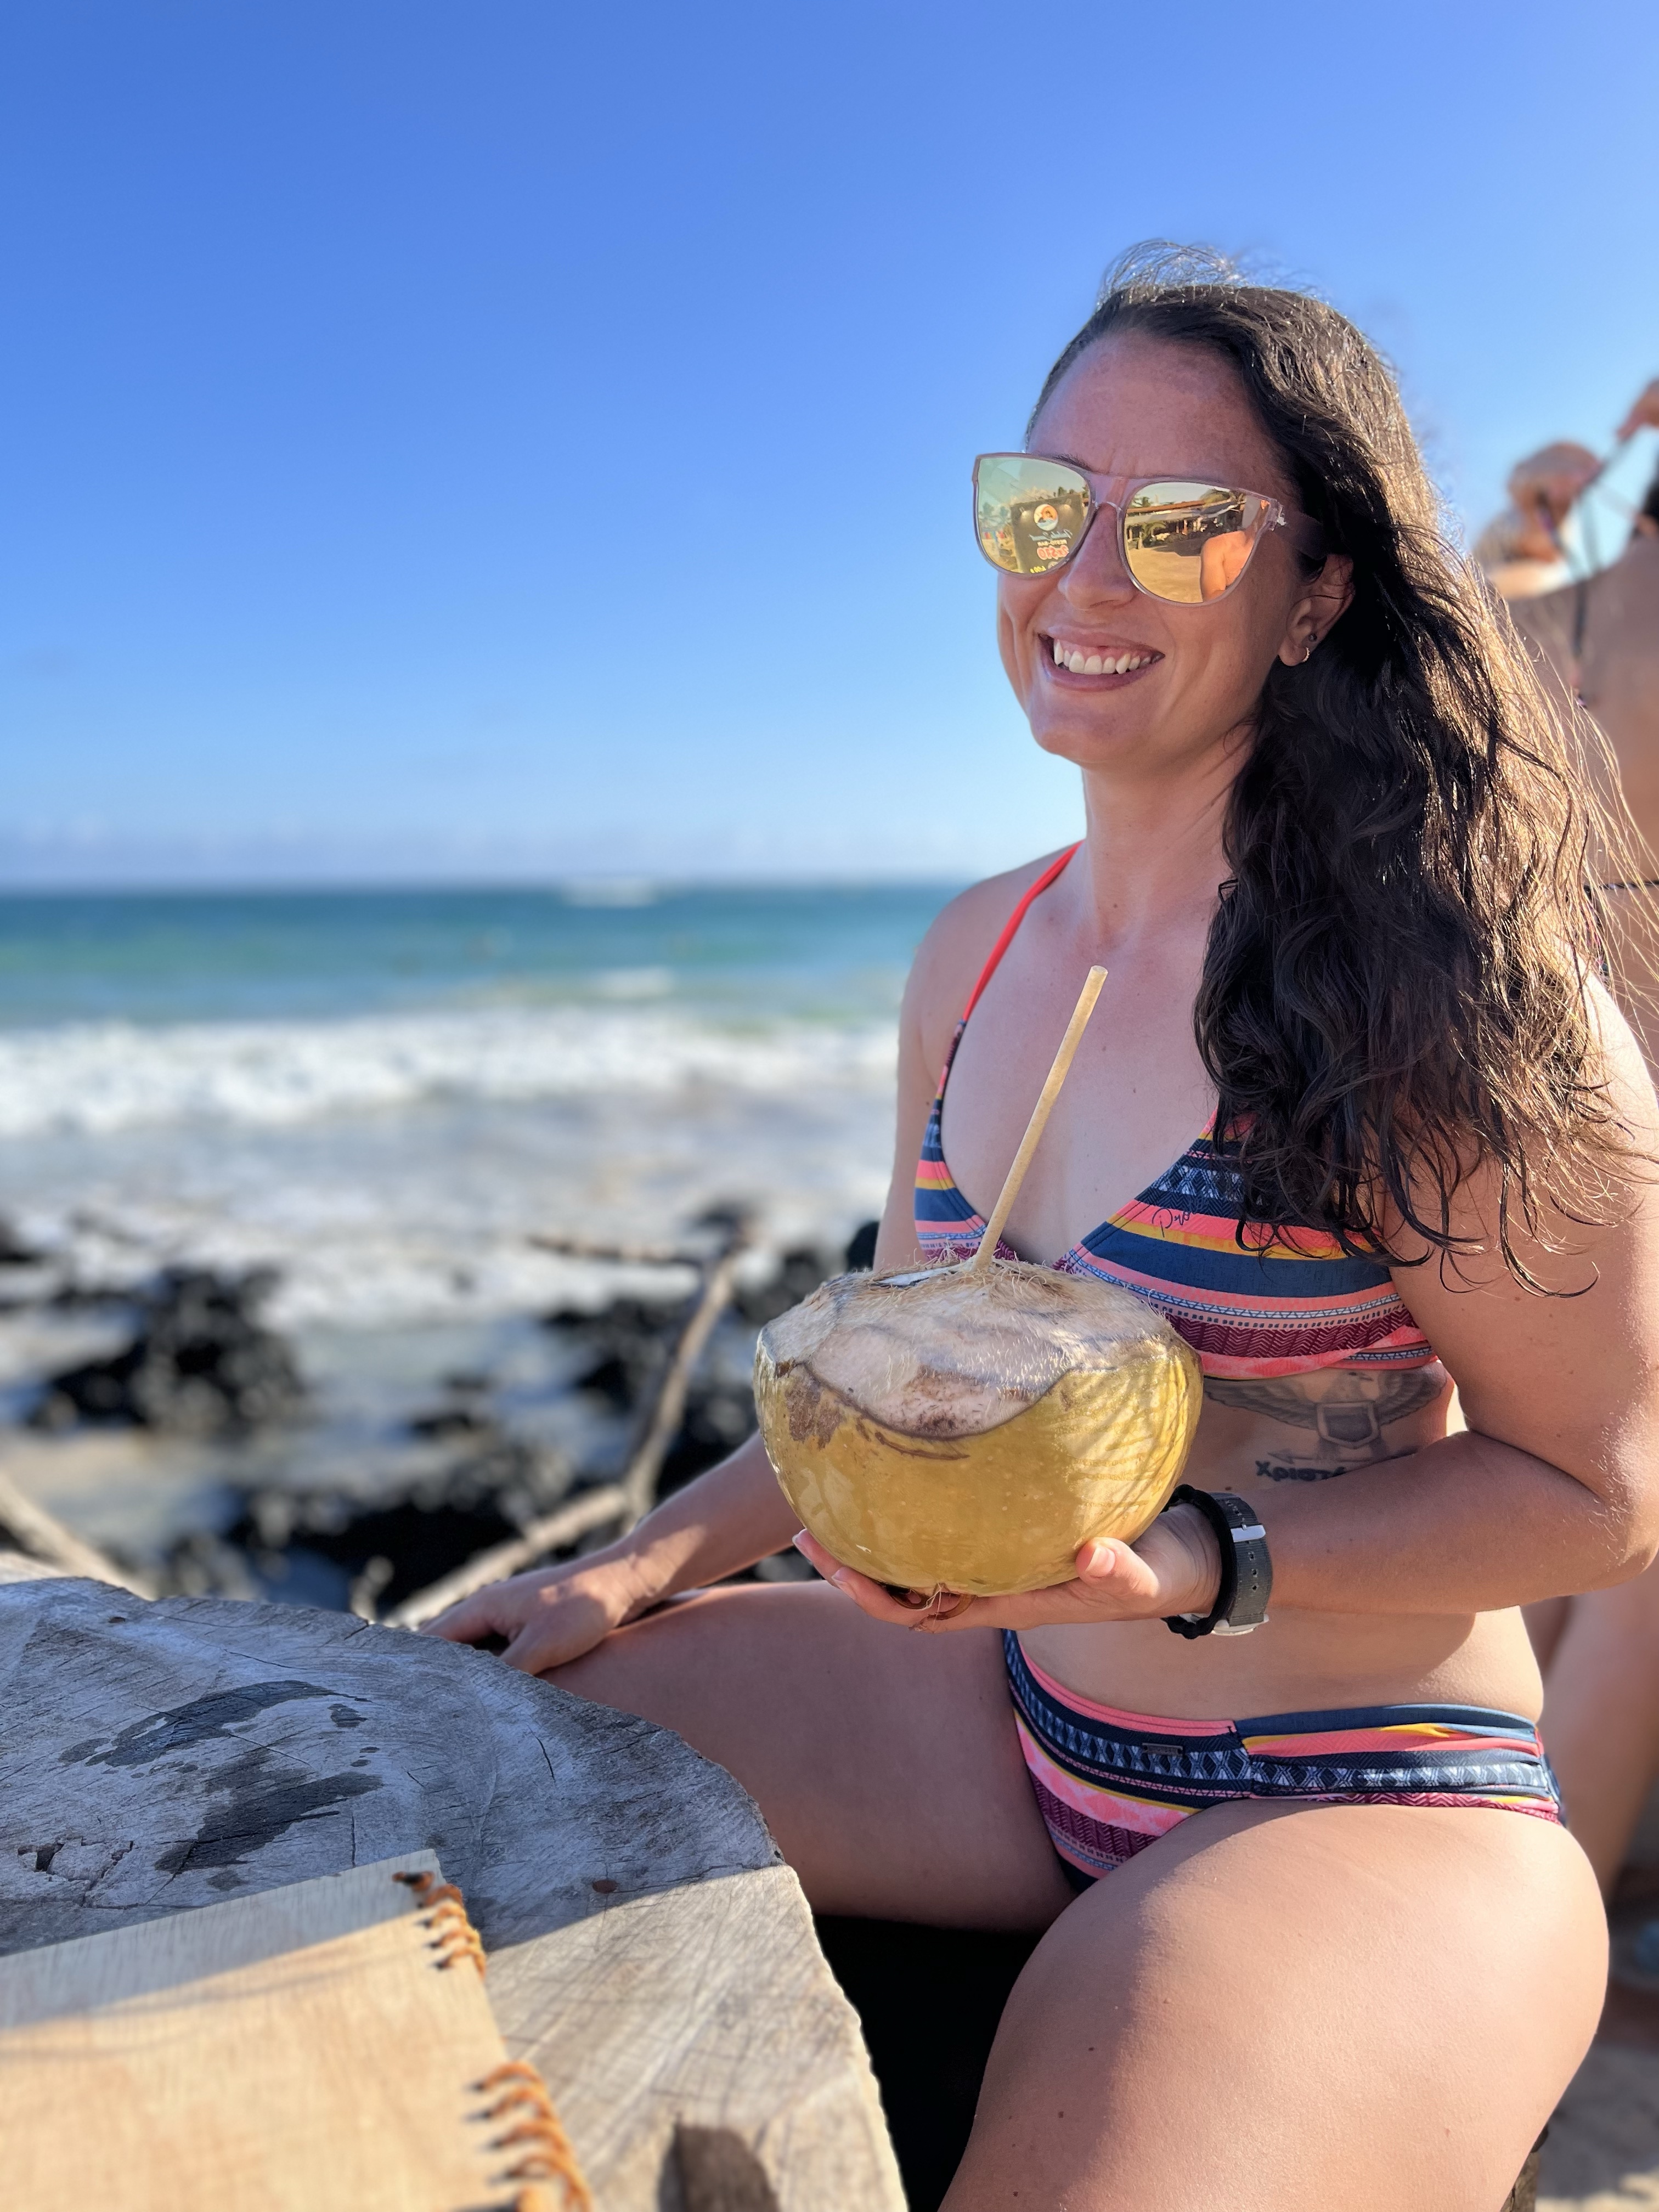
And that about wraps up our time on Isabela! Like I said before, this island had a way more laid-back, beach town feel. So, mostly, we spent the morning checking out a new activity and the afternoon playing in the ocean until happy hour. Coco locos are THE drink (but not my fave).
We did have the very unfortunate experience (more so for him, obviously) of helplessly watching a person get caught in a riptide and drown. So, this is your public service announcement to take care at the beach and swim with caution, especially in places like here, where there are no beach lifeguards or readily available emergency services.
I think it’s safe to say that Ecuador is most famous for the Galapagos Islands. Finally, after nearly two years of living here, we checked off a major bucket-list item!
I’ll be honest. When I started planning this trip, I was overwhelmed. To start, the archipelago comprises 13 main islands, of which only 4 are habituated, and only 2 have airports. Also, the largest island, Isabela, isn’t the most populated and doesn’t have an airport. Then, there is so much advice on what to do, yet oddly, not much on how to do it. And most Google searches send you to travel agency pages for tours, which are expensive.
Based on cost and preference, we knew we would DIY this trip. So, after some debate, we decided on 10 days, with half on Santa Cruz Island and half on Isabela Island. We decided to skip the third island, San Cristobal, which, in hindsight, was a bummer. But, more on that in a different post.
So, here we go. Isla Santa Cruz!
The port in Santa Cruz.
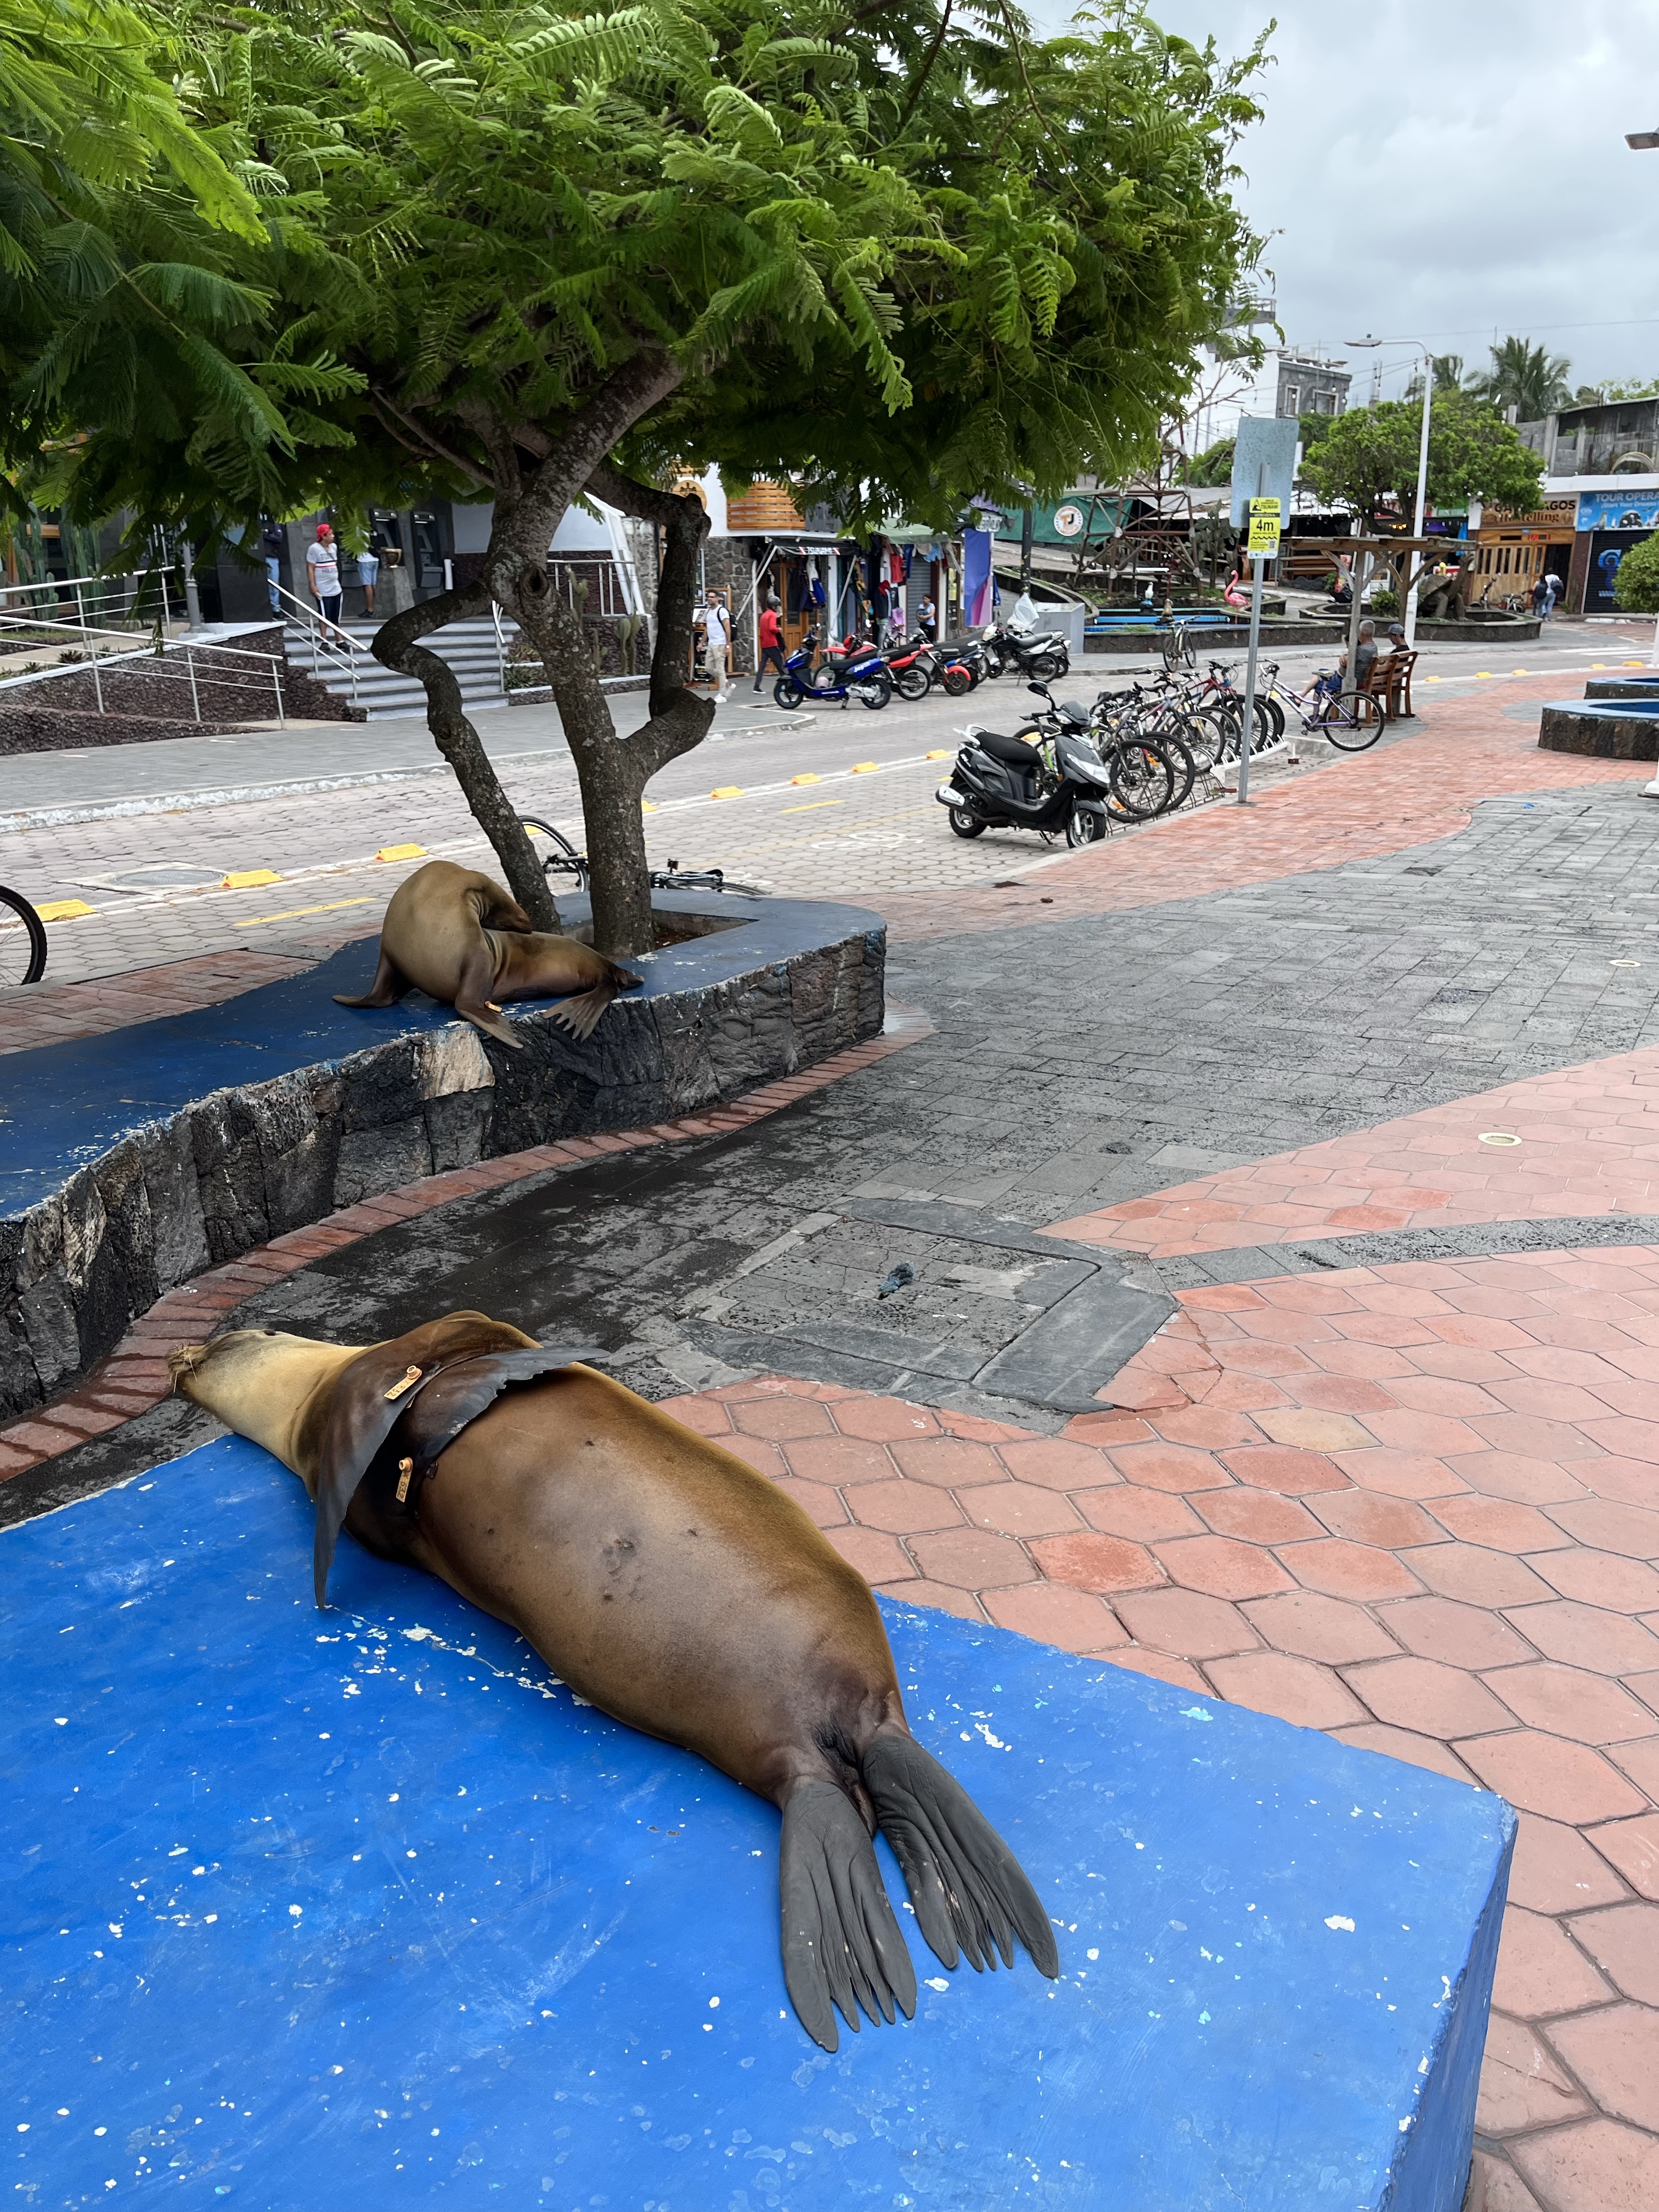
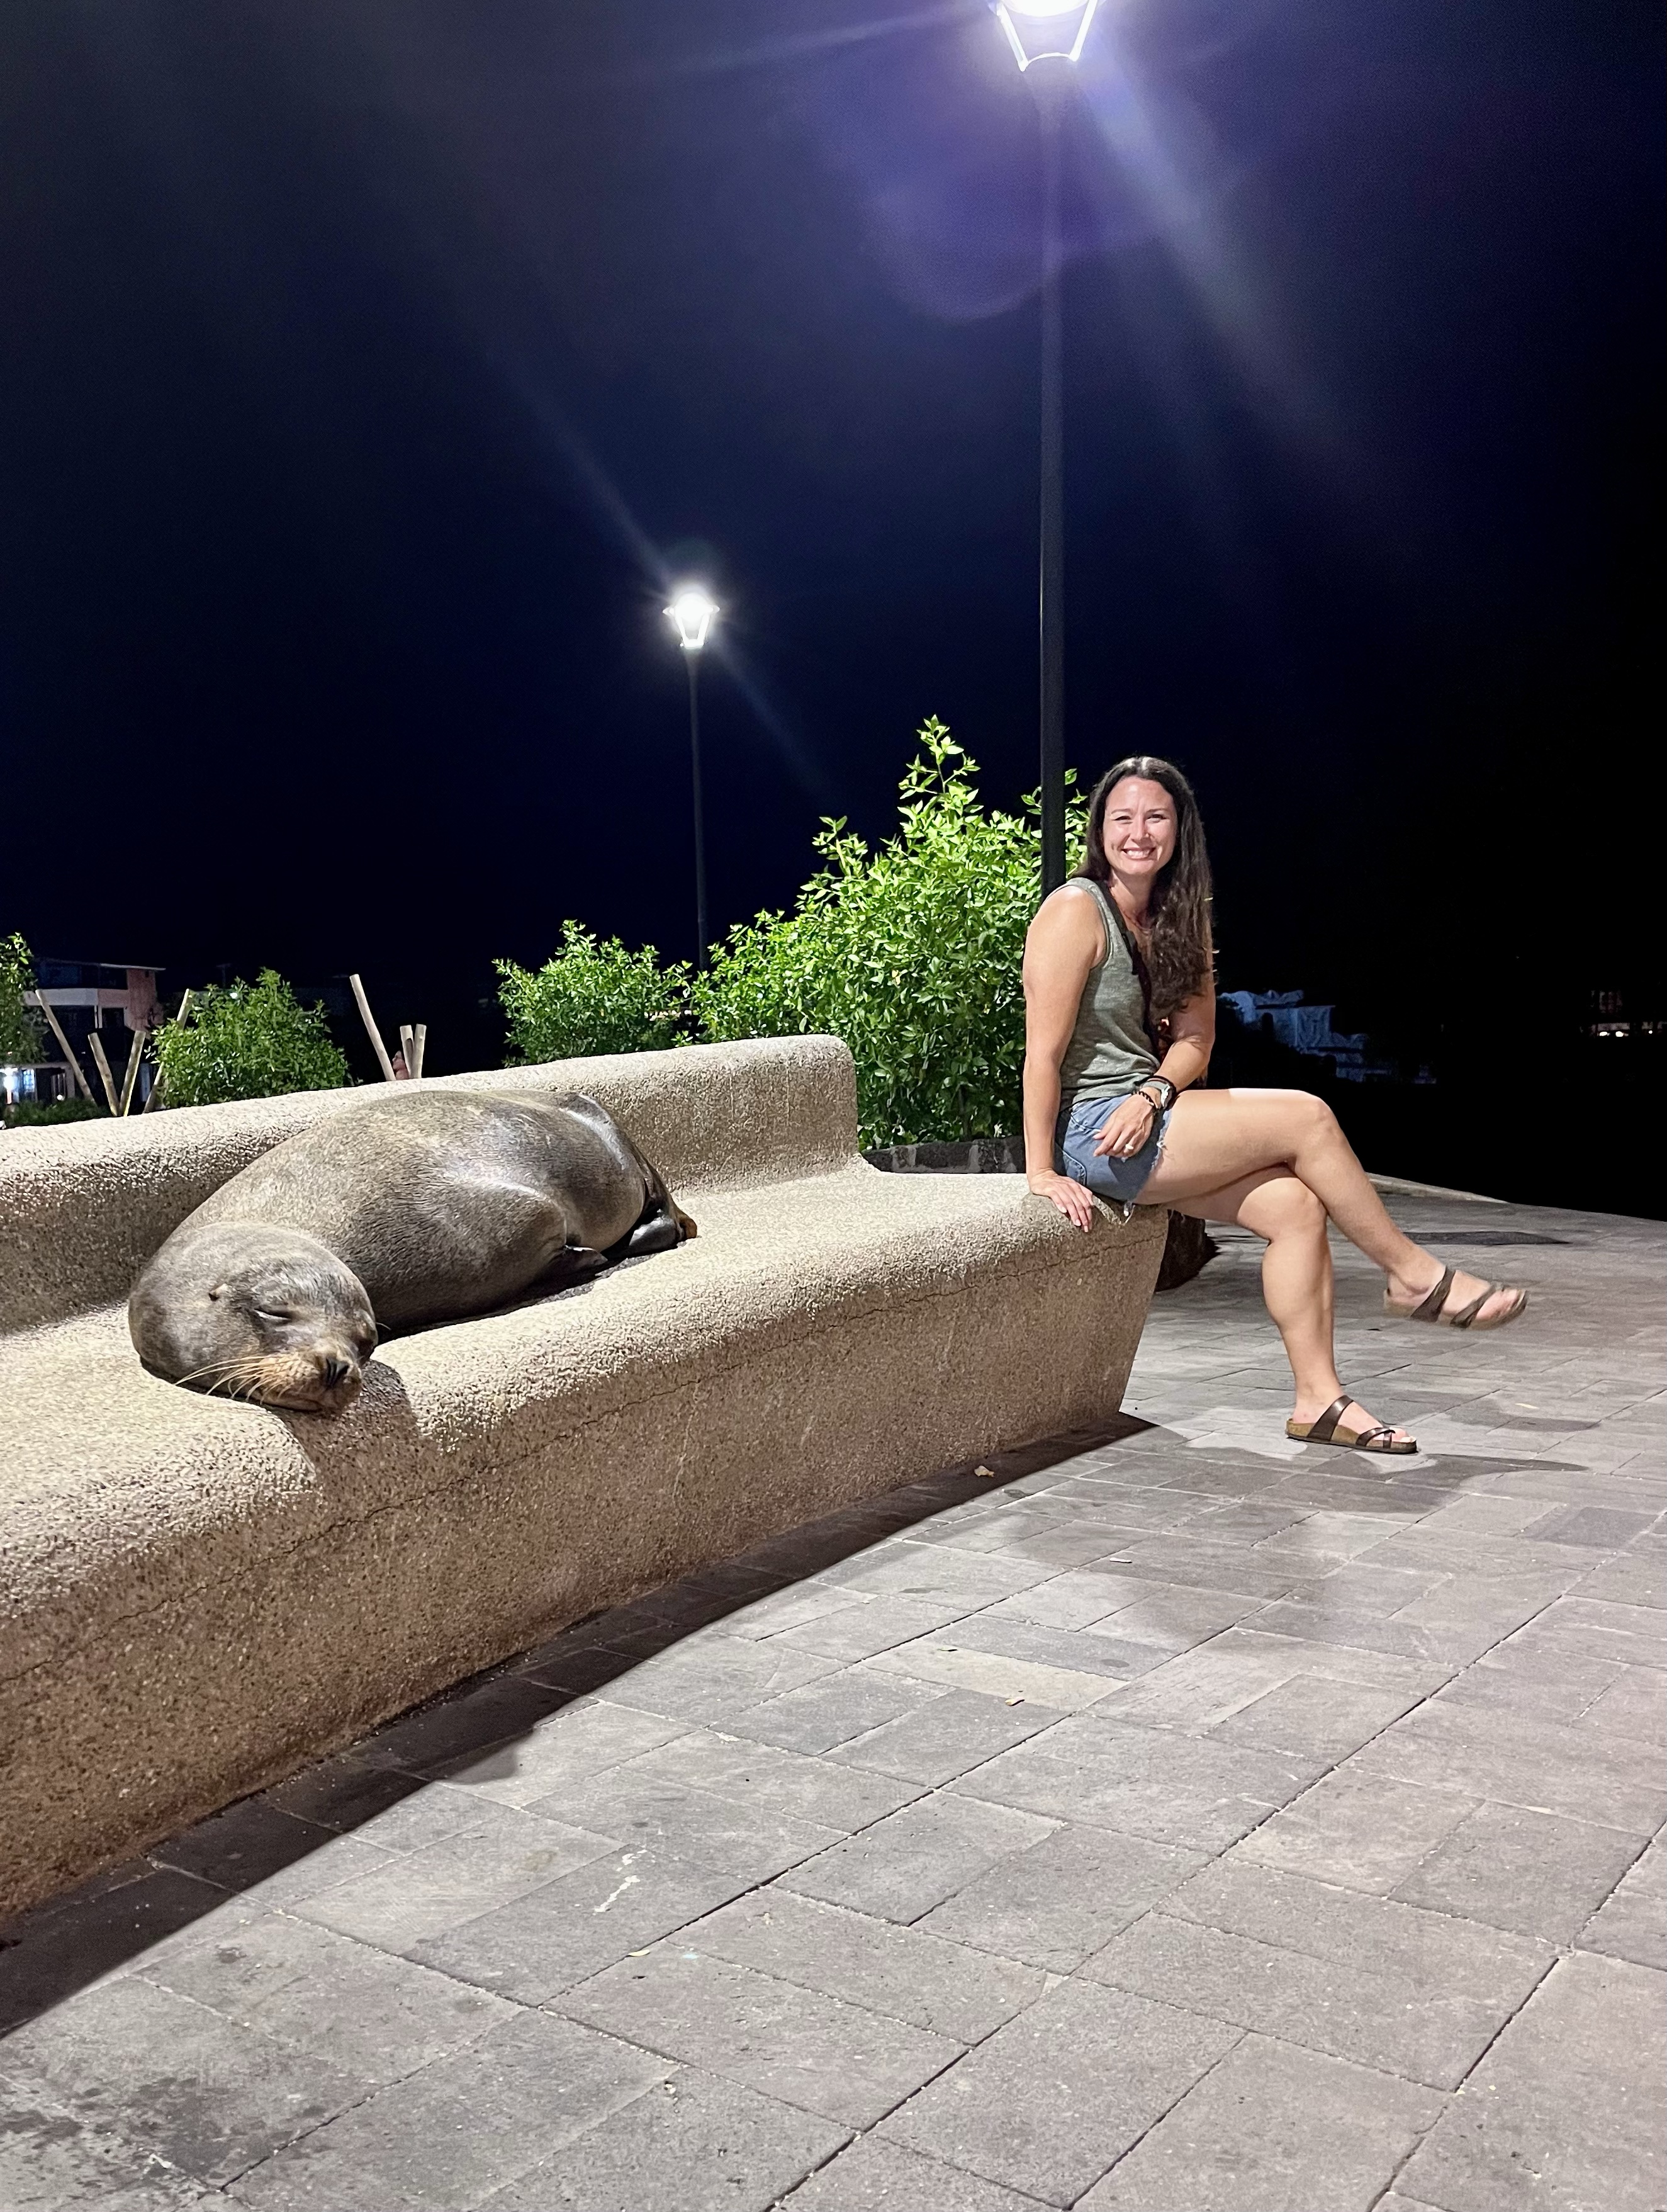
The first thing you’ll notice when you arrive in Puerto Ayora, the main city on Santa Cruz Island, is all the white people tourists. Yes, I realize we also fall squarely into this category, but it was still a shock coming from Tena, where we are some of the few gringos and generally only hear English when we’re speaking it to each other. So, if communication is a concern, don’t worry in Puerto Ayora. The second thing you’ll notice is the sea lions, followed by the marine iguanas (they blend in more)!
These guys do not care about you. Like. At all. It’s wild!
(However, please keep some distance, per the rules!)
We had three full days in Puerto Ayora and two main goals: visiting the Charles Darwin Research Station and diving!
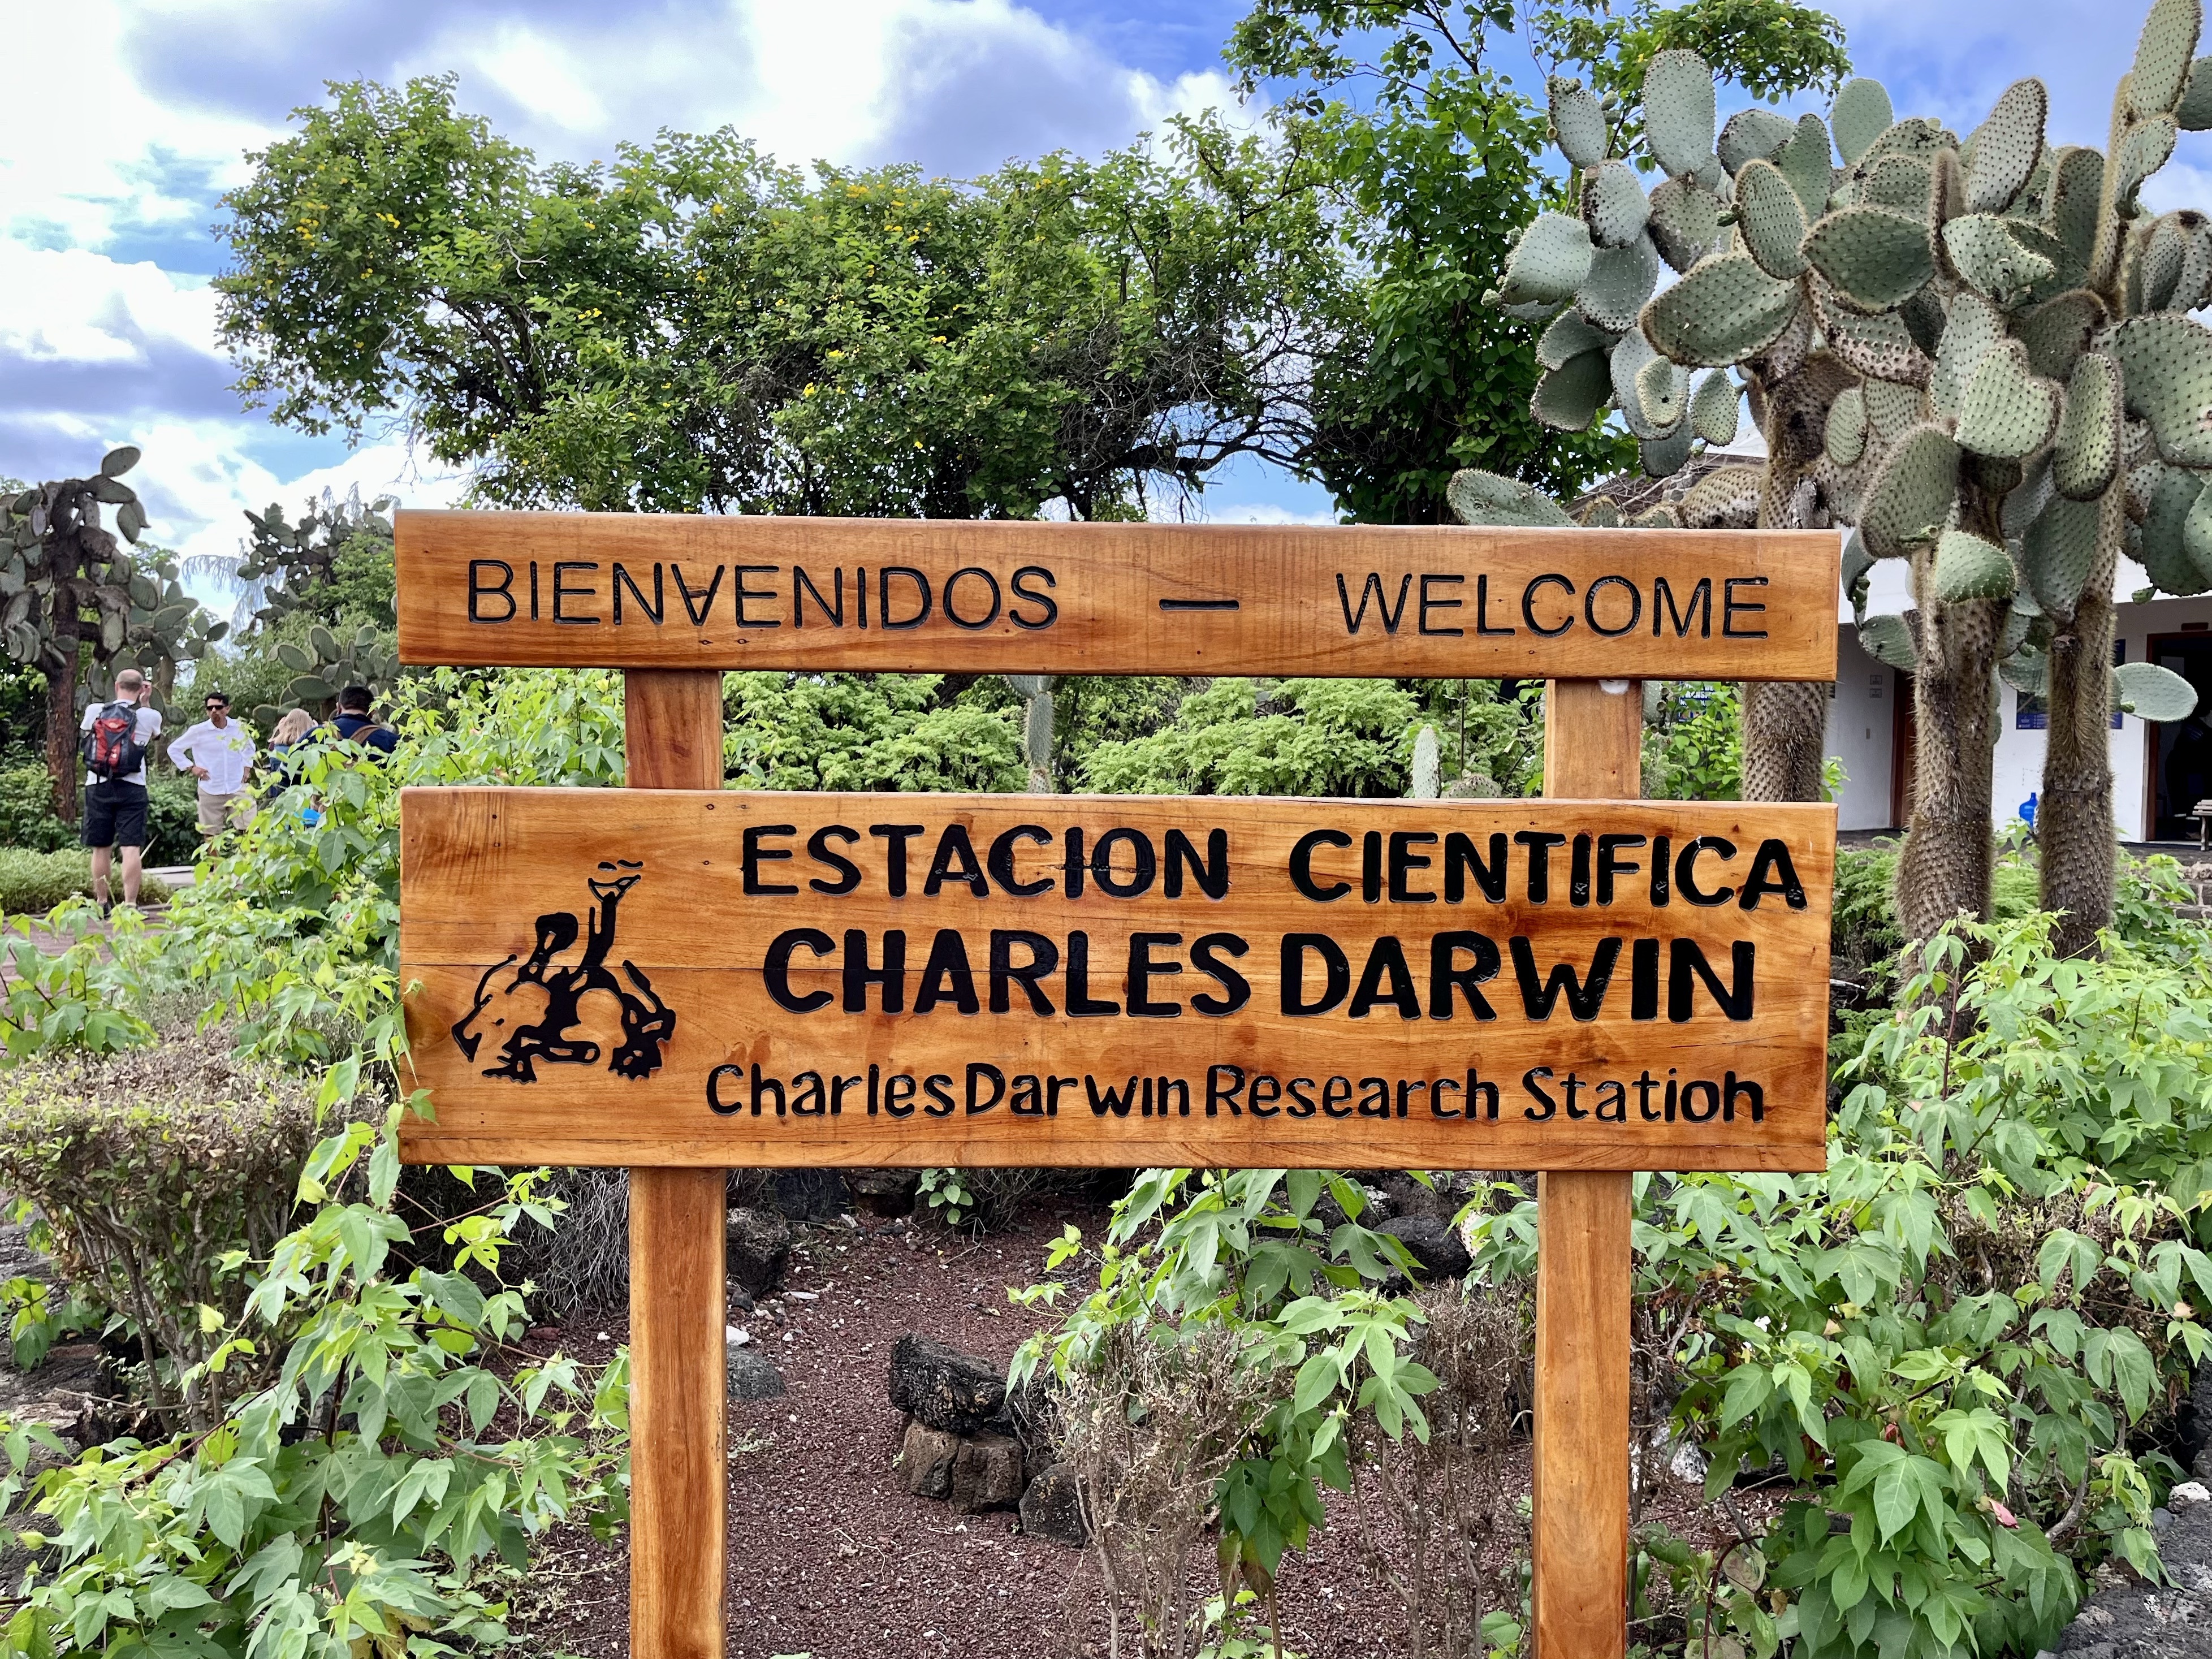
Charles Darwin Research Station
The station is ~15-minute walk from the center of town and free to visit. Given Shane’s chosen profession, this was a must-see for us. For the most part, you can freely wander the campus and access two beaches. There is also a free exhibition hall. However, if you’d like to see the tortoise breeding center, you’ll have to pay $10 per person for a guided walk through the grounds.
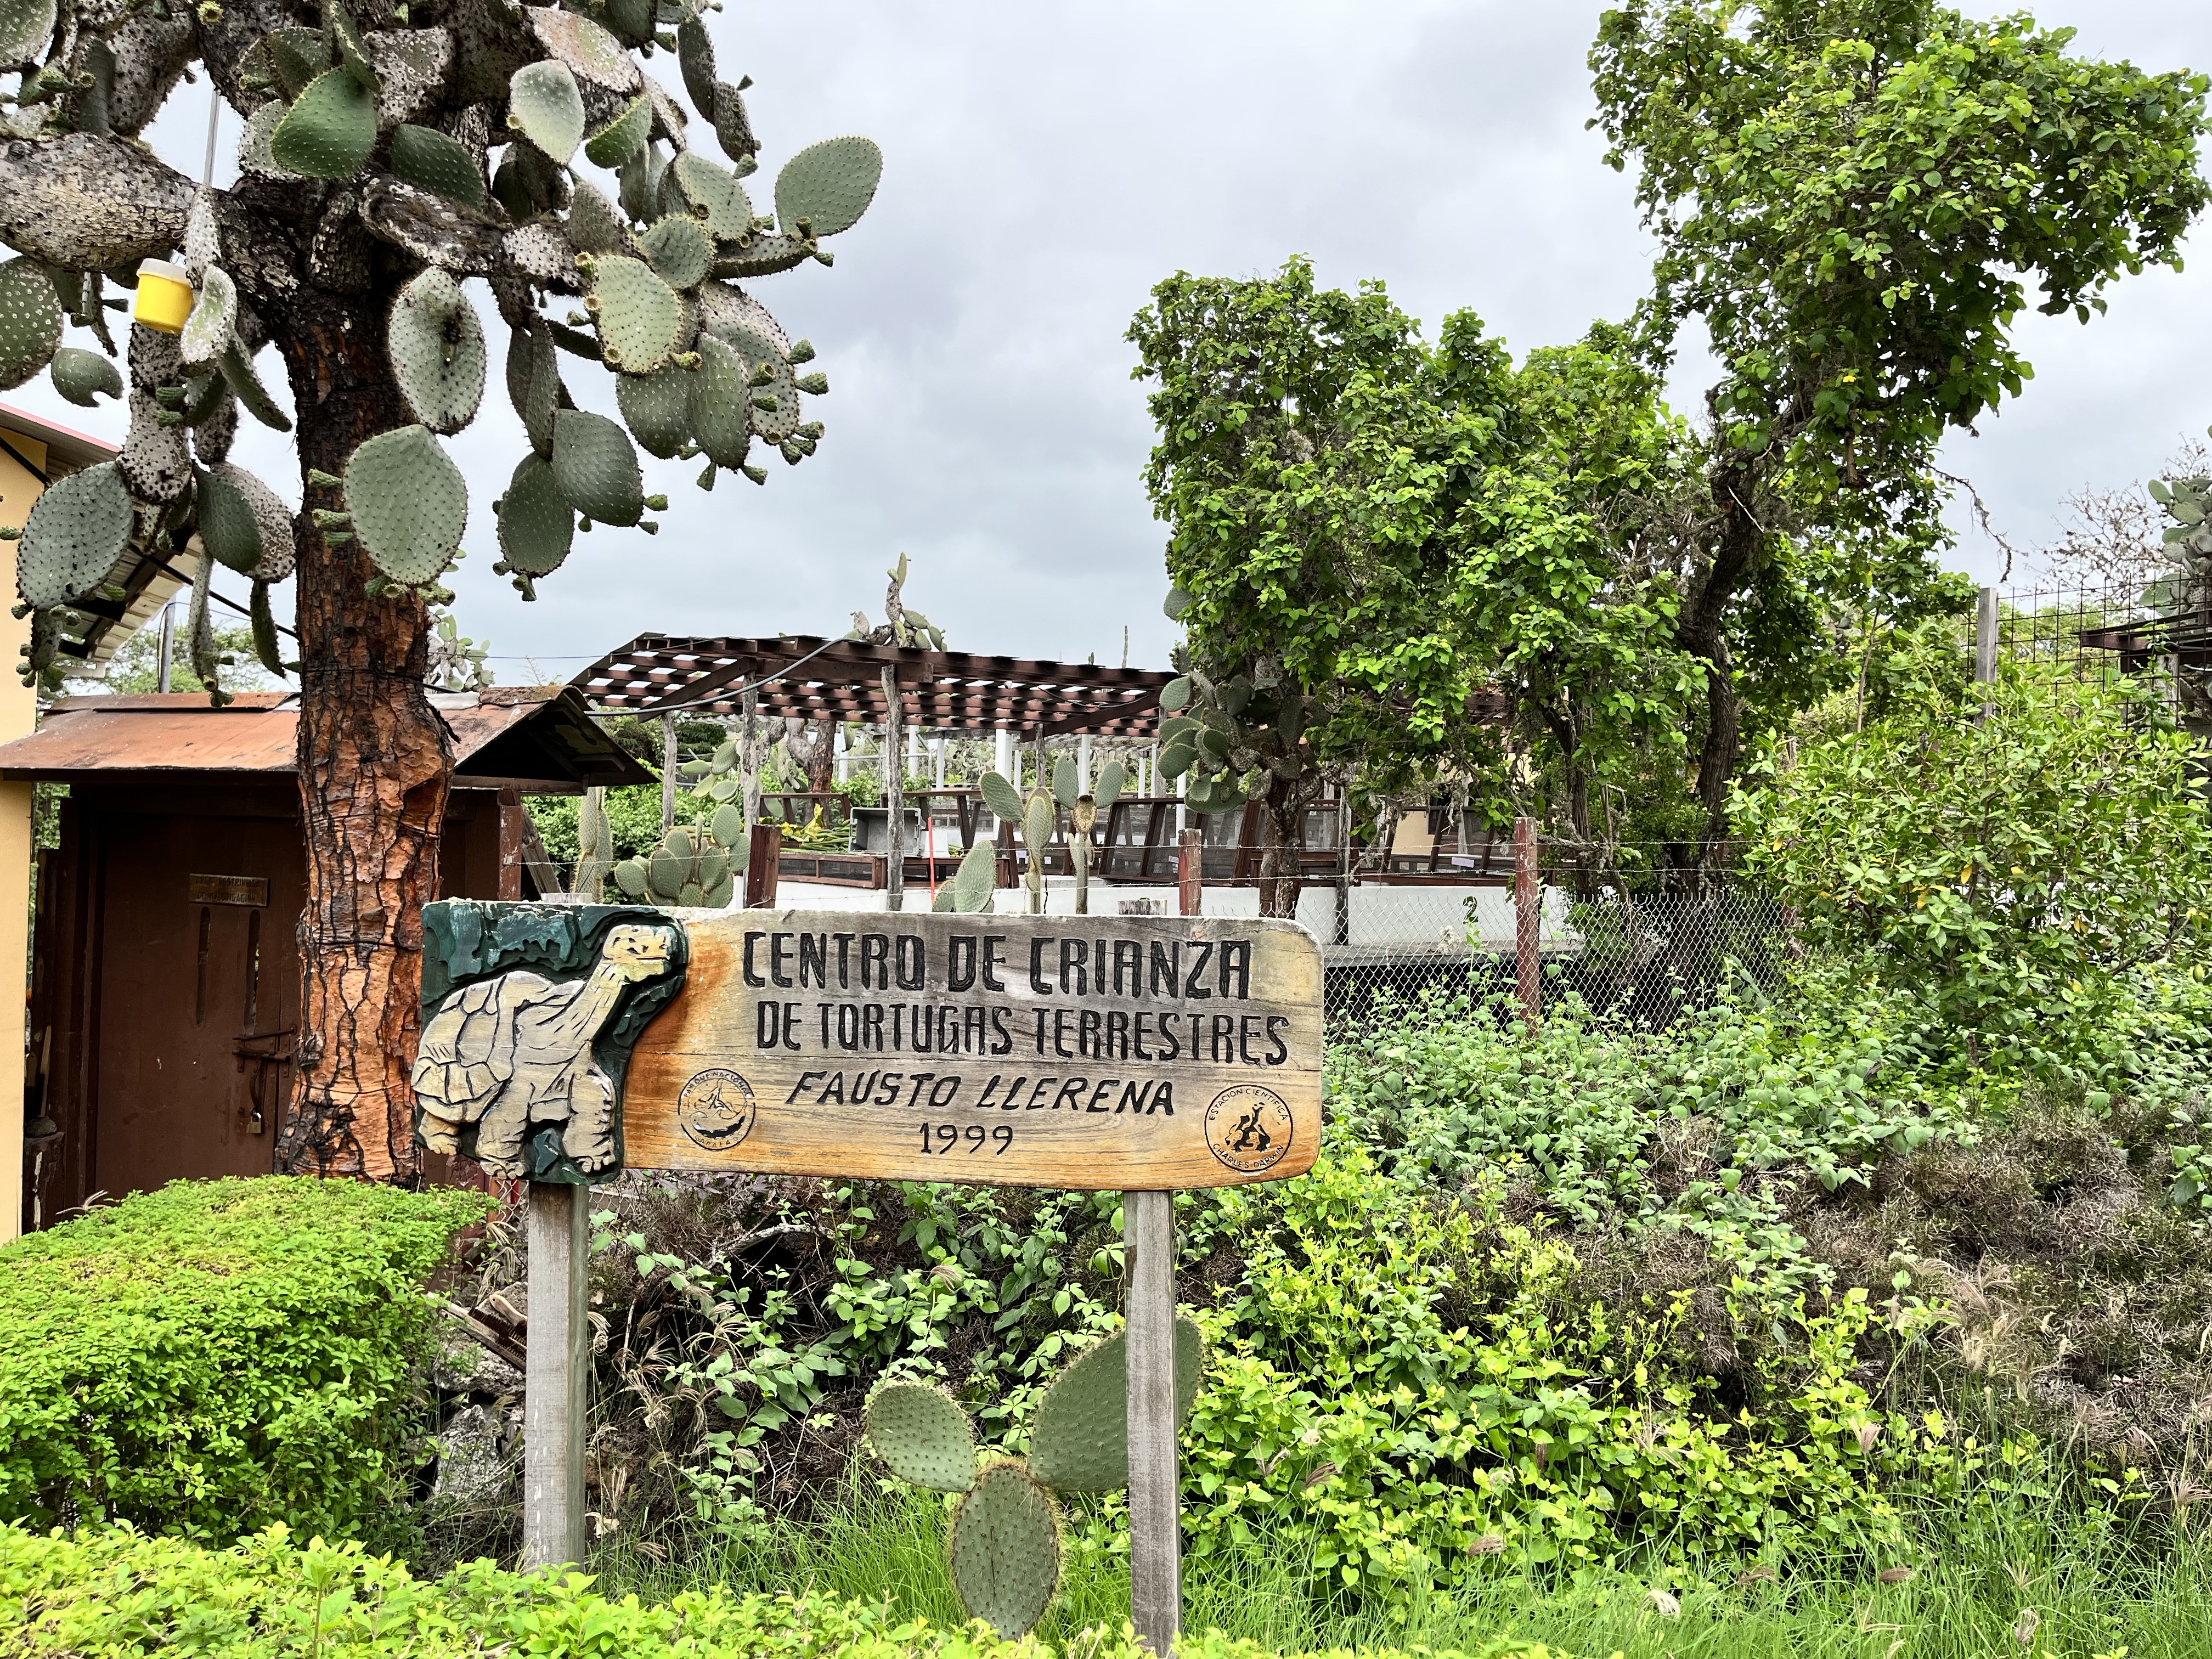
Personally, $10 felt a bit steep, but we learned about their conservation efforts and the logistics of the breeding program, which was interesting. And it was funny to see all these baby turtles meandering about.
Fun fact! The program is a catch-and-release program. In addition to breeding in captivity, if eggs are found on any of the islands, they are (carefully) transported to the research station, where the tortoises can safely hatch and grow. Once the tortoises are five years old, they release them back into the island from they originated from. So, at a certain age, they start training them to return the wild by only providing them food every other day and making them search for it.
Turtle training! How cute. Who knew?!
Look at all the babys!
Oh, and the biggest surprise of the tour? Lonesome George. Well, taxidermied Lonesome George, the last known individual of his sub-species from Isla Pinta.
I must admit, I hadn’t heard of Lonesome George before this trip. But, seems that I was in the minority. 🤷♀️
You can also purchase Research Station souvenirs in their gift shop. The prices are a bit high, but if you’re looking for a quality shirt (from sustainably-sourced materials), I’d recommend buying shirts here. Plus, all purchases are donations to the station.
Diving!
Our last diving trip together was in Cambodiain 2019, which is entirely too long ago! So, diving was our absolute must-do.
We booked a one-day tour with Scuba Iguana, and I can’t rave about them enough. We haven’t had that many experiences with dive centers, but this one was the most organized, full-service experience we’ve had to date.
Underwater selfie or it didn’t happen.
We visited two sites, Bartolome and Cousins Rock, both of which had really cool walls. Even though we haven’t dove in quite some time, I can tell I’ve grown as a diver because walls used to scare me. These dives are unique in that you only have a point of reference on one side; look in the other direction, and it’s nothing but the literal blue sea. This can be incredibly overwhelming, but I found myself purposefully facing the blue this time, just admiring the vastness.
If you can, everyone should try diving just once. It is literally *sings in best Ariel voice to the tune of Aladdin* a whole new world!
Yes, I mixed my Disney references. So what!
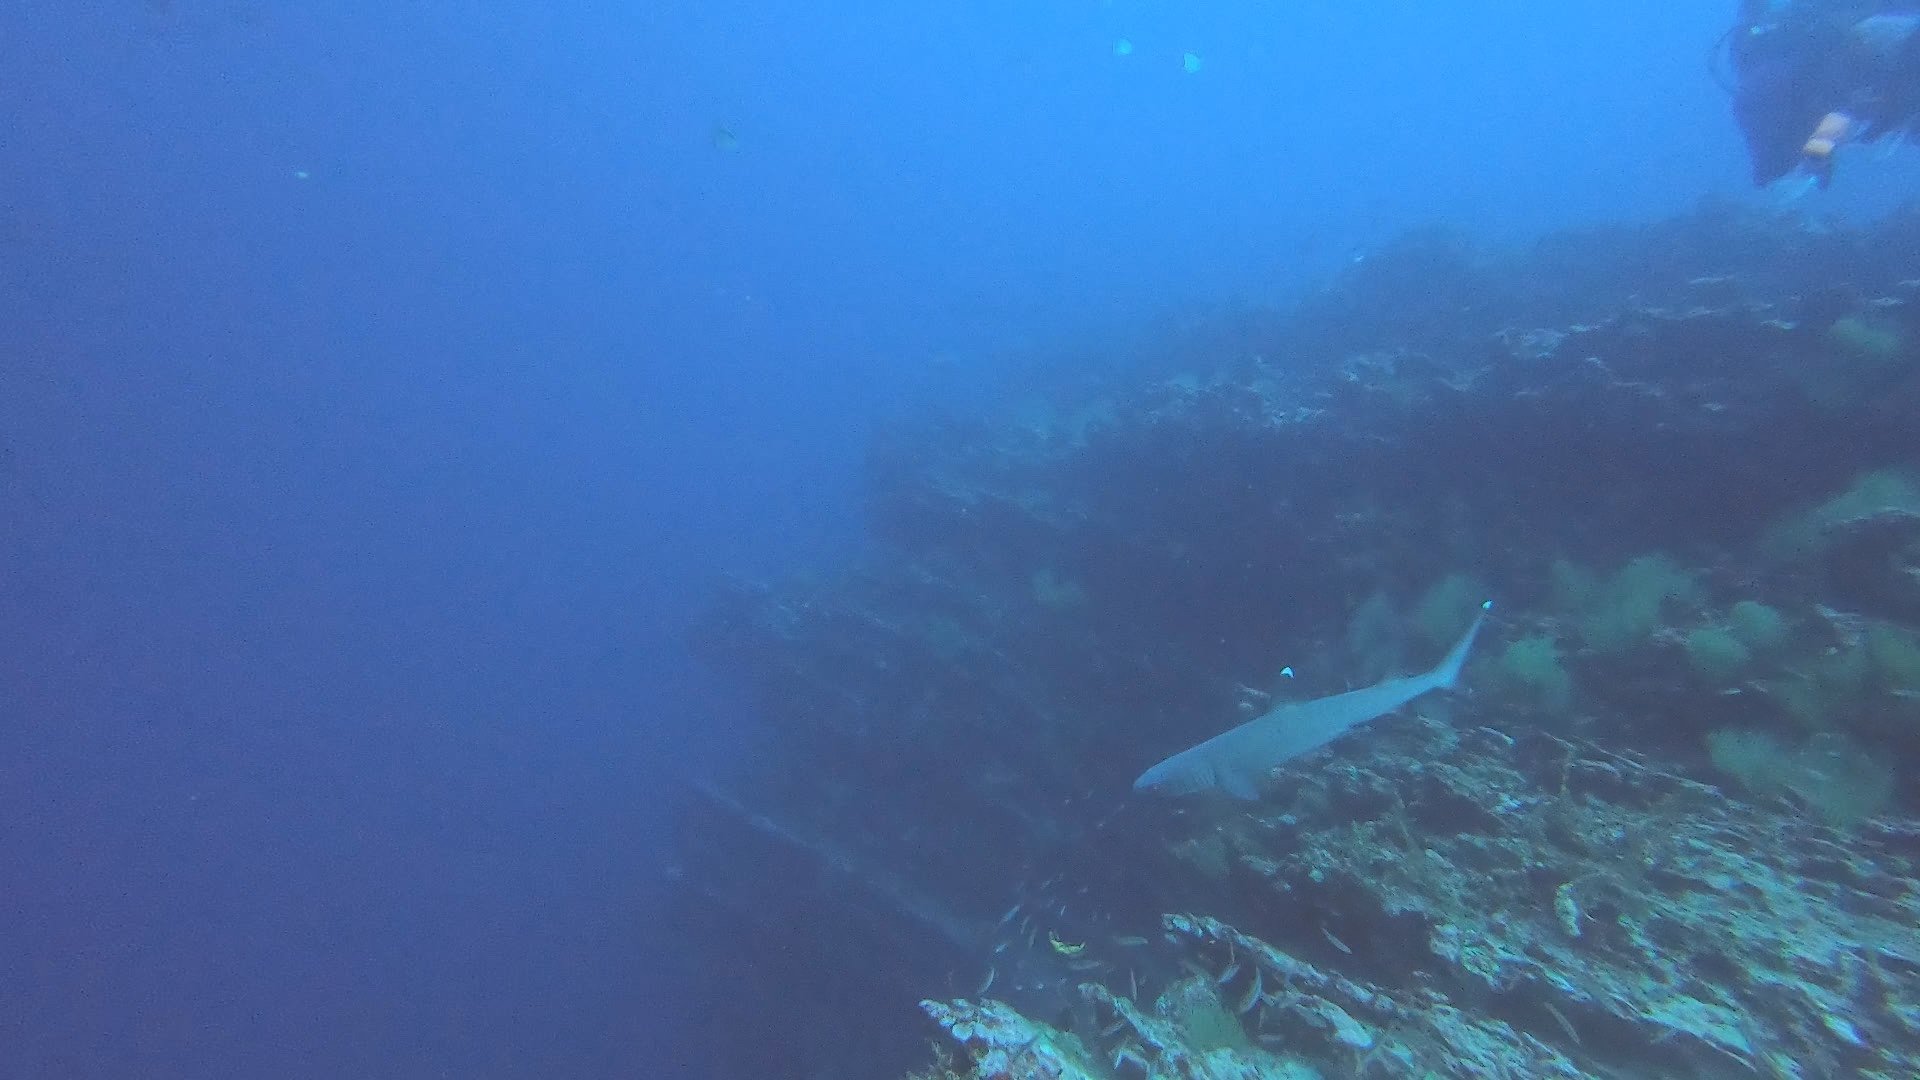
Anyway, Cousins Rock won the dive-of-the-day award because we saw sharks (white-tipped reef sharks) for the first time ever while diving!
Out we go!Just me and a turtle at 20 m depth.A wall.Shark!
Las Grietas
The Cracks, in English.
We ended up at Las Grietas, thanks to TripAdvisor. The reviews were mixed, with some loving it and some being disappointed. For us, it was one of the coolest activities of the entire trip!
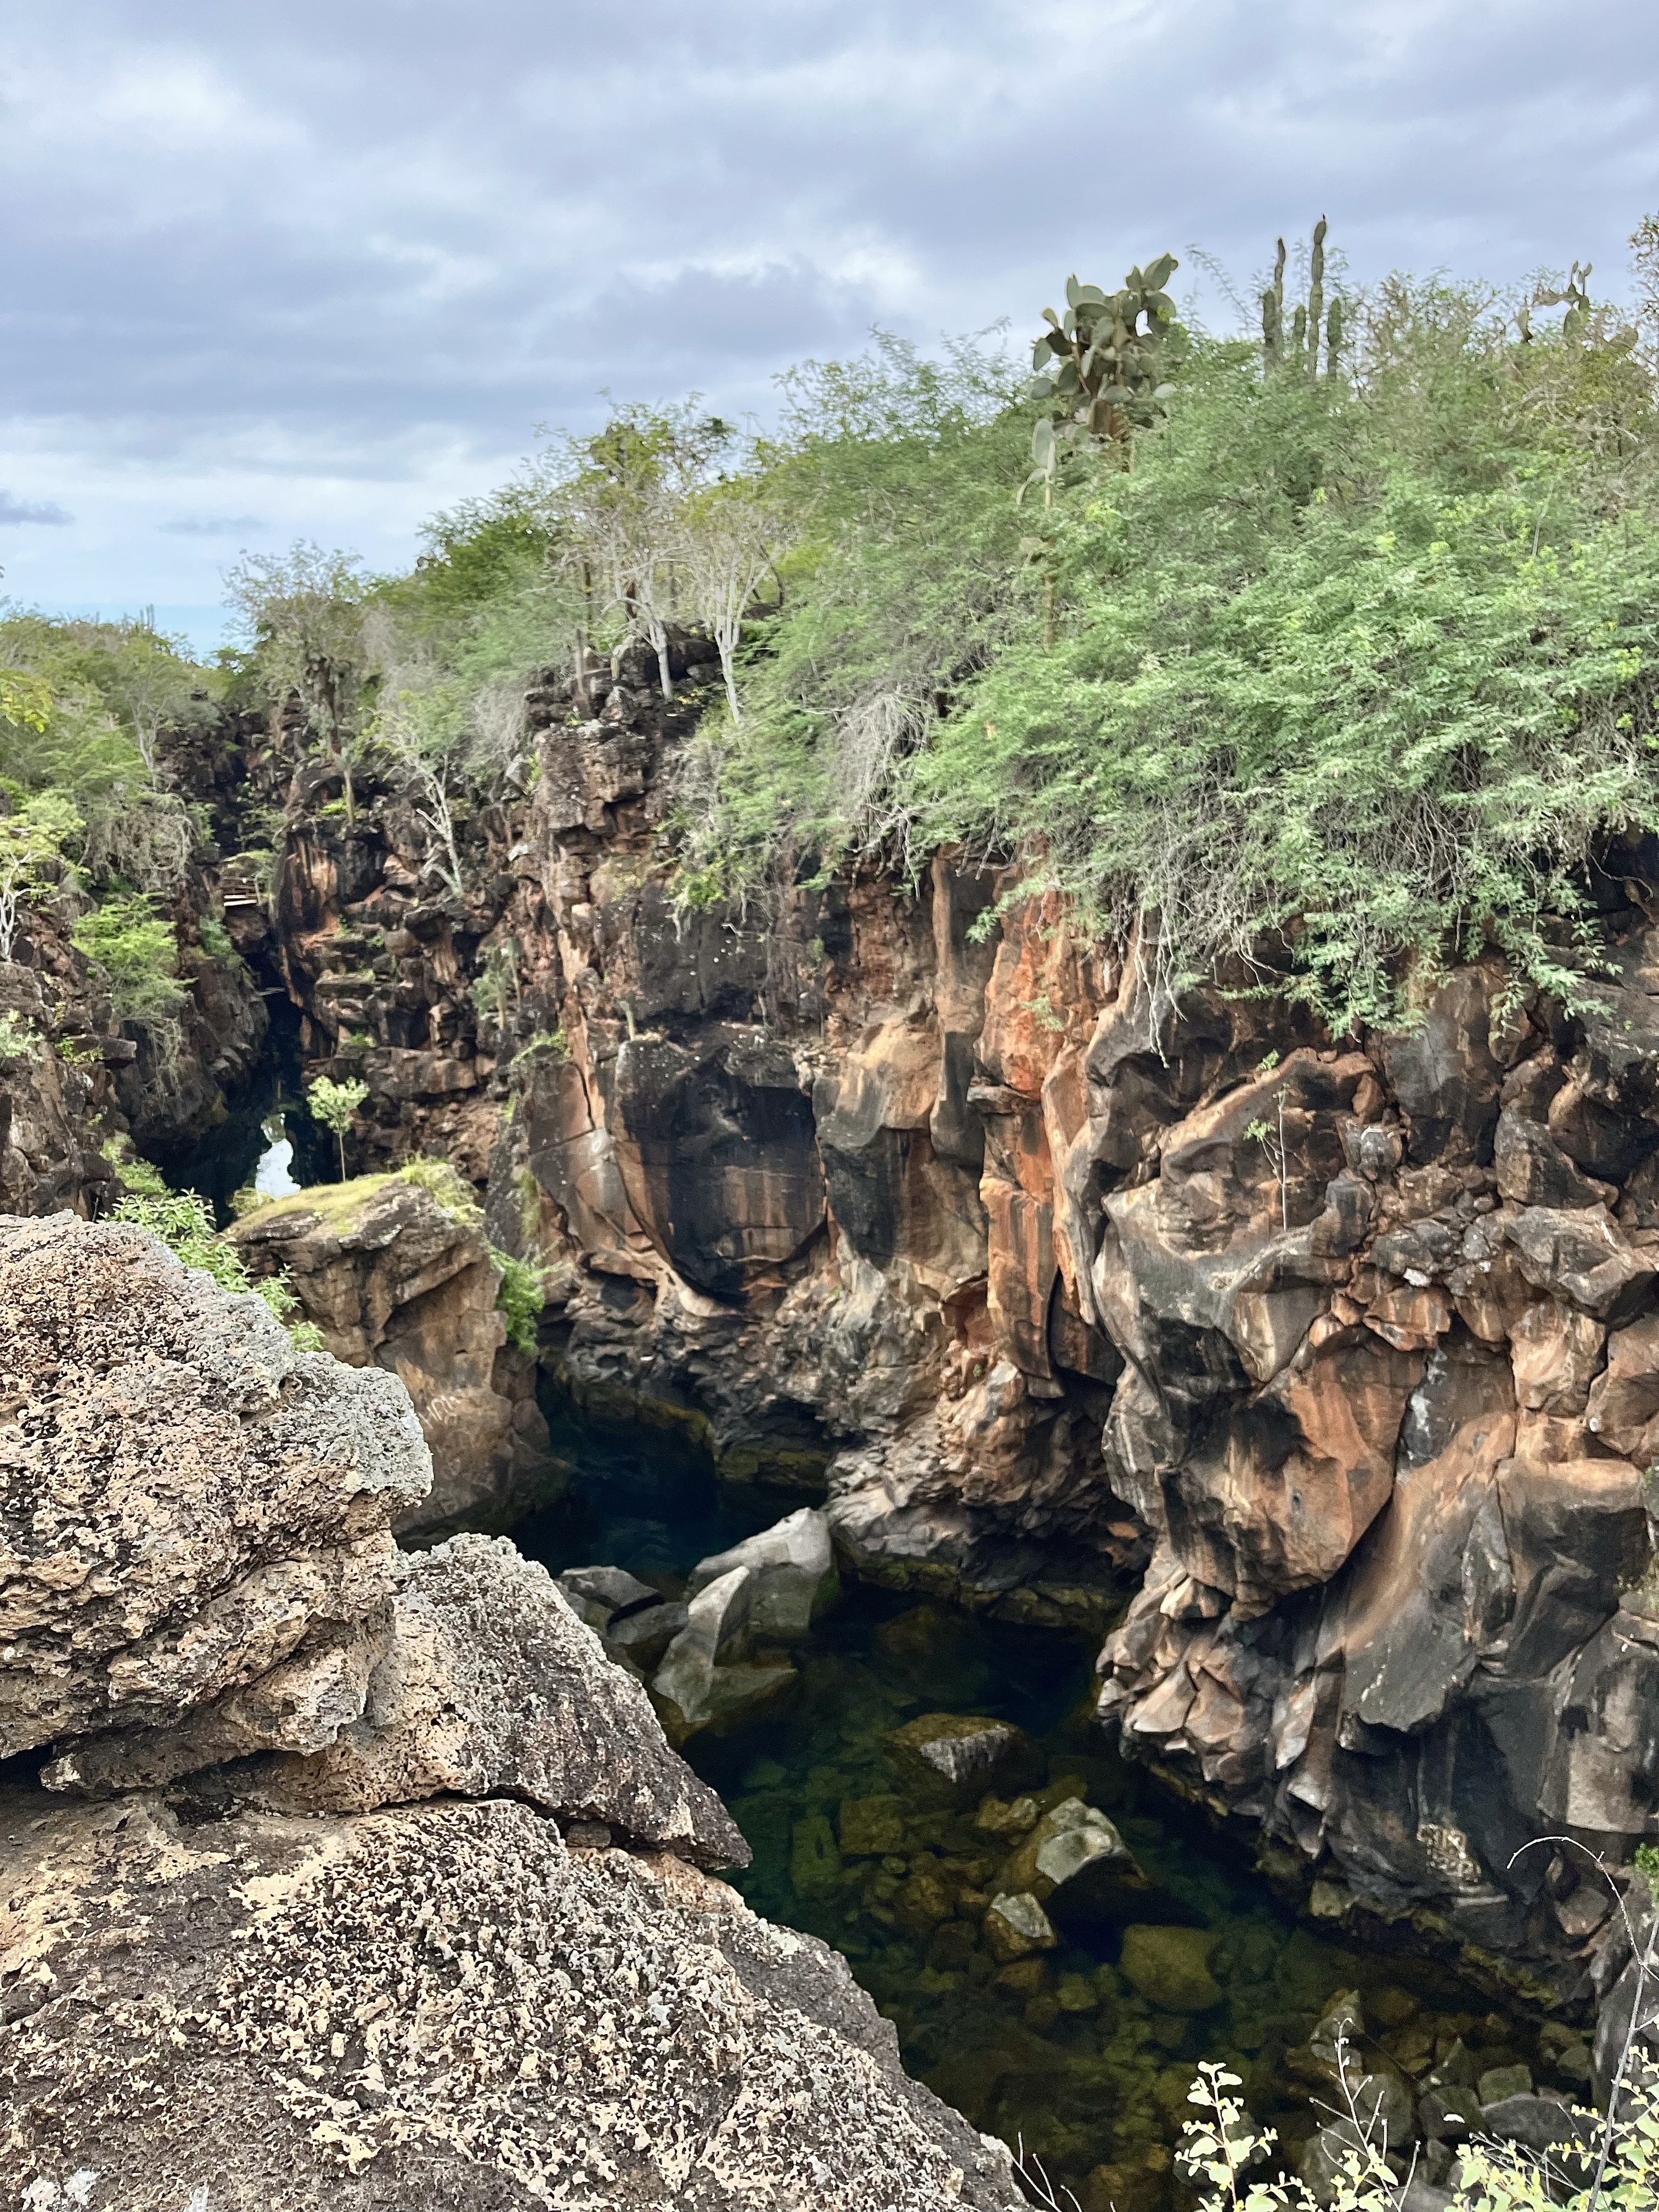
You literally snorkel in the crystal-clear pools that cut between lava cliffs!
Las Grietas from above. You can see how clear the water is.
The visit requires a tour guide ($10 per person, English or Spanish), which can be arranged at the entrance to the trail. The walk to the pools is an easy 15 minutes through some salt lagoons and a cactus field. The pools are a fresh and saltwater mix and the most beautiful emerald green/blue, depending on the light. The mix of water means there’s not a lot of fish, but the water is so clear there’s plenty to see.
Notice the salt forming on the rocks.Stairs to Las Grietas
There are two main reasons why we loved this spot so much. First, we arrived at ~9 am, hitting a sweet spot between the super early morning people and the larger tourist groups. Second, our tour and our guide. We took the tour in Spanish, and our guide hopped in and swam with us. When we first arrived, we were literally the only three. So, we casually swam to the middle section, perched on some rocks, and had a lovely chat (in Spanish!) in this beautiful and peaceful place. I’ve mentioned it before, but we’re both really proud of learning and actually using Spanish since moving to Ecuador. And, as a language learner, it’s moments like this that really give you a boost! Taking a tour and actually comprehending the information AND having casual conversation?! It was a proud moment.
Rancho Primicias
Aka: A giant tortoise reserve!
This abuelito (grandpa) was ~100 years old.
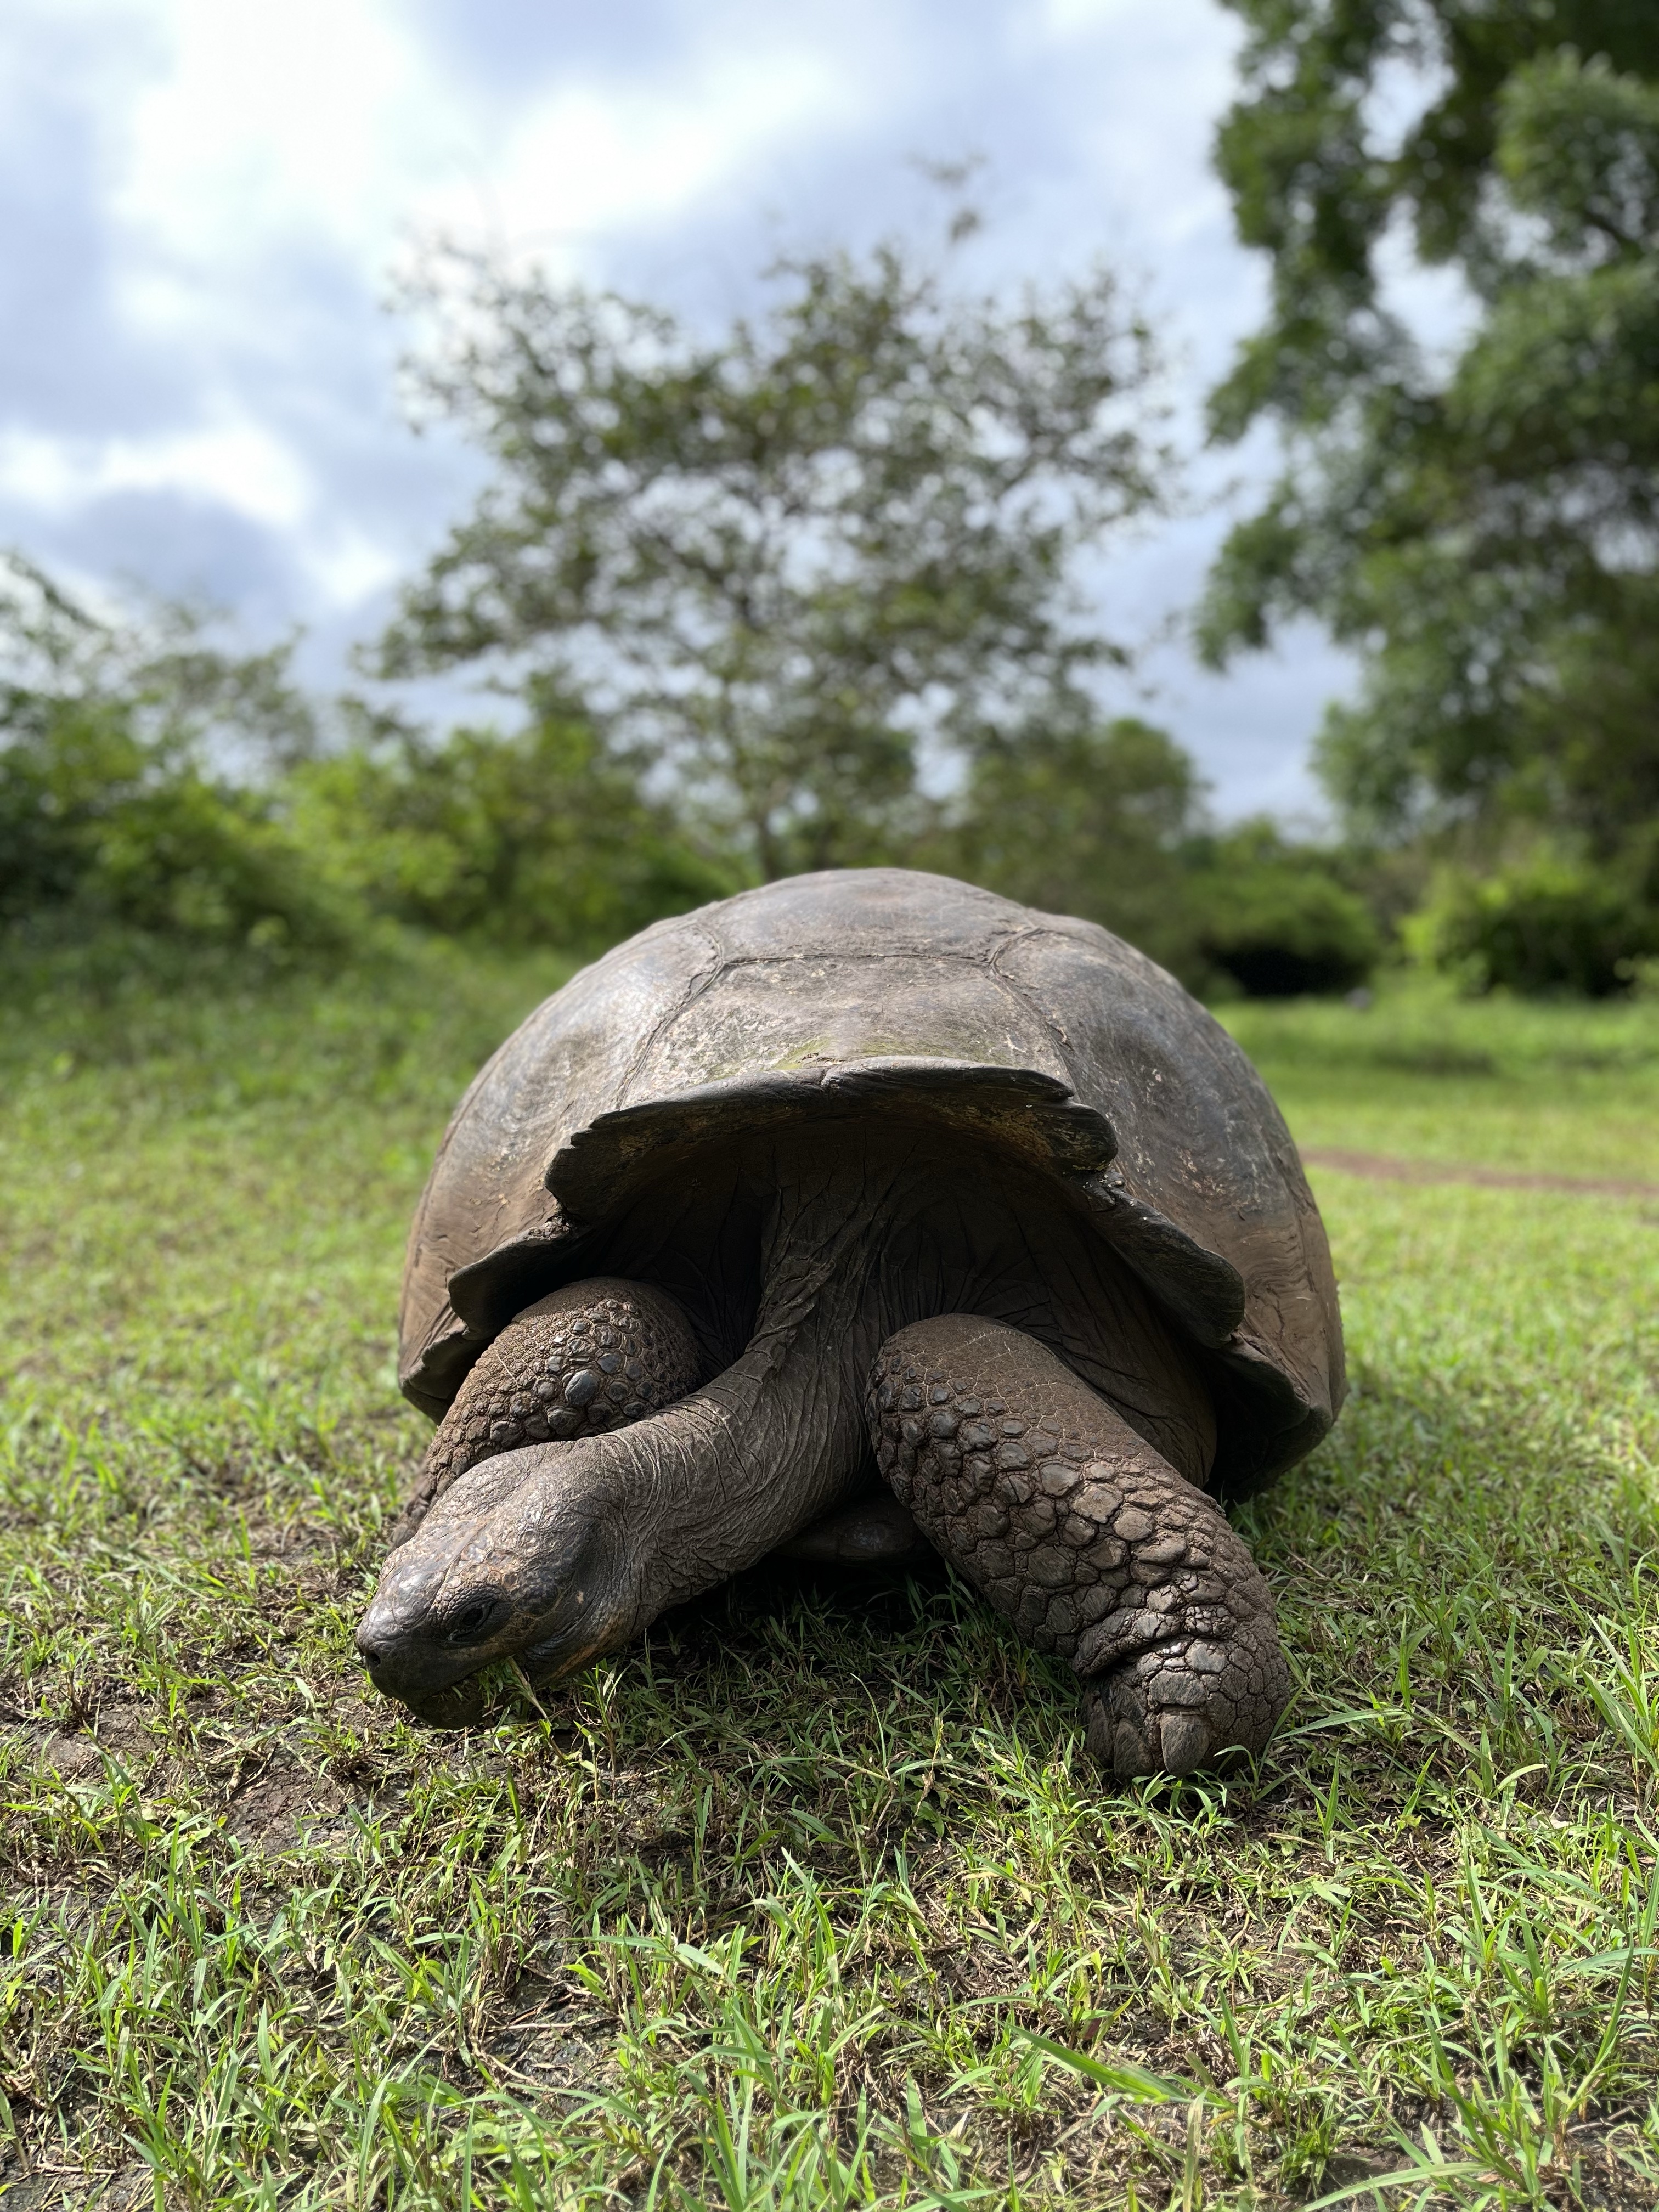
These guys. I could have sat there and watched them eat grass all day long. Literally, because it seems like that’s all they wanted to do. Eat grass. Walk to a new location. Eat more grass.
I particularly liked this guy, who reminded me of a lawn mower, leaving a freshly chompped trail behind him.
Who needs a lawnmower when you have tortoises!
There are two reserves in essentially the same area: Rancho Primicias and El Chato. Both seem to offer the same experience; pay $10 per person for your guide (see a theme?), who takes you around the property for tortuga-spotting. We again had a personal tour, which was nice!
The tortoises are free-roaming, so they come and go as they please, and you can’t touch them or feed them. So, this felt like a good-for-the-turtles experience, no Tiger King vibes.
The entrance fee also includes a walk through some surprisingly large lava tunnels! It took maybe 15 minutes to walk through the designated portion of the tunnel, which was a fun bonus!
In the lava tunnel.
Tortuga Bay
Last but certainly not least is Tortuga Bay, one of the most famous (and free!) attractions on Santa Cruz Island, and for good reason. This beach is a stunner!
Playa Brava, the main beach in Tortuga Bay.
The perfect white sand. The waves. It’s gorgeous. And it’s big enough that once you get past the entrance to the beach, you really feel alone despite its popularity. The only downside is it’s only accessible by foot, so you’re looking at a ~45-minute walk from town. However, it’s a nice brick walkway with lots of nature to look at along the way!
Almost there! The walkway to the beach.This is the best shorts tan line I’ve ever had.
You can also snorkel here, not on the main beach, which is too rough for swimming. However, if you walk the length of Playa Brava (the main beach) (another 20–25 min), on the backside is a cove with a smaller beach. We had terrible luck snorkeling; we saw nothing, literally, because the visibility was terrible. Our dive guides also said Tortuga Bay snorkeling wasn’t good, but others said they swam with baby hammerhead sharks. So, maybe it was just bad timing. 🤷♀️
And that sums up our time on Santa Cruz Island! With more time (and money), there are plenty of other day tours and activities available from Puerto Ayora, especially for snorkeling.
There are two main nature reserves in Ecuador’s Amazon region: Yasuní National Park and Cuyabeno Reserve. Yasuní National Park is arguably the more famous one; it’s the biggest and has one of the highest biodiversity rates per square meter in the world. However, Cuyabeno is just as impressive.
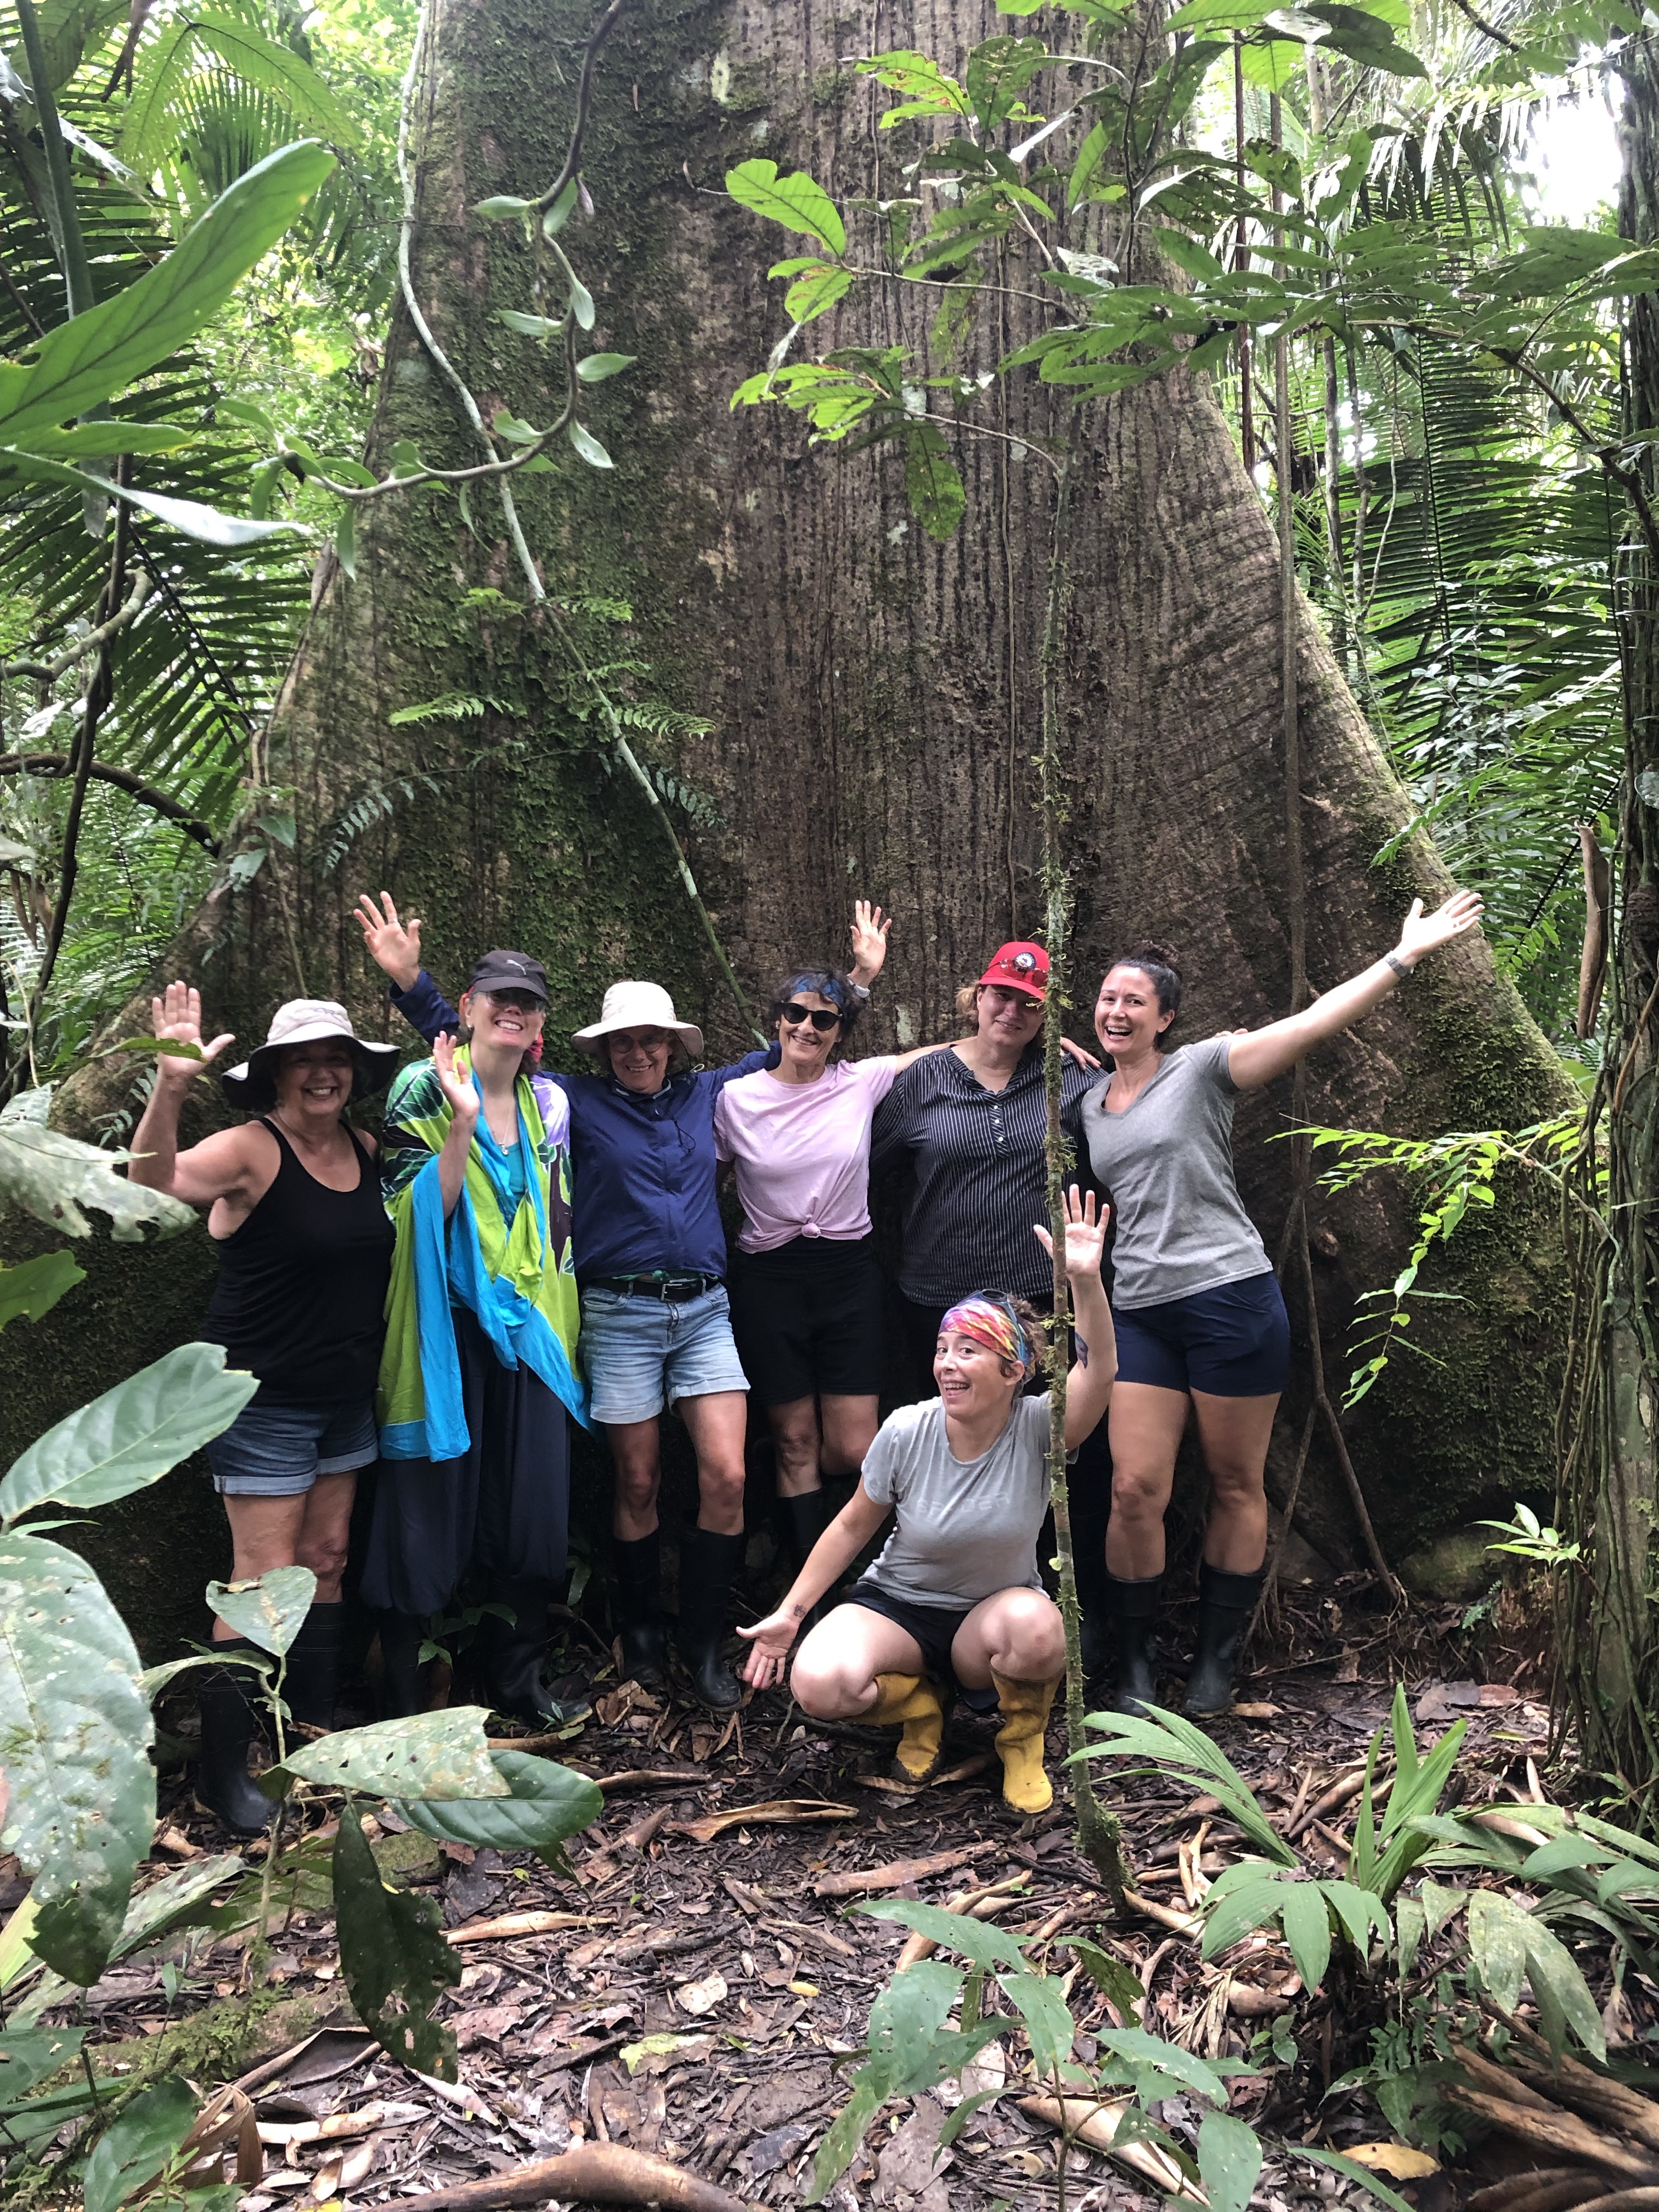
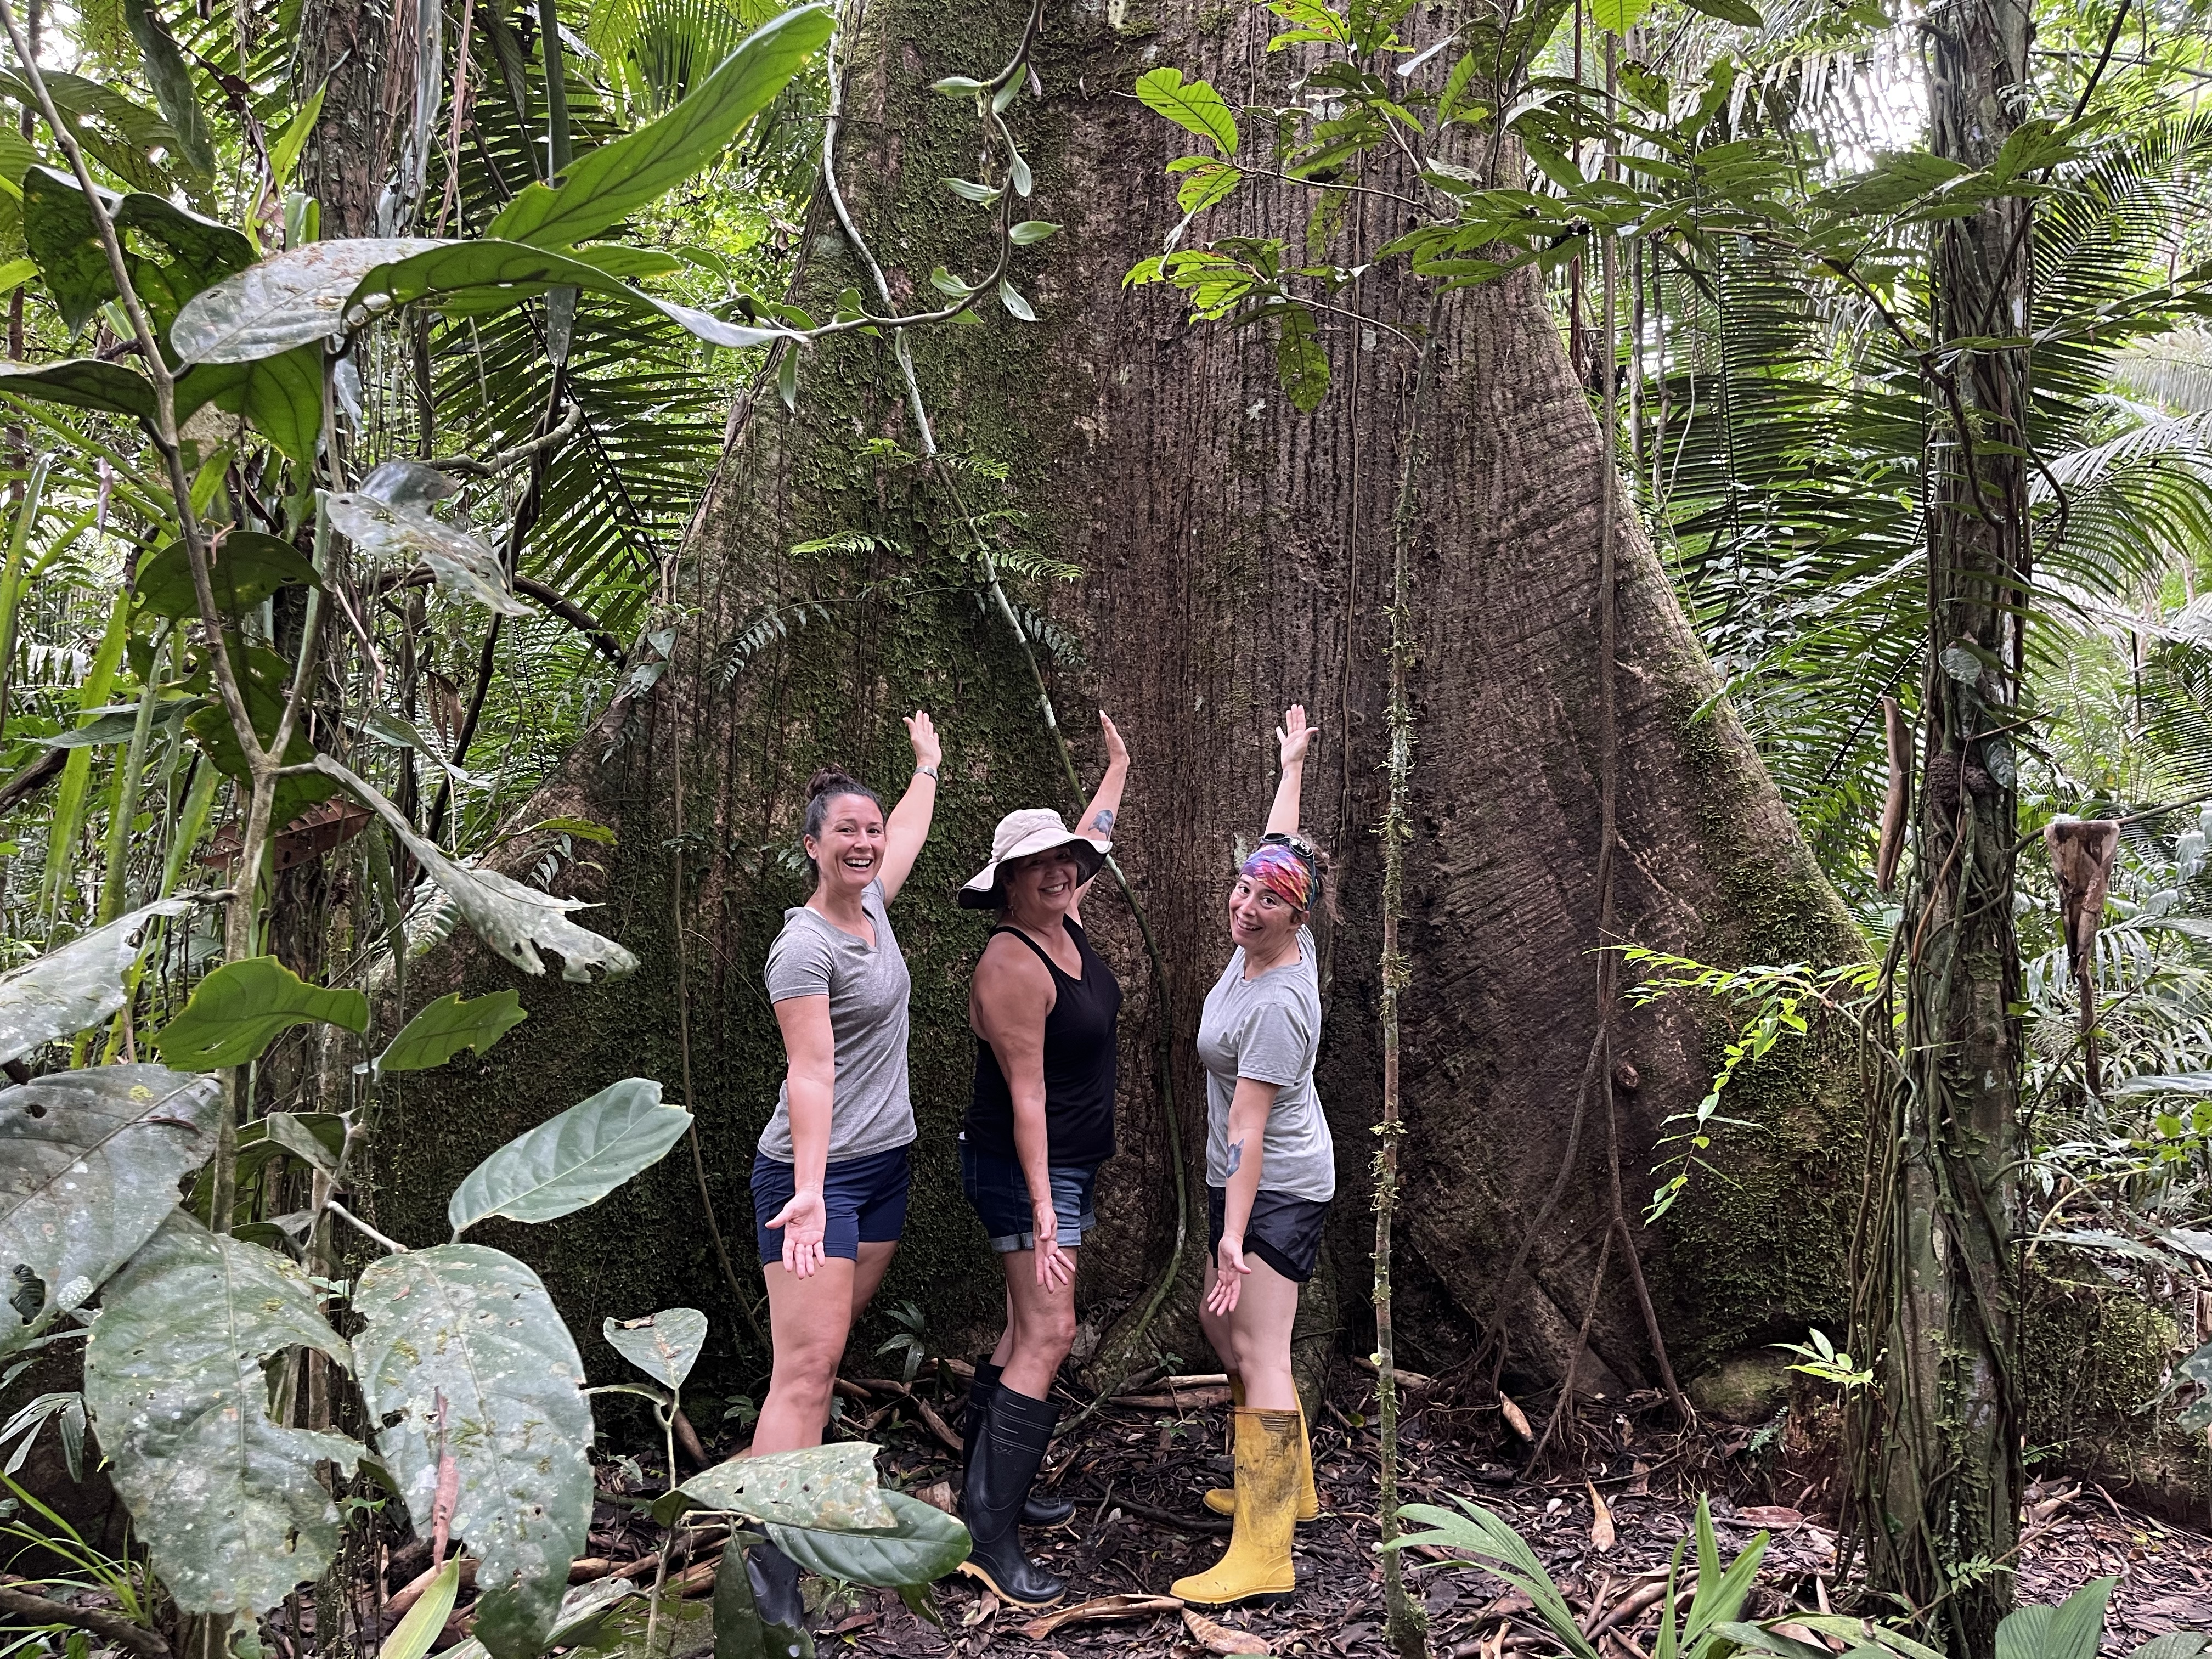
One of the biggest tree I’ve ever seen.
So what’s the difference? The type of forest. Yasuní is primarily humid tropical rainforest, in other words, what you might imagine when you hear the word “rainforest.” Cuyabeno, on the other hand, is mostly igapó forest (black-water flooded forest) with areas of tierrafirma (areas that don’t flood).
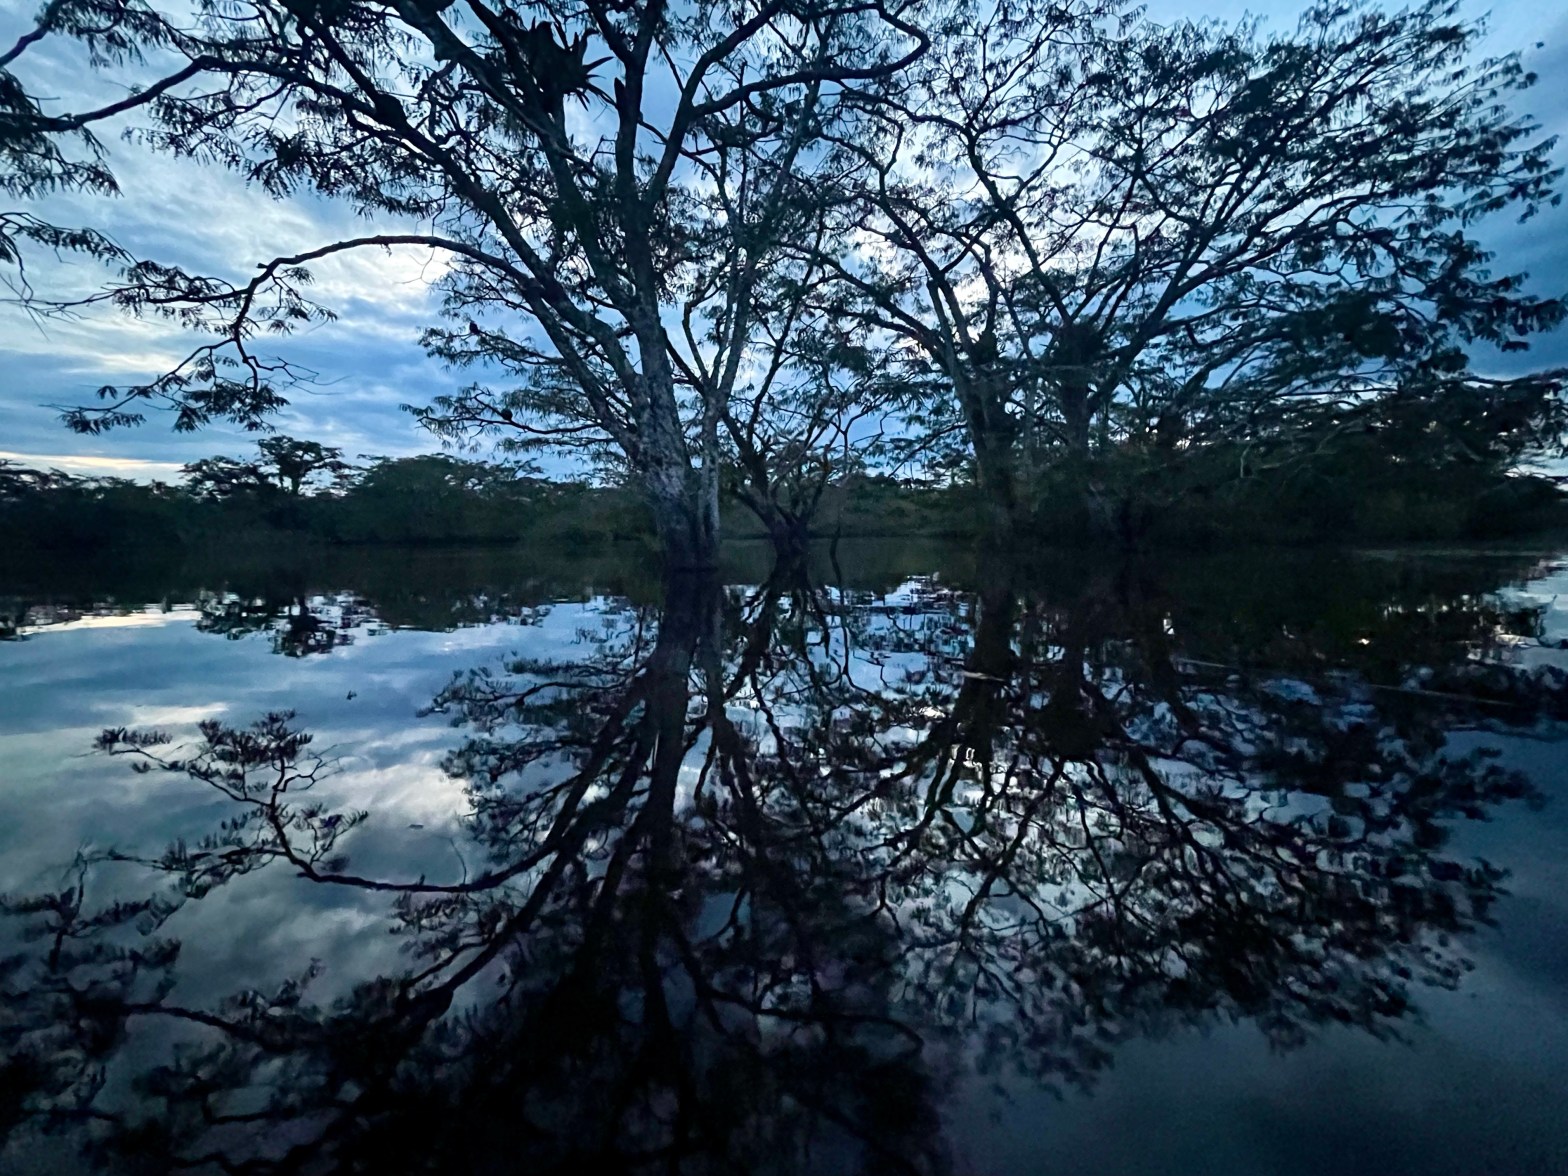
Part of the black-water forest.
I was lucky enough to visit Cuyabeno twice in a three-week period, once with my mom and cousin, and once with Shane and a crew from IKIAM (the university in Tena). So, as a professional Cuyabeno goer, I’m here to convince you why you should add Cuyabeno Reserve to your Ecuador itinerary!
1. Its easy to plan!
That’s me, reveling in how easy it was to plan this trip!
You’re only allowed to visit the reserve with a guide, which makes planning this portion of the trip a breeze. There are 14 lodges in the reserve, so your only decision is which one you prefer. They all offer nearly the same type of package, but vary based on the accommodation type, food, and location in the reserve.
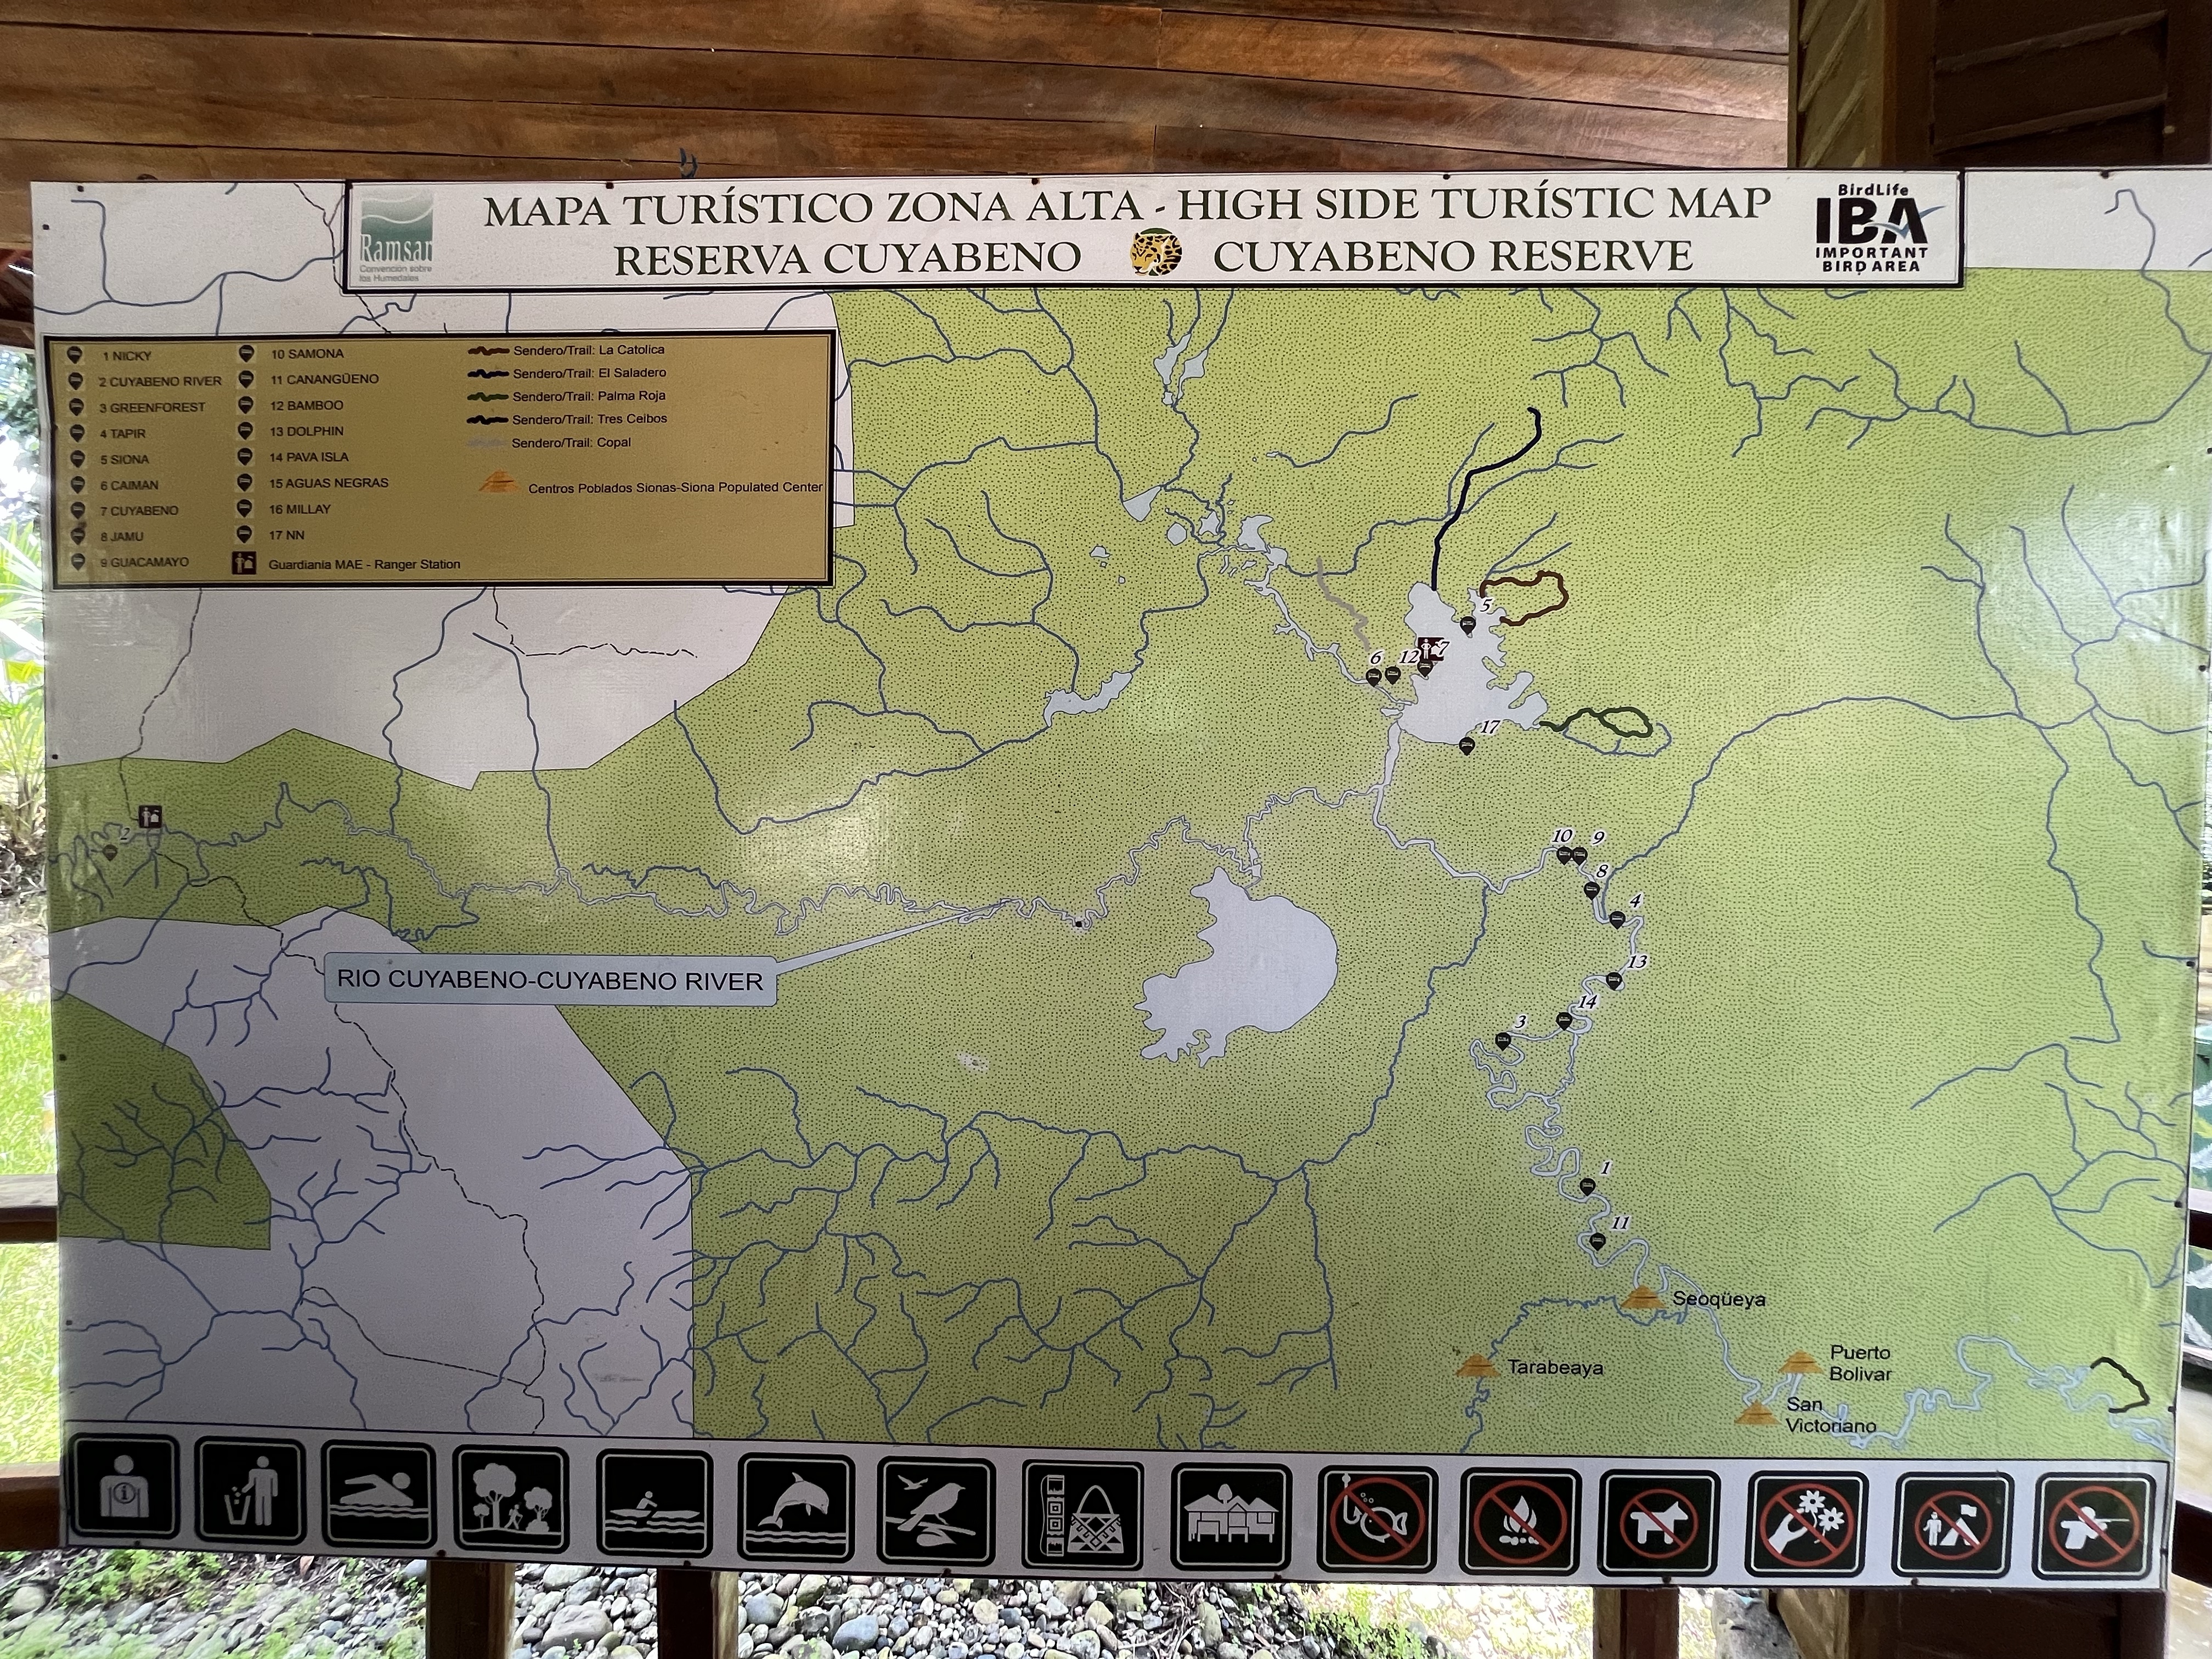
Map of the reserve with the lodge layout.
I stayed in two lodges, the Bamboo Lodge (with my mom and Clancy) and the Caiman Lodge (with Shane), both of which are a short boat ride from Laguna Grande, one of the main features of the reserve.
Bamboo Lodge
Caiman Lodge
Both lodges were clean, had good food, friendly staff, and felt safe. However, the Bamboo Lodge felt more upscale than the Caiman Lodge. The bamboo structures (hence the lodge’s name) were beautiful and the food was incredible. It also had small things that made it feel a bit more comfortable, like 24-hour electricity (80% of which comes from solar), filtered water (although they provide purified drinking water), and fluffy towels (which seems silly, but it’s not something I expected in the jungle!).
Alternatively, the Caiman Lodge had a better space to hang out during your downtime, their viewing tower had better views, and they had clotheslines for wet things (which you’ll need), but it felt a bit more rustic overall.
Neither place has wifi or cellphone service (nowhere in the reserve does), and it takes roughly the same amount of time to get there. So, really, your choice of lodge boils down to your personal preference and the price. Bamboo Lodge was a bit more expensive than Caiman Lodge, but it also had a few more features, like breakfast on the day of arrival and full almuerzo (versus a packed sandwich lunch) on the day of departure.
2. It’s all inclusive.
First off, I’d recommend the 3-night/4-day package, which is roughly $300 per person depending on the lodge. However, the price includes everything. Meals starting from lunch on the day of arrival until lunch on the day of departure, the two-hour transport from Lago Agrio (the closest city) to the port, the two-hour motorized canoe ride from the port to the lodge, accommodation, all of your guided activities, and jungle gear (rubber boots and ponchos). So, considering all that’s included, the price isn’t so terrible.
Oh, and did you catch that it’s quite a long journey to get there? It’s about 5 hours from Tena and about 8 hours from Quito to Lago Agrio. Then it’s another 4 hours to get to the lodges, which is why I recommend the 3-night/4-day (at minimum!). Gotta make the effort worth it!
However, another thing to keep in mind is that the tour starts once you’re on the boat. A guide must be with you at all times, and they are good at what they do! So, not only is the two-hour journey relaxing, but you’ll start seeing animals right away! For example, we saw five types of monkeys on the way in!
On the way to Bamboo Lodge!
3. All activities are included and pre-planned.
And, all activities are guided tours. In both places, on arrival, we were introduced to our guide who stayed with us for the duration of our visit. Also, since it’s a flooded forest, you have to go everywhere by boat, and the maximum number of people per boat is 10. So, the group stays small.
It was a bit different on the trip with Shane since we arrived with a pre-made group. However, on the trip with my mom and cousin, we were assigned a group on arrival. Honestly, it felt a bit like summer camp for adults because you eat all your meals and do all the activities with your group. Our guide, Wilson, even sat at the head of the table, just like back in my camp counselor days. 😆
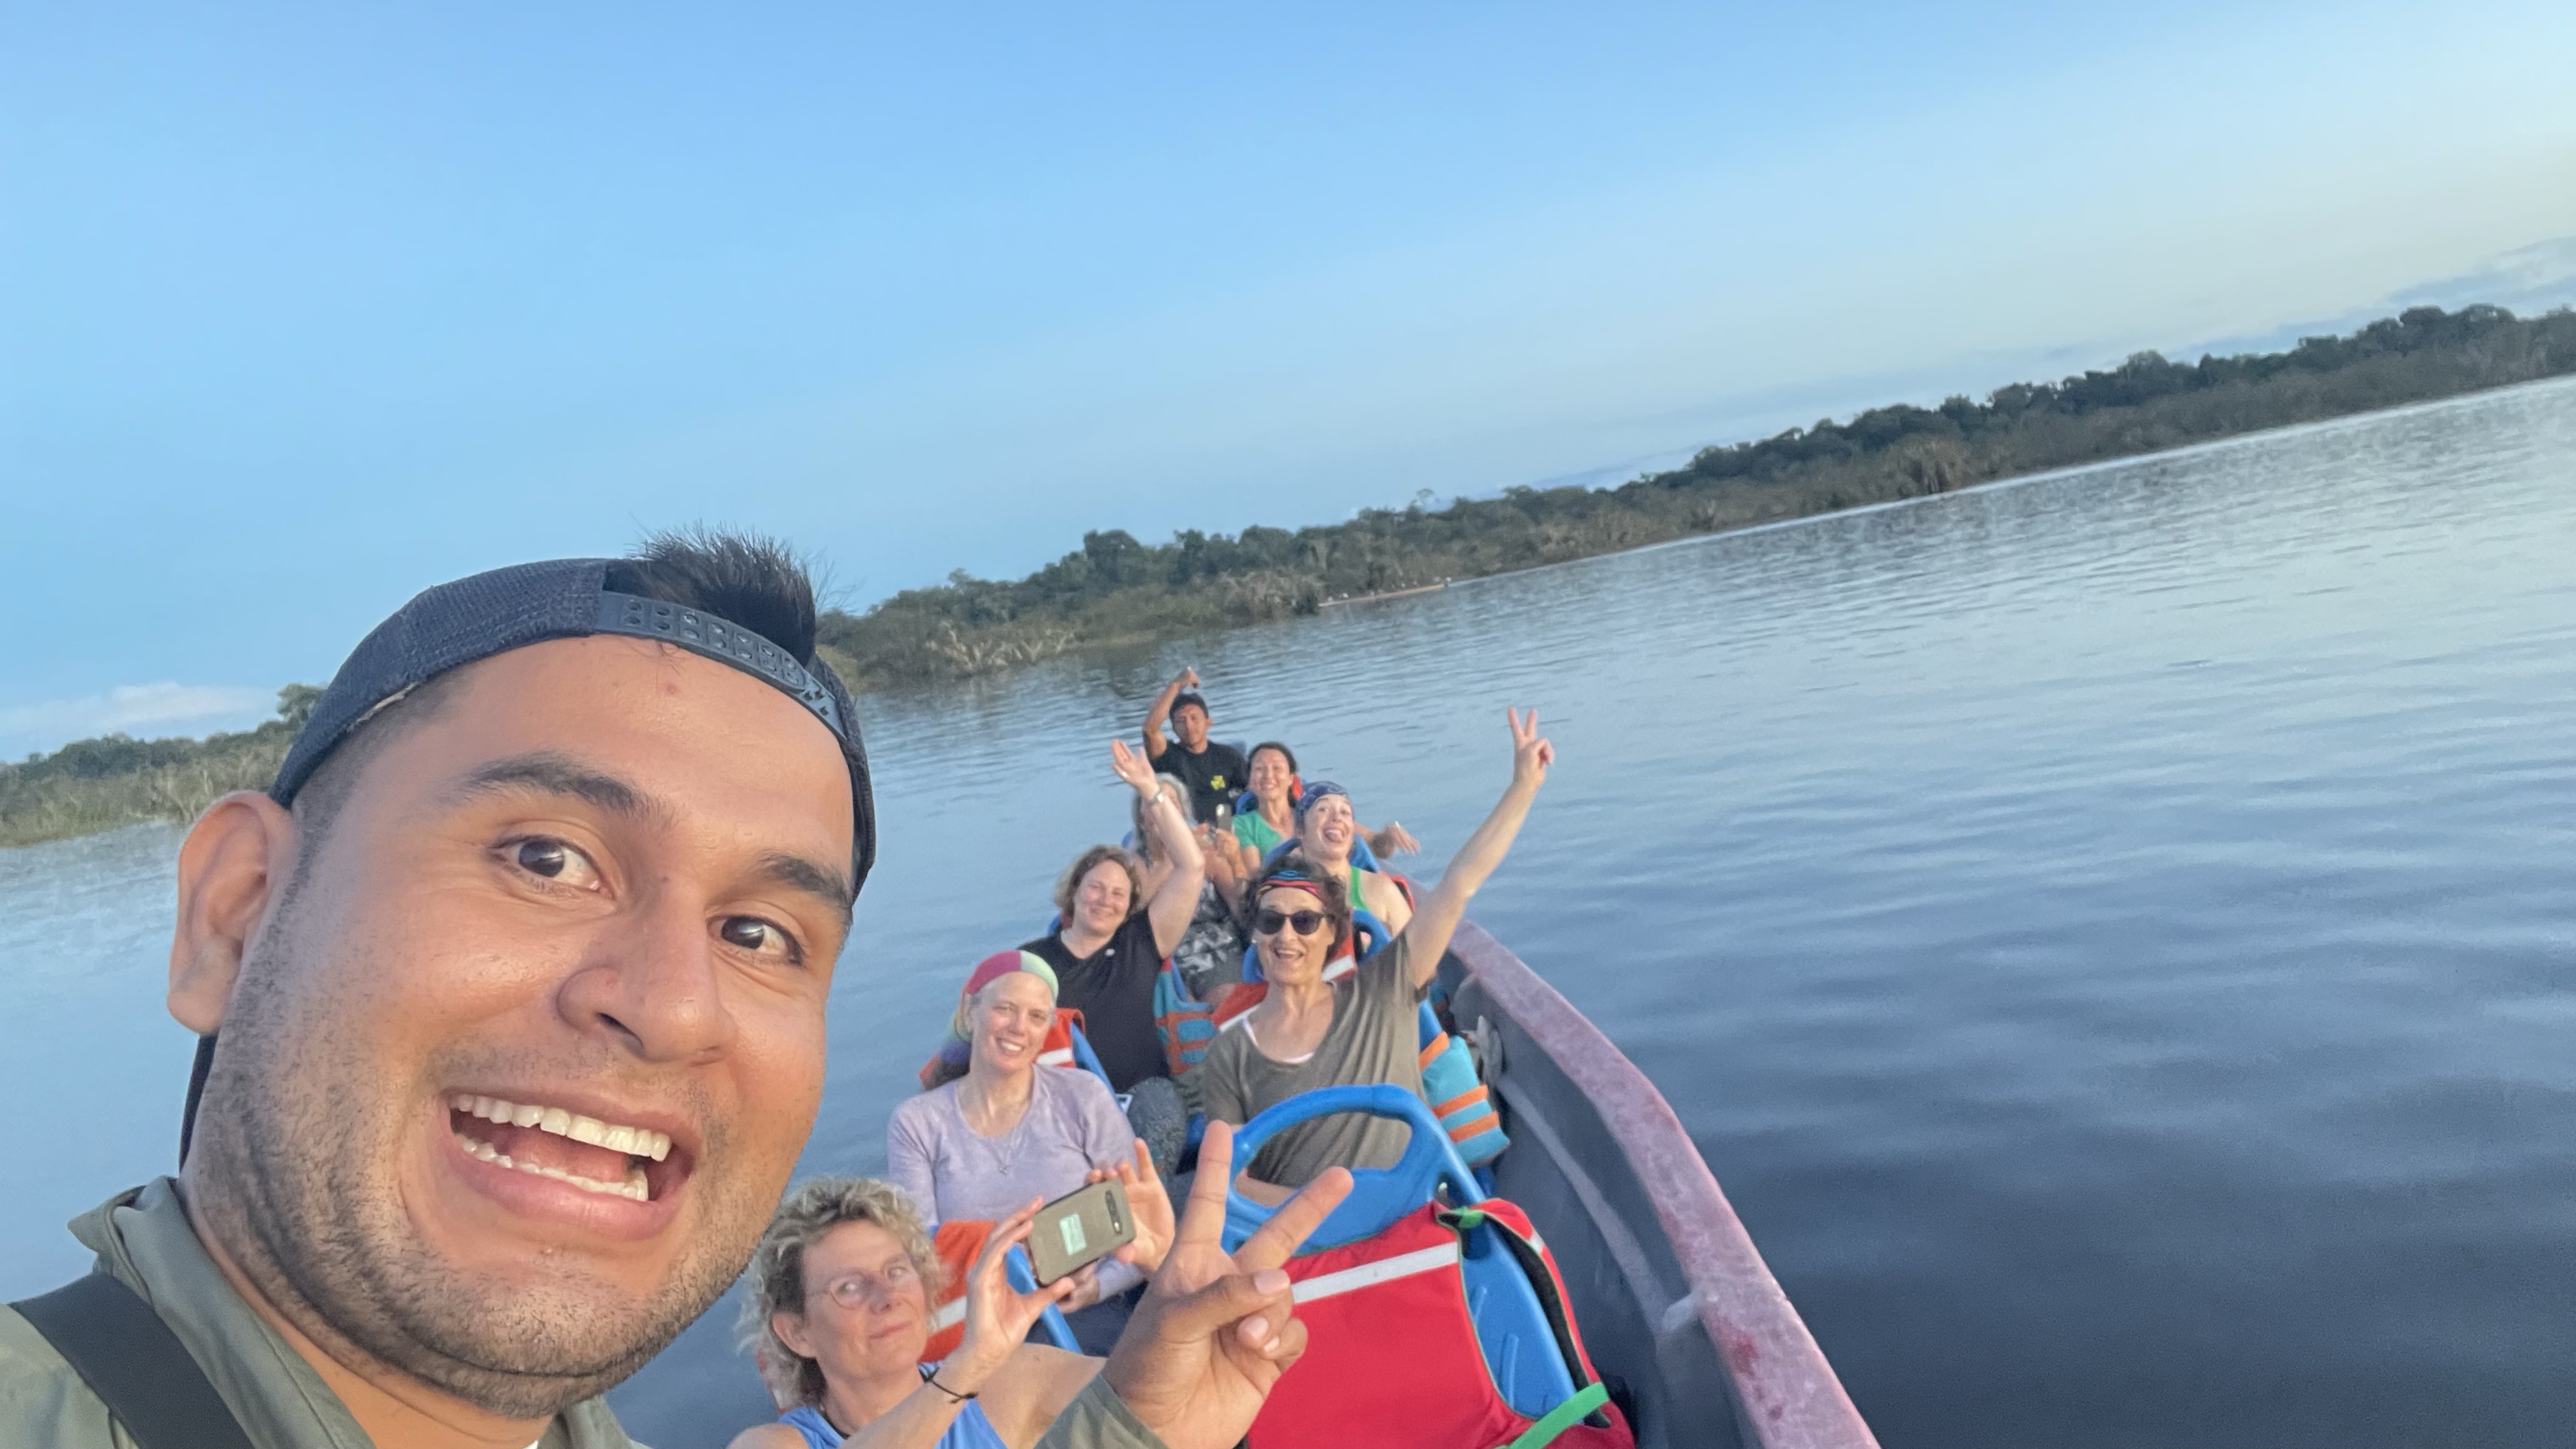
Now, I suppose this could be weird if you get a bad group, but we were lucky. Our seven-woman crew plus Wilson had a blast!
Wilson, our awesome guide!Our seven-gal group!
The activities vary slightly depending on how many nights you stay. However, in general, you can expect motorized canoe rides to look for animals, standard canoe rides (paddling required!), day and night walks in the tierra firma, and swimming in Laguna Grande.
Paddling is hard work!A peaceful evening on Laguna Grande.
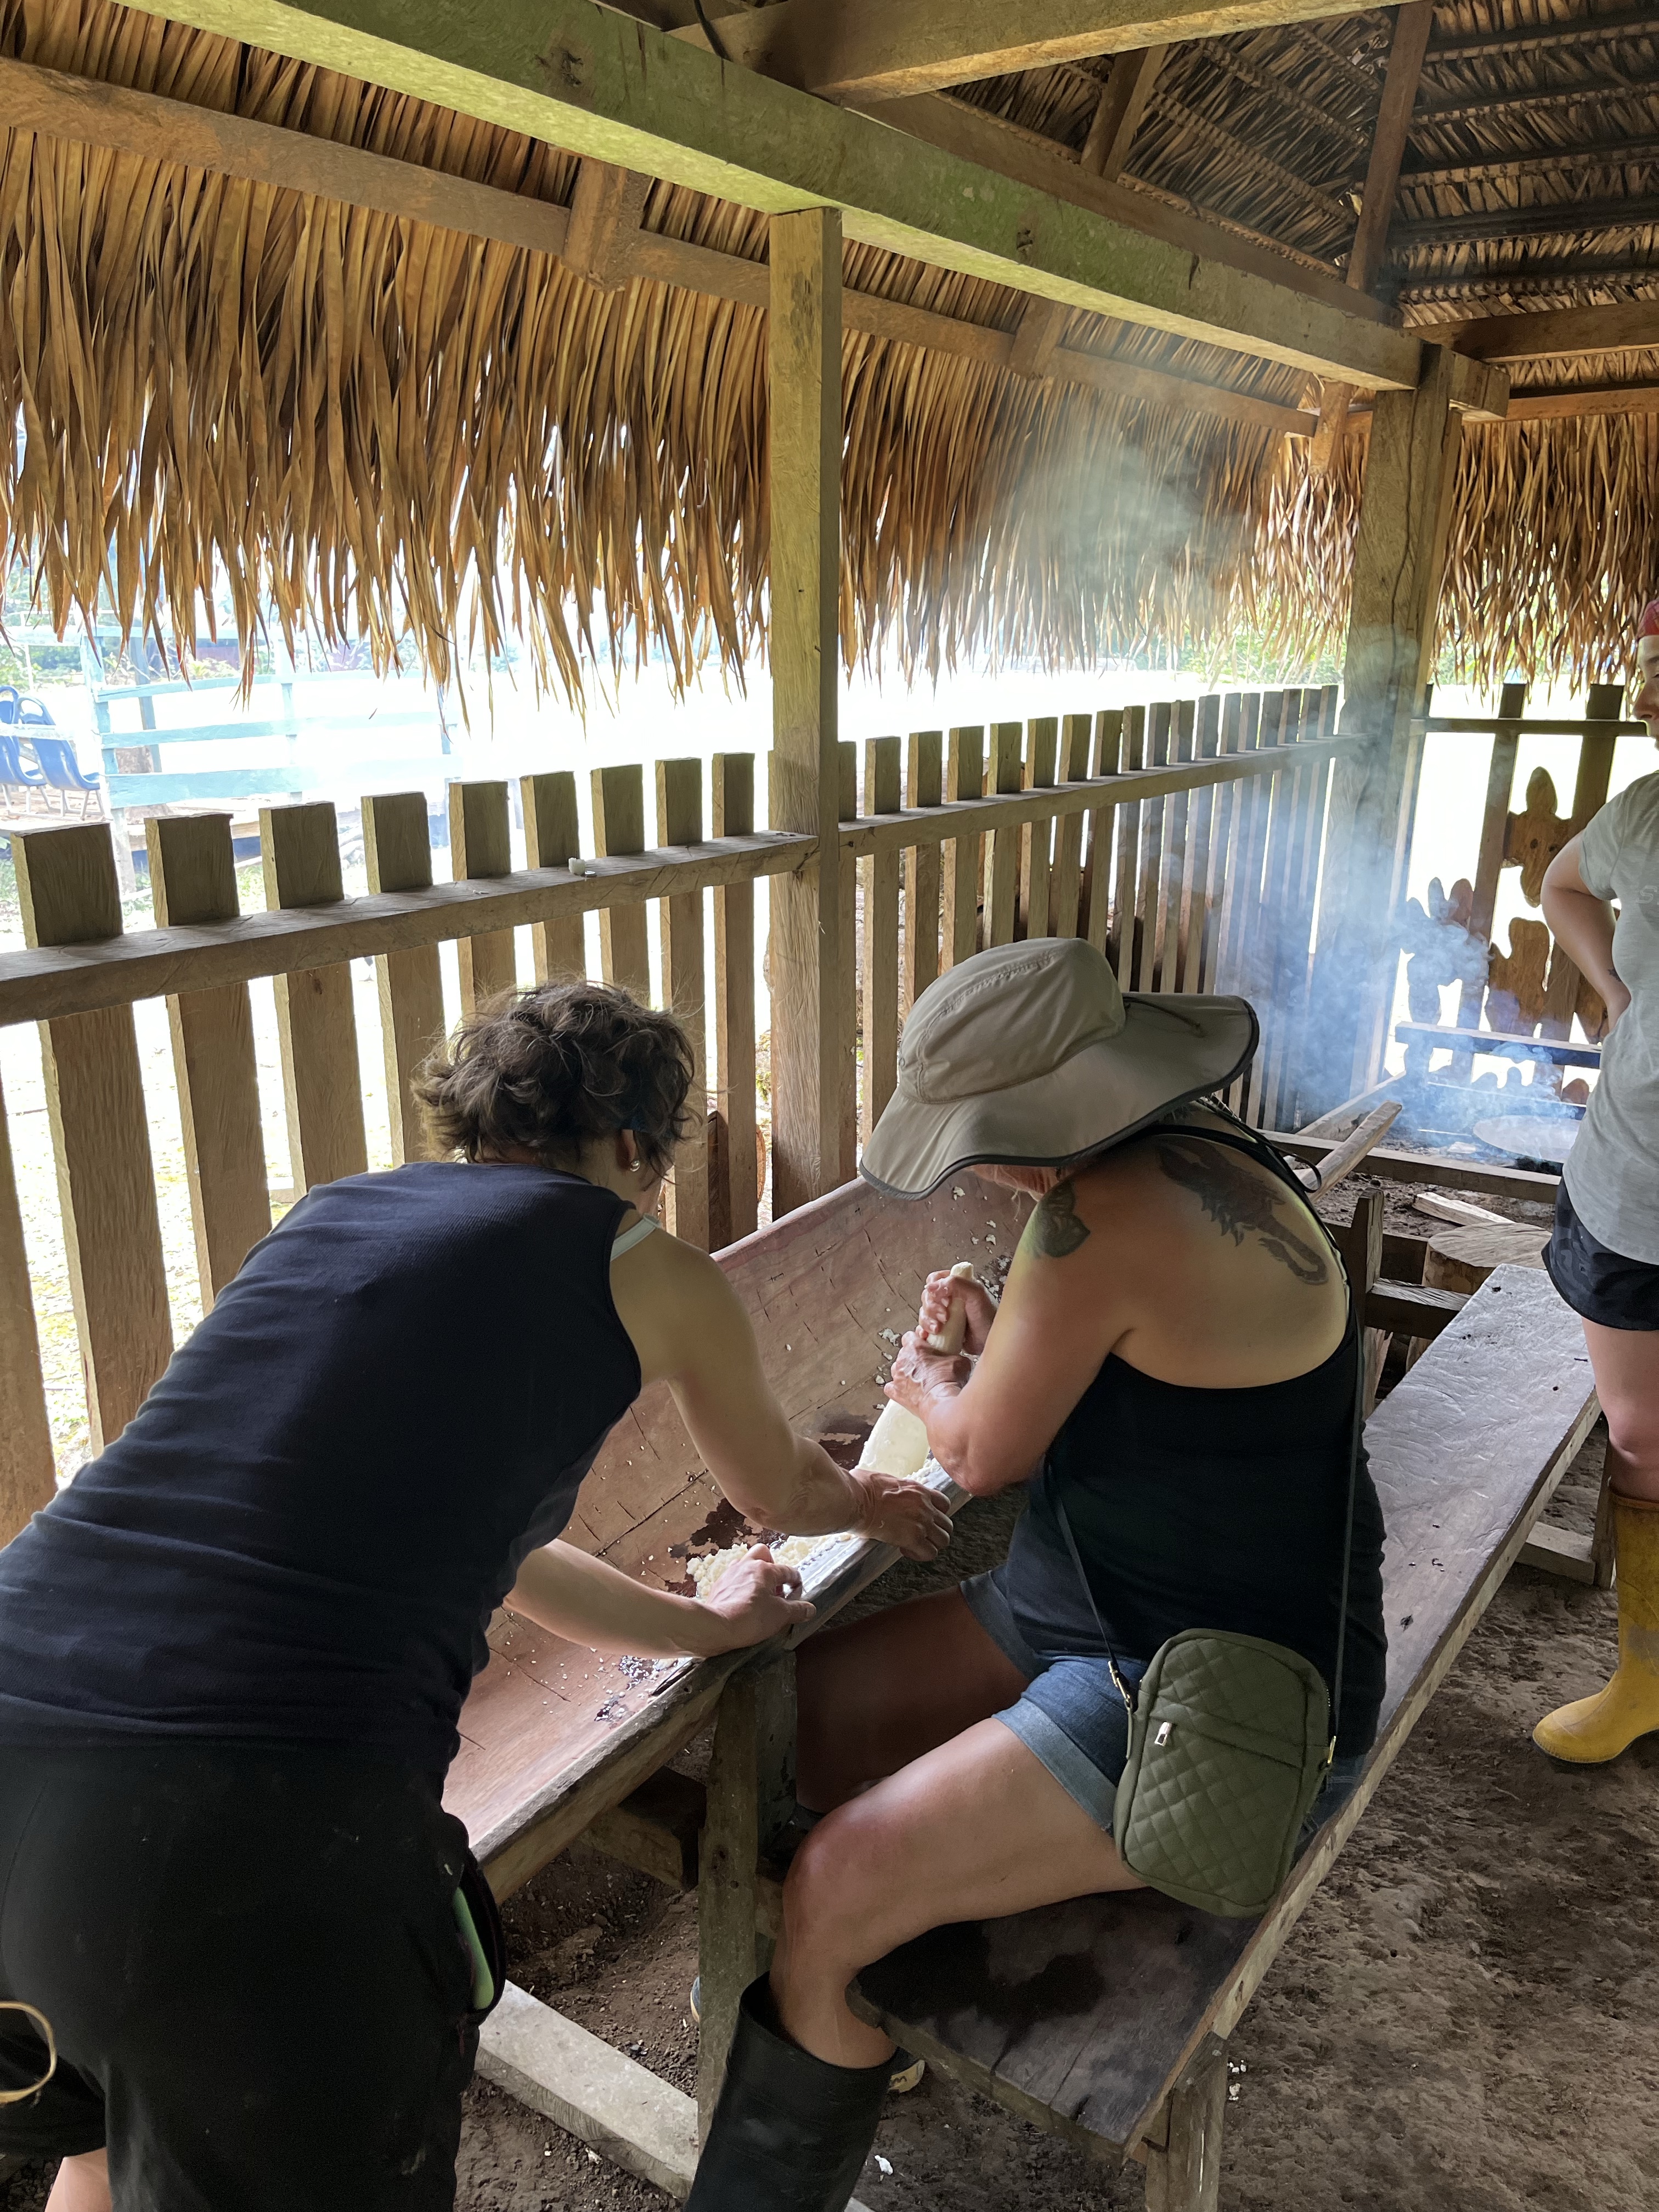
During longer stays (like the 3 night/4 day one), you’ll visit one of the local communities, which was an informative experience. We learned how to make cassava (a yuca bread) from scratch!
Pluck out the yuca.Grate it, then remove the water.Sift the yuca flour.Bake over a wood stove.Enjoy!The cassava process, from yuca to bread!
4. You’ll see a lot of animals!
Birds! Pink river dolphins! Sloths! Anacondas! Spiders! Monkeys! Caimans!
Take binoculars, people!
(I am no nature photographer. Here’s the best I could do. The rest of my animal photos just look like pictures of trees. 😆)
Squirrel monkey.Oropendola (bird) nests.Tarantula.BB snake.Cute Mr. Frogs.
And these are a few of my favorite things!
(I hope you sung that.)
Swimming and sunset in Laguna Grande
The equator!
I did not expect this, and it was a true treat!
And for those keeping track, this was my mom’s third trip to the equator. 😁
The Milky Way!
I only have a picture in my mind, but yes, we saw the Milky Way! There’s no light pollution on Laguna Grande, and we were lucky with some clear nights. Riding in silence, staring up at the Milky Way is something I’ll not forget.
Night walks
Everything is different at night. And it’s dark, really dark!
You’ll get to experience that firsthand when the guide has everyone turn off their flashlights. 😜 Ignore my cheesiness, but, wow, standing in the pitch black listening to the sounds of the jungle. Go figure, it really sounds like those “sounds of the jungle” soundtracks!
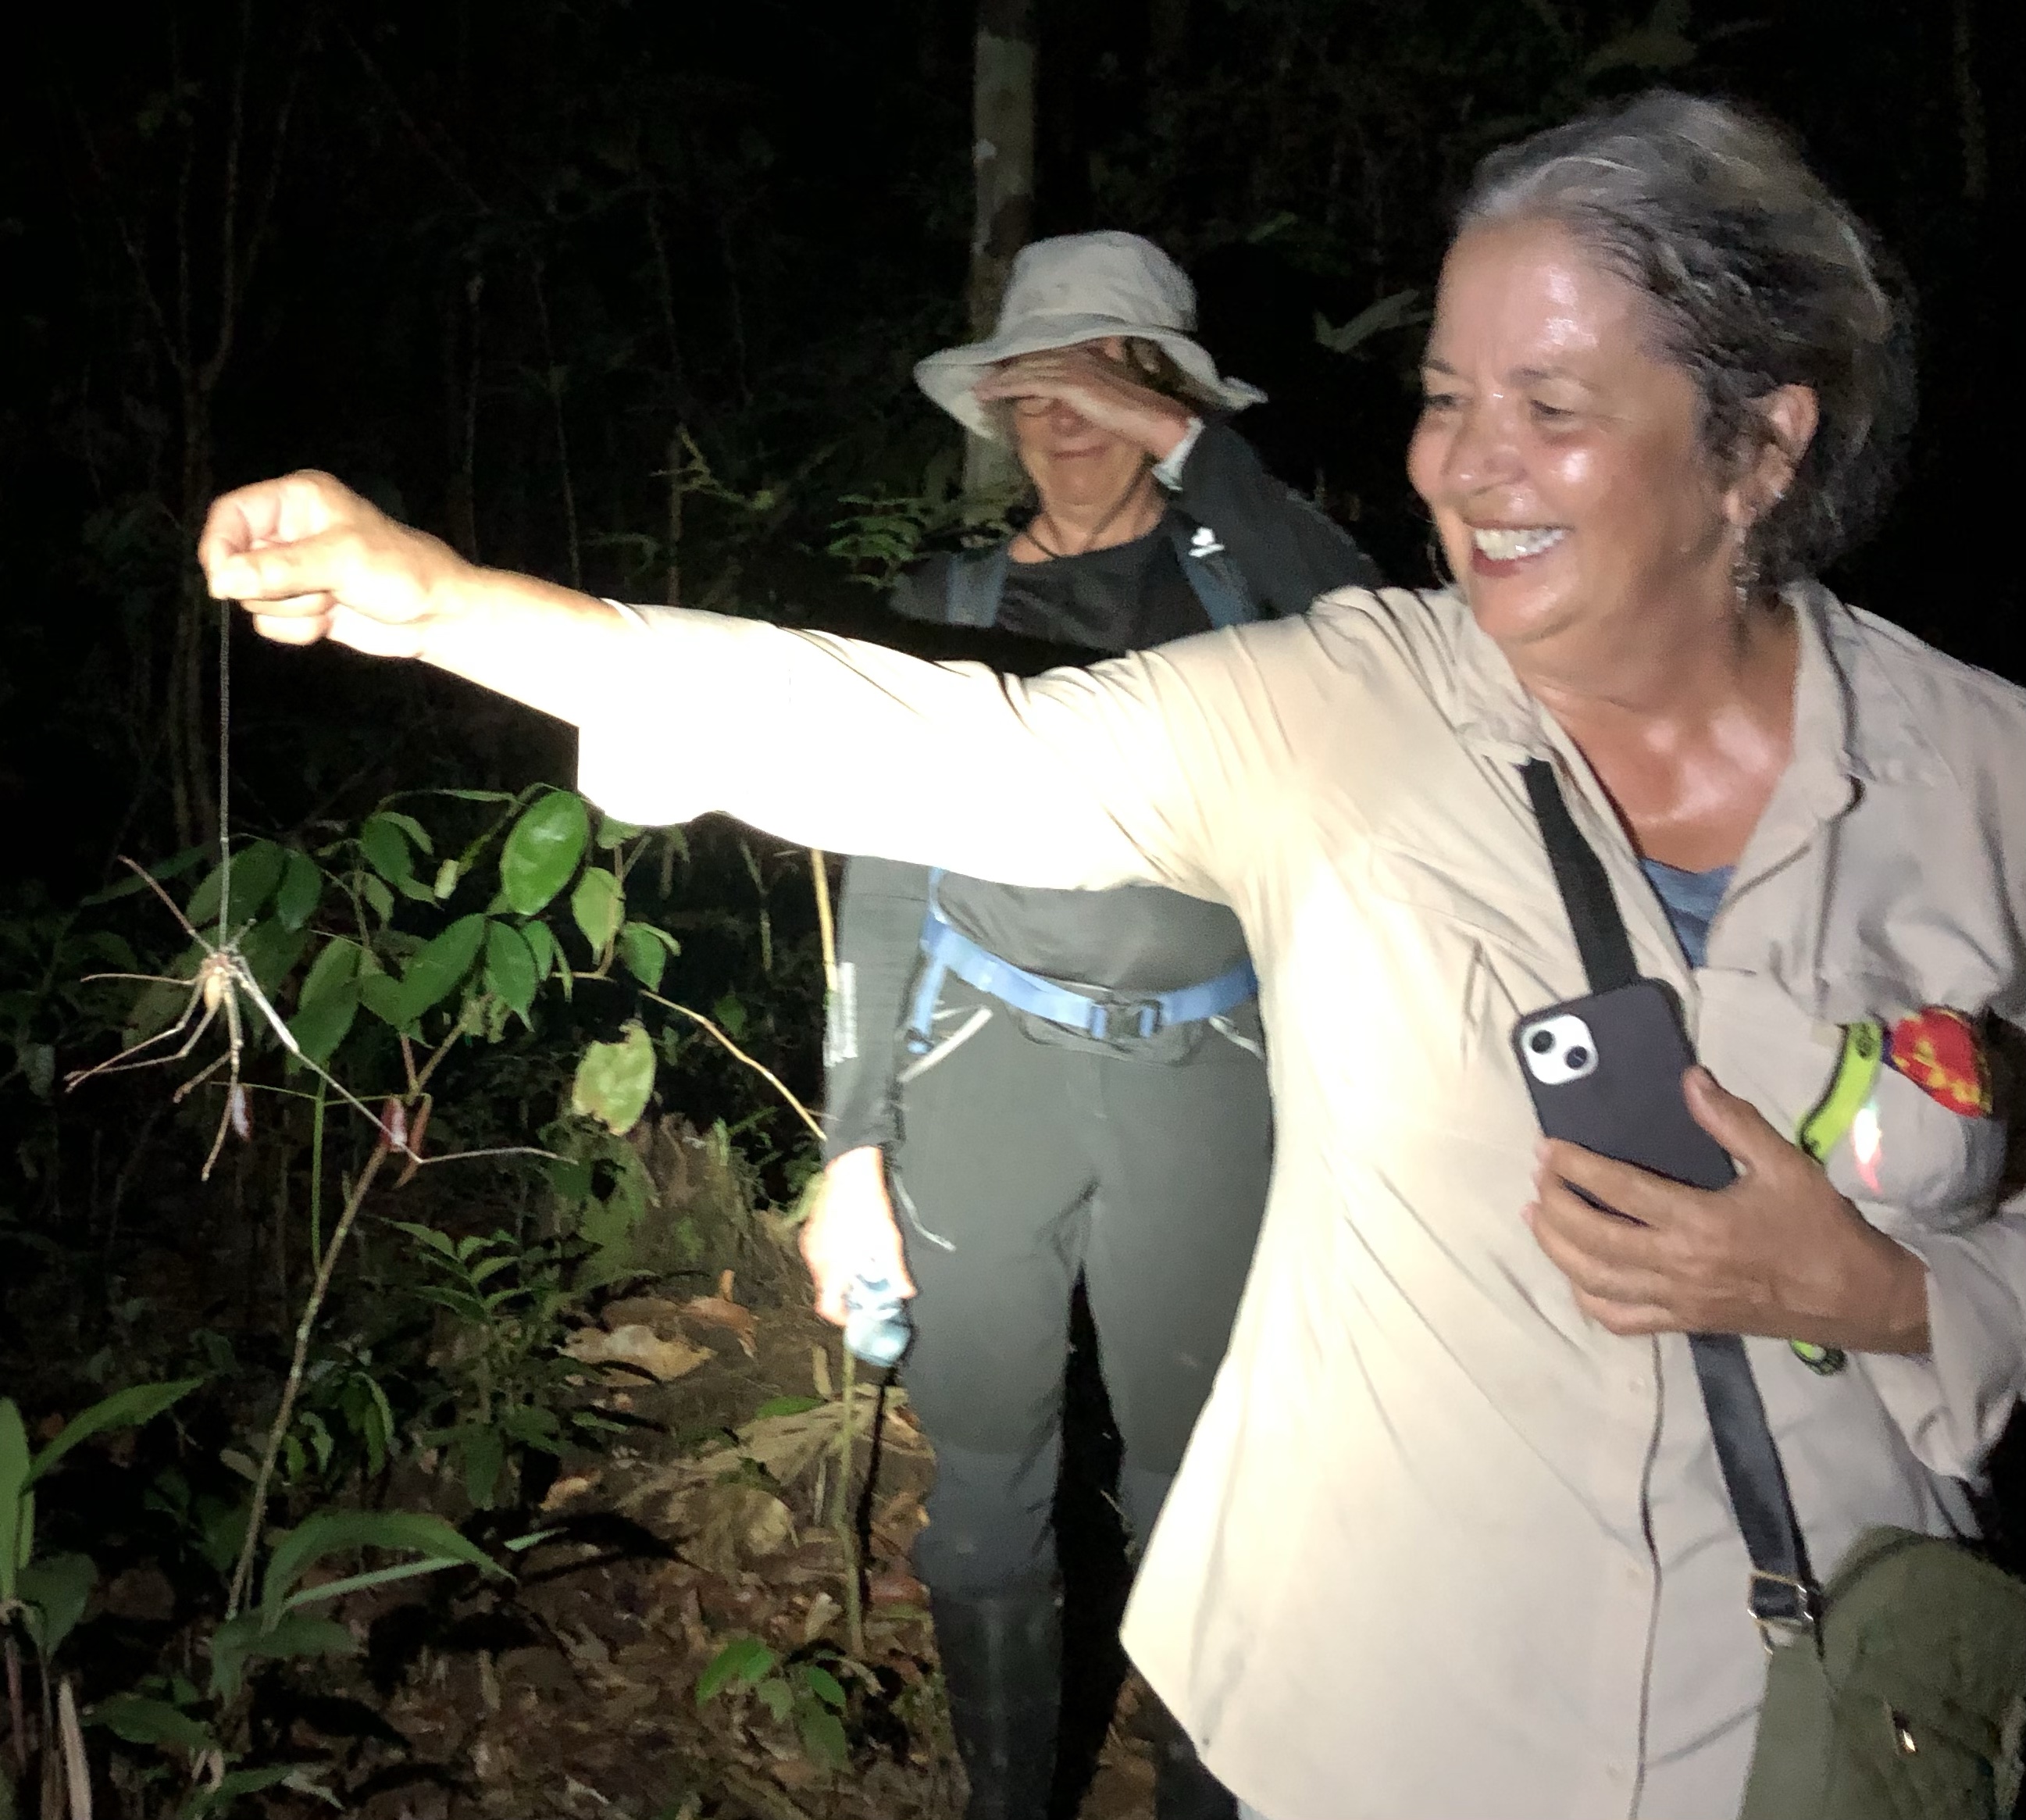
A scorpion spider. My mom is so brave!
So, are you convinced yet?
I feel so lucky to have shared this place with my mom, cousin, and Shane! In my opinion, the Amazon region is often overlooked on the average tourist itinerary. And while it may be a journey to get there, it’s one worth taking!
Can we talk about the fact that it’s July? How did that happen? Shane and I are just back from a glorious 10 days in the Galápagos Islands (!!), but before I get to that, I need to round out my family trip back in *gasp* April, when my mom visited for about 3 weeks.
After our adventures to Puerto López, Isla de la Plata, and Otavalo, my cousin Clancy joined us for the final 10 days of the trip. Our itinerary included Quito, Tena, and Cuyabeno Nature Reserve (more on that later!) and, other than Cuyabeno, was a hodgepodge of activities.
So, please enjoy my ramblings. 😜
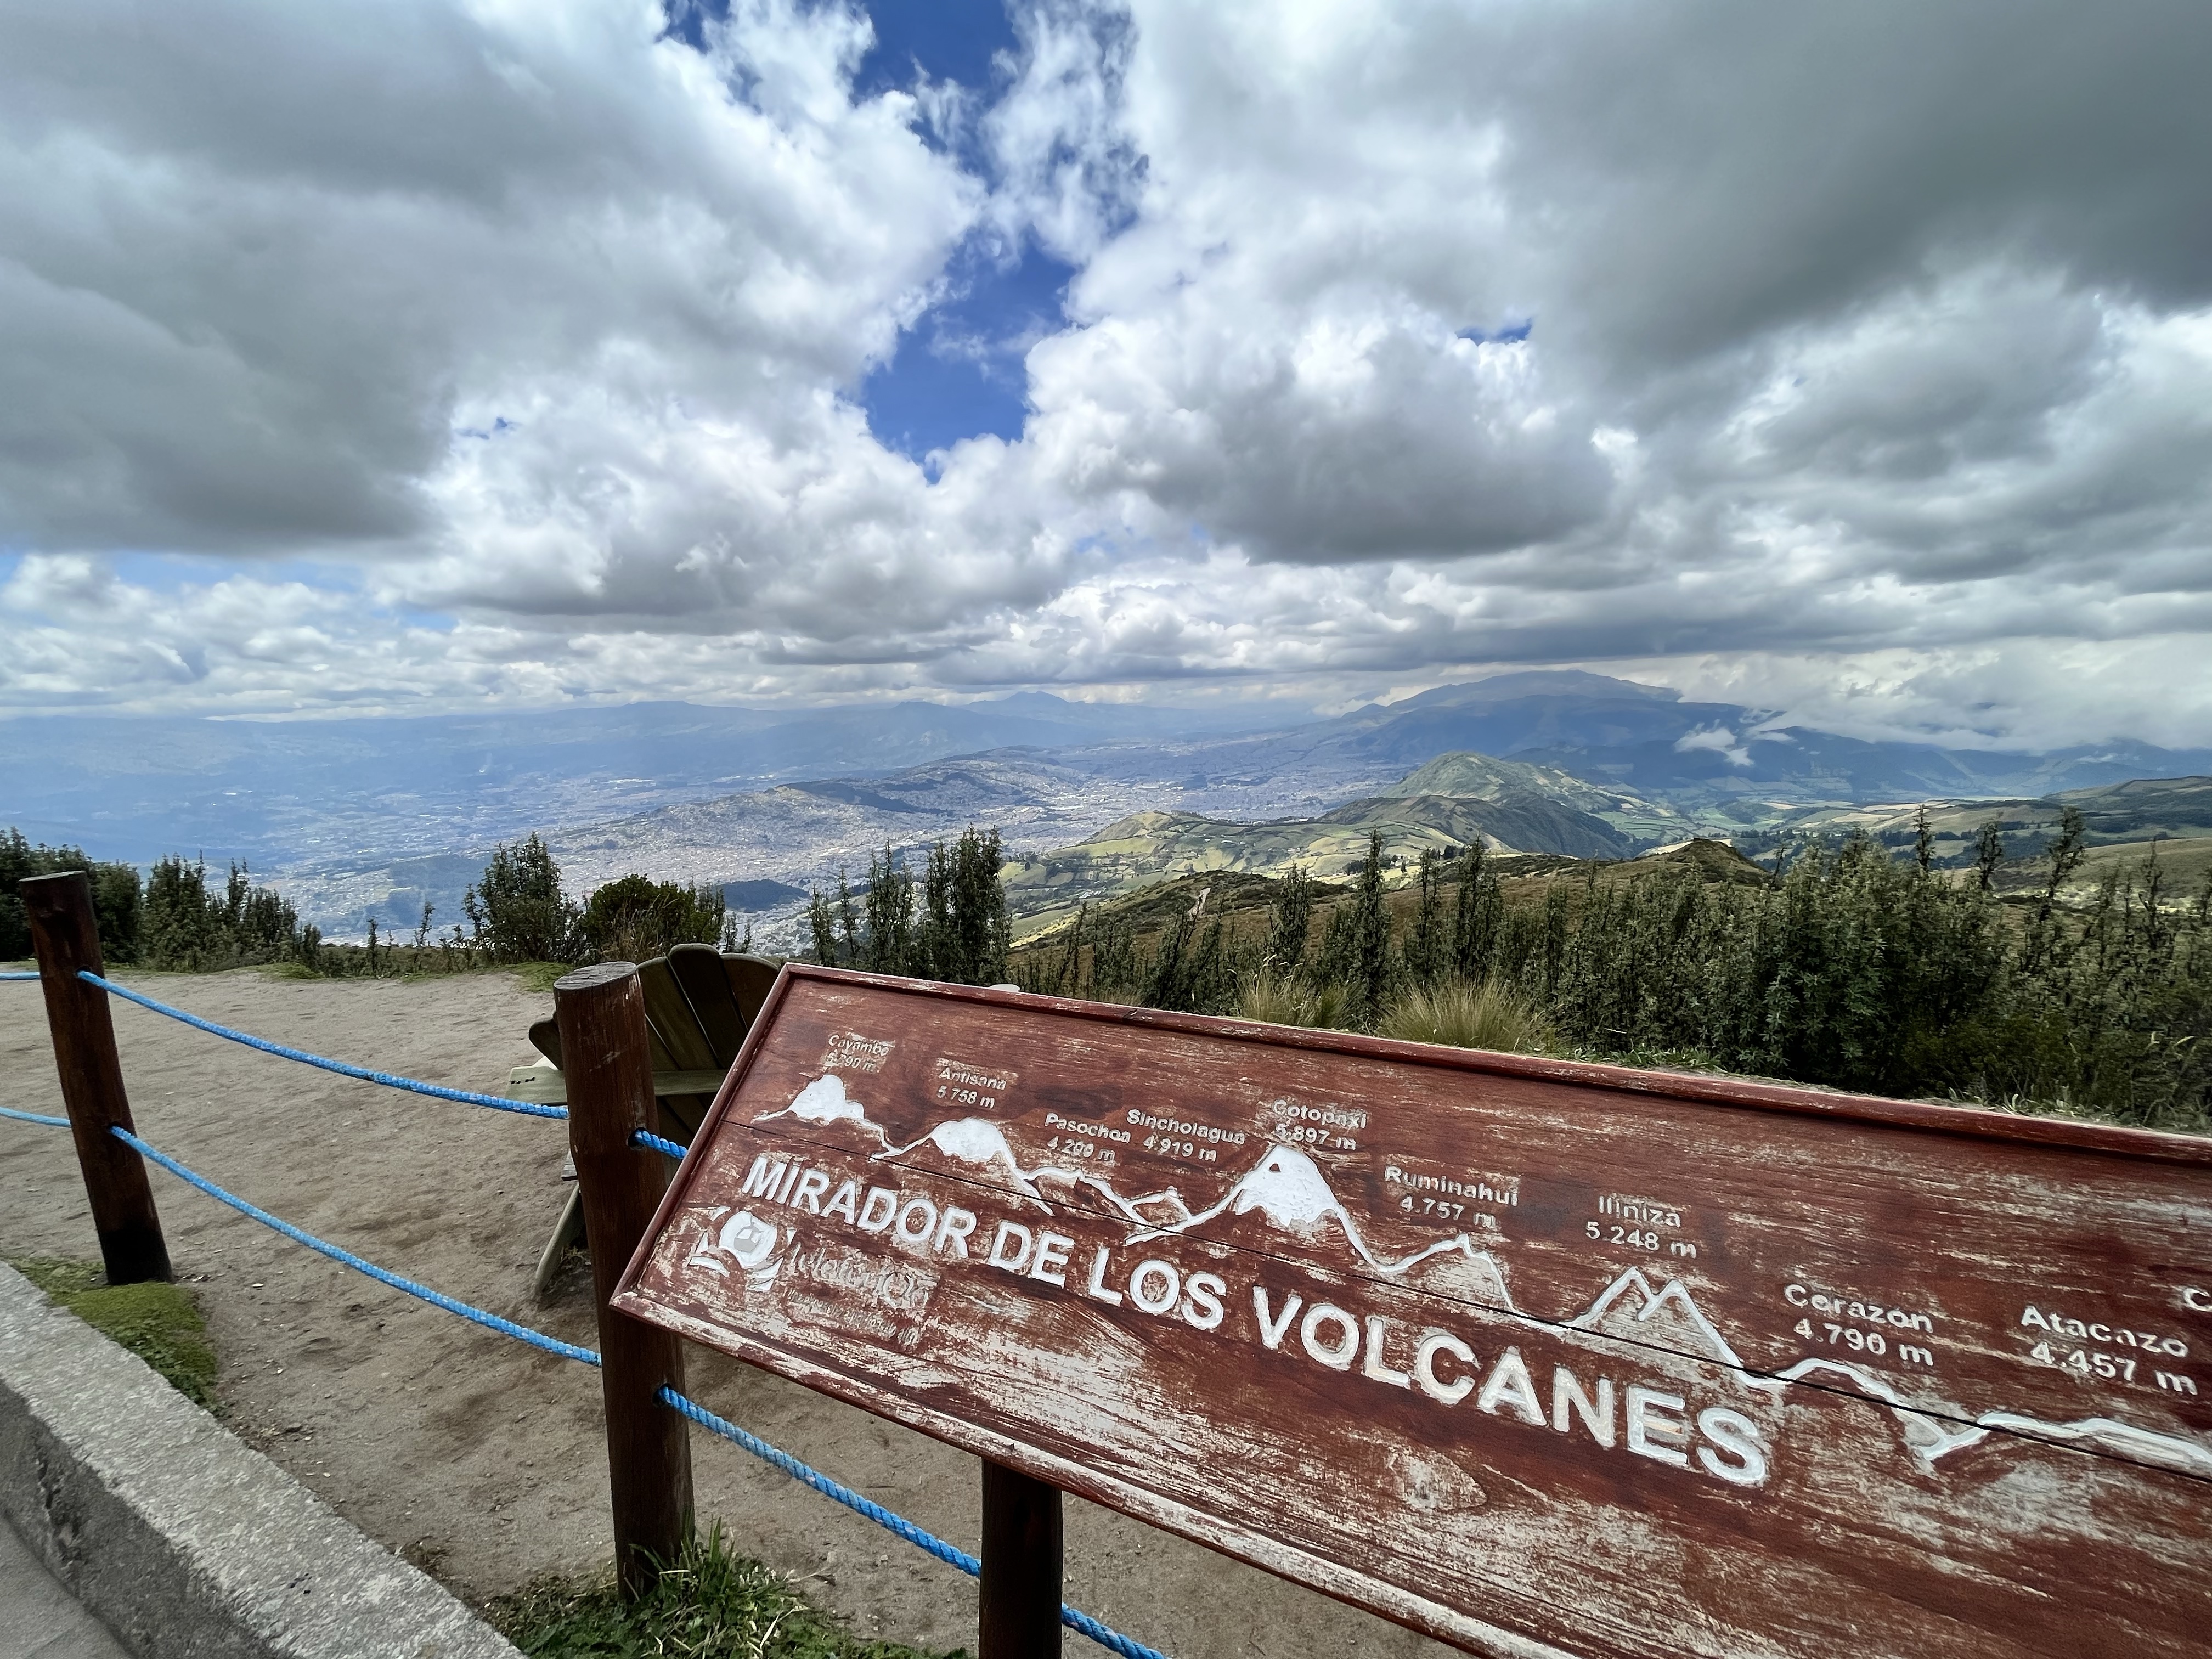
First, I want to mention our amazing Airbnb in Quito. I mean, these views. On a clear day you could see three volcanoes from the balcony: Illinizas (north and south) and Pichincha. 😍
Volcan Illinizas can be seen in the distance behind and to the left of the white apartment buildings.
We wasted no time, and literally two hours after Clancy landed, we were off to the middle of the world! This was my third trip to the Midad del Mundo, and I’m sure it won’t be my last. How can you deny someone the joy of standing in two hemispheres at once?! Plus, I really enjoy the Intiñan Site Museum; it’s so interactive!
And, in case you’re keeping track, this was Mom’s 2nd of 3 trips to the equator during her three-week visit. Lucky lady!
Clancy, the egg-balancing master!Mom, the egg-balancing pretender!
We also happened to be in Quito during Easter weekend, which is a special weekend for Quiteños owing to the Jesus del Gran Poder procession on Good Friday. It’s probably best known to outsiders for its striking purple outfits.
Jesus del Gran Poder refers to a 17th-century wooden sculpture used to unite followers. The first procession occurred in Quito in 1961, with participants uniting around the image of Jesus del Gran Poder, and the procession has continued since to remember the death of Jesus. You’ll also notice in the photos that the participants carry heavy crosses, wear chains or cactuses strapped to their backs, or whip themselves as they walk. All this is to not only symbolize but recreate the suffering and sacrifice of Jesus. I’m not religious, but this was still an interesting event to witness!
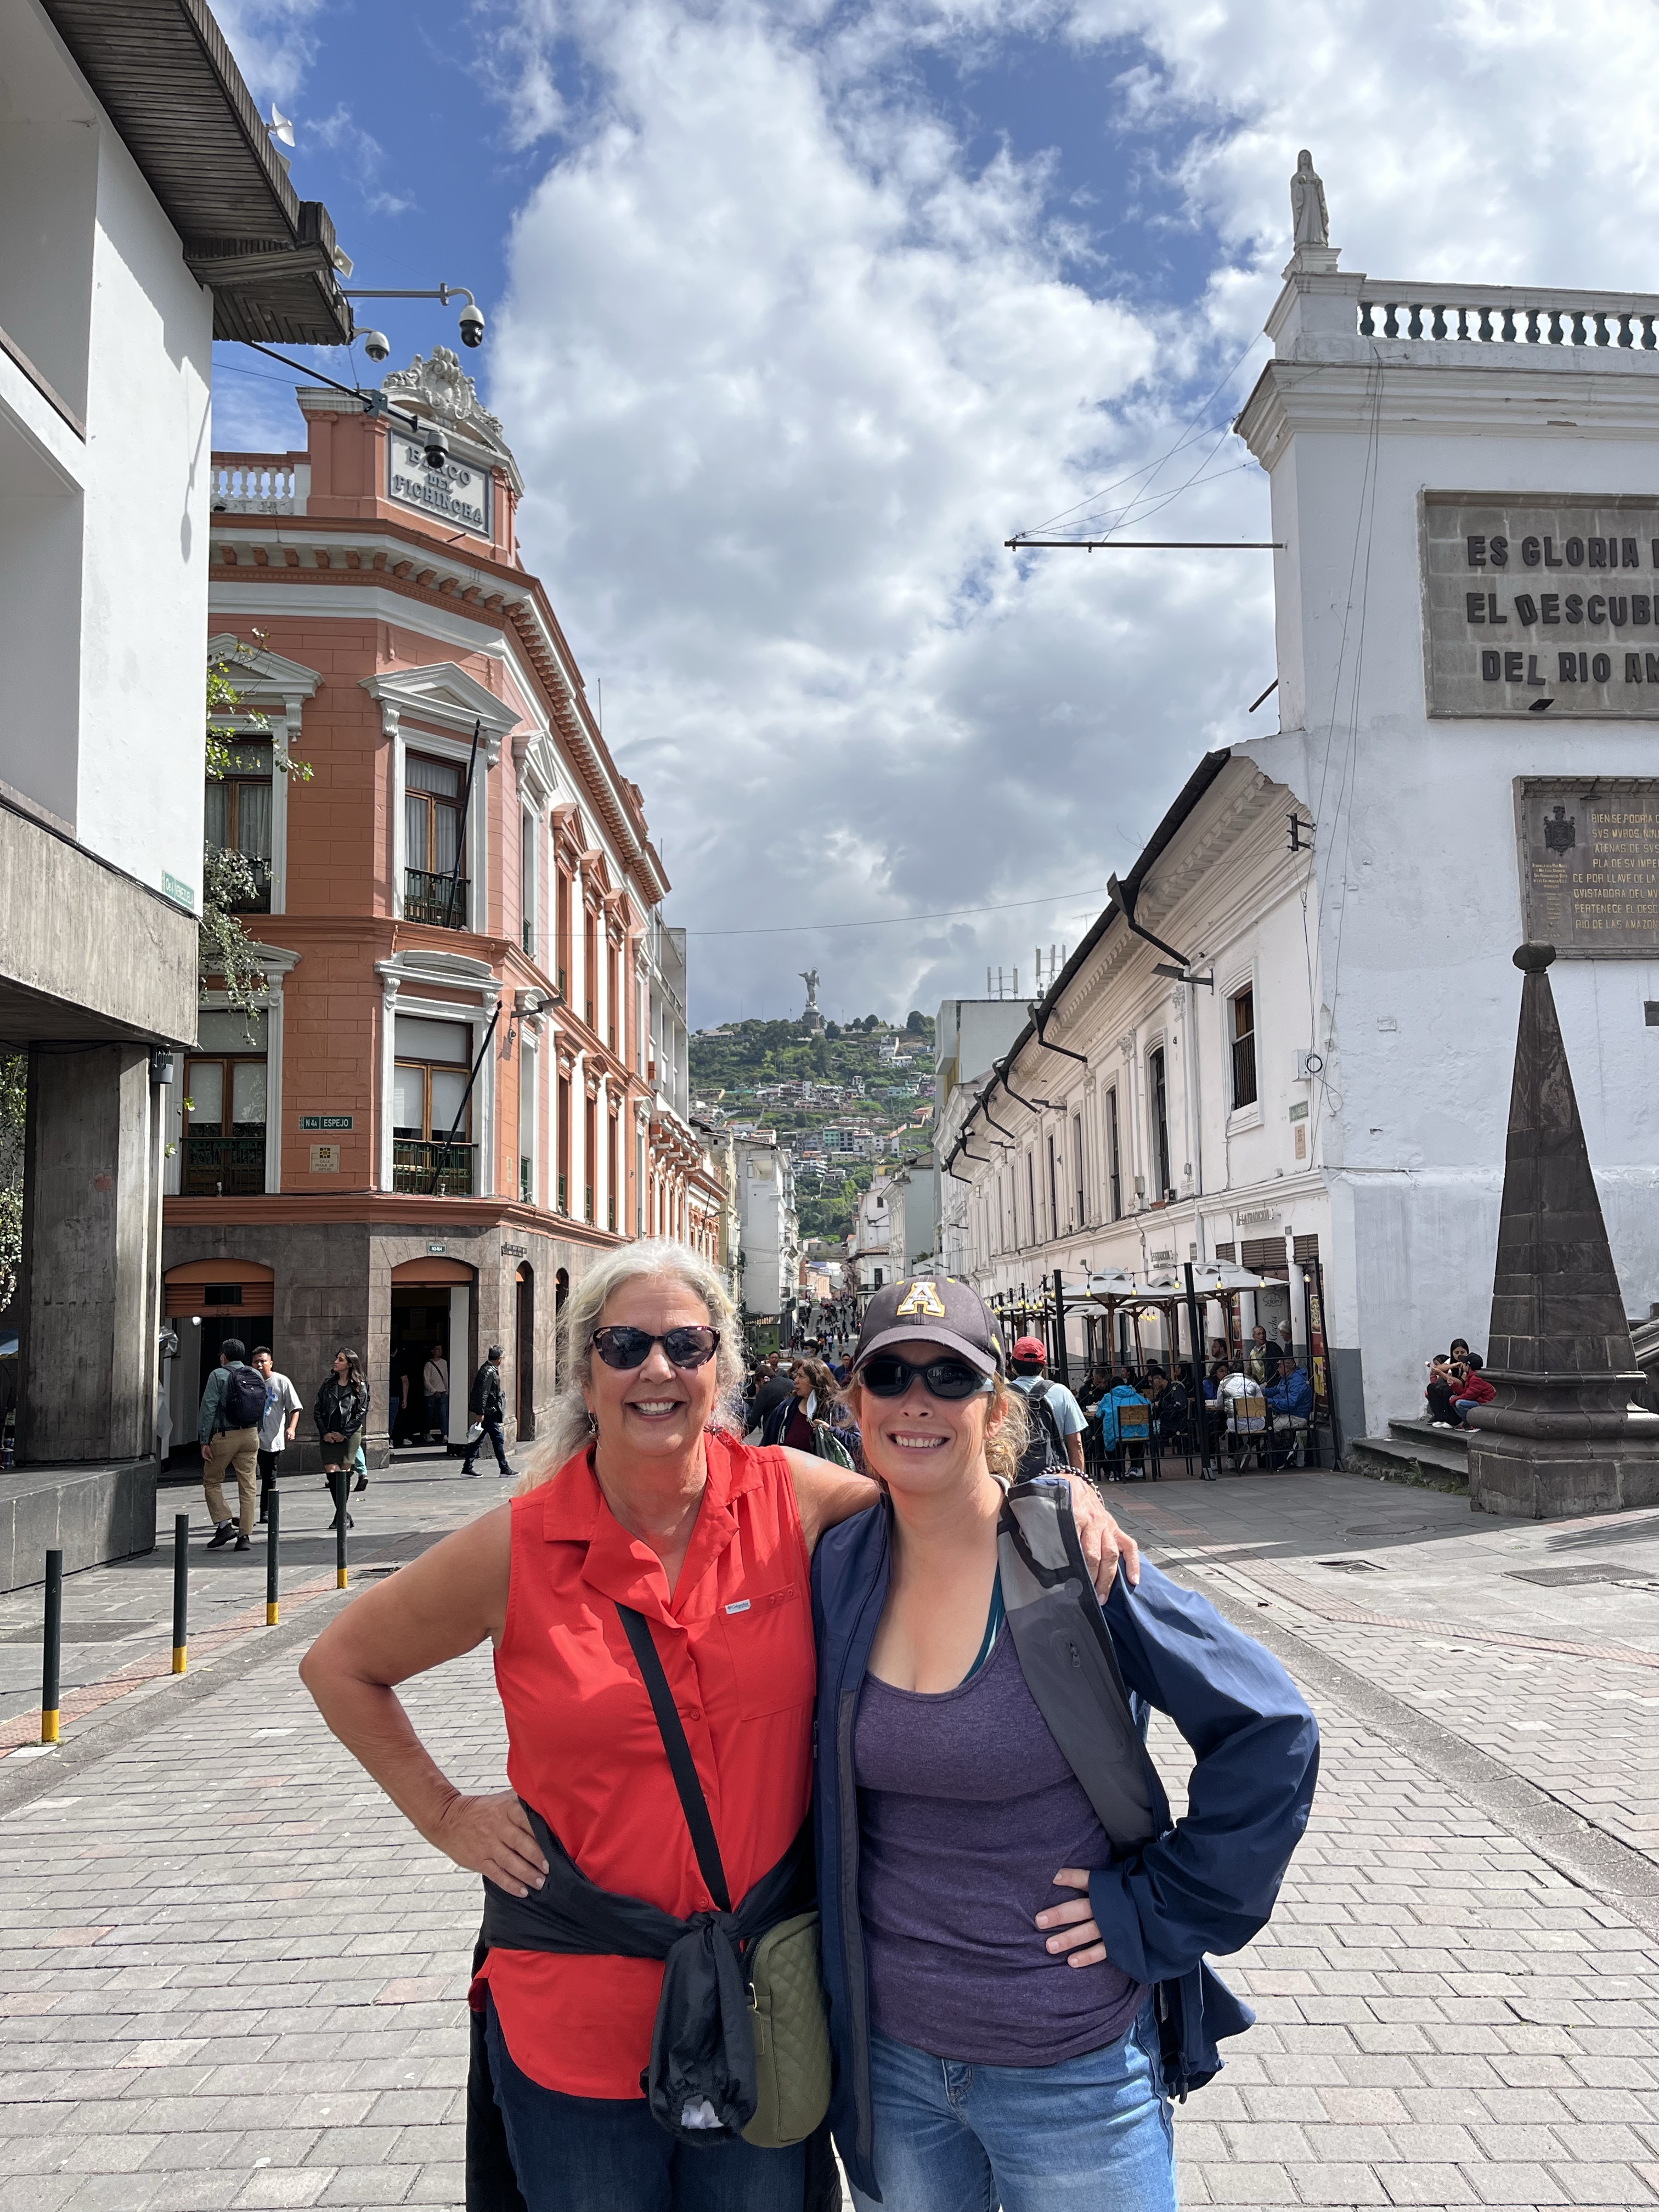
In front of the Basílica del Voto Nacional.
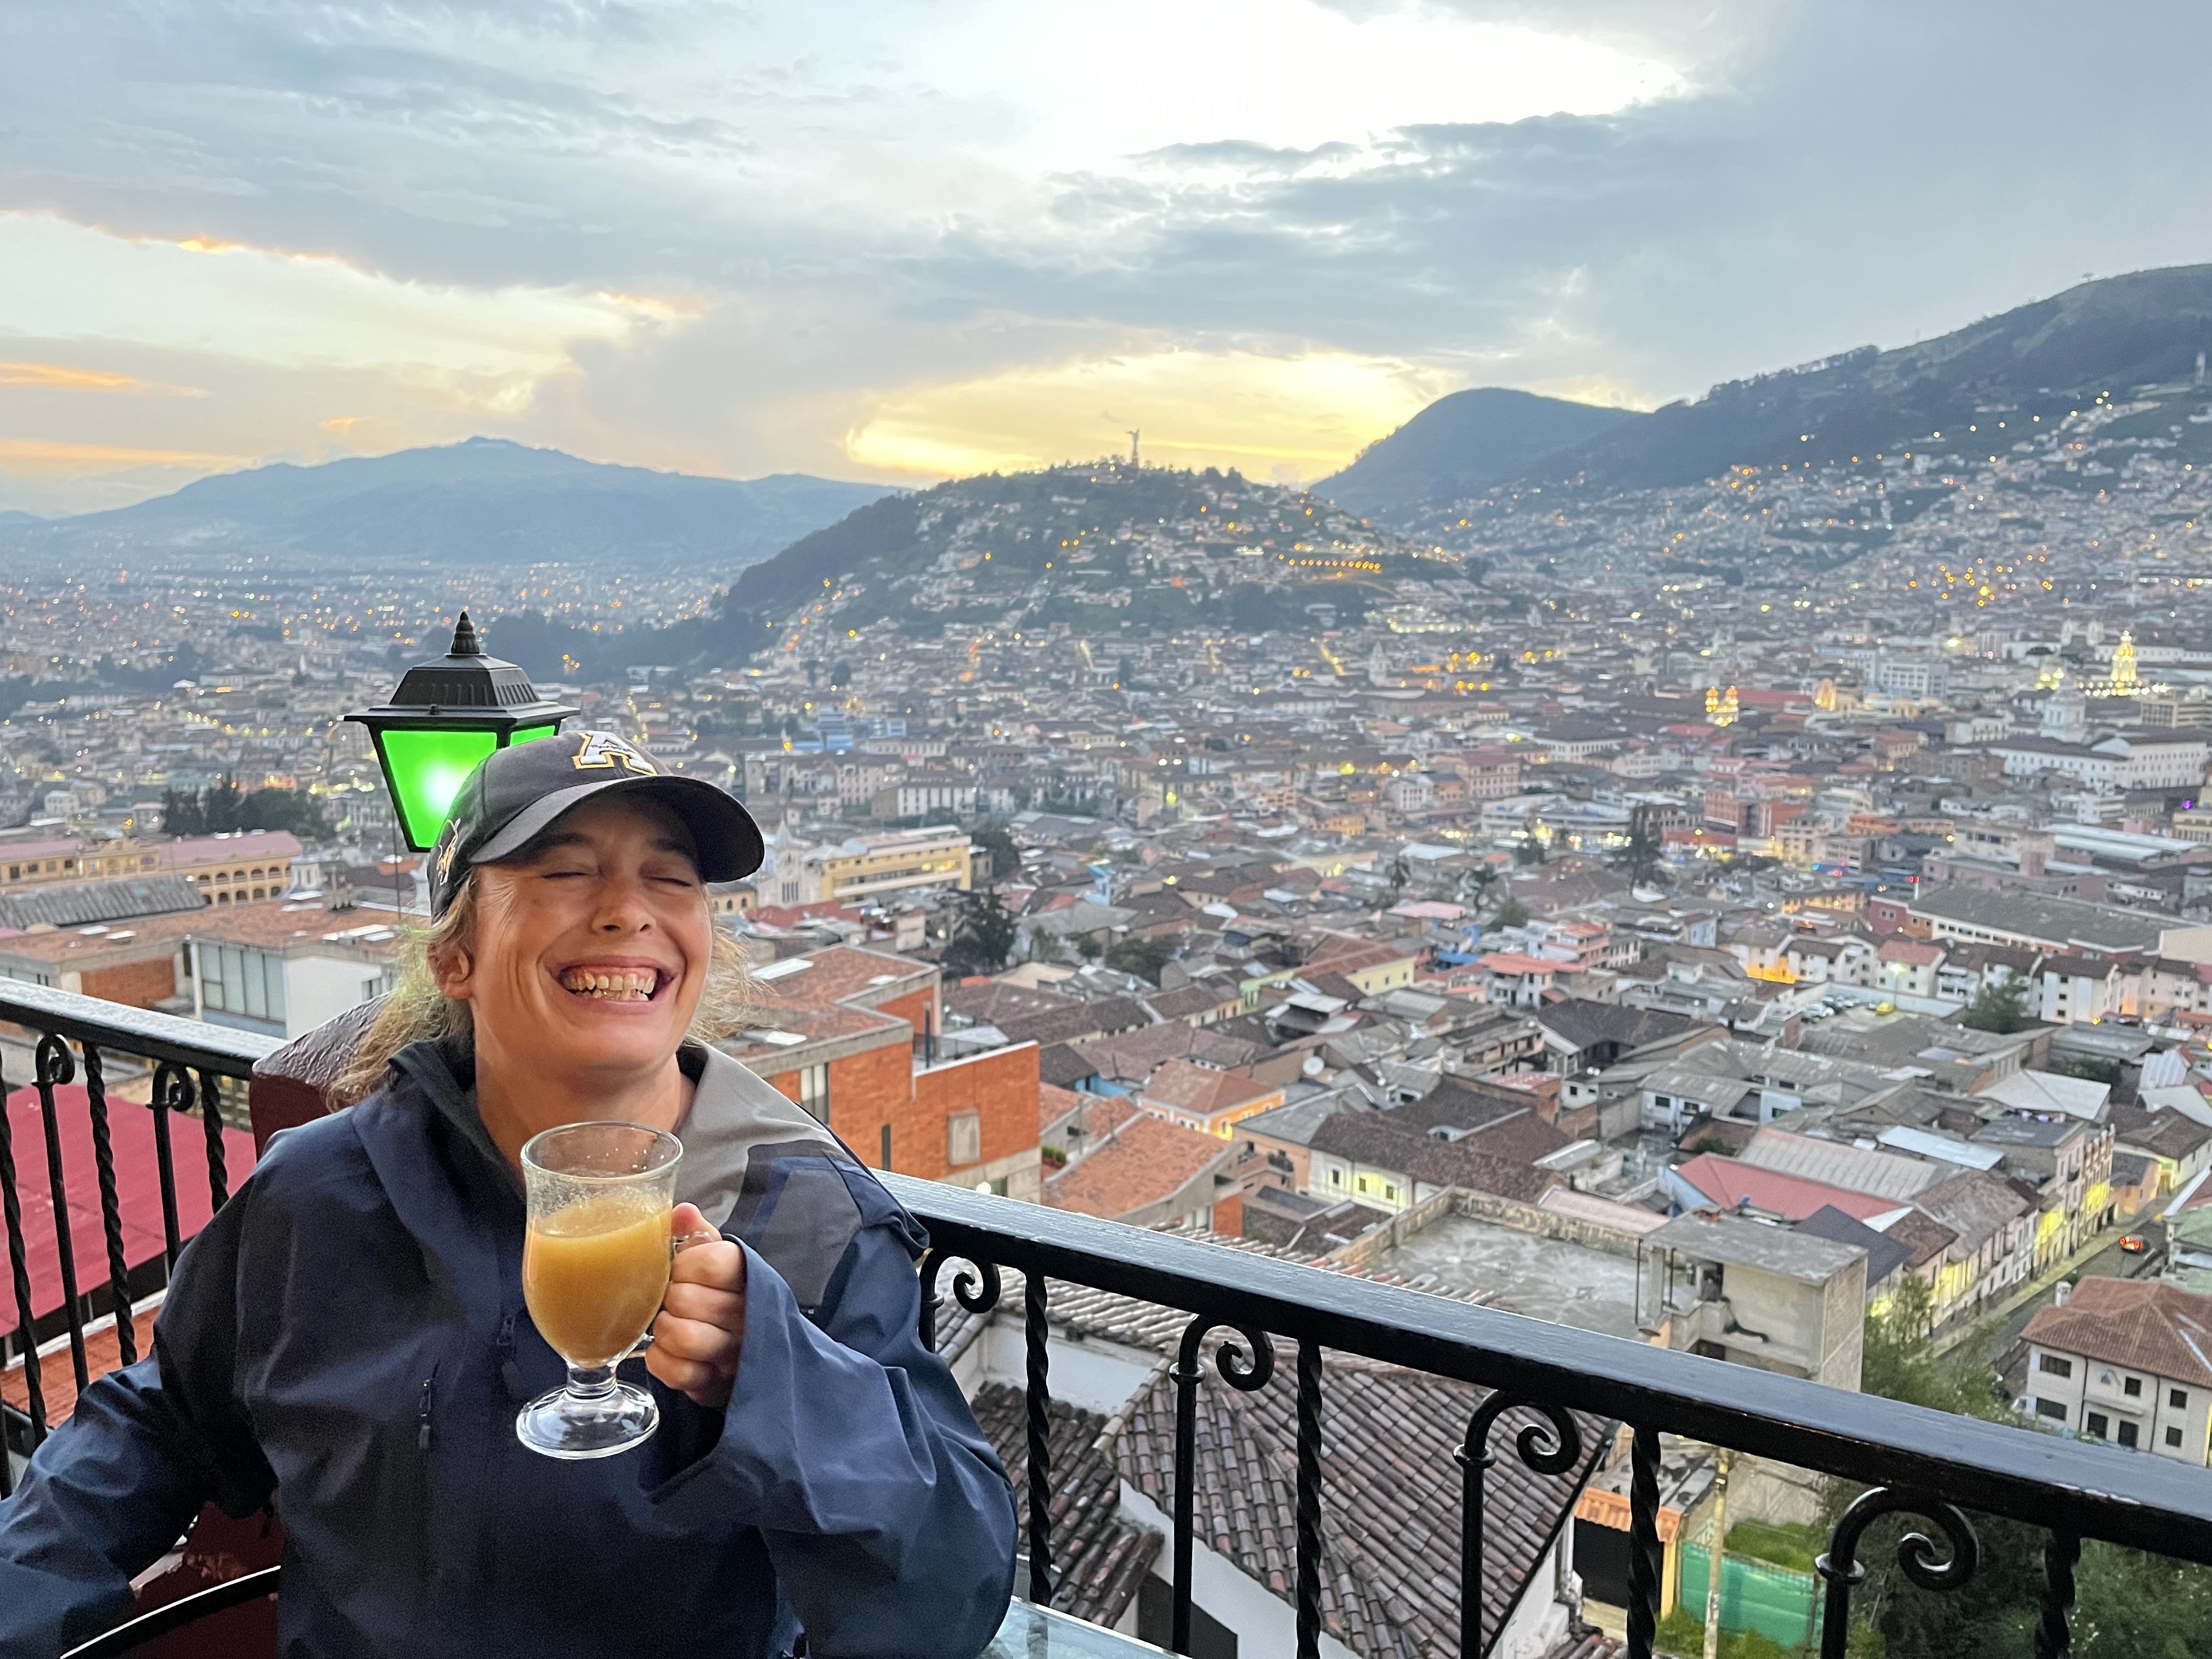
While in Quito, we also went to Cafe Mosaico for canelazo at sunset. Mom and I also visited the Guayasamín art museum (one of the most well-known Ecuadorian artists) and ventured to over 4,000 meters on the teleferico (cable car)!
Cafe MosaicoViews of Quito and the Pichincha volcano after taking the cable car.Casa Museo Guayasamín.
After our time in Quito, we were off to Tena!
It’s always exciting to show off your city to visitors, so naturally, it rained nearly the entire time, we couldn’t do any roof sittin’, and nary a volcano revealed itself! I guess at least they got a true rainforest experience? 🤷♀️
You can tell how much it rained from how high and brown the river is.
Nonetheless, we managed to get a few rain-free hours to visit Ikiam and Shane’s insectaries and Parque Amazónico La Isla in the center of Tena. This visit was particularly exciting because the squirrel monkeys were out (so so cute), as was the elusive tapir! Apparently, this park used to be a zoo, but somewhere along the line, it became too expensive to maintain. So, most of the animals were sent to other locations. The squirrel monkeys and tapir couldn’t be moved for whatever reason and now live freely in the park.
Also, unfortunately, “park” is a bit of a loose term. For example, the walkways were never finished, and the completed aspects, like the viewing tower, were abandoned and left to deteriorate. Consequently, crime in the park has increased since we’ve lived here. So, where you used to be able to wander freely, now you must go with a guide ($1 per person), which, in a way, was nice since they pointed out things I hadn’t noticed before. However, this is only one example of a common problem; Tena and many other places throughout the country simply don’t have the money to maintain various things, especially in an environment like the rainforest, where the sun and rain accelerate wear and tear.
The tapir!The unfinished walkways in the park make for an interesting walk!The insectaries.
And, of course there was time for helado con queso. In my opinion, a trip to Ecuador would be incomplete without it. 😬
Tena was the jumping-off point for the final part of the trip–Cuyabeno Nature Reserve!
Twice now, I’ve taken a scheduled day tour from Quito, the first time to Quilotoa and now to the market in Otavalo. Twice I’ve had nothing but a positive experience, so if you’re short on time or don’t want the hassle of figuring out the bus system, a scheduled day trip is absolutely worth the money.
So, after about a week on the coast in Puerto López, Mom and I were ready to explore the Andes! We booked our tour through Ecuatraveling, and the $50 per person fee covered transportation, your tour guide, and a bizcocho tasting (more on that later)!
Let’s get started, shall we?
Bizcochos in Cayambe
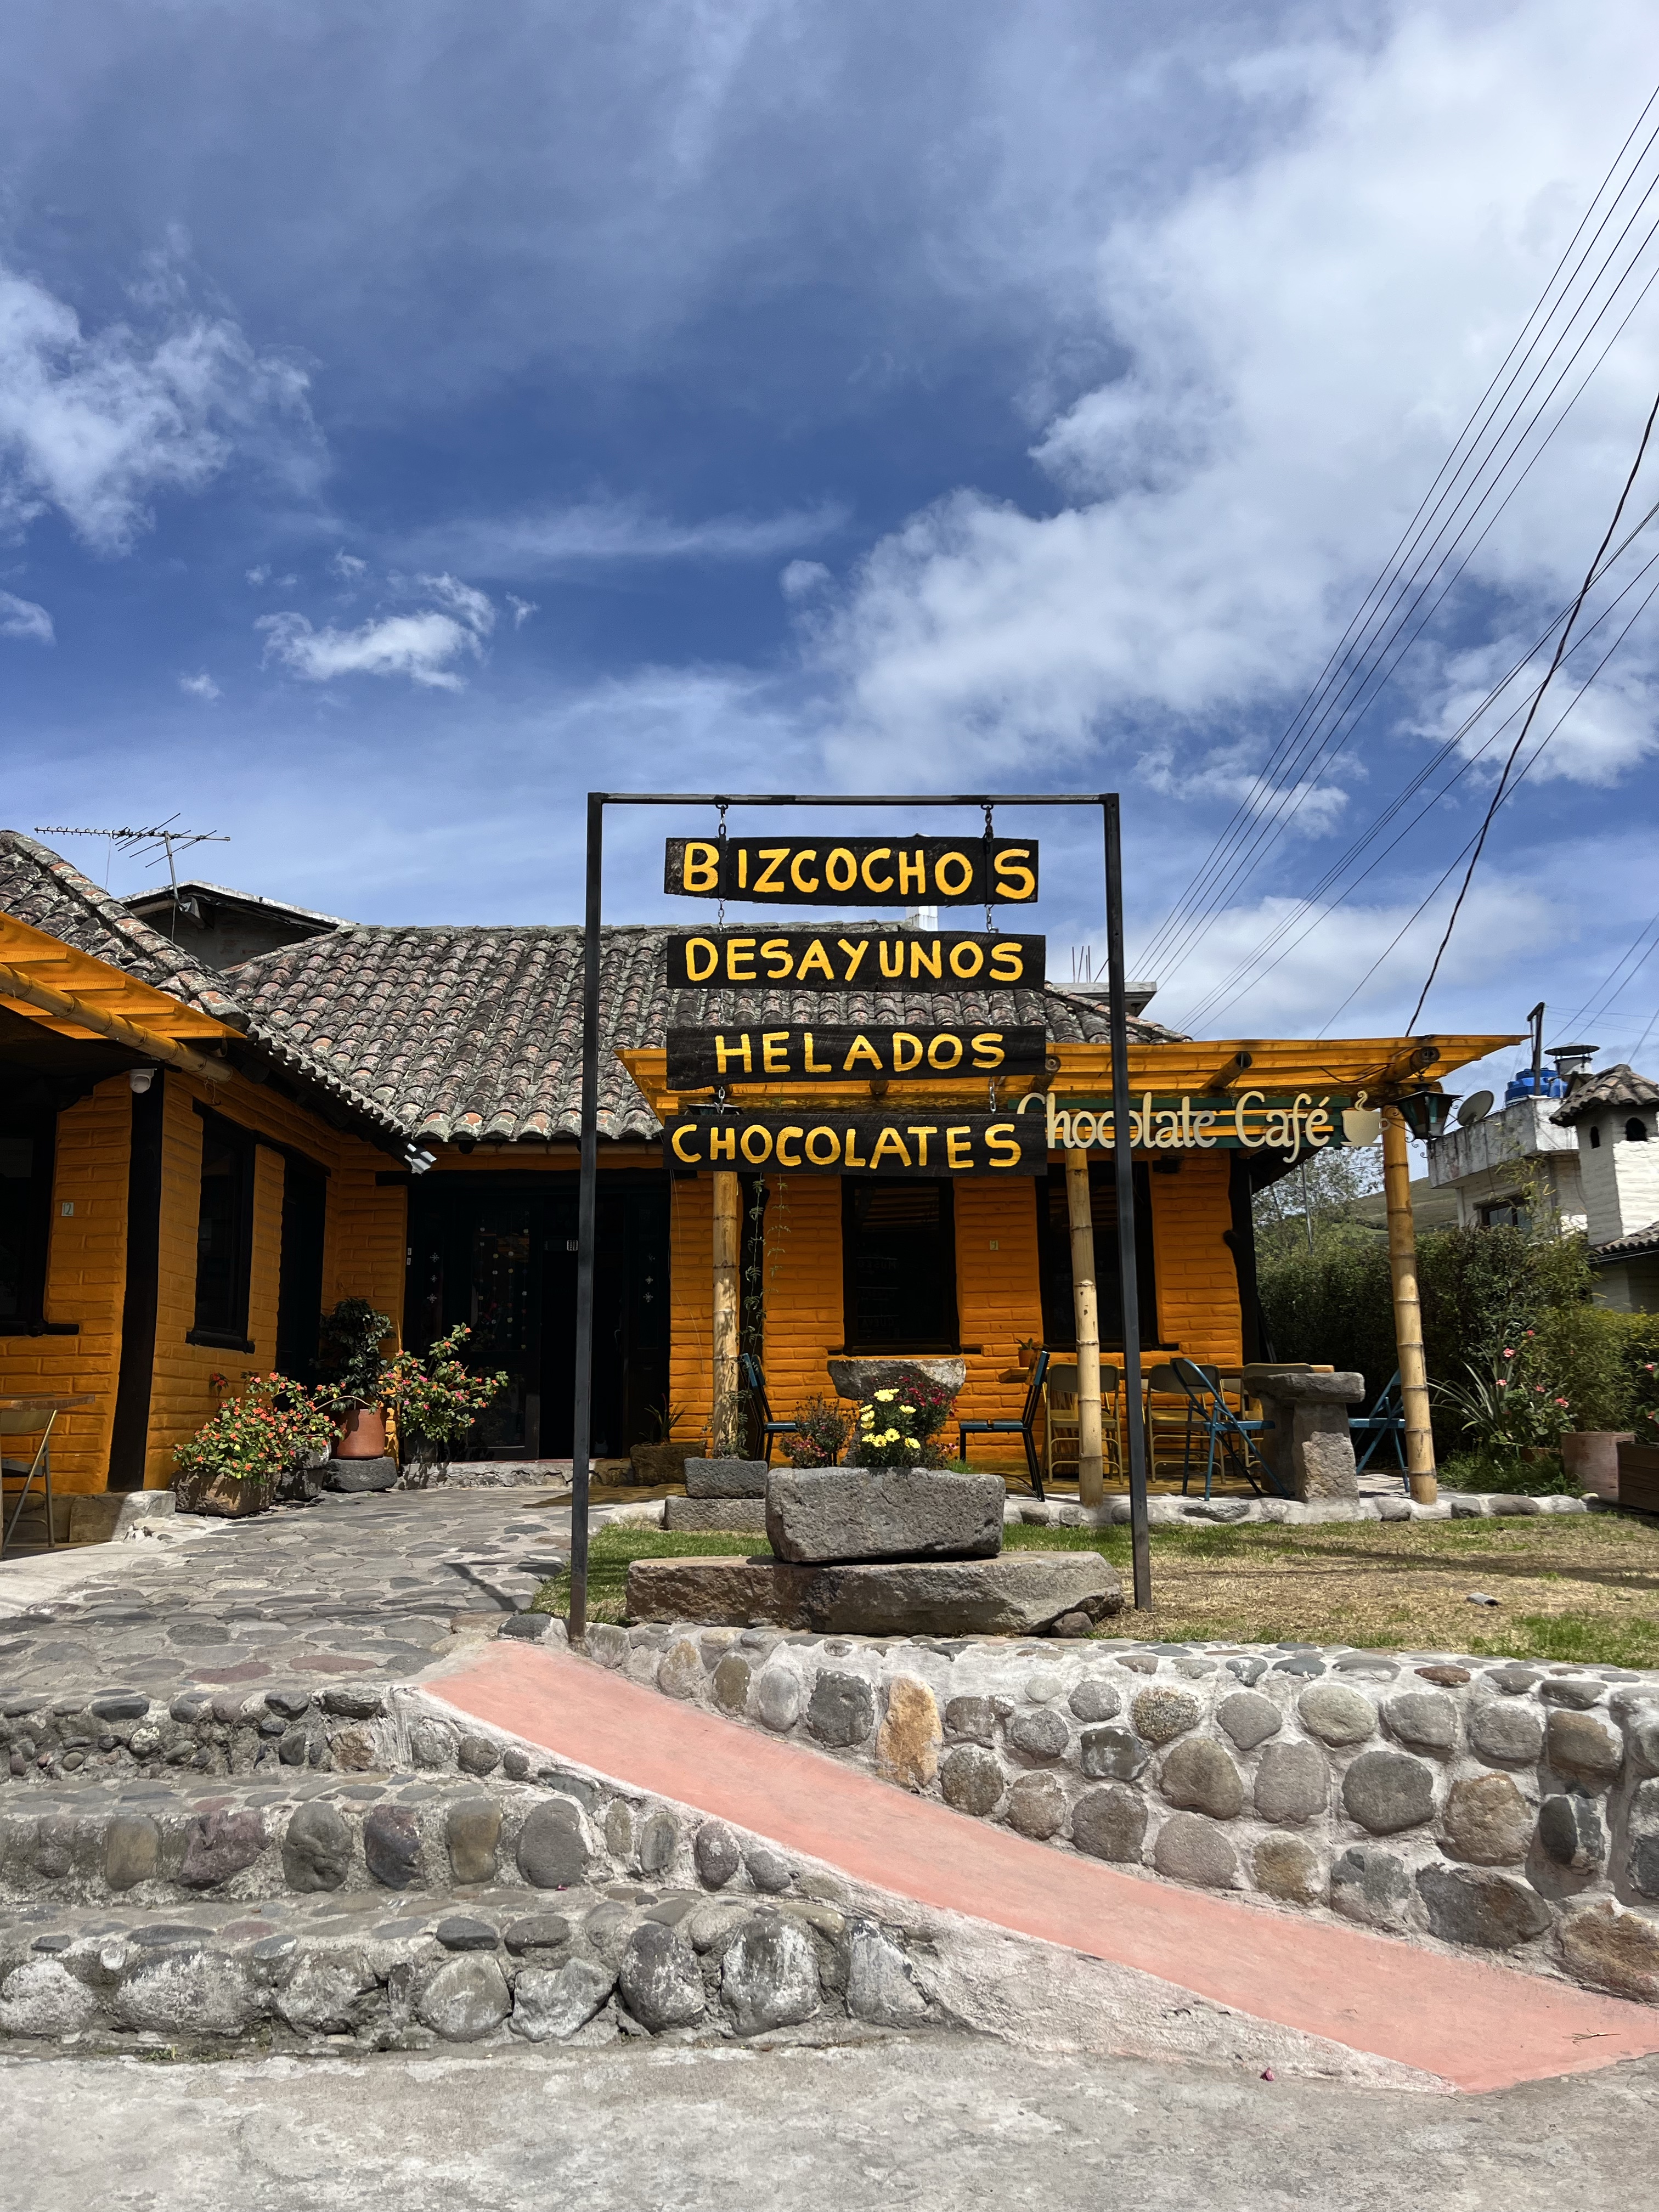
Our first stop was about an hour north of Quito in the town of Cayambe, famous for bizcochos, a pastry semi-comparable to the biscotti of Italy. Apparently, you’ll only find these delicious treats in the Cayambe area, so I was happy to stop for a tasting on the way!
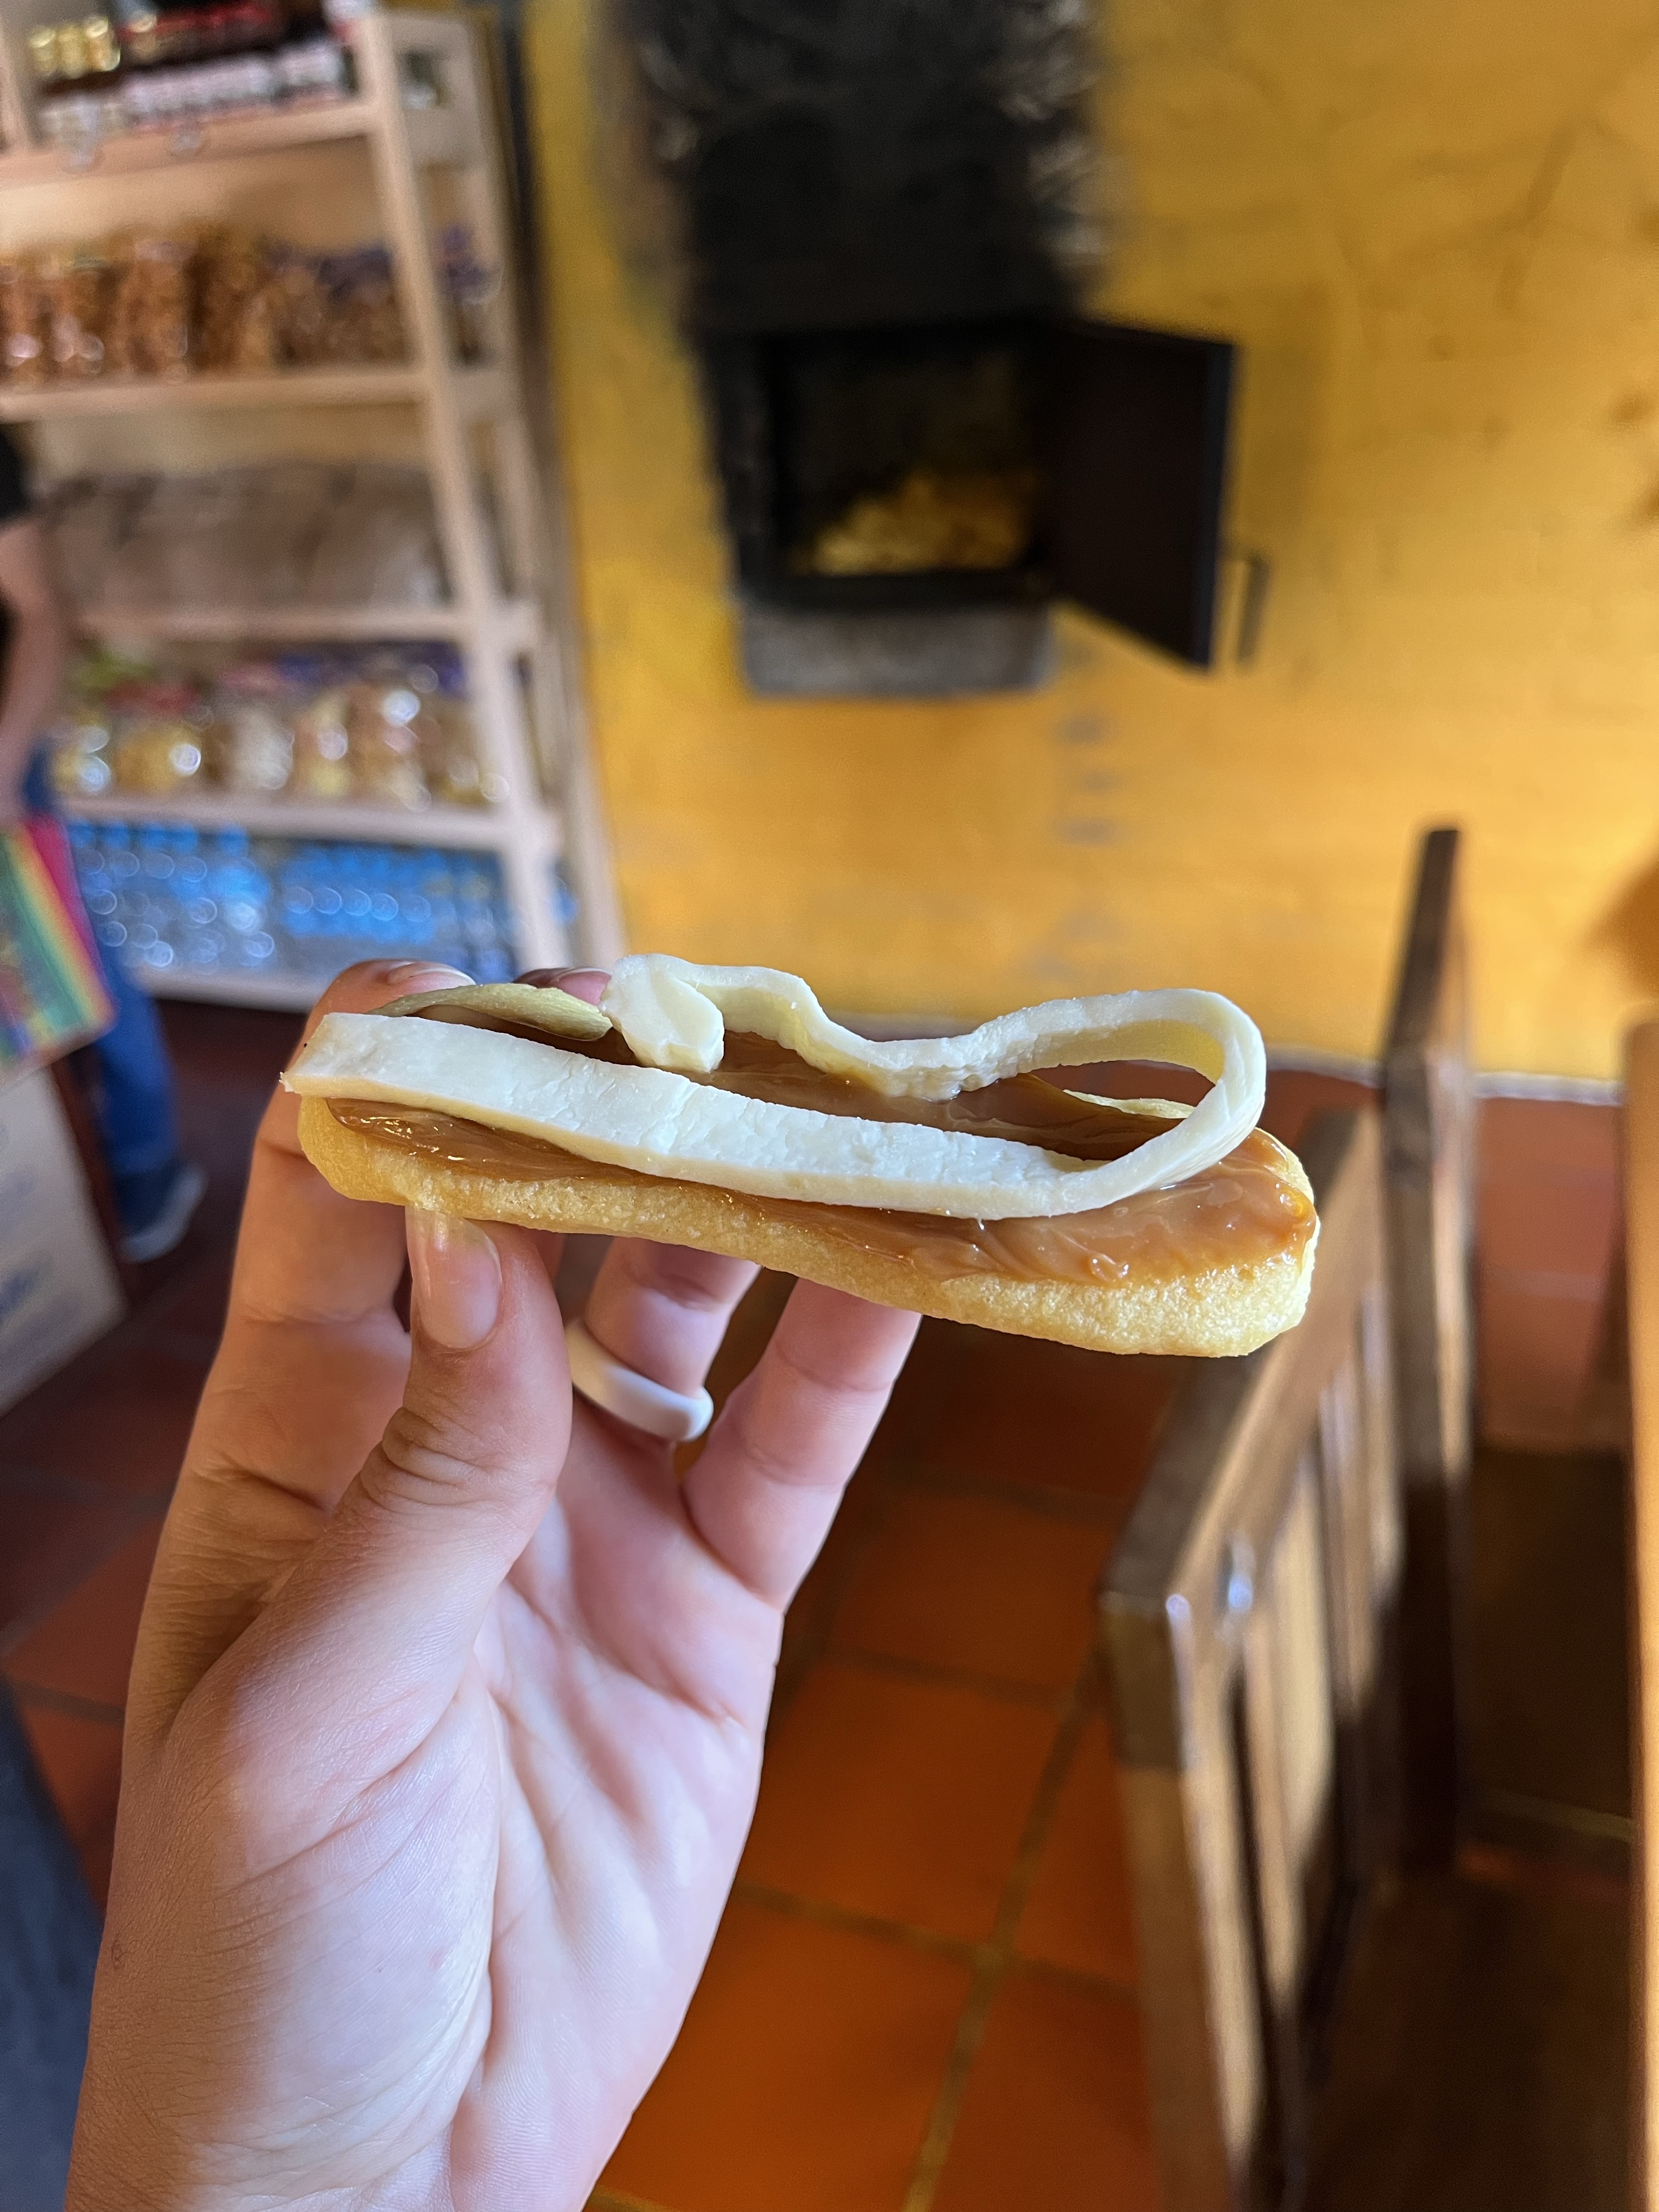
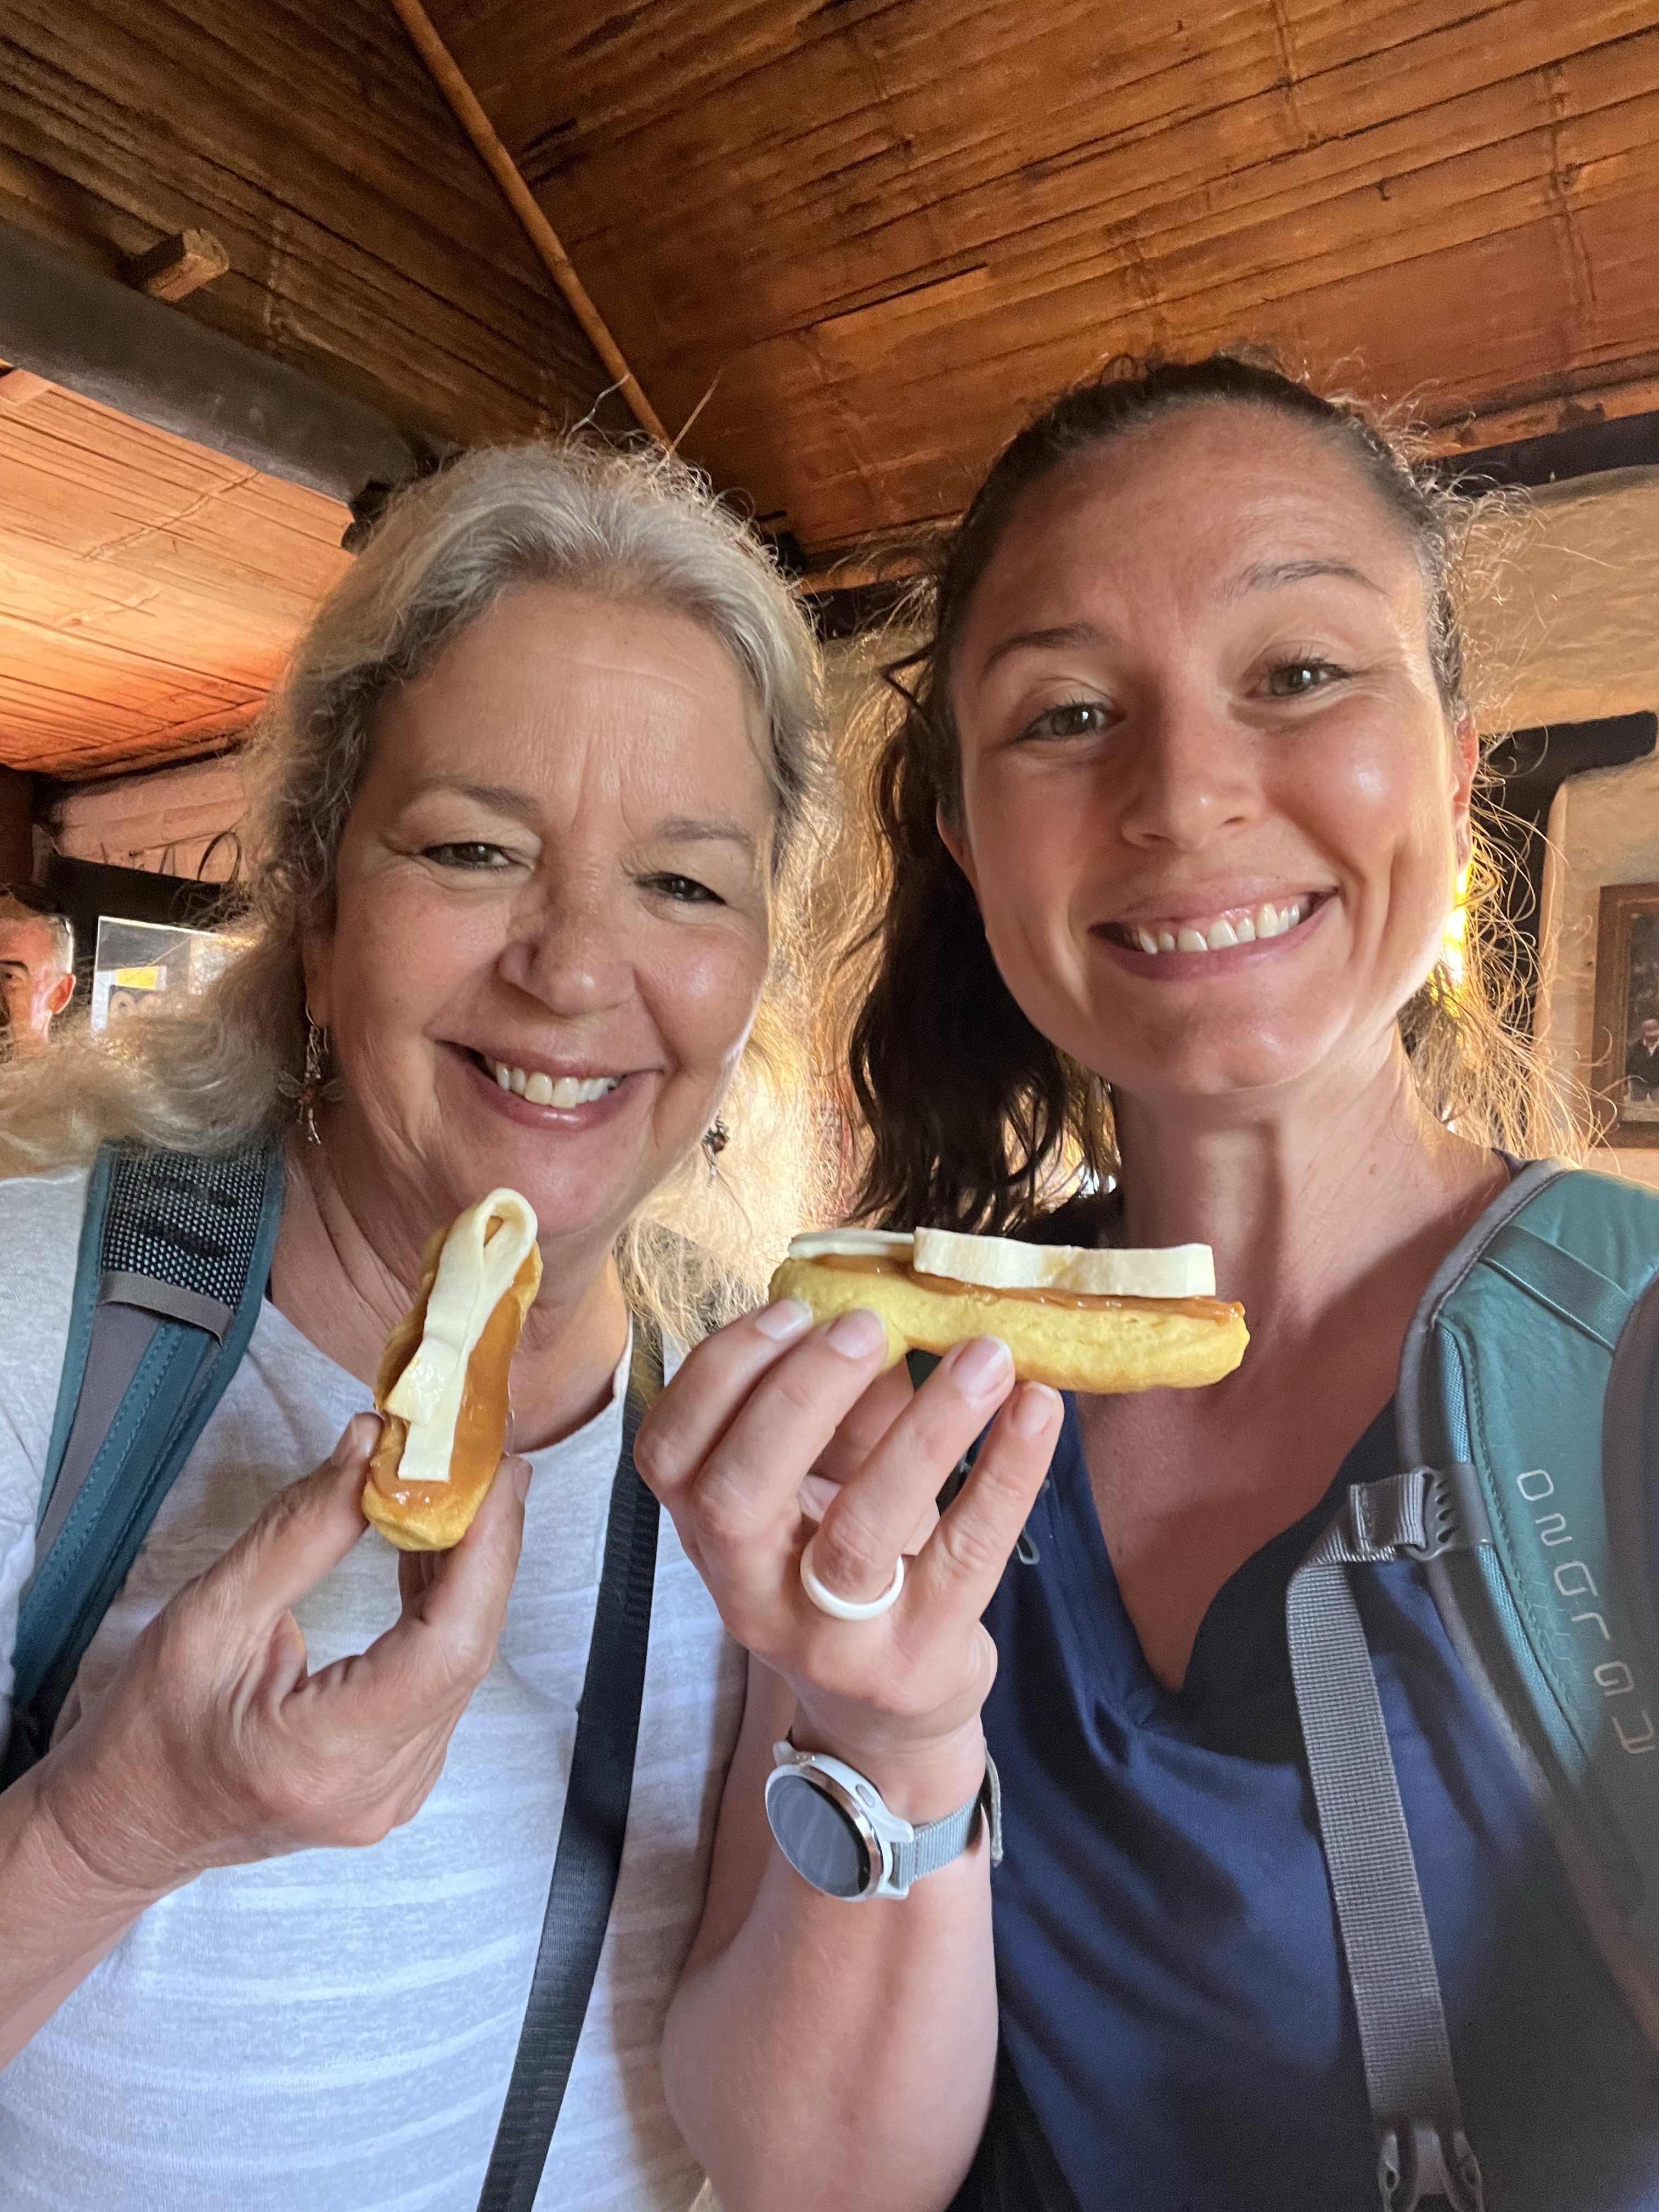
I won’t go into the recipe because, quite frankly, I don’t remember. I do, however, remember how to properly eat them. Sure, you can eat bizcochos plain. But for the full experience, you should add a respectable layer of manjar (more commonly known as dulce de leche) topped with queso de hoja, a type of white cheese typical to the area. Traditionally, the cheese comes in small rolled-up portions wrapped in a leaf (hence the name, hoja), perfect for unrolling on your bizcocho!
It was a perfect combination of buttery, flaky, sweet, salty, cheesy goodness!
After the tasting, we had about 30 minutes to grab some breakfast in their restaurant (paid separately). But, the classic breakfast was ~$4 and included two eggs, juice, coffee, and (of course) bizcochos!
The breakfast spot.
The Equator!
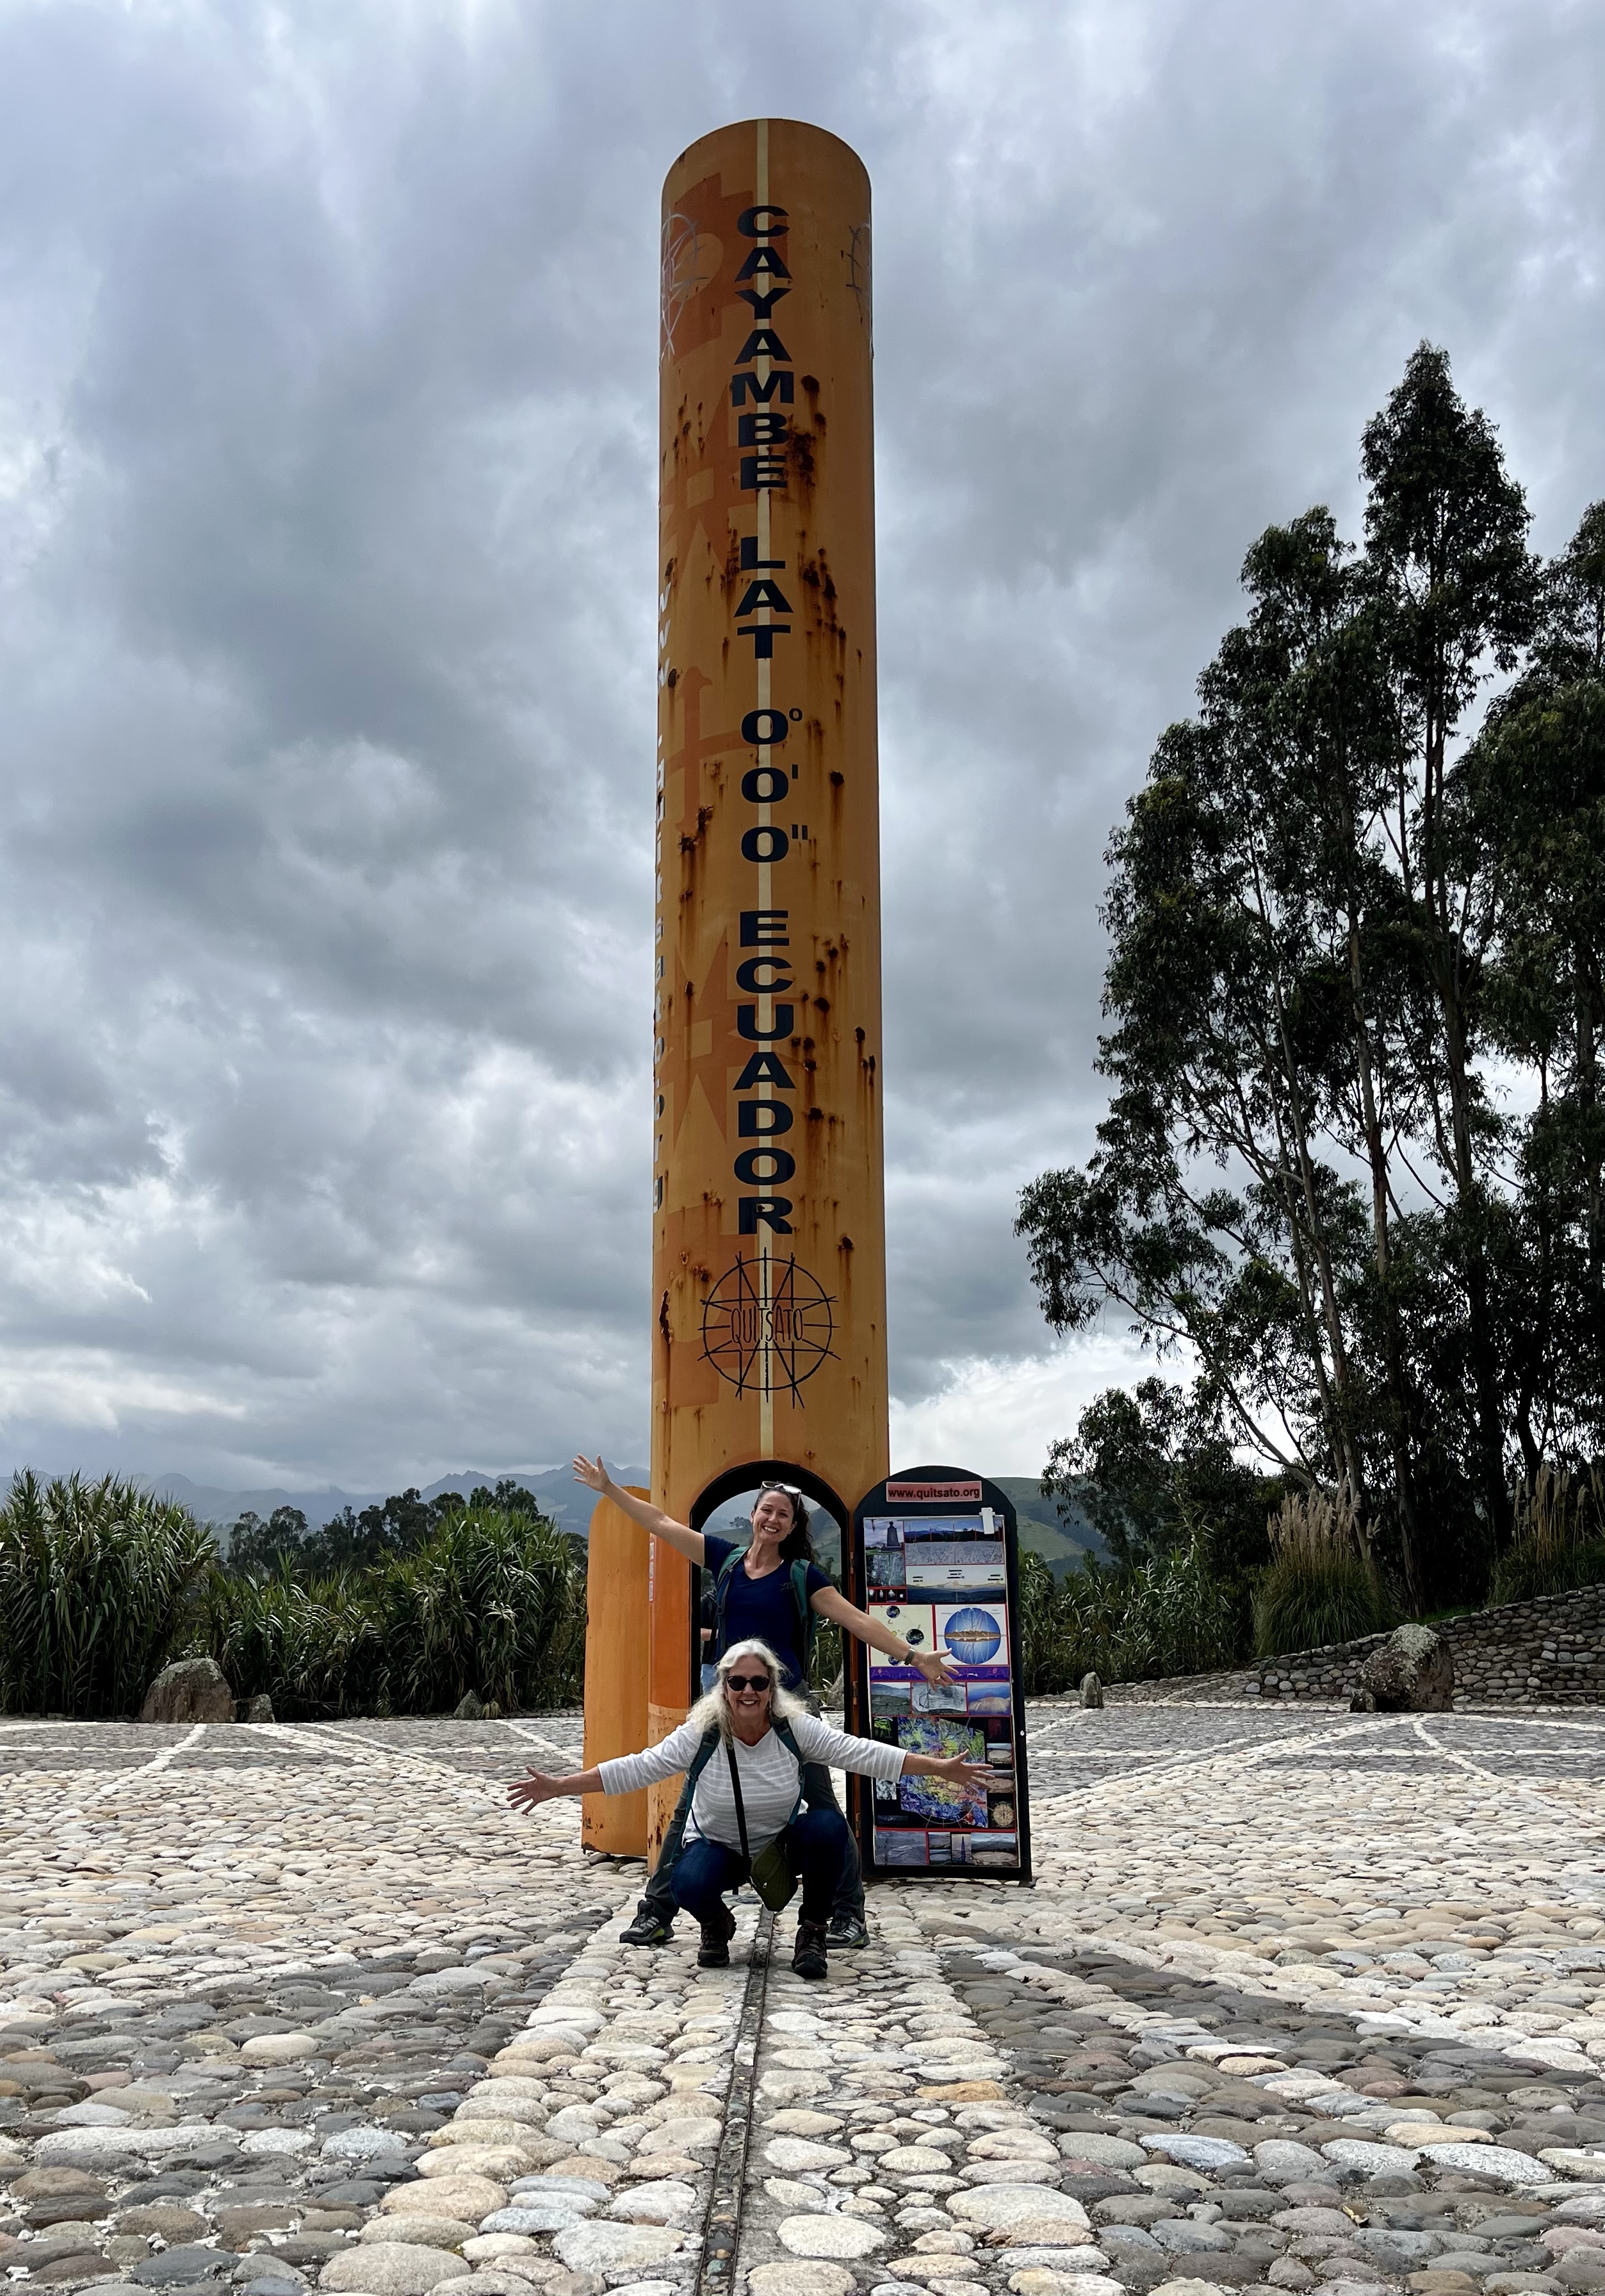
The next stop was literally 100 m down the street. So, we loaded back into the van for approximately 2 seconds to arrive at Quisato, a giant sundial on the equator!
Of course, it was cloudy when we arrived, so we didn’t get the full effect. But, unlike the monument at Mitad del Mundo, this sundial actually sits on the true equator line. It’s $5 to get in, but come on, are you really gonna skimp on $5? Plus, they have a small museum that tells the history of the equator and presents a new perspective on how we view the world; they propose left and right hemispheres instead of north and south.
Mom’s first trip to the equator!
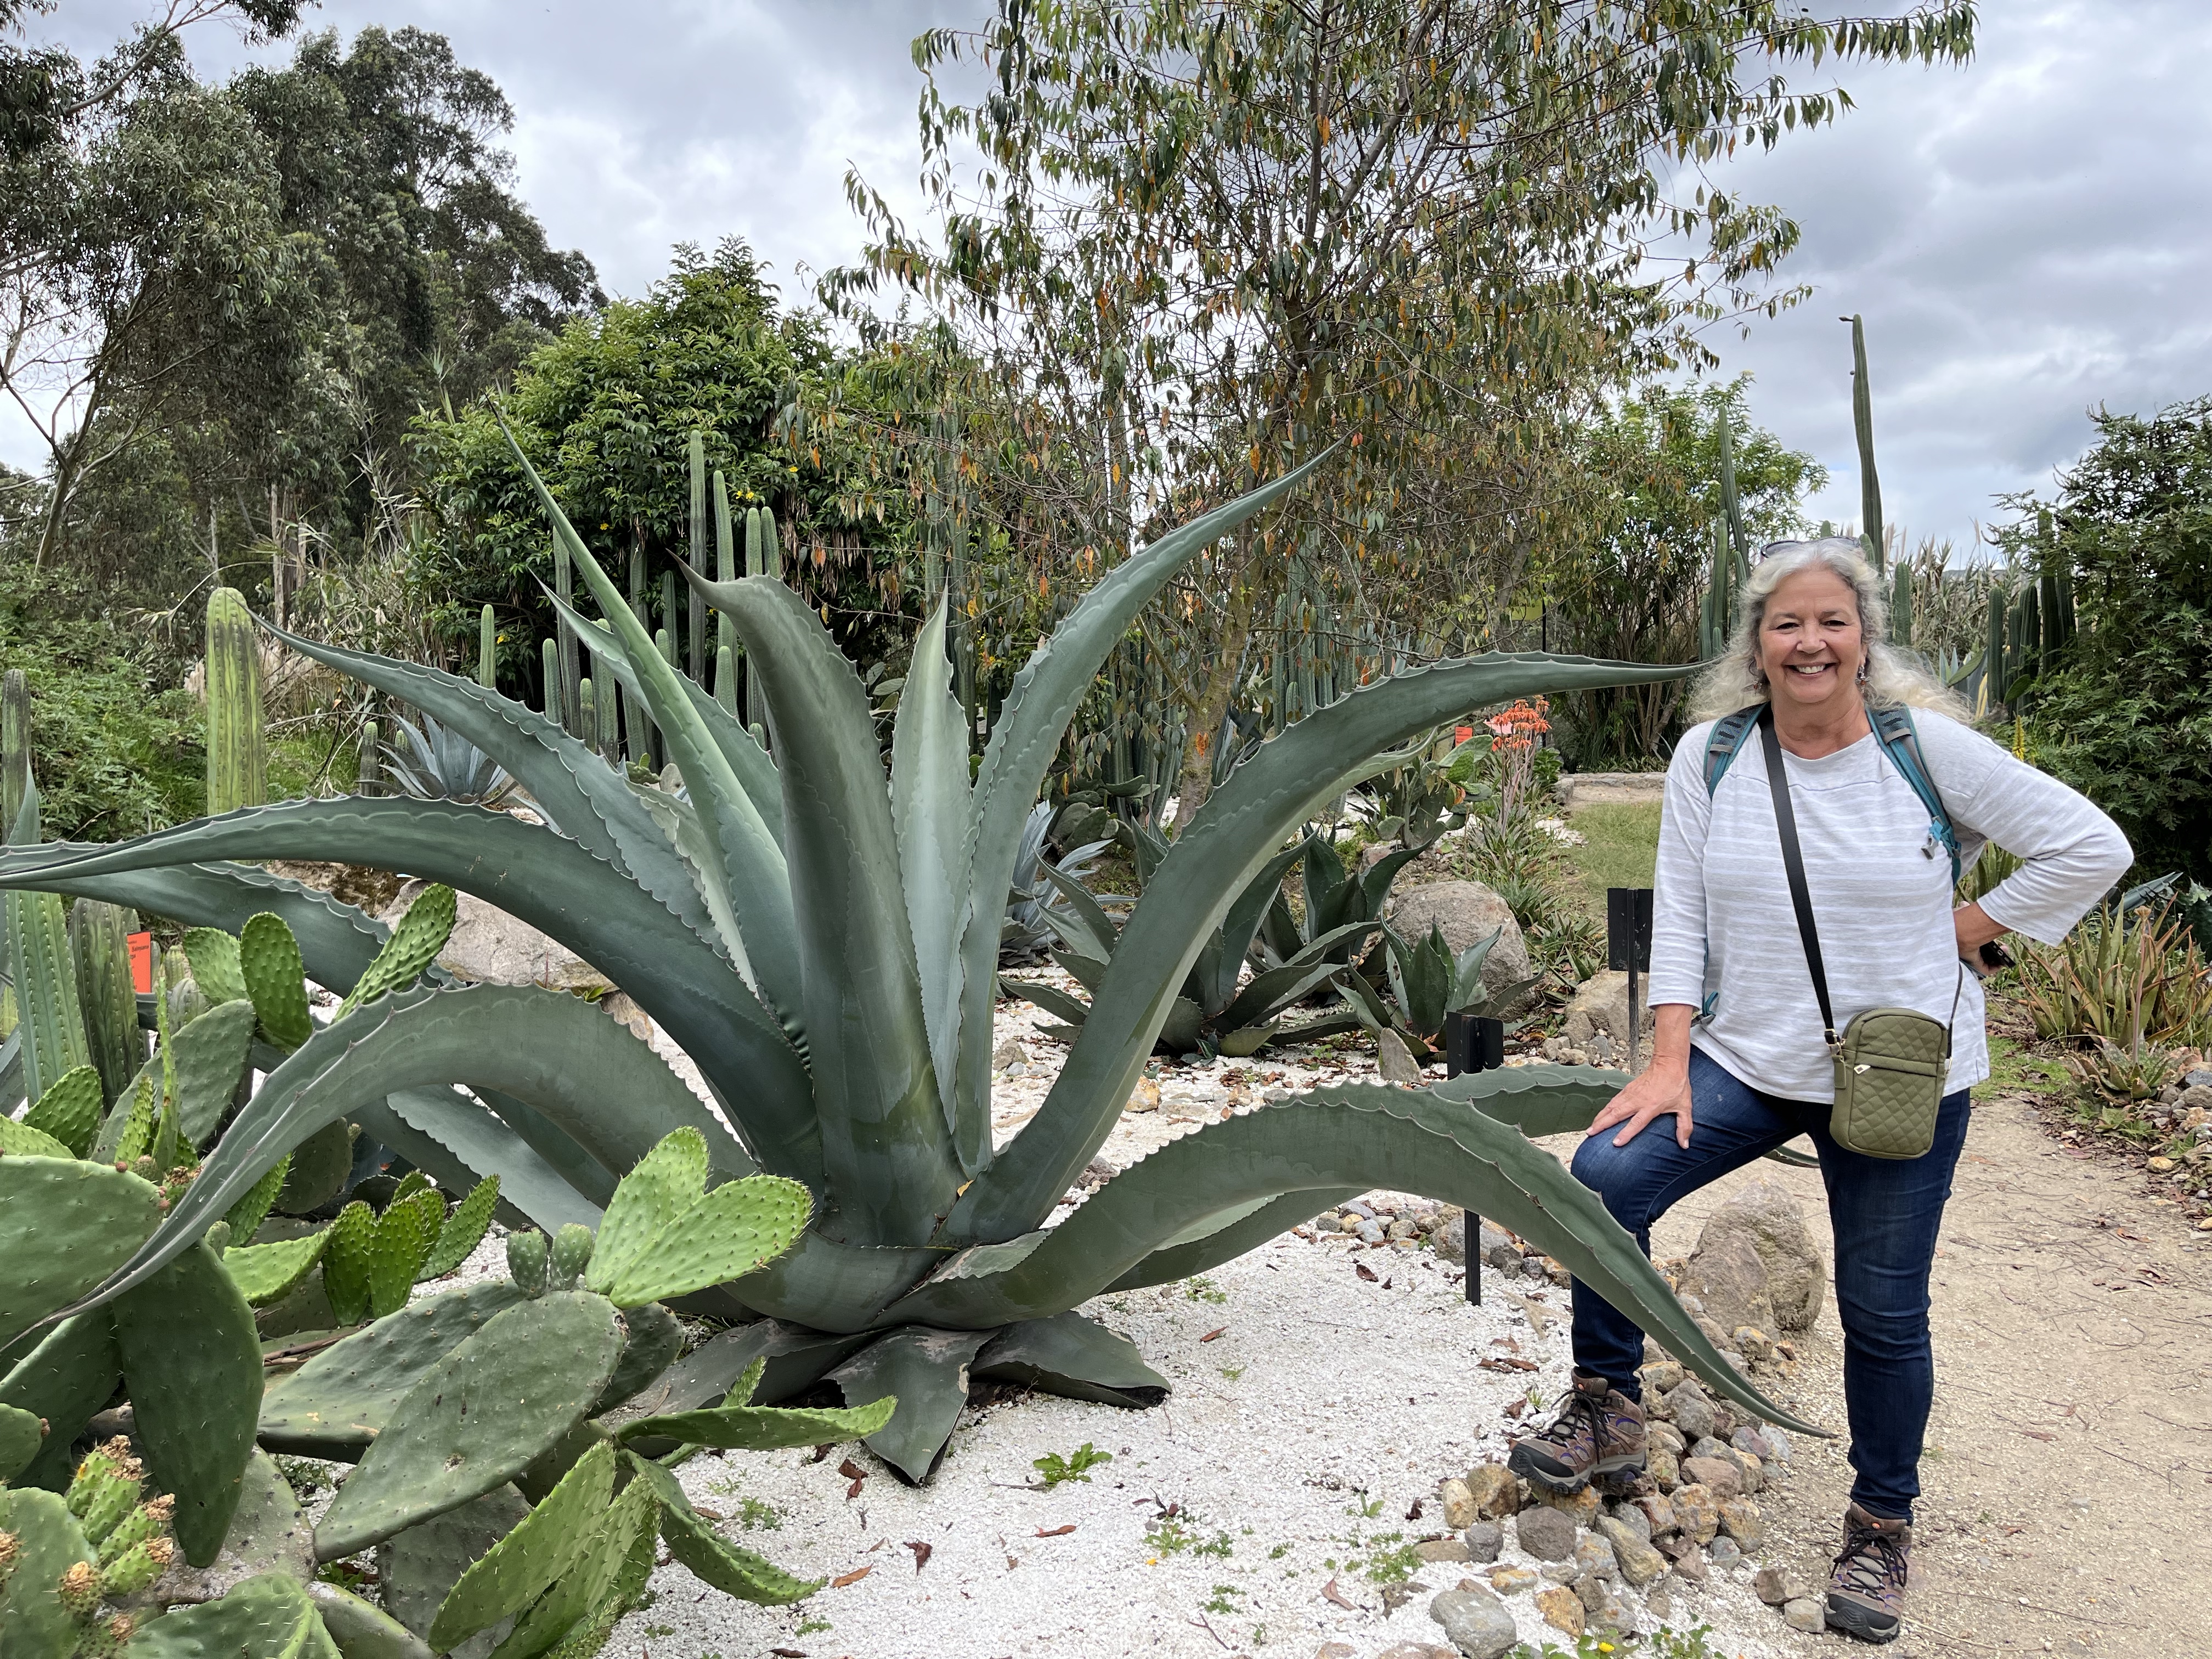
Also, if this is something you’re into, they have a really big agave garden, in both the number of species and the size of the agave!
That’s a big agave!
The Otavalo Market
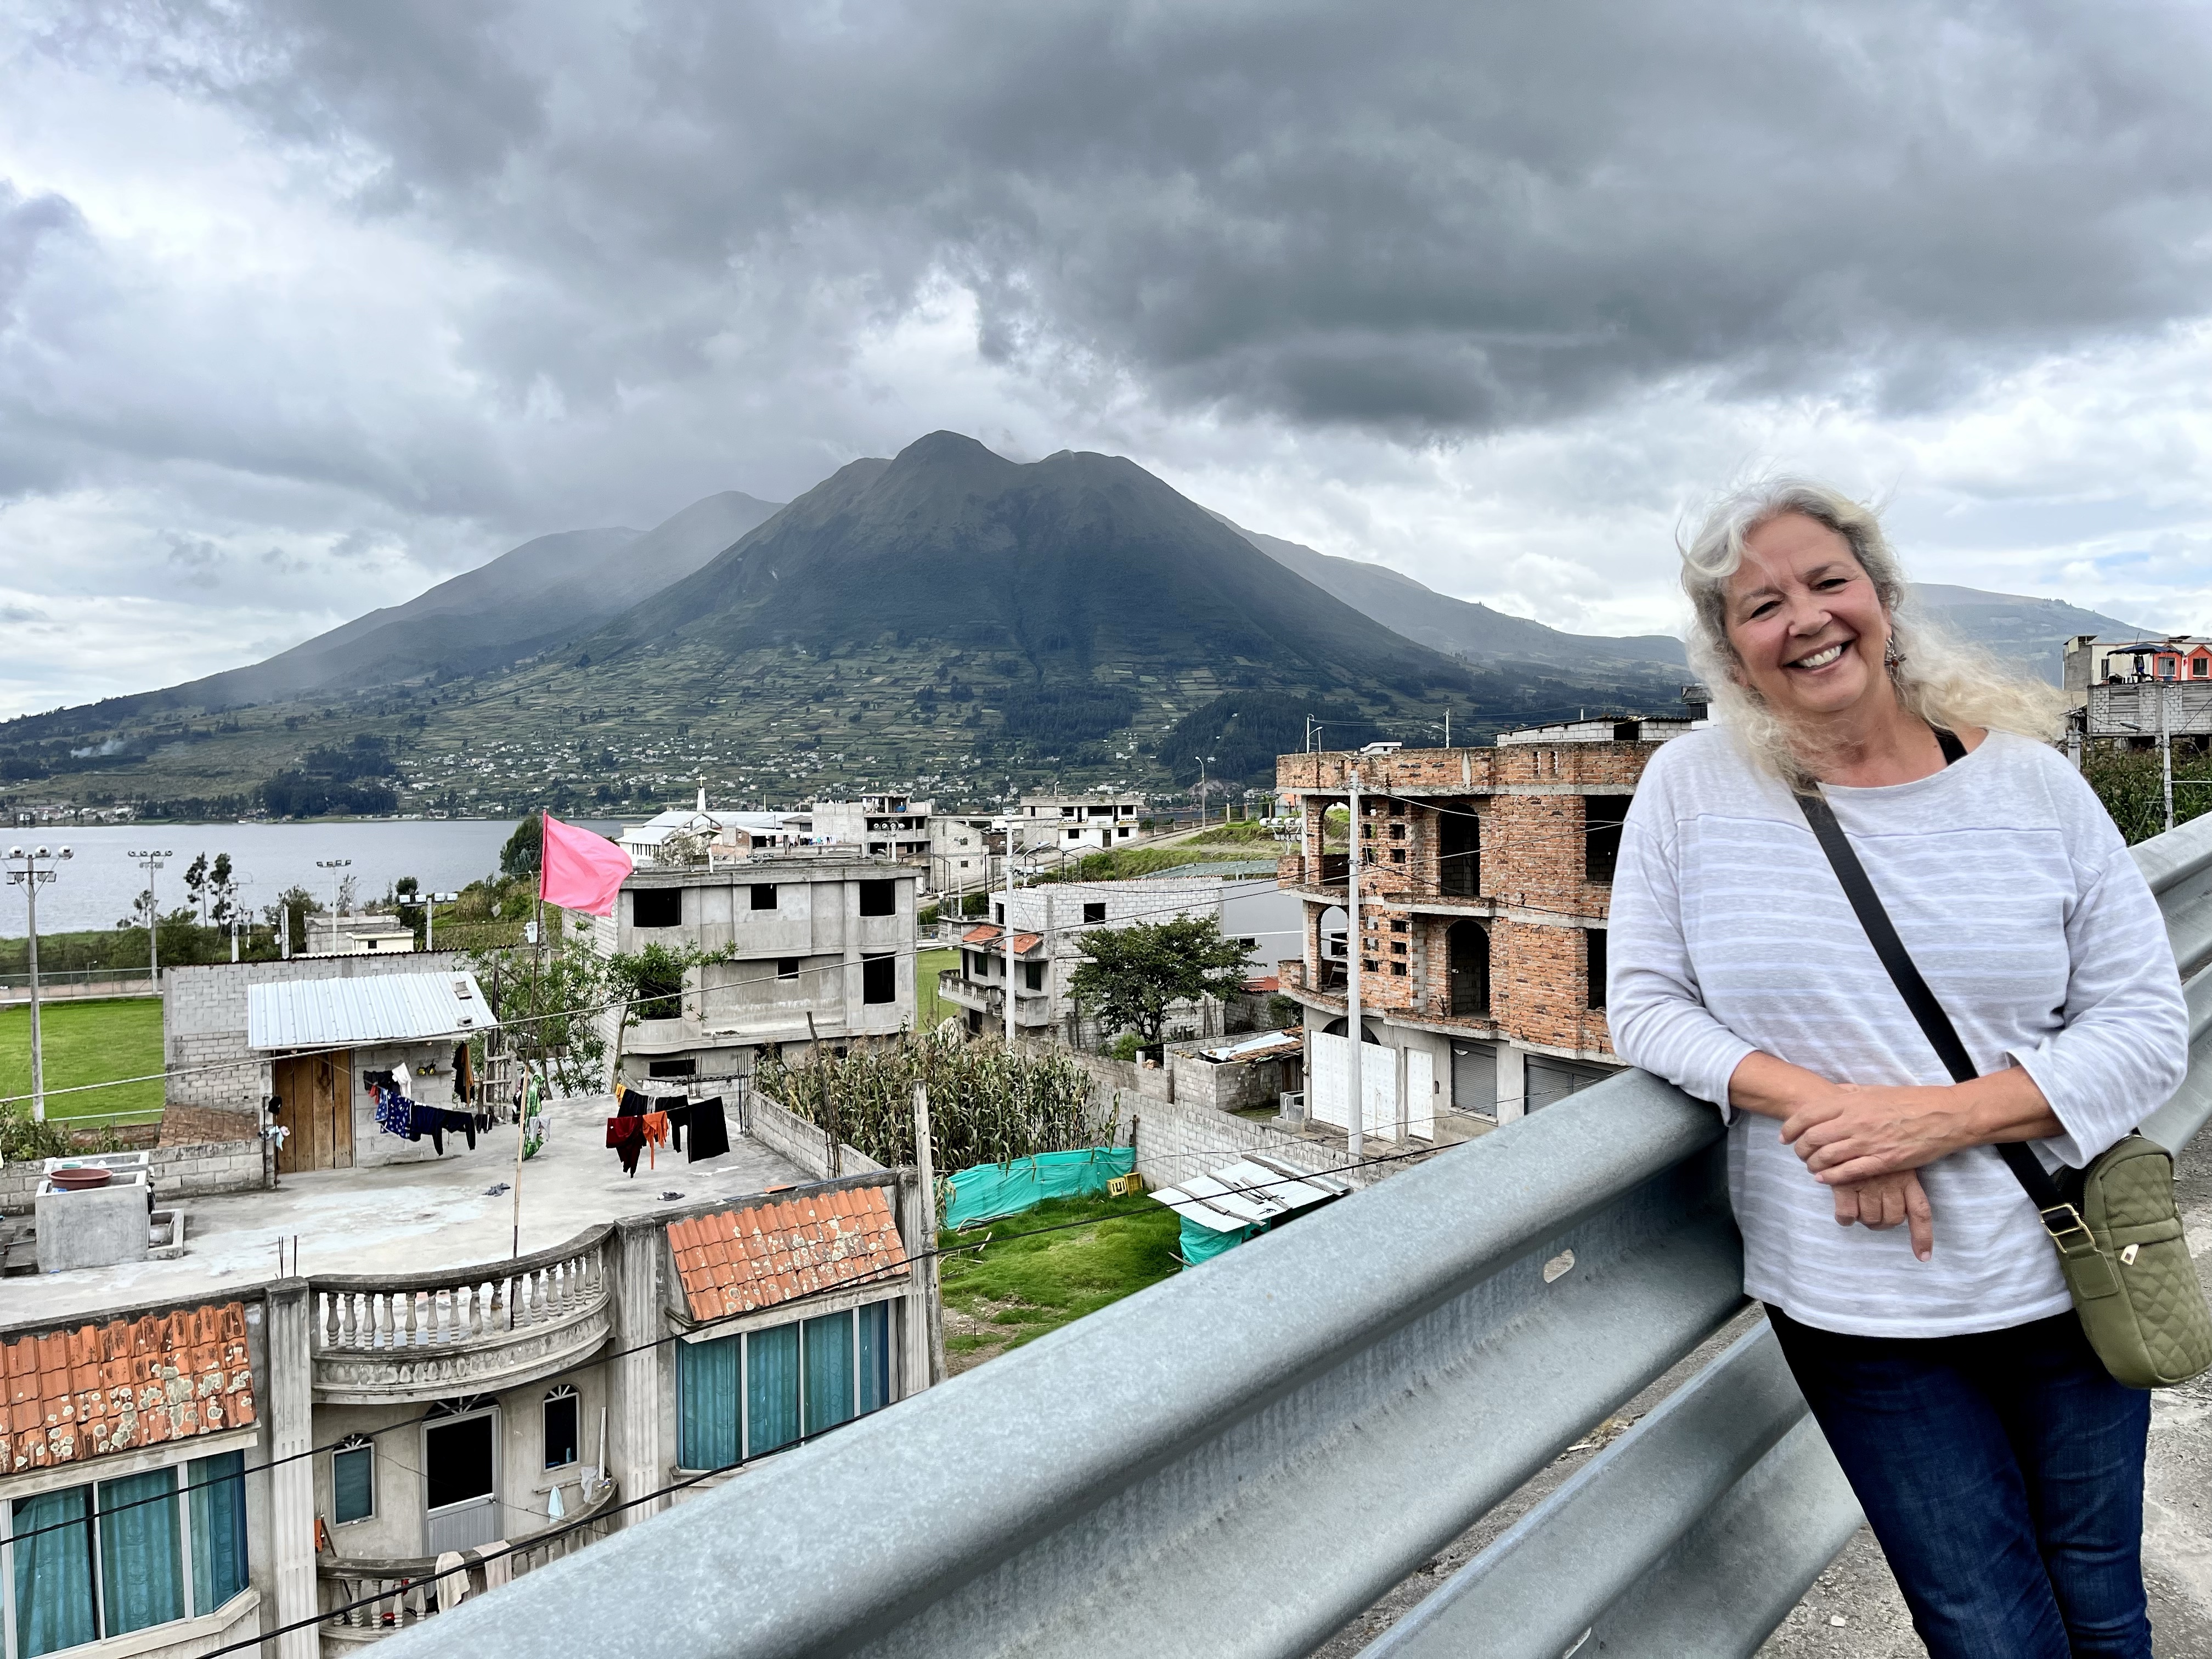
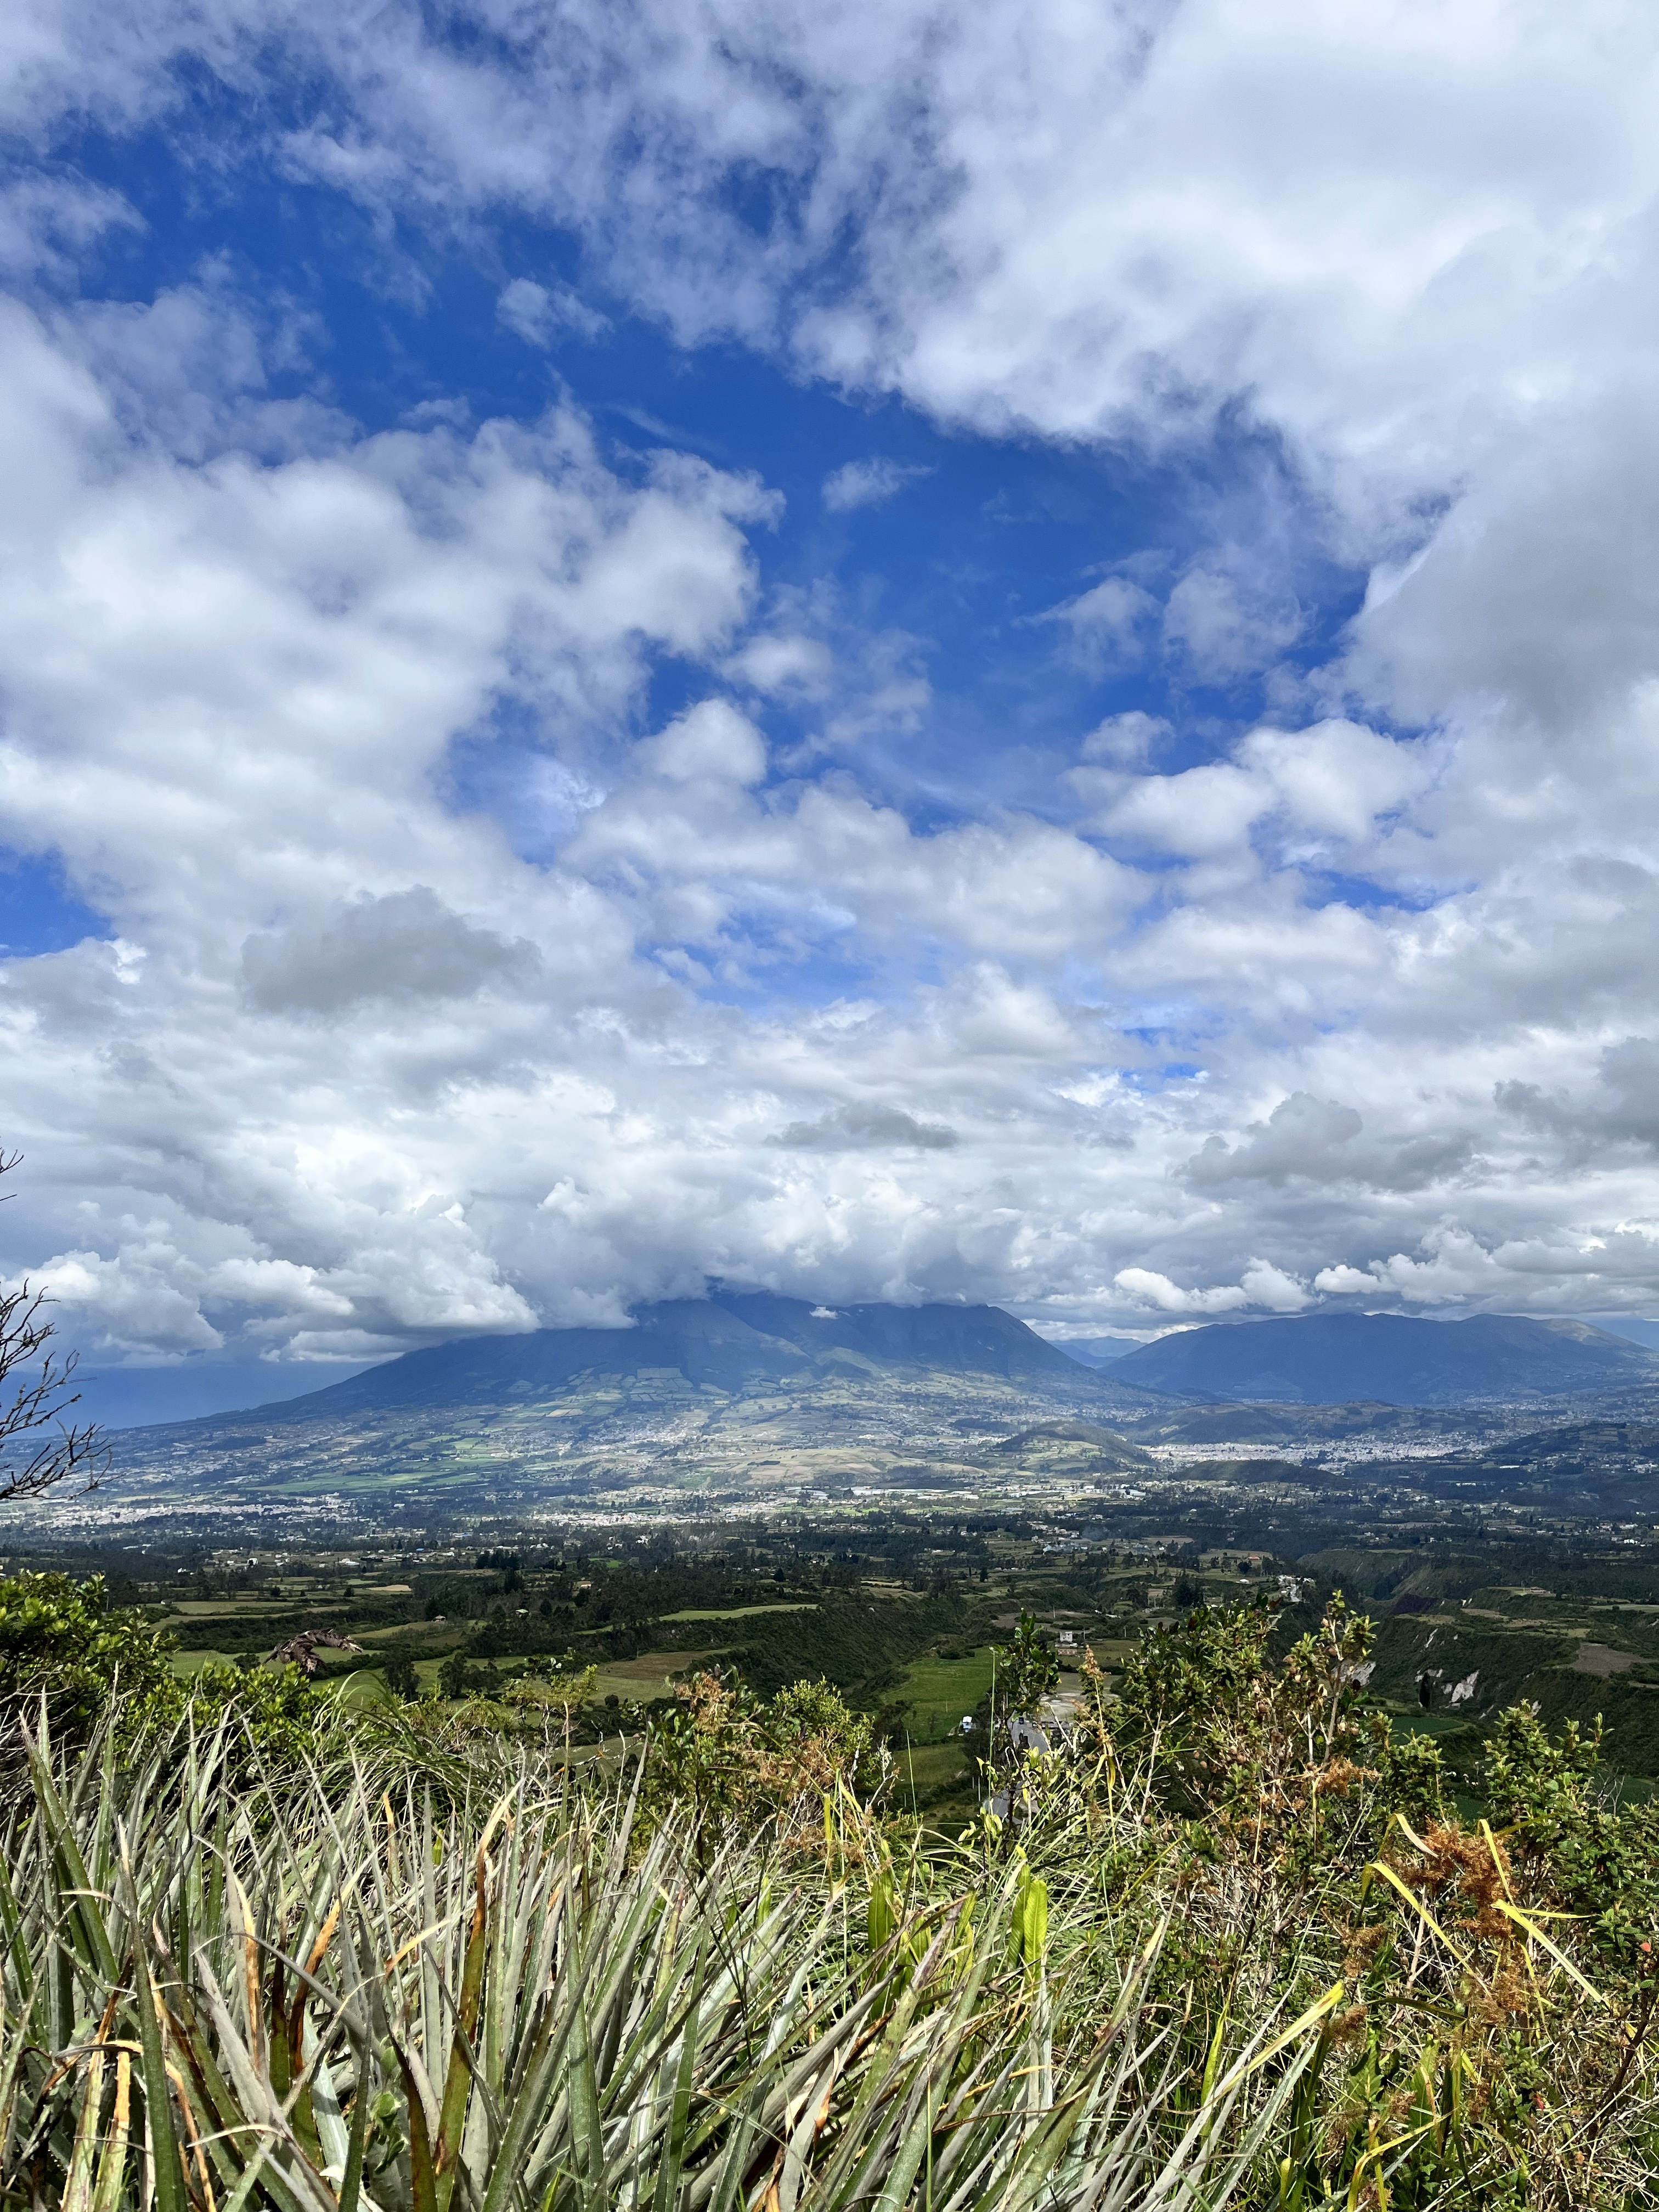
After our stop at the equator, we were off to the city of Otavalo, which sits near the extinct volcano, Imbabura.
Volcano views, baby!
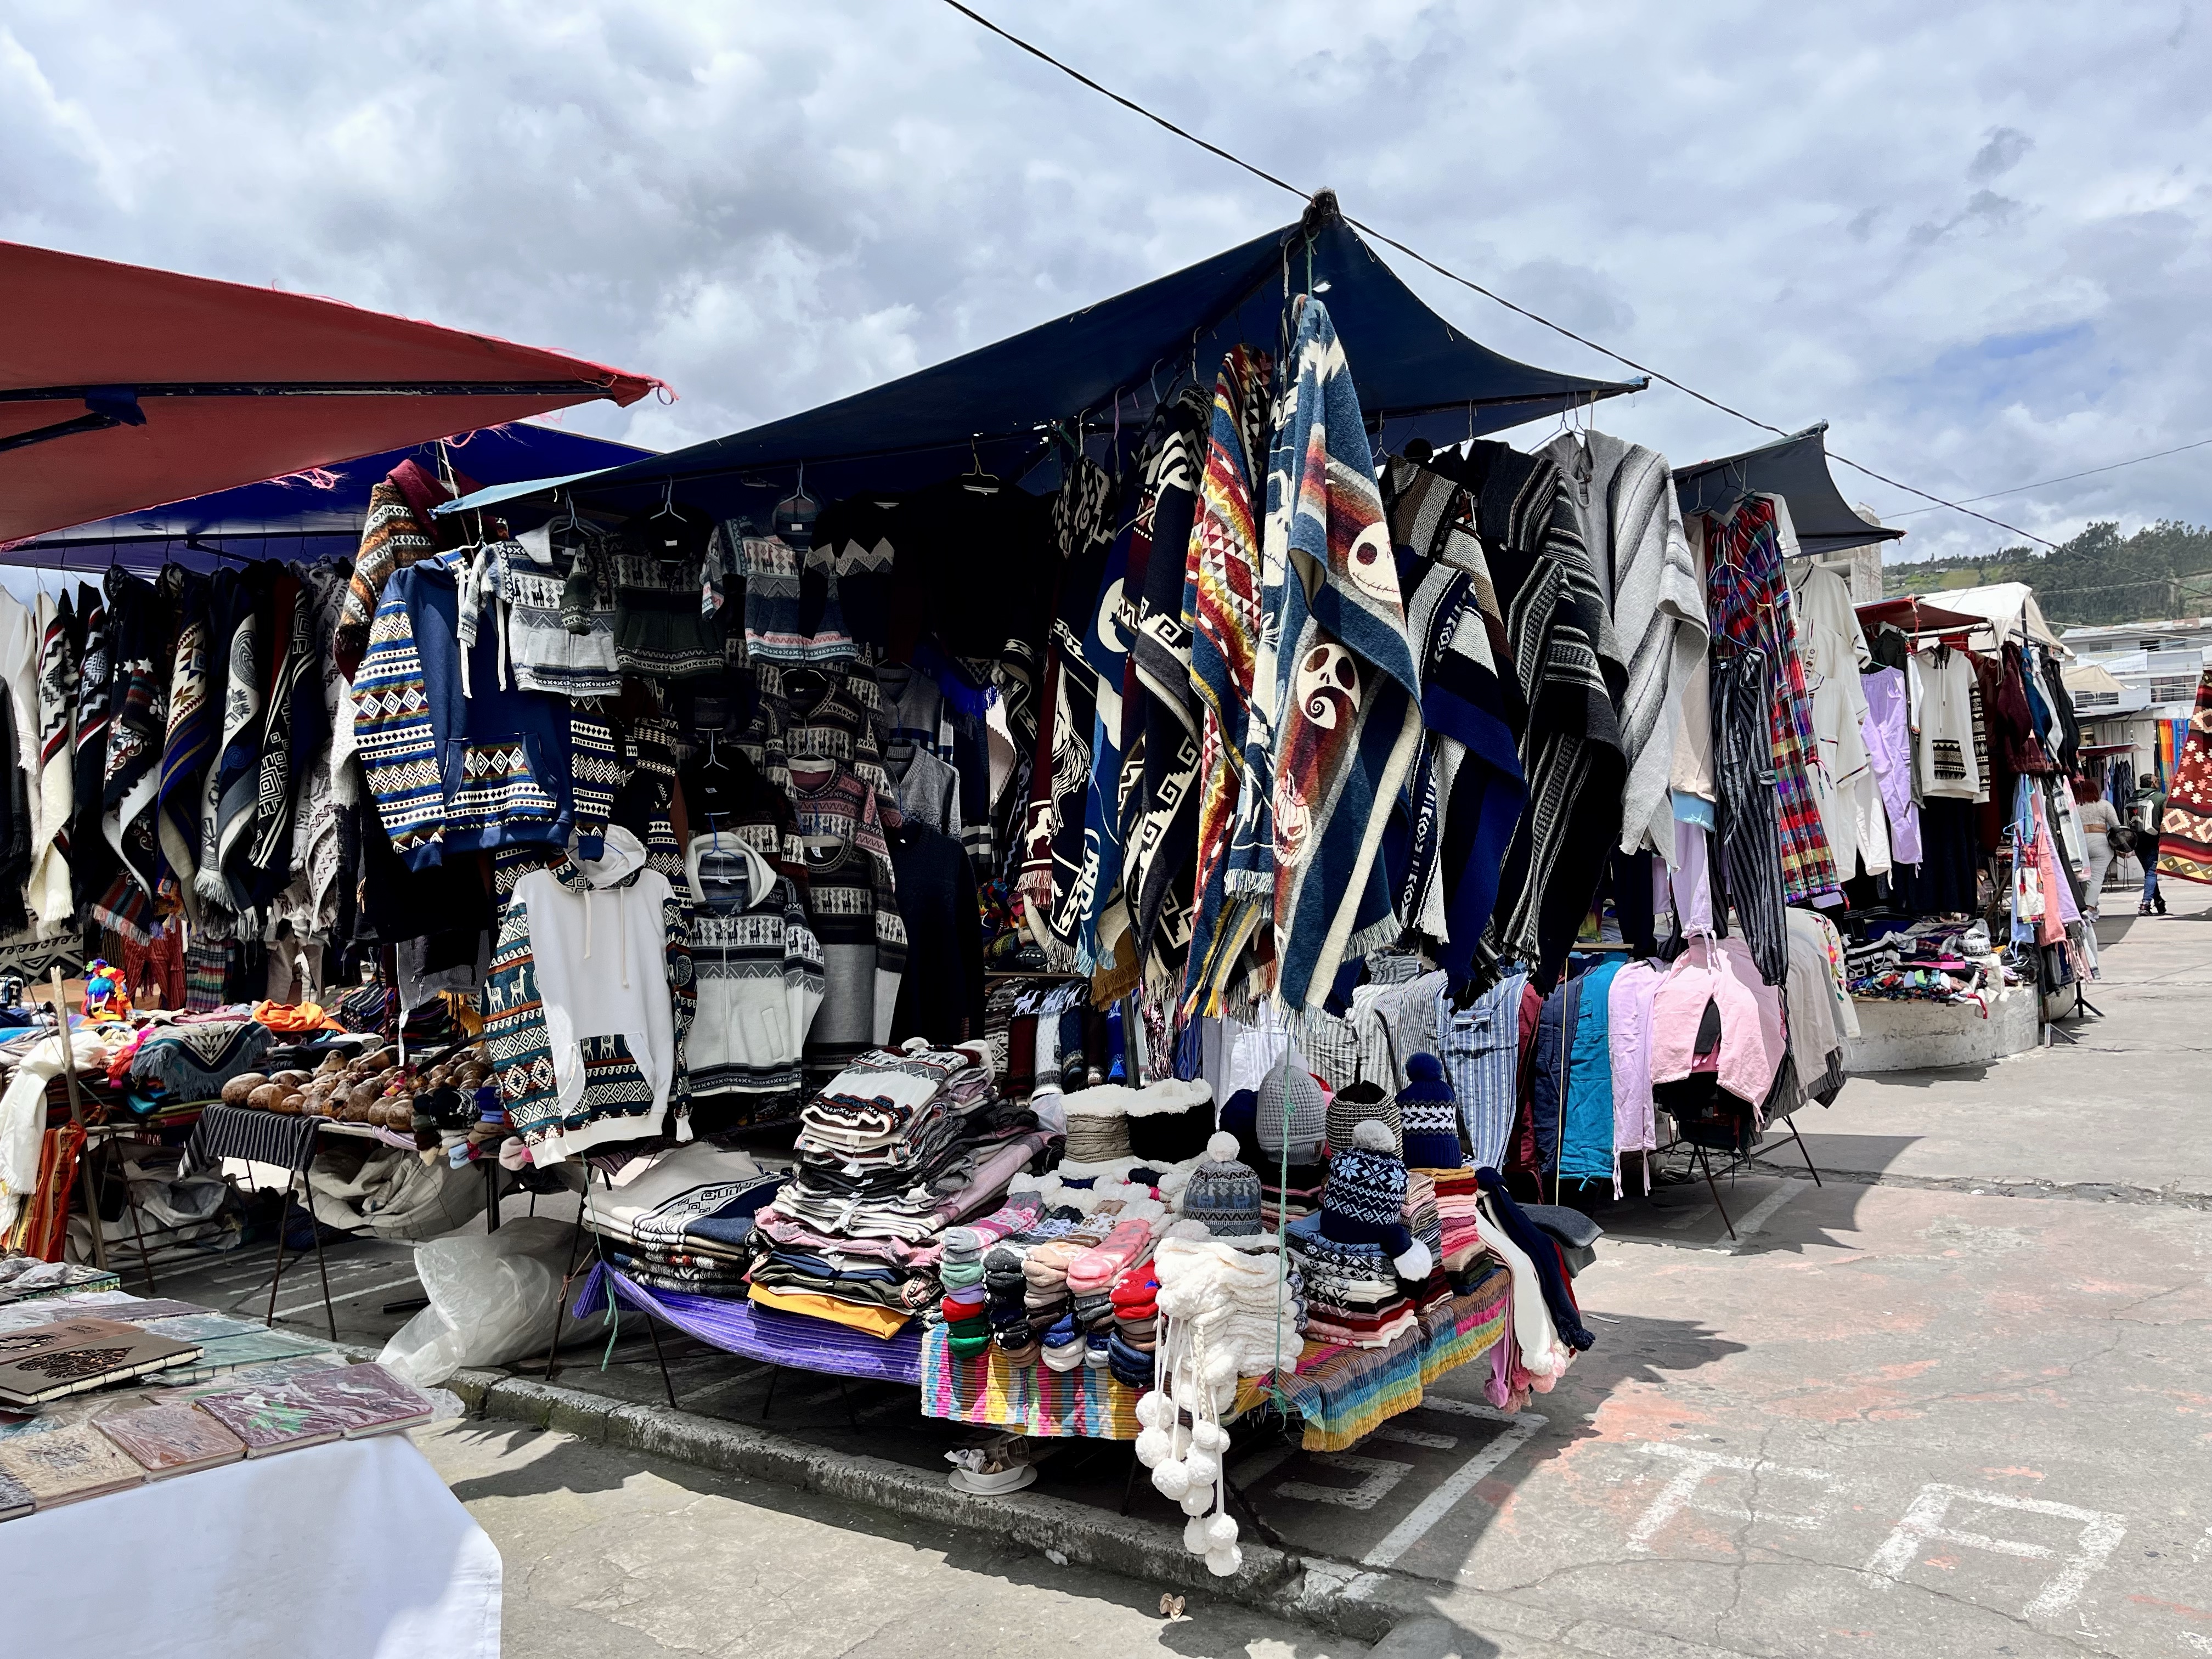
As I mentioned before, Otavalo is known for its handicraft market, and the main activity of this day tour was shopping in the market. So, we had about an hour and a half to wander and shop!
A couple of things to note. Saturday is the biggest market day. We visited on a Tuesday; the market was still quite large, with plenty of options. However, I’d plan for Saturday to get the full effect, if possible. An hour and a half was more than enough time.
Also, if you look at something too long, touch something as you walk by, or linger in front of a stand, you will be approached by the seller. (Mom learned this the hard way, which resulted in her walking around whispering to herself, “No, don’t touch that!”). This isn’t necessarily bad, especially if you want to buy something from them. But don’t go with the idea that you’ll be browsing uninterrupted.
The phrase “solo estoy mirando,” or “I’m just looking,” is a good one to learn. 😜
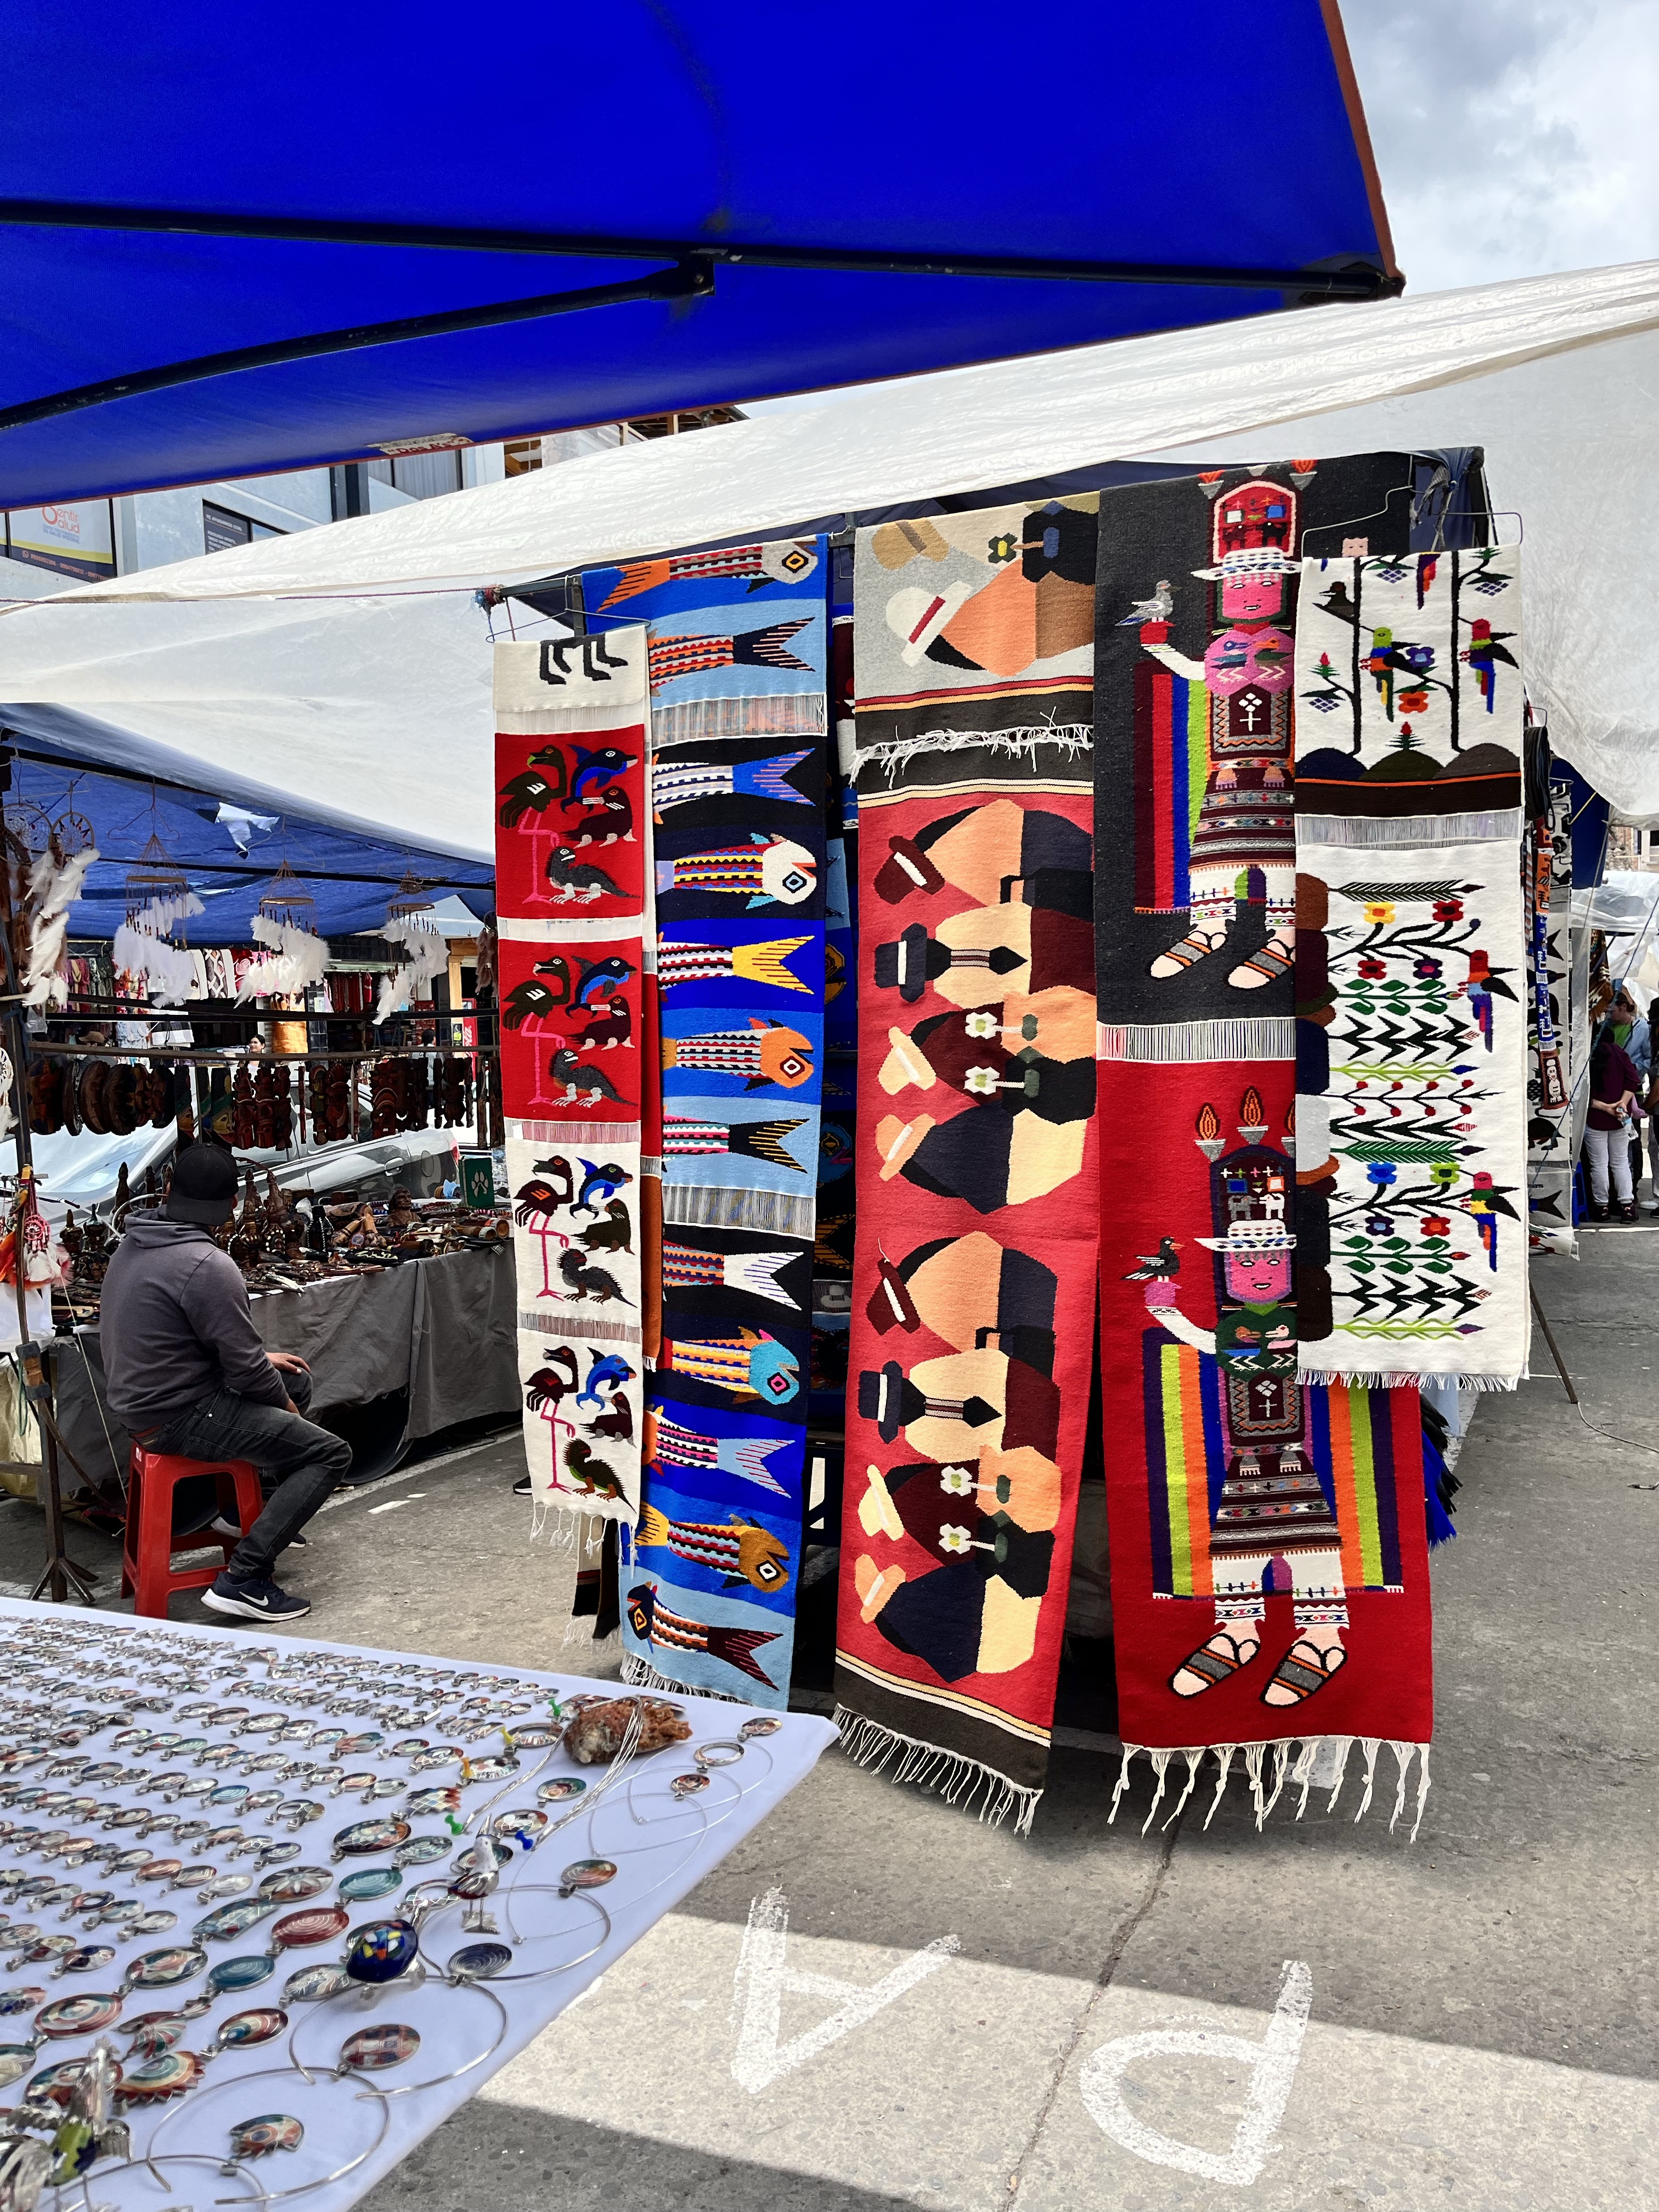
So what can you expect to find in the market? Lots of jewelry, ponchos, blankets, and sweaters! You’ll also find tapestries, wooden carved trinkets (including kitchen spoons; highly recommended!), art, and other nicknacks. Sometimes, the prices are negotiable. However, I wouldn’t ask to drop more than $5, and it depends on the item. Blankets, ponchos, and tapestries? Sure. A $1.50 hand-painted magnet? I’ll just pay $1.50.
Lake Cuicocha
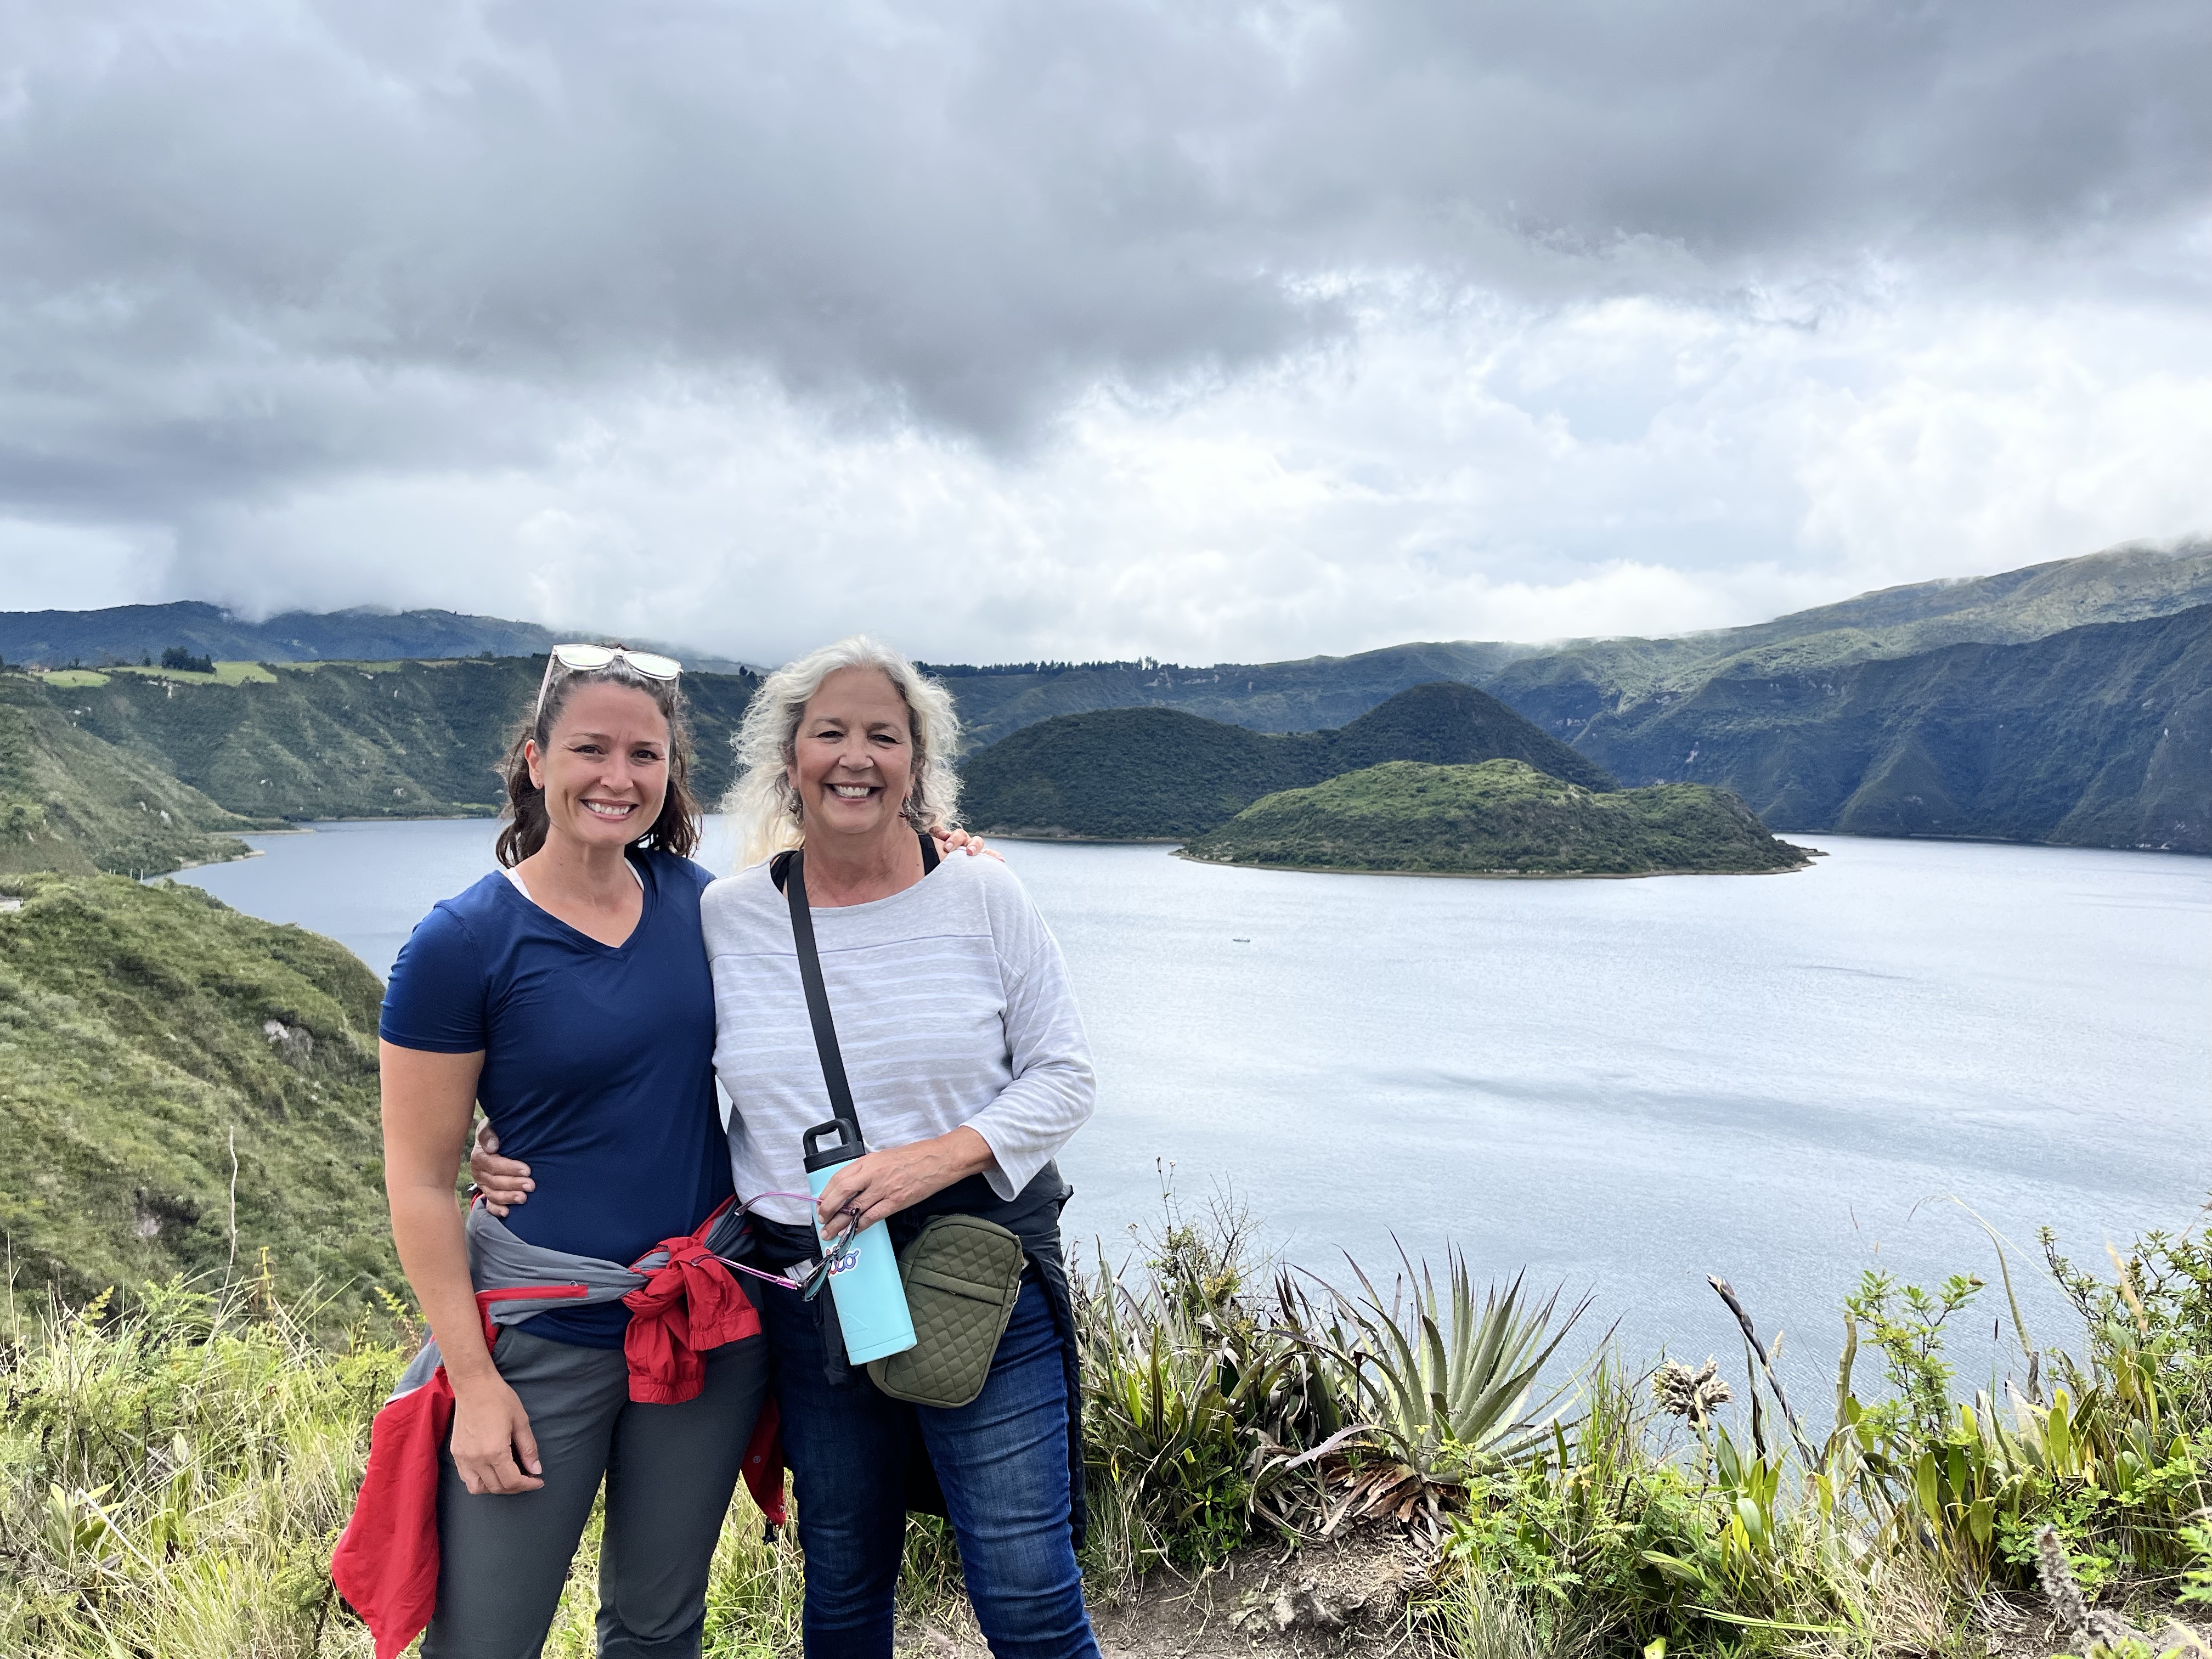
Our final stop for the day was Laguna de Cuicocha, which is Kichwa (the indigenous language) for Lago del Cuy… or Guinea Pig Lake! It’s named after the largest of the two islands in the center, which resembles a guinea pig.
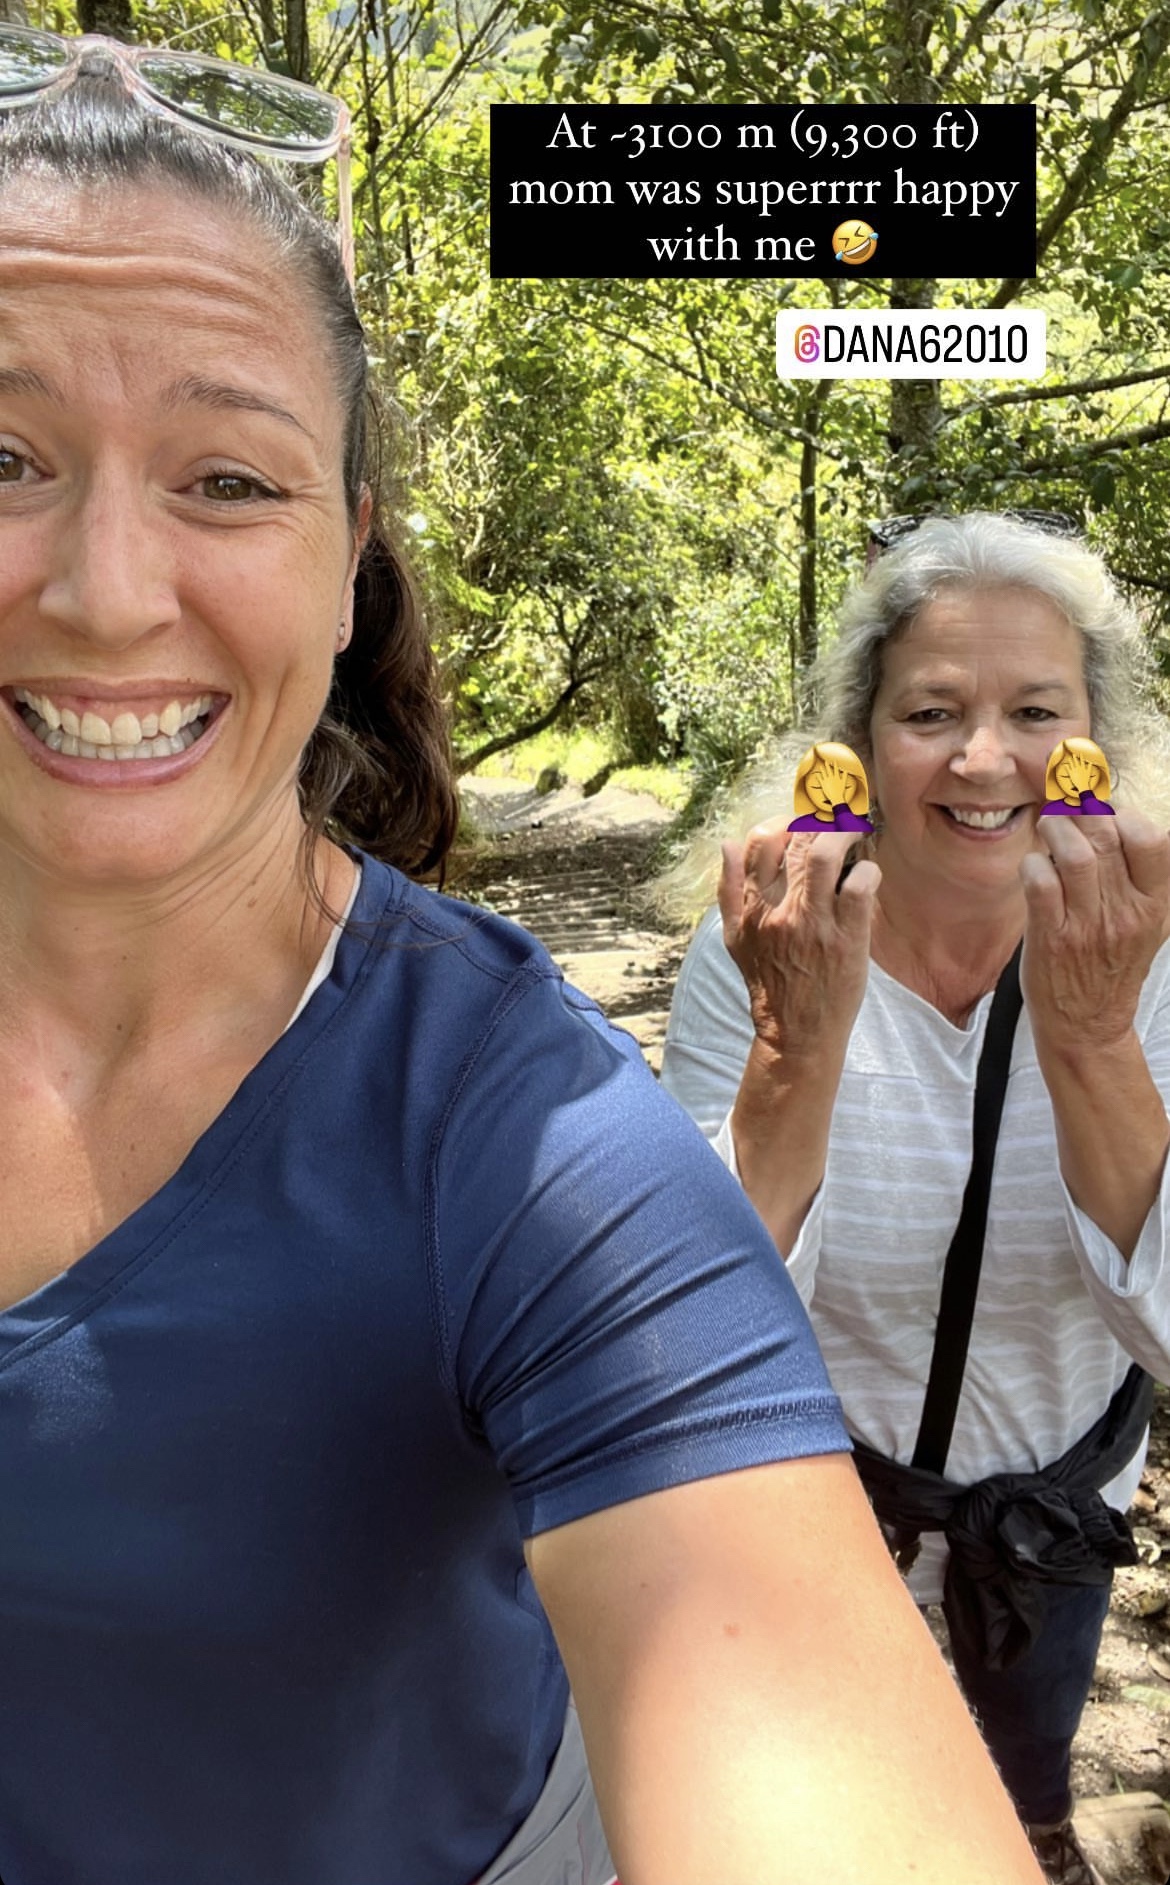
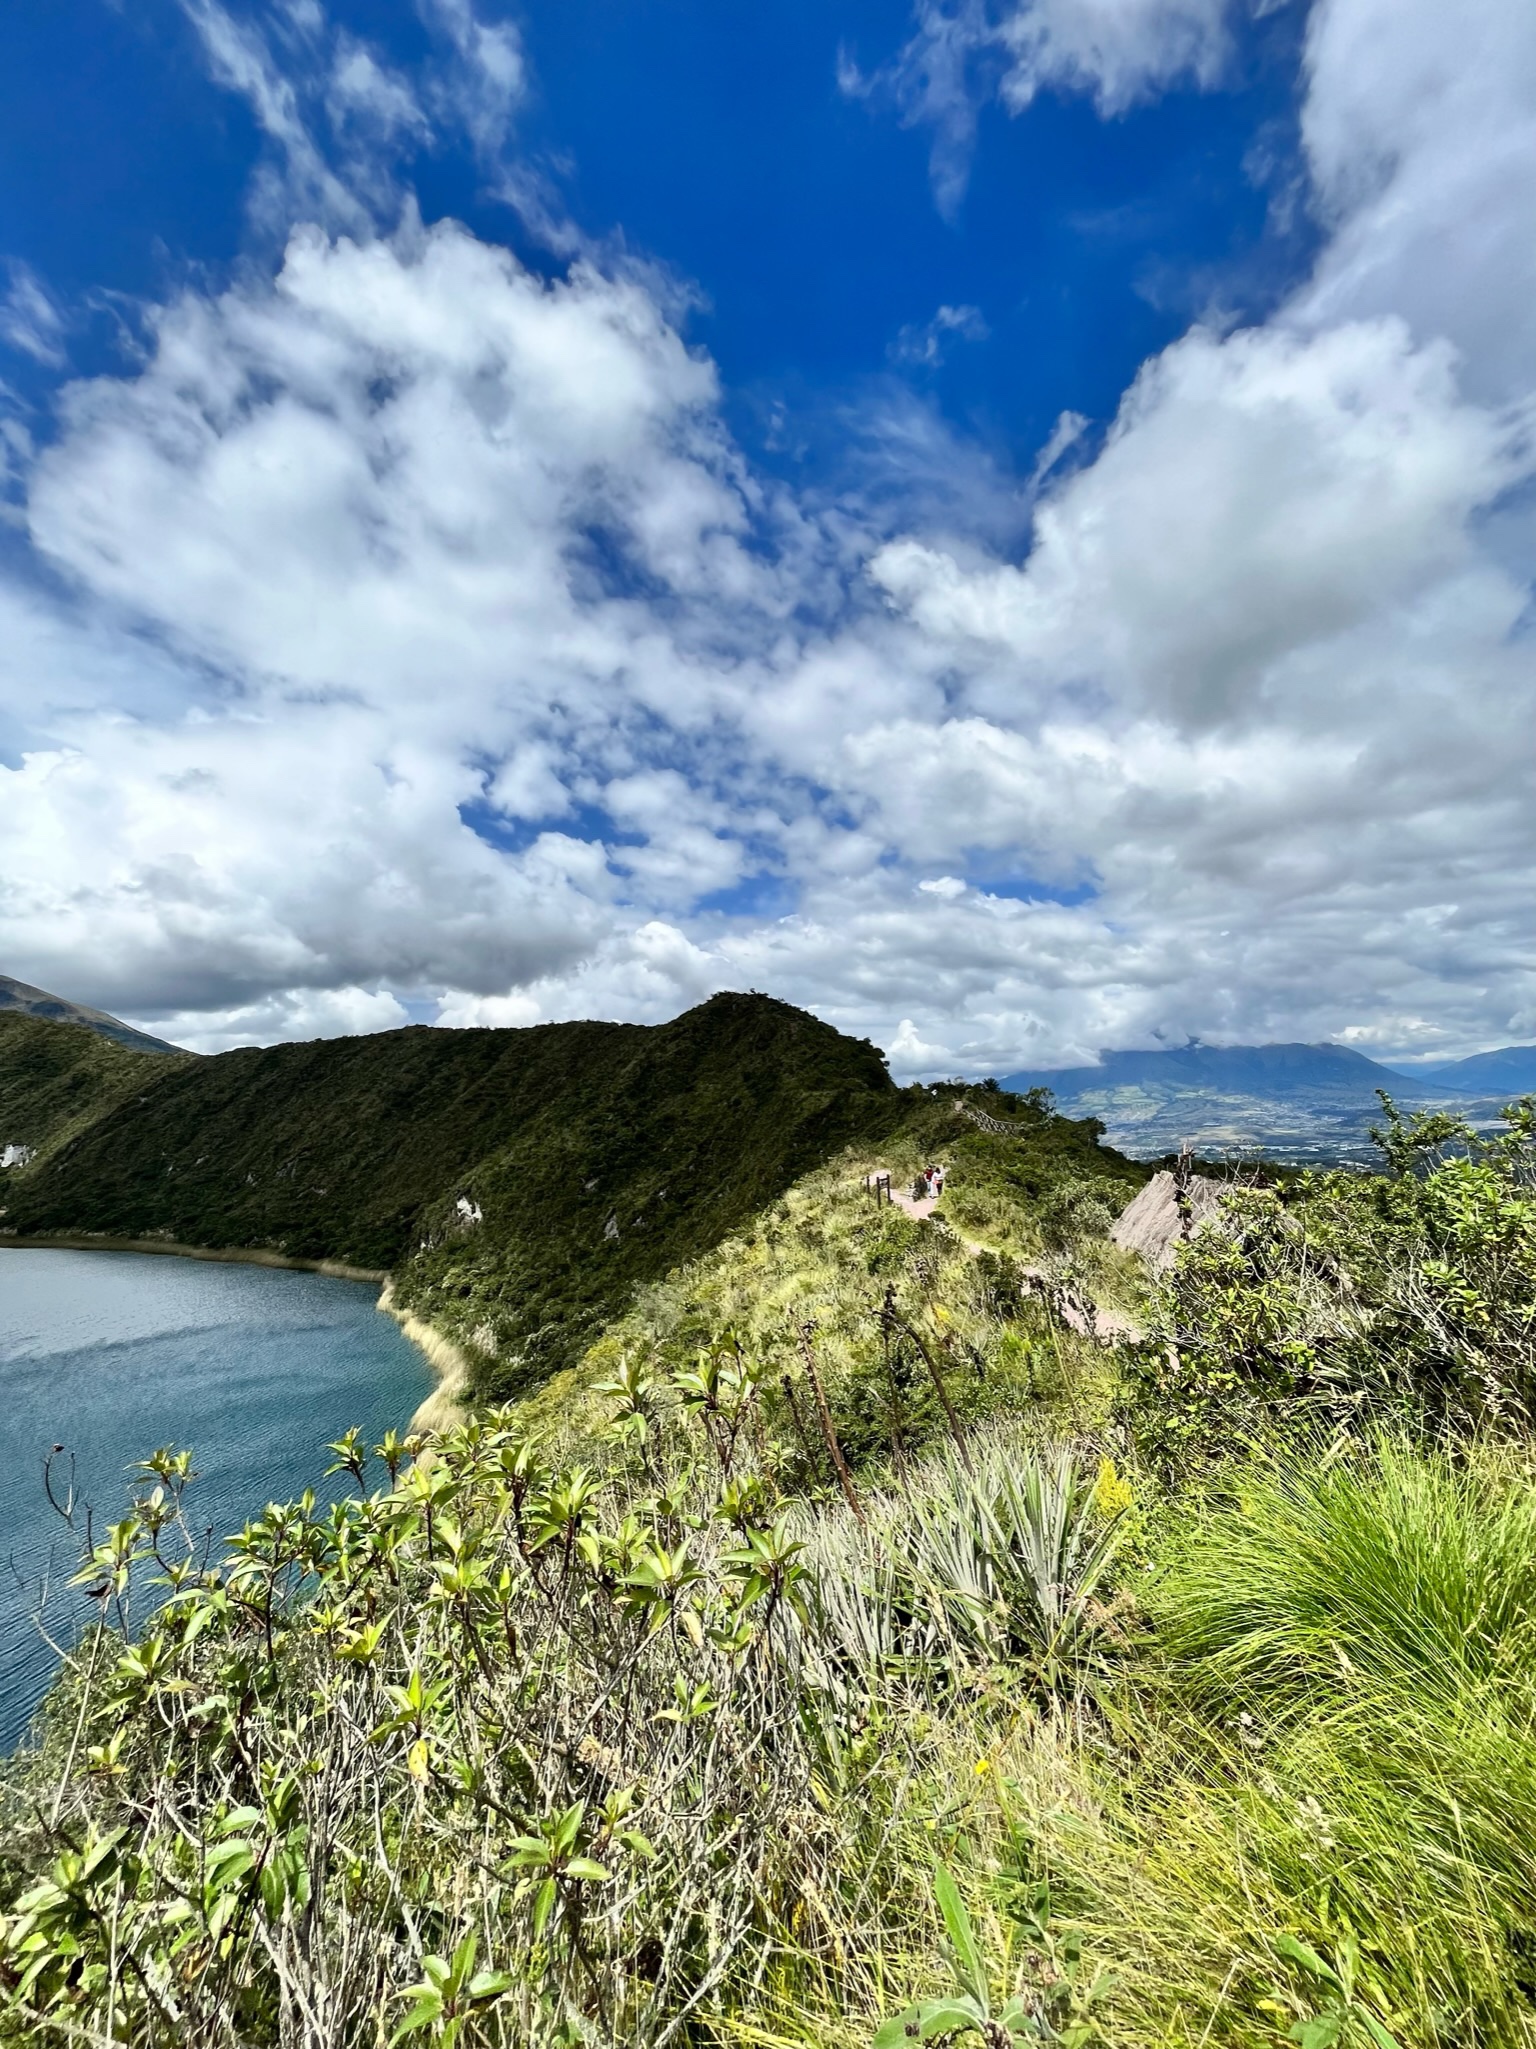
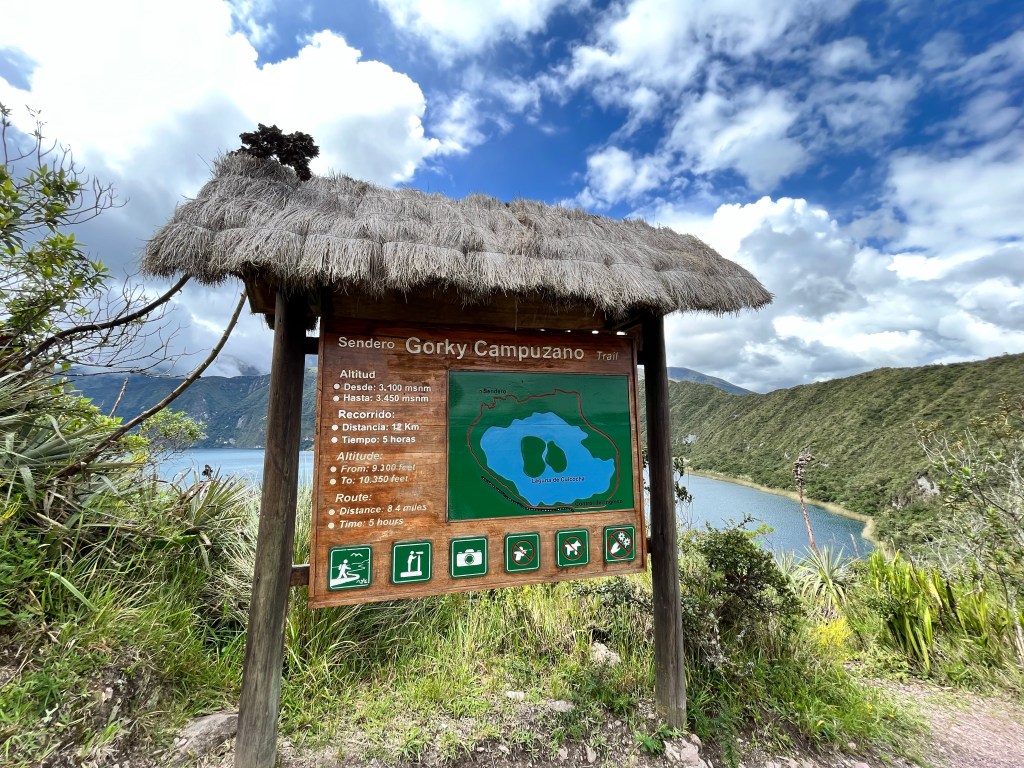
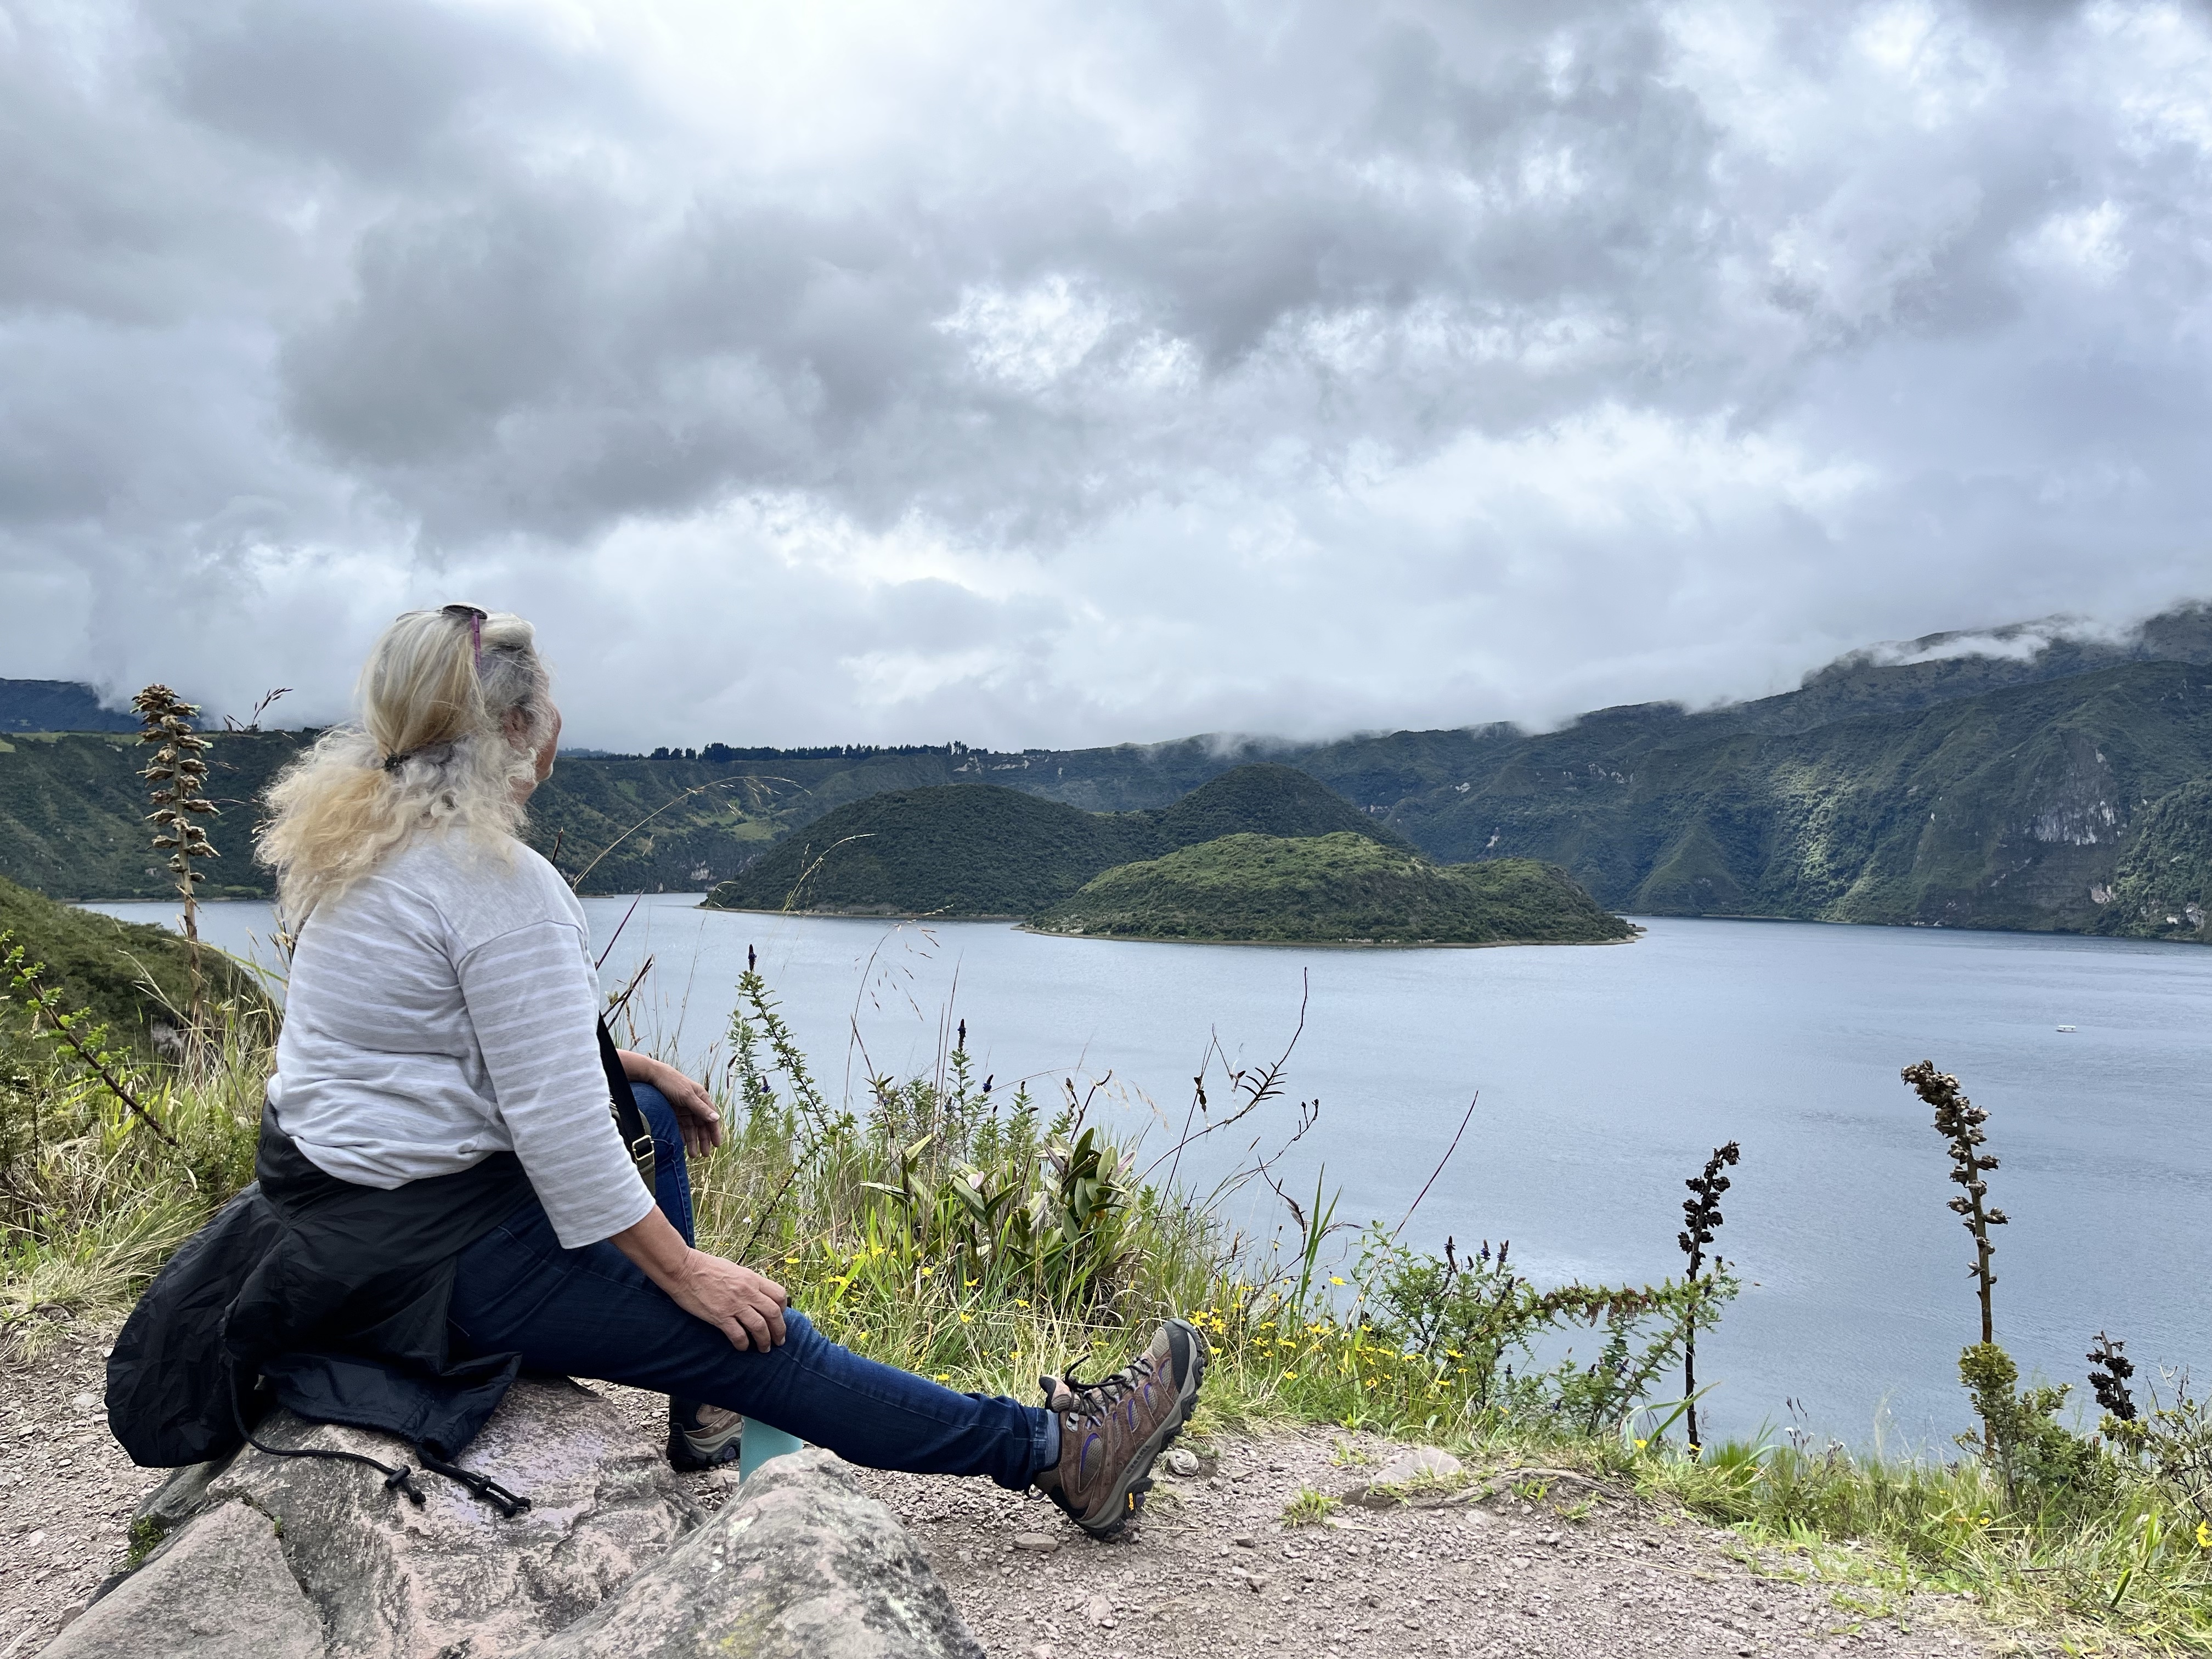
This is the country’s second-most famous volcano crater lake, the first being Quilotoa. Like Quilotoa, you can hike the rim, but we didn’t have enough time. Also, I think Mom was ready to murder me because one thing we hadn’t really considered was the altitude, especially after coming from the coast. The lowest point of the ridge trail with the main viewing area sits at ~3,100 meters (~9,300 feet). So, even the short walk up to the viewpoint was strenuous!
Mom’s opinion of walking up to the viewpoint.
Lunch
All this going makes for hungry gals!
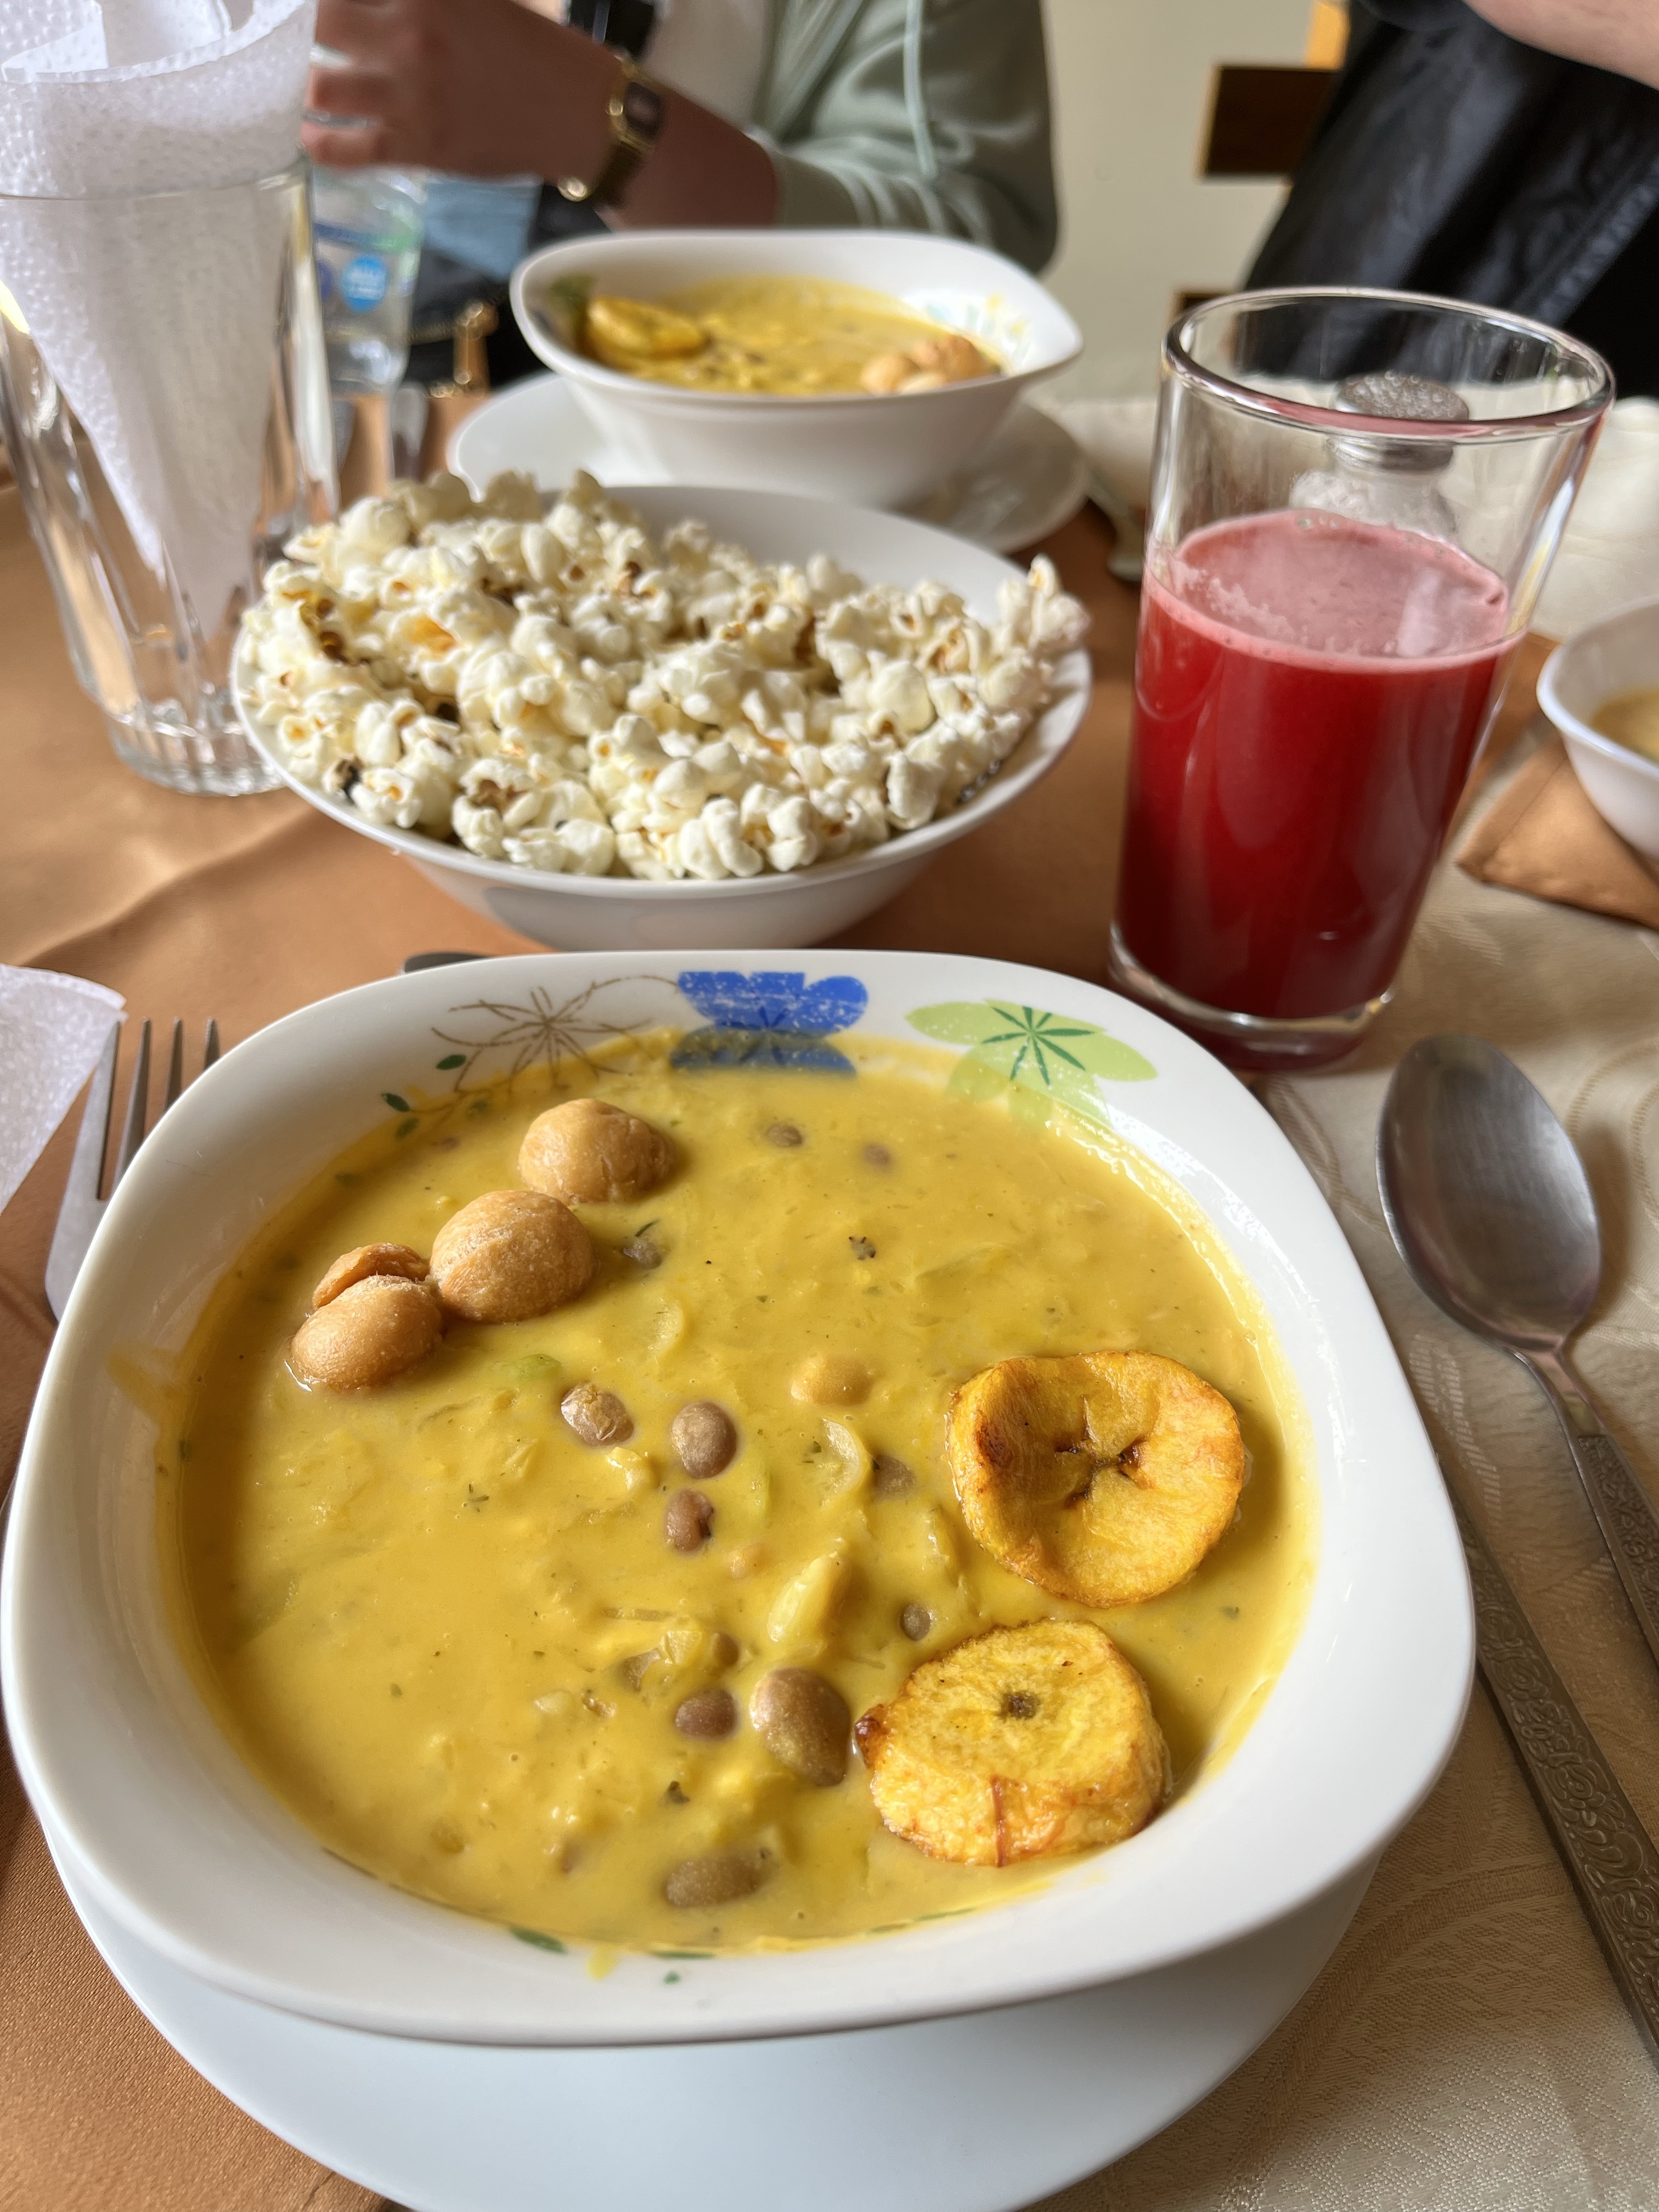
So, actually, the final stop before heading back to Quito was for lunch… a big lunch! And we were lucky. Since we were visiting around Easter, the restaurant prepared fanesca, the traditional Easter soup!
Fanesca (with popcorn. It goes in the soup!)
It was a long but fun day, and booking a trip with a tour company really makes it easy to see other places if you’re short on time. I’d highly recommend it, especially since they keep the groups small (no more than 12) and the guide is local.
Next up on the adventure–my cousin arrives! So, until then…